



 Fabian Lainé
Dungeons
Lost Ark: Horizon Cathedral, the 4-player Abyss Dungeon guide at ilvl 1700 (August 2026)
In brief
Since July 2026, Horizon Cathedral has been the most accessible Tier 4 abyss dungeon, with no scenario prerequisite from ilvl 1,700 onward. Two gates with distinct mechanics, unlimited revives, and a shared entry counter make it a learning-friendly piece of content, a steady source of Graced Shards essential for Ark Grid progression.
Since the July 15, 2026 update, Horizon Cathedral no longer requires any prior quest: Amazon Games has removed the storyline prerequisite. A character at ilvl 1,700 can show up at the entrance without having touched the Cadarum Isles episode. The line went unnoticed in the Summer of Extremes patch notes, yet it changes everything: this dungeon is now the most accessible high-end Tier 4 content in the game.
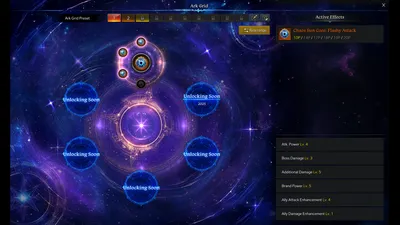
The format, for those who missed it: four players, two gates, three floors set at 1,700, 1,720, and 1,750, unlimited revives. Opened on June 17, it is above all the most reliable source of Graced Shards and Cores in the game, and therefore the direct fuel for the Ark Grid, whose workings we detailed on the morning of August 10.
A note on terminology: Amazon Games removed the French localization of the client in May 2025, and no Tier 4 content has ever received an official French label. The names of mechanics and bosses below therefore remain in English because that's what your client displays, not for the sake of convenience. Only a few terms inherited from before 2025 keep a validated translation: donjon des abysses, raid de gardien, donjon du chaos.
Access and structure: what has actually changed
At launch in June, players had to complete the main quest "After the Resonance Stops," unlocked by going through the Cadarum Isles episode. Since July 15, that lock has been lifted, just like the one on the Serca Shadow Raid and the Content Guide: item level is now the only remaining criterion. Three ways to enter: the object found in major cities, the Party Finder, or the Content Guide (Alt + Q), also automatically unlocked at 1,700.
The most widely misunderstood point remains the entry counter, shared across all three floors: moving from floor 1 to floor 2 doesn't grant an additional entry, it replaces the one spent below. There's no point, then, in "securing" the lower floor before attempting the next one. Another constraint: the dungeon shares the weekly gold cap and the free bonus reward quota with the rest of the end-game content. It doesn't add a slot, it consumes one.
On the other hand, progress is saved as soon as you claim your rewards: the group votes to continue or stop, and can resume later. Revives are unlimited, with a ten-second delay and a cost in Phoenix Plume or 10 Crystals; only the simultaneous death of the entire group counts as a wipe. That makes this a dungeon far more forgiving to learn than an eight-player Legion Raid.
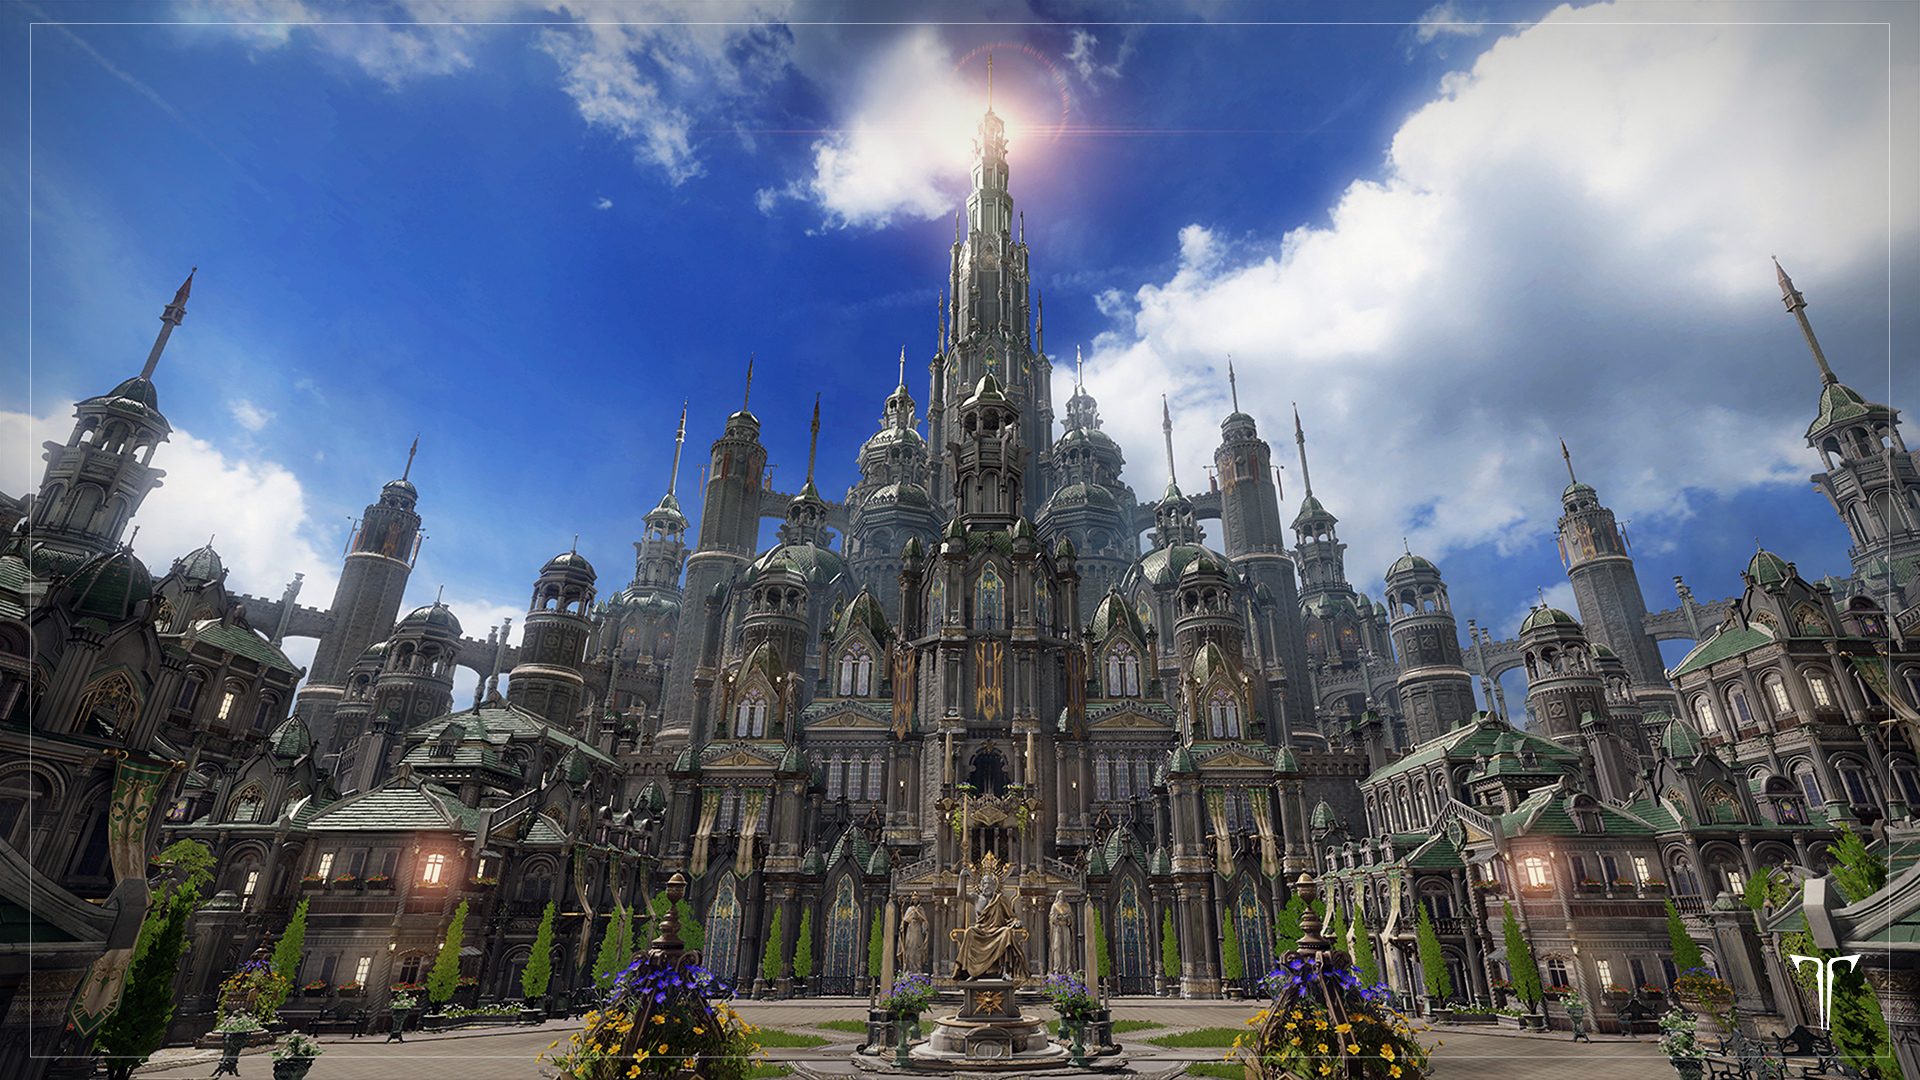
Gate 1: Arcenos, Archbishop of Twilight
A humanoid weak to darkness (Dark) and tauntable. Its major mechanics trigger at specific health bar thresholds: 180, 160, 100, and 60.
- 180 bars — Bell Charge. Bells fall from the ceiling, a red arrow points to a player and a large bell appears. The aggro holder guides the boss toward it to destroy it; if it survives, it explodes very hard. After the 160-bar threshold, a shockwave spreads out and must be cleared with the space bar without ever stopping guiding the boss.
- 160 bars — DPS check. The boss disappears, a safe zone opens in the center, then it returns to strike its bell. You have 38 seconds to deal enough damage, with a Just Guard on the hammer strike. The orbs surrounding it then explode: dodge them, watching out for the oversized orbs, one or two, whose blast radius is much larger.
- 100 bars — shield and flashes. Four safe zones appear, two white and two golden, and each player is assigned a color: spread out, then read the boss's flash. White means a shockwave to clear with the space bar, gold means Just Guard. Succeeding adds damage to the shield, failing costs a great deal.
- 60 bars — counter and Just Guard. The arena shrinks, a line splits it in two, two copies of the boss appear. Just Guard on the initial hammer, stay out of the central zone until the explosion, then split the group: the one who jumps requires a Just Guard, the one who charges on the ground requires a counter.
Two systems run in the background. The purple stagger bar, first: emptying it knocks the boss down for a long time and opens a real damage window. The Critical Shock debuff next, lasting 30 seconds: at three stacks, a giant hammer crashes down at your position. Move away from the group before it lands, it's the leading cause of avoidable deaths.
Gate 2: Vanguard of Fanaticism
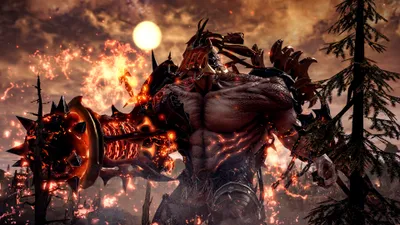
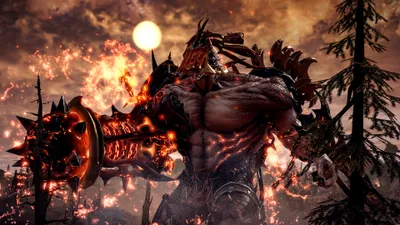
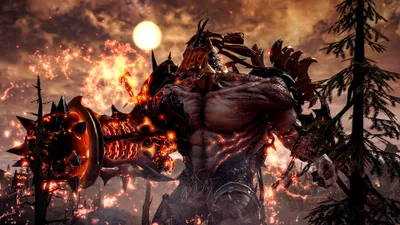
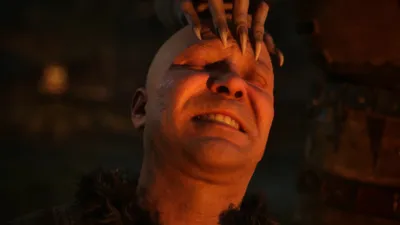
Defeated, the archbishop mutates and returns in a monstrous form. The way it works changes: the mechanics are no longer tied to health bars but to an identity gauge, displayed in the top left, which fills up over time and after certain attacks. It triggers a special pattern at 50% and then at 100%.
At 50%, two variants. In the first, the boss strikes its bell then the ground, spawns puddles and follows up with an AoE with safe zones; wait for the second bell strike and rush toward it to avoid the shockwave, while the two players marked with a line move apart and place a Just Guard aimed at the boss — the orientation matters, it deals a lot of stagger to it. In the second, a stunning blue circle precedes a series of concentric waves: move away to give yourself margin, and dodge instead of blocking as soon as two waves overlap.
At 100%, it's the signature mechanic: tuning forks deploy and reduce damage taken by the boss, a sound wave spreads out slowly and a DPS check timer starts. Each player goes to their pre-assigned position between the tuning forks and places a Just Guard on the wave aiming at the next player clockwise. The classic mistake is aiming at the boss: it then retaliates with a devastating AoE. If tuning forks remain, the pattern comes back later; failing the DPS check, however, wipes the group.
The rest comes down to reading the boss: bell thrown then pulled back to create star-shaped waves (stay behind it), moving yellow circle that explodes and leaves a safe zone, deliberately ridiculous walk before a counter, glowing red bell placed on the ground for a cooperative counter. Once the stagger bar is emptied, destroy the bell to extend the damage phase.
Rewards: character-bound gold and Graced Shards
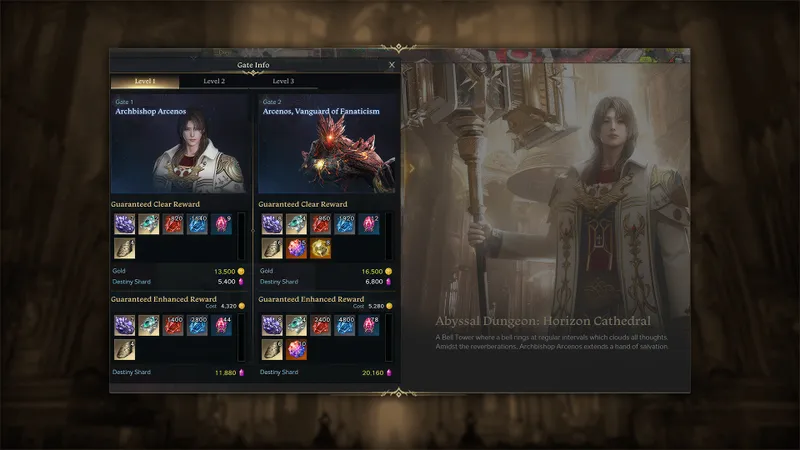
The official patch notes figures, supplemented by the shard quantities recorded by Maxroll, give the following table. The gold earned here is bound to the character: neither tradeable nor transferable to the roster.
| Floor | Ilvl | Gold Gate 1 | Gold Gate 2 | Graced Shards | Bonus cost |
|---|---|---|---|---|---|
| Floor 1 | 1,700 | 13,500 | 16,500 | 4 + 6 = 10 | 4,320 + 5,280 = 9,600 |
| Floor 2 | 1,720 | 16,000 | 24,000 | 12 + 18 = 30 | 5,120 + 7,680 = 12,800 |
| Floor 3 | 1,750 | 20,000 | 30,000 | 24 + 36 = 60 | 6,400 + 9,600 = 16,000 |
The calculation that actually matters appears nowhere in the notes: the real price of a Graced Shard bought via the bonus rewards. At floor 1, doubling your 10 shards costs 9,600 pieces, or 960 per unit; at floor 2, 12,800 pieces for 30 shards brings the rate down to about 427; at floor 3, 16,000 pieces for 60 shards drops it to around 267. The floor 1 bonus is therefore nearly four times less cost-effective than the one at floor 3.
In practice: if you're stuck at floor 1, keep your gold. At 1,750, the purchase is almost automatic — 34,000 pieces net out of the 50,000 earned, and 120 shards instead of 60. Since this gold is locked to the character, spending it on the spot is better than letting it sit idle.
Where to spend Graced Shards: the NPC Deni
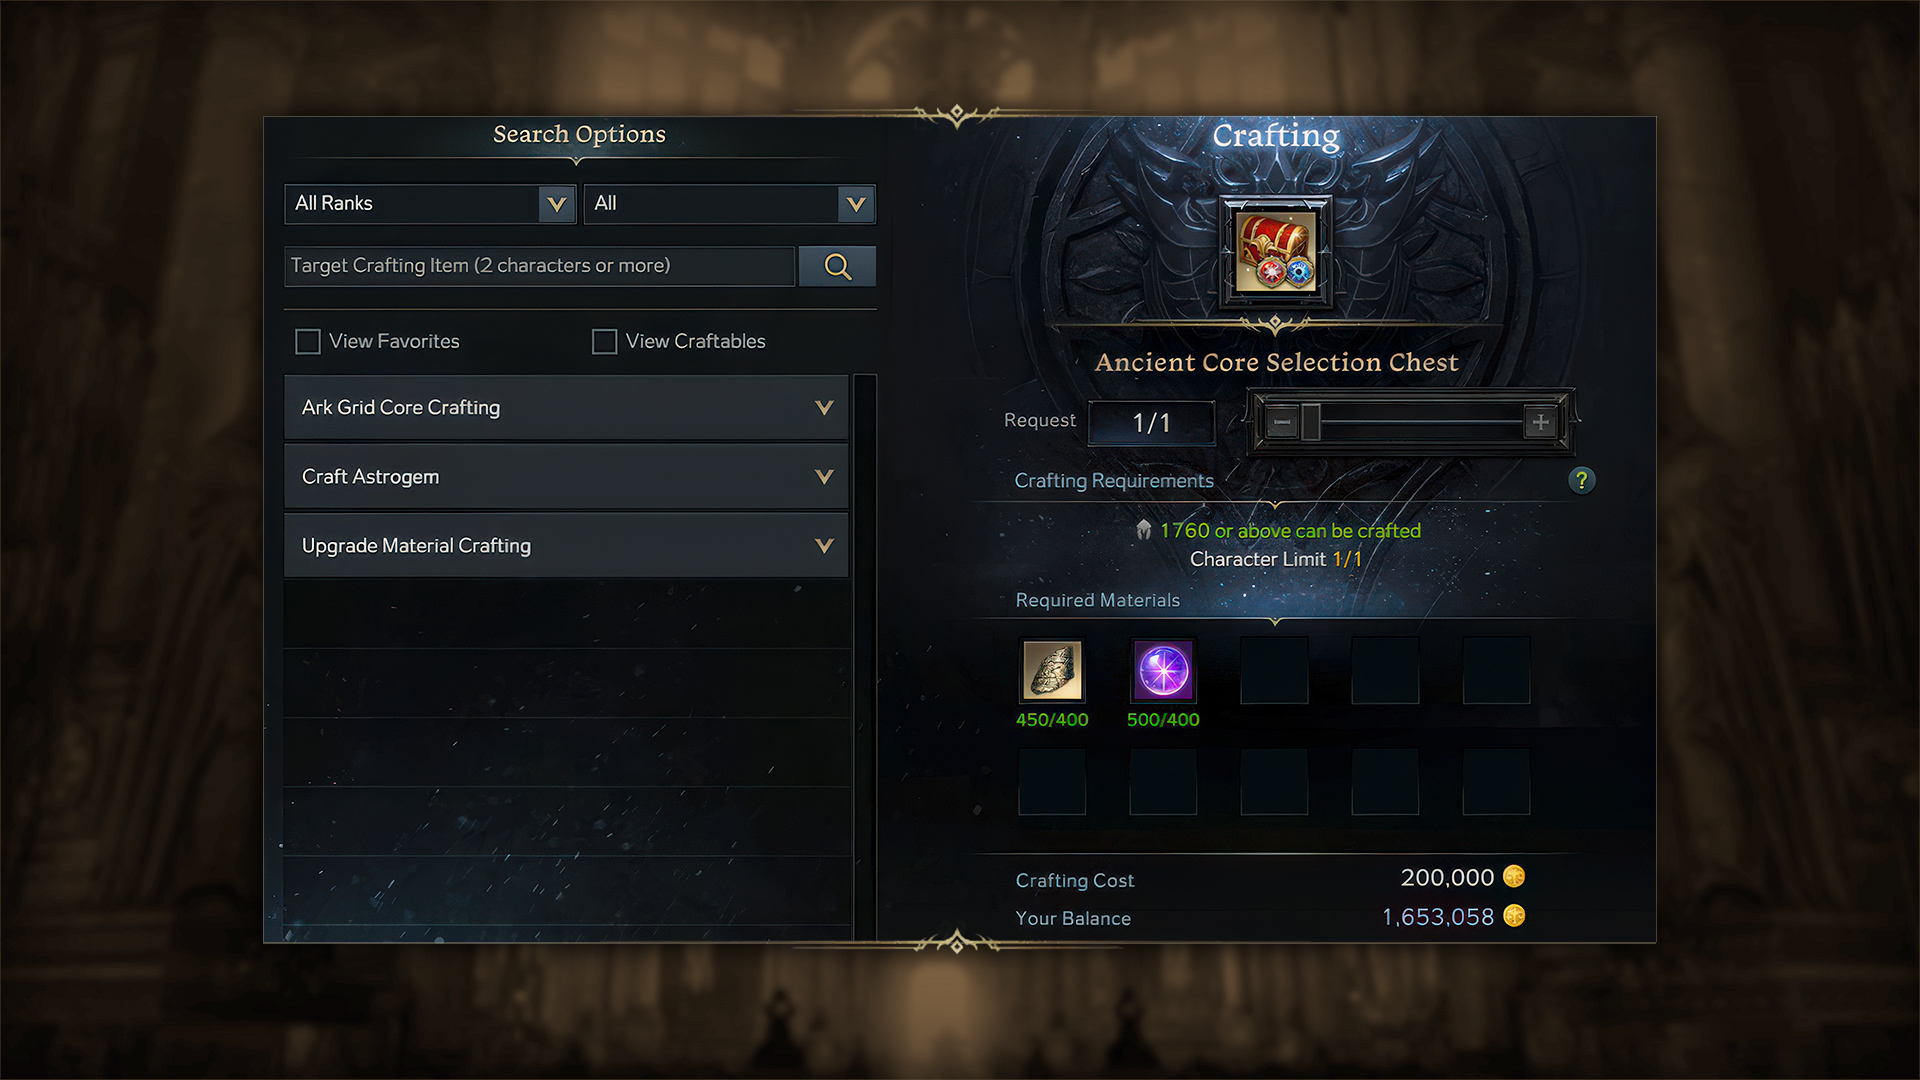
Shards are converted at Deni, a craftsman added to the major cities in June (a mirror is also available in Elgacia). Three product families on offer: Ark Grid Cores (Relic and Ancient Core Chest, selectable or random, in Order and Chaos across the Sun, Star, and Moon axes), Epic Astrogems, and materials (Horizon Honing Material Chest, Horizon Metallurgy Selection Chest, Horizon Tailoring Selection Chest).
As long as you're missing Cores in a specific color, the selectable chest is worth the extra cost: registration requires 50 copies for an Ancient Core, and the random option will just have you spinning your wheels. Once your slots are filled with Relic or better, switch to the material chests. A second, often overlooked source: since July 15, the "Growth Support" tab of the shop — the former "Solo Mode" tab — also sells Graced Shards, with purchase limits, some of which reset weekly.
Quick prep before the first run
- Battle items. Dark Grenade on both gates, since both bosses are weak to darkness. Sacred Charm or Sacred Bomb on Gate 1; Destruction Bomb on Gate 2, as the stagger bar is the fight's key mechanic. Atropine Potion for DPS, Stimulant for supports.
- Card deck. July introduced auto-equip for the elemental deck: set up a Dark preset in the card catalog and it will apply itself automatically on entry, with dynamic switching per gate.
- Astrogems. Their auto-equip feature, also added in July, keeps the combination with the best estimated Combat Power based on your equipped Cores; it requires at least one Core in place and does not manage the Cores themselves. The "Recommended Settings" menu now displays Ark Grid information.
One last reflex: the dungeon is eligible for the Mokoko Bootcamp, which pairs veterans with returning players, raises the Mokoko item level cap to 1,720, and boosts weekly honing material limits by 200%. For learning as a group, it's the most efficient channel.
The calendar is working against you
Two deadlines are tightening the window. First, August 19: Amazon Games confirmed on August 3 that the Kazeros Challenge Express, the Twilight Exchange Shop, and the Mokoko Bootcamp would close that day, earlier than planned, to prepare for the server merge. Unclaimed rewards will be lost: nine days remain. Then the merge, on August 26 and September 2 on NA East and EU Central: it spares your character-bound gold, but cancels ongoing Auction House listings and Currency Exchange registrations.
Should you turn it into a weekly routine?
Yes, but not across your whole roster. The dungeon consumes a weekly gold slot and returns gold you'll never be able to move: on an alt stuck at 1,700, those 30,000 gold will stay trapped, and the bonus chest there is poor. At 1,750, by contrast, it combines the best Graced Shard yield in the game with a bonus four times more efficient. The routine boils down to one sentence: push a single character toward 1,750 rather than spreading the effort thin, run the highest accessible floor on it, buy the bonus starting at floor 2, and save selectable chests for the gaps in your grid.
Share this article
Which floor would you start your Horizon Cathedral runs on?
Frequently asked questions
Can I really enter Horizon Cathedral without having finished Cadarum Isles?
Yes, since July 15, 2026. Ilvl 1,700 is the only requirement. You can queue up from major cities, the Party Finder, or the Content Guide without having touched the storyline.
How many times per week can I farm Graced Shards in Horizon Cathedral?
The dungeon shares the weekly gold cap and bonus reward quota with all other end-game content. You don't get an extra slot, you use one of your existing ones. However, you can rerun floors after claiming your rewards if the party votes to continue.
What's the real cost of a Graced Shard on Floor 3?
About 267 gold per unit. On Floor 3, you spend 16,000 gold to double your 60 shards into 120, bringing the per-shard cost well below that of the lower floors.
What happens if I die in this dungeon?
You revive after ten seconds by spending a Phoenix Plume or 10 Crystals. Only the simultaneous death of all players counts as an actual failure. So the dungeon is far more forgiving than a Legion raid.
Where do I convert my Graced Shards into useful rewards?
With Deni, a craftsman found in major cities (mirrored in Elgacia). You'll find Ark Grid Cores, Epic Astrogems, and specialized honing materials at their shop.
Key takeaways
- Access to Horizon Cathedral no longer requires the Cadarum Isles quest as of July 15: only ilvl 1,700 matters.
- Gate 1 revolves around health thresholds (180, 160, 100, 60 bars) with strict mechanics; Gate 2 runs on an identity gauge triggering patterns at 50% and 100%.
- The Floor 3 bonus comes out to roughly 267 gold per Graced Shard, four times cheaper than the Floor 1 bonus: reaching it quickly is financially crucial.
- Revives are unlimited with a ten-second delay; only the entire group dying at once counts as a failure.
- Gold earned here is character-bound and must be spent with Deni on Ark Grid Cores, Astrogems, or materials.
Comments
No comments yet. Be the first to react!
Leave a comment
Similar guides

Latest articles






Your opinion counts
Rate Lost Ark
Click a star to rate