



 Fabian Lainé

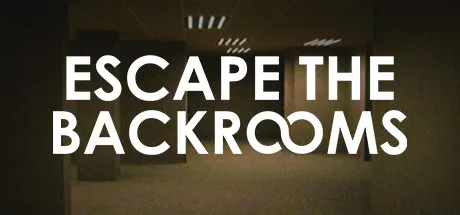
Full Guide
Escape The Backrooms: Level 0, 1, 2 and 3 Guide
In brief
Escape The Backrooms plunges you into four levels of cooperative horror where each floor poses its own challenges: the psychedelic maze of Level 0, the Smiler hunt of Level 1 in the dark, the frantic chase of Level 2 against a rampaging Bacteria, and the industrial ordeal of Level 3 against Hounds and deadly electric puddles. This guide details strategies, essential items, and co-op tips to survive as a foursome.
Escape The Backrooms, the cooperative horror adventure from Fancy Games released in 2022, plunges one to four players into the yellowed corridors of the famous internet lore. Each section is named a Level and ends with a Noclip that shifts you into the next stratum. This guide details the first four levels, from Level 0 to Level 3, with atmosphere, layout, entities, items to collect, classic traps, average completion time, and tips specific to four-player co-op.
Overview: the fundamentals before diving in
Before detailing each Level, a quick reminder of the cross-cutting mechanics you'll encounter from the Lobby to the Electrical Station. Health is classic, but sanity (mental sanity) drops in the presence of entities and blackouts: below 15%, Smiler hallucinations appear and disrupt your reading of real threats. Items are stored in an inventory visible at the bottom of the screen.
- Almond Water: the signature drink, restores 50% sanity, the only consumable this effective in the game.
- Face Mask: protects against tainted atmospheres (spores, gas), essential from Level 5 onward but already collectible.
- First Aid: heals physical damage, notably from Electric Puddles and falls.
- Flashlight: the most useful defensive weapon, capable of flash-banging Hounds and warding off Smilers.
Golden rule of co-op: one player picks up, everyone benefits only if they share. Coordinate who takes the Flashlight, who keeps the Almond Water, and who centralizes the First Aid.
Level 0: The Lobby, the yellow maze
The starting point, the one from all the cult screenshots: damp carpet, mustard wallpaper, buzzing fluorescent tubes. The layout is a procedural labyrinth with no obvious way out, where every intersection looks like the last. No entity hunts you at the start, but stay longer than about three minutes and a Bacteria (the screaming entity) materializes to track you by sound.
Objective: find the Ladder Room, collect the four wooden pieces to repair the ladder, climb up to get the silver key, then unlock the Wooden Door leading to the Pitfalls. Once down there, follow the pipes while keeping your balance (Q/E) and let yourself slide into the Noclip toward Level 1.
- Items to collect: Almond Water and Juice in the drawers; the first Flashlights sometimes scattered in dark corners.
- Classic traps: going in circles by forgetting to follow a handrail (dark walls on the right = reliable landmark), falling into the Pitfalls and having to climb back up by following the black arrows painted on the walls.
- Average time: 5 to 10 minutes on a clean run, 15 if the seed is nasty.
4-player co-op tips: split into pairs to cover more corridors, but stay within earshot. Only one player should announce the Ladder Room when they find it to regroup the team. If a Bacteria spawns, the bunny-hop strategy plus a sharp turn in a corridor quickly shakes it off.

Level 1: The Habitable Zone, the pitch-black parking lot
Leaving the Lobby, you head into a huge cold concrete parking lot, decorated with scaffolding and failing neon lights. The atmosphere shifts: no more cottony maze, but vast, very vertical bays where the eye can see far... until the next blackout. This is the Smiler's hunting ground, whose pale grinning face only appears in total darkness.
The rule is simple: the lights flicker then go out on a random timing (0 to 10 seconds of light, 1 to 10 seconds of blackout). Each adjacent lit room acts as a checkpoint. Only move when the light is ON, hide as soon as it flickers. The exit is located in one of the three rooms at the back of the section, most often the one on the right based on observed seeds.
If the flickering starts right after the light comes back on, sprint: standing still in an open area is almost always fatal.
- Items to collect: first Face Masks in the corners (useful for later), extra Flashlights, Almond Water.
- Common traps: going too far alone from a lit room; believing that the Flashlight repels Smilers (it's reassuring, but it doesn't cancel out death on contact).
- Average time: 10 to 15 minutes, heavily dependent on the light RNG.
4-player co-op tips: designate a scout to lead the way from one room to another while the other three wait in a safe zone. Consistently call out light on and light off out loud. If a player dies, don't go back for them: they'll automatically respawn at the next Level when the team goes through the Noclip.
Level 2: Pipe Dreams, the race through the pipes
Gone is the concrete, replaced by industrial tunnels: metal walkways, scorching pipework, hissing steam at intervals, and a long initial corridor perfect for getting into the rhythm of bunny hopping (Shift plus Space in a steady beat to save stamina). The atmosphere is more metallic, almost steampunk, with dim red lighting. A Bacteria triggers halfway through in the dark section and sticks to you all the way to the exit.
The objective is straightforward: get through without getting caught. Follow the main path, pick up the Flashlights scattered in the darker areas, avoid the steam jets that deal continuous damage. The exit takes the form of a ladder under flickering colored lights accompanied by an instrumental version of You Day!; touching the ladder Noclips you into the rest of the main route (or into Level Fun if you're following the Partygoer branch).
- Items to collect: a Flashlight is mandatory for the dark section, along with a few Almond Water.
- Common traps: wasting your stamina by sprinting continuously instead of bunny-hopping, getting hit by a steam jet mid-run for not listening to the warning hiss.
- Average time: 5 to 8 minutes once the bunny-hop rhythm is mastered.
4-player co-op tips: the first player sets the pace, and the other three sync their rhythm to his. When the Bacteria triggers, nobody talks anymore: it tracks by sound. Sprint straight to the finish line, no peeking or detours, every second lost increases the risk of being grabbed.
Level 3: The Electrical Station, the trial of the 9 breakers
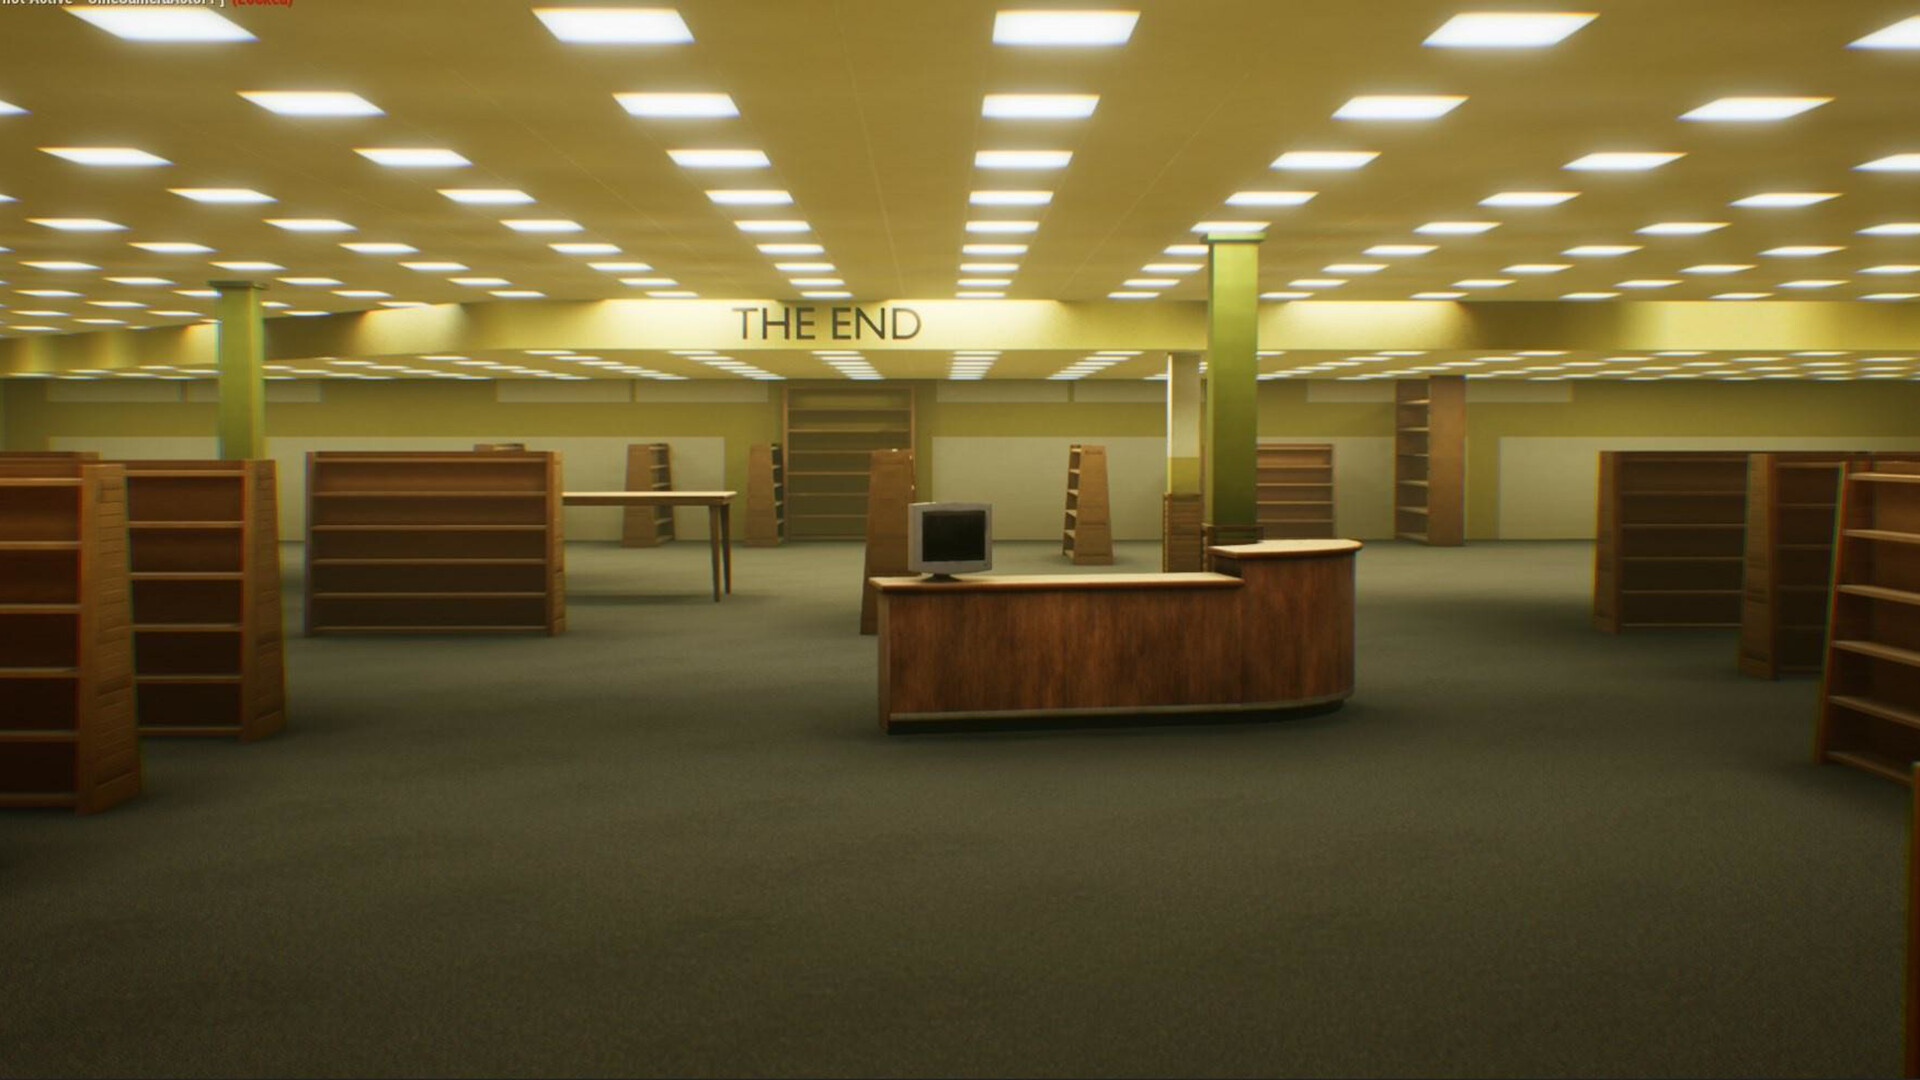
The game's first real wall. The Electrical Station is a rusty, damp industrial complex, dotted with puddles of water. The exit door is locked by a panel of 9 breakers marked by red lights. Three zones to clear: East Substation (3 breakers, no entity), West Substation (3 breakers, Hounds and electric puddles), and Generator Room (3 breakers, the most punishing zone).
The Hound (Entity 8) hunts on sight, runs faster than you, and hits hard. The official counter is the Flashlight: a light burst straight to its face flash-bangs it and gives you a few seconds to run. After three flashes, it either flees or charges, so alternate between fleeing and taking cover (Hounds cannot open doors or leave their substation).
The Electric Puddles kill in one step, even at ground level. Walk, don't sprint, through flooded areas, and use the Flashlight to spot them early in the dark.
- Items to pick up: the Flashlight is mandatory from the very first room (table with a microscope and two torches), First Aid to withstand a Hound bite, Face Mask and Almond Water in the storage units.
- Classic traps: forgetting a torch and ending up unarmed against the Hound; cutting through an Electric Puddle to save time; triggering a breaker without warning and leaving a teammate stranded in the midst of energized puddles.
- Average time: 20 to 30 minutes in coordinated co-op, longer on a first playthrough.
4-player co-op tips: secure one torch per player before entering the West Substation. Have one pair clear the East while the other gradually pushes through the West; regroup for the Generator Room, the most danger-dense area. When a player activates a breaker, they announce "breaker on" to keep count up to date and avoid chasing after a ninth light that's already lit.
Playing well as a group of four: the fundamentals of co-op
The game supports 1 to 4 players and clearly shines the most at full capacity. A few cross-cutting rules to set in stone before each session:
- One item carrier per role: the medic centralizes the First Aid, the scout keeps two Flashlights, the quartermaster distributes the Almond Water.
- Active voice chat mandatory: entities react to in-game noise, but your coordination should run through Discord or an equivalent, not in-game mics.
- Death management: a K.O.'d player respawns at the next level once the team Noclips. Never lose an entire run over an impossible revive.
- Shared sanity: below 15%, hallucinations disrupt the reporting of real threats. If a member panics, have them drink an Almond Water before moving on.
To go further
Once Level 3 is cleared, the difficulty ramps up a notch with the Terror Hôtel, the masked atmosphere of Level 5, and of course the Partygoers haunting Level Fun. Essential sources to continue reading:
- The community wiki escapethebackrooms.fandom.com for detailed entity and Level entries.
- The step-by-step guides from Breakflip and jvfr for speedrun tips in French.
- The French YouTube walkthroughs to see in video form the Ladder Room seeds and the optimal order of the 9 breakers.
Have a good Noclip, stay together, and above all: always keep a charged Flashlight in your bag.
Share this article
Which Level makes you sweat the most in four-player co-op?
Frequently asked questions
How do I stop the Bacteria chasing me on Level 2?
You don't stop it. Your only goal is to bunny-hop to the exit without getting caught. Once you start moving, stop talking (it tracks by sound), keep up the pace, and rush to the ladder under the flashing lights.
Does the Flashlight actually kill the Hounds on Level 3?
No, it only flash-bangs them. Three flashes in a row and the Hound either charges or flees for good. The idea is to buy yourself time to run away or get to safety behind a door it can't get through.
Why am I hallucinating Smilers on Level 0 and 1?
Your sanity drops in the presence of entities and during blackouts. Below 15%, Smiler hallucinations appear and make the real threats invisible. Drink Almond Water as soon as you feel panic rising.
Is Level 0 really random, or is there a trick to avoid going in circles?
The layout is procedural, so every run is different. Tip: keep following a handrail or a wall at all times (dark walls on the right = reliable marker), it keeps you from going in circles. Once you find the Ladder Room, you've won.
Should I keep my torch on Level 3 to myself or share it?
Every player needs their own torch before exploring the substations. A player without a torch facing a Hound is a dead player. Then centralize the First Aid and Almond Water for emergencies.
Key takeaways
- Each Level has its own mechanic: maze navigation, light management, bunny-hop timing, breaker management.
- Almond Water is your best friend for sanity, the Flashlight your defensive weapon against Hounds and Smilers.
- In four-player co-op, constant communication and role specialization (scout, looter, tank) make the difference between victory and a wipe.
- Environmental traps (Pitfalls, Electric Puddles, steam) often kill more than entities if you don't listen to the sound cues.
- Completely ignore a dead player: they respawn at the next Level, going back for them is collective suicide.
Comments
No comments yet. Be the first to react!
Leave a comment
Similar guides



Latest articles








Your opinion counts
Rate Escape The Backrooms
Click a star to rate