



 Fabian Lainé

Full Guide
Escape the Backrooms Difficulty Levels Explained: Easy to Nightmare
In brief
Escape the Backrooms offers four difficulty levels that can't be changed mid-run: Easy disables sanity and tolerates a single survivor, Normal requires everyone to reach the exit, Hard resets the level if anyone dies, and Nightmare wipes your save on the very first setback. Picking the right tier from the start shapes your entire multiplayer experience.
In Escape the Backrooms, difficulty isn't set in an options menu: it's chosen when you create the multiplayer save, and it stays attached to that file until the end. Four levels are offered — Easy, Normal, Hard and Nightmare — and these aren't simple damage sliders. Each one rewrites a game rule: who needs to reach the exit, what happens when a player goes down, and how fast the sanity bar drains.
The topic comes up at the right time: the game by Fancy Games and Blackbird Interactive, published by Secret Mode, is 20% off on Steam (€7.59 instead of €9.49) for the Tiny Teams Festival announced on August 6, and the publisher claims three million new players since the console releases — PS5 and Xbox Series on May 28, Nintendo Switch 2 on July 7. Many groups are going to create their very first save this week, often without knowing what they're checking. Here's what each tier actually changes, the Almond Water budget level by level, and the route to follow if you're aiming for the Nightmare achievement.
Where difficulty is chosen, and why the choice is final
The setting is chosen when creating a multiplayer save file, not when launching a session. Direct consequence: you don't "move" from a Normal save to a Hard save partway through. To change tier, you have to create a new file and start over from Level 0.
In single player, the question doesn't arise: the game forces Normal, with no alternative. This is also why the four difficulty-related achievements all explicitly require multiplayer in their French wording.
- Participation Trophy — "Complete the game in multiplayer on Easy difficulty."
- Squad — "Complete the game in multiplayer on Normal difficulty."
- Group Effort — "Complete the game in multiplayer on Hard difficulty."
- Nightmare — "Complete the game with 4 players on Nightmare difficulty."
Note in passing that the achievement Successful Escape! ("Reach the true ending on any difficulty") is the only one that doesn't care about the chosen tier. If your goal is only the true ending, nothing forces you to suffer: Easy is enough.
What each tier really changes
| Tier | Sanity | When a player dies | Who needs to exit | Hounds |
|---|---|---|---|---|
| Easy | No loss | They become a spectator until the next level | A single player is enough | 400 cm/s, multiple stuns, very short recharge |
| Normal | Standard loss | They become a spectator until the next level | All players still alive | 550 cm/s, multiple stuns, medium recharge |
| Hard | Standard loss | The whole team restarts the level | All players | 550 cm/s, a single stun |
| Nightmare | Loss multiplied by 1.5 | Back to the multiplayer lobby, save deleted | All players | 550 cm/s, a single stun |
Easy and Normal: two ways to discover the game
Easy doesn't just soften things: it purely and simply disables the sanity mechanic. Almond Water cans become decorative, Smiler hallucinations never trigger. Above all, only one team member needs to reach the exit: a veteran can literally carry three beginners from one end of the campaign to the other.
Normal is the reference calibration, the one the game imposes on you in solo. Sanity drains, the Hounds speed up to 550 cm/s, and all players still alive must reach the exit. The nuance matters: a dead player doesn't block the team, they wait for the next level. A group can therefore absorb two or three accidents per run without ever having to restart a level.
Hard: the tier where the death rule flips
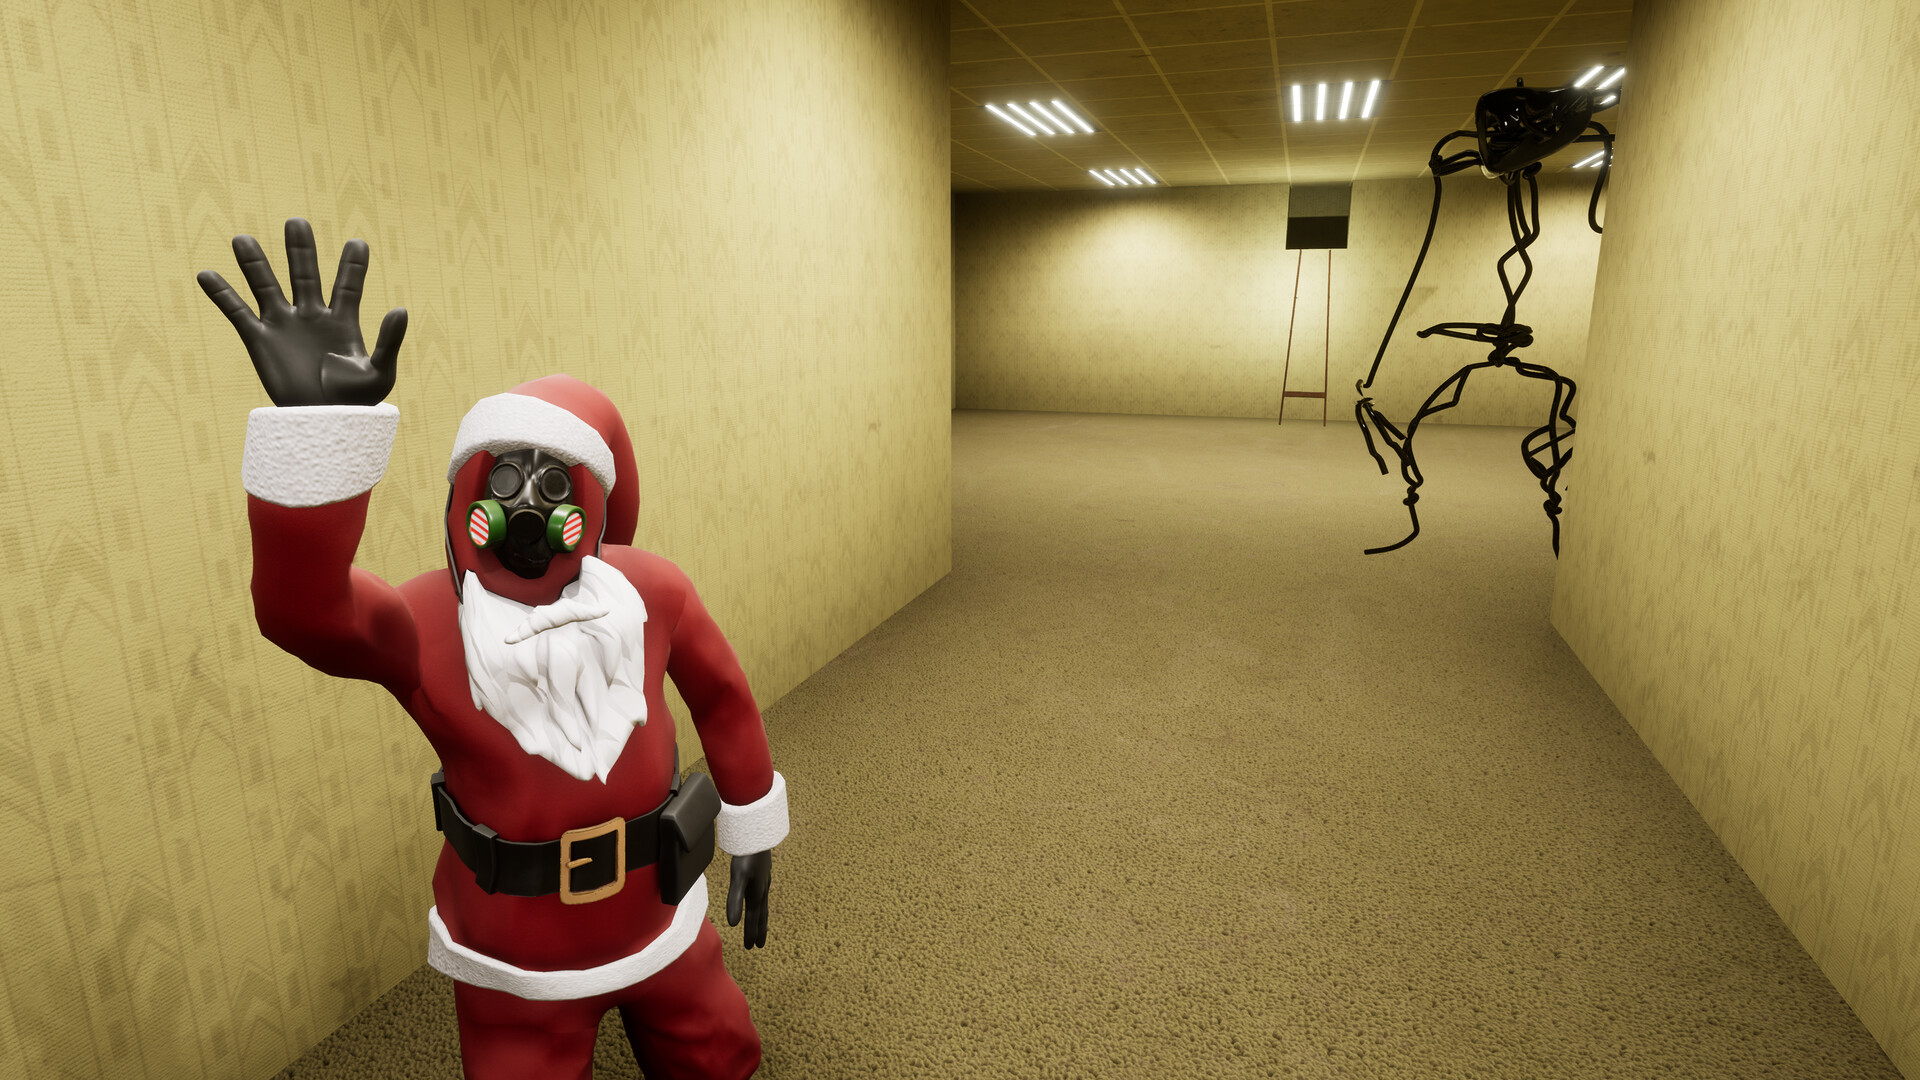
Moving from Normal to Hard doesn't affect sanity at all — the loss rate stays identical. What changes comes down to two points, and they're enough to transform the experience.
First point: death becomes collective. As soon as one player falls, the whole team is sent back to the start of the current level. Carrying a downed teammate disappears, and with it the temptation to send a scout ahead without a safety net. With four players, the probability that at least one person gets caught off guard on a given level is mechanically quadrupled: it's the statistics, more than the entities, that break runs.
Second point: the Hounds no longer forgive. On Easy and Normal, you can blind a Hound several times in a row with the flashlight, with barely more than a second between two flashes. On Hard as on Nightmare, the stun only works once, and the counter only resets once the creature gives up the chase. The « flashlight, flashlight, flashlight » loop no longer works: you have to blind it once, then go through a door — Hounds can't open them — and break line of sight. The two areas where this costs you dearly are the Electrical Station (Level 3) and the hotel section of the Terror Hotel (Level 5), the only places where these entities appear.
Nightmare: the difficulty that wipes your save
Nightmare carries over everything Hard does, adds a 1.5x factor to sanity loss, and above all a punishment of a different nature. A death, a disconnection, or even a voluntary quit sends the entire group back to the multiplayer lobby and destroys the save file. No recovery possible: you land directly on the save selection screen.
One detail deserves mention, because it misleads a lot of teams: the in-game message announces a return to Level 0. In reality, it's not a return to the first level, it's simply the end of the run. There is therefore no Nightmare save in the usual sense: the run must be completed in a single sitting, from Level 0 to the end, and with four players if you want the achievement. Finishing it solo or with three players won't unlock it.
The Almond Water budget, level by level
Sanity doesn't drain continuously: it loses a fixed percentage every five seconds, and that percentage depends on the level — not on darkness, nor on proximity to entities. On Nightmare, every value is multiplied by 1.5. On the restoration side, Almond Water restores 50% of the bar, Moth Jelly 35%, and juices and energy bars 25%.
| Level | Loss / 5 s (Normal and Hard) | Loss / 5 s (Nightmare) |
|---|---|---|
| Level 9 (Darkened Suburbs) | 2.5% | 3.75% |
| Level 94 (city area) | 2.25% | 3.375% |
| Level Fun | 2% | 3% |
| Level 5 — hotel section | 1.75% | 2.625% |
| Level 7 (Thalassophobia) | 1.75% | 2.625% |
| Level 5 — main hall | 1.5% | 2.25% |
| Level 6 (Lights Out) | 1.5% | 2.25% |
| Level 8 (Cave System) | 1.37% | 2.055% |
| Level 3, Level !, The End, Level 10, Level 188, Level 52, Level 37.2, Level 5 boiler room | 1% | 1.5% |
| Overgrowth | 0.75% | 1.125% |
| Level 1, Level 55.1, Level Fun+ sectors | 0.5% | 0.75% |
| Level 0.2 | 0.3% | 0.45% |
Translated into real-time terms, this gives some very concrete margins. Level 9 empties a full bar in 3 minutes and 20 seconds on Normal or Hard, but in 2 minutes and 13 seconds on Nightmare. Level Fun goes from 4 minutes 10 seconds down to 2 minutes 47 seconds. In other words, on the game's two most demanding levels, a Nightmare run allows no room for route hesitation without a can in your pocket.
Conversely, a long list of floors consumes nothing at all, regardless of the difficulty tier: Level 0, The Hub, Pipe Dreams (Level 2), Abandoned Office (Level 4), Level 0.11, Level 3999, Level 9223372036854775807, Snackrooms, Level !~!, The Abandoned Outpost, Level 974, The Bunker, Grassrooms, the main area of Level Fun+, and the Animated Kingdom of Level 94. Two areas do even better: the Poolrooms (Level 37) and the Expanded Poolrooms restore the bar to 100% upon entry. Never waste a can in the corridor leading there. One last useful detail about Level 7: as long as you're on the boat, sanity is frozen.
The practical takeaway boils down to one sentence: on Nightmare, the goal isn't to survive every level, it's to arrive with a full bar at the entrance to Level 9 and Level 94.
Level 9223372036854775807: the randomness that decides the run's length
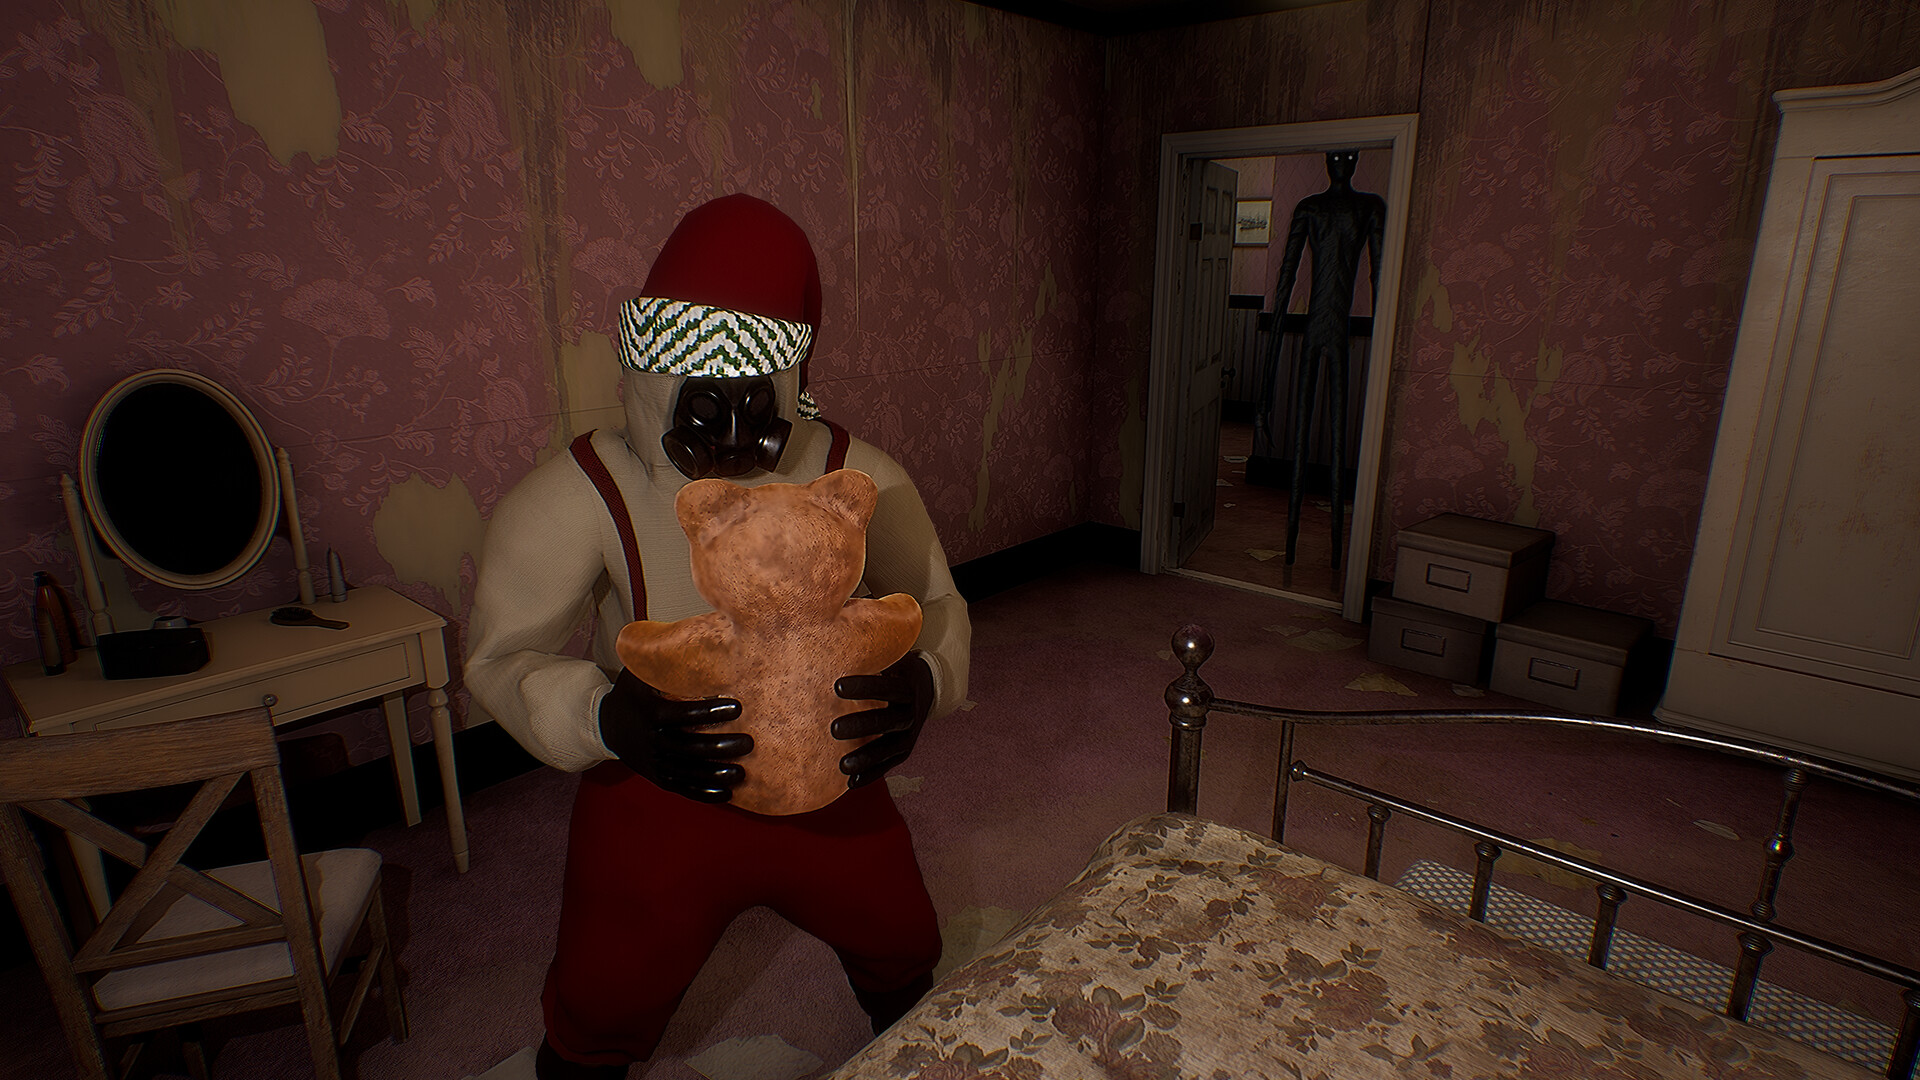
This is the game's most unpredictable floor, and difficulty plays a role in it that few players are aware of. The exit is located behind the improperly numbered floor 94, whose position varies depending on the chosen difficulty tier:
- Easy: between floors 10 and 30.
- Normal and Hard: between floors 20 and 50.
- Nightmare: between floors 10 and 100.
On Nightmare, then, the range opens up at both ends: the roll can be as forgiving as it can be endless. The level costs no sanity, but every minute spent climbing floors is an extra minute during which one of the four players could lose their connection — and take the save with them.
The realistic road to the Nightmare achievement
- Clear Hard first. It's the only tier that reproduces both punishing mechanics — collective death and the single-stun Hound — without destroying your progress if you fail.
- Practice on Nightmare with one or two players. The achievement won't unlock, but the layouts, spawn points and bar pacing are exactly the same. It's the most faithful rehearsal possible.
- Lock down the technical side. A wired connection is preferable, sleep mode and screensaver disabled, Steam or console updates paused. On Nightmare, a disconnection counts as a death.
- Everyone carries their own consumables. Passing a can costs time and immobilizes two players; since one death ends the run, sharing no longer serves any purpose at this tier.
- Adjust graphics settings per level. Lowering shadows brightens the darkest areas, but levels with thick fog — Level 94, Expanded Poolrooms, Level 9, Grassrooms — read better with shadows bumped up a notch.
- Forget no-clip shortcuts. A failed wall clip means your save is gone.
So, which tier should you pick tonight?
If no one in the group knows the levels, go for Easy without hesitation: the campaign gets completed, the true ending unlocks, and you'll keep the surprise of the entities without spending the whole evening restarting Level 5. For four players of comparable skill who want the experience as it was calibrated, Normal remains the right choice. Hard only makes sense after completing a first campaign. As for Nightmare, it's not a difficulty tier, it's a collective endurance trial with no checkpoint: only launch it with four people who are already experienced and available for the whole run.
One last piece of advice, often discovered too late: the official descriptions tie each achievement to a specific difficulty. Nothing indicates that completing Nightmare automatically validates the other three. If you're aiming for all four, plan for one save per tier — and start with Easy, which can be finished in one evening.
Share this article
Which difficulty tier appeals to you most for a first group playthrough?
Frequently asked questions
Can I start on Easy and switch to Hard later?
No, the difficulty stays locked to the save file you chose at the start. To change tiers, you need to create a brand new save and start over from Level 0. That's why every difficulty-related achievement explicitly requires multiplayer.
What actually changes between Normal and Hard?
Two key things: first, a player's death resets the entire level for the whole team (whereas on Normal, a dead player simply waits for the next level). Second, Hounds can only be stunned once, forcing you to make it through a door instead of blinding them repeatedly.
What's the catch with Nightmare?
The message says you'll respawn at Level 0, but that's not true: a death or disconnect simply deletes your save outright and sends you back to the lobby. There's no such thing as a persistent Nightmare save — the run has to be completed in a single session from start to finish, with four players.
Is Level 9 really the most sanity-draining level?
Yes, it drains 2.5% every five seconds on Normal (a full bar in 3 minutes 20 seconds), and 3.75% on Nightmare (2 minutes 13 seconds). Level Fun is a close second. Neither of these zones allows any dawdling without a soda can.
Are there any free zones where sanity doesn't drop?
Yes, several: Level 0, The Hub, Pipe Dreams, Abandoned Office, and many others. Even better, the Poolrooms restore your bar to 100% as soon as you enter — never waste a soda can along the way.
Key takeaways
- Difficulty locks in when you create your save: there's no going from Normal to Hard without starting over from Level 0.
- Easy and Normal create two very different games — one where a veteran can carry beginners, the other where everyone has to survive together.
- Hard breaks the Hounds' stun mechanic and enforces collective death: statistically, with four players, someone will get caught off guard.
- Nightmare destroys your save on the first death or disconnect, forcing an uninterrupted run from start to finish.
- Level 9 drains your sanity bar in 3 minutes 20 seconds on Normal, but in just 2 minutes 13 seconds on Nightmare: the margin for error collapses.
Comments
No comments yet. Be the first to react!
Leave a comment
Similar guides


Latest articles








Your opinion counts
Rate Escape The Backrooms
Click a star to rate