



 Fabian Lainé
Full Guide
Baldur's Gate 3: the 5 NPCs players kill the most, and what their death really costs you
In brief
Baldur's Gate 3 has revealed its statistics: five NPCs die far more often than others, not out of malice but due to poor quest and timing management. Zevlor leads the way (12.3 million deaths), followed by Rolan, Isobel, Barcus and Alfira — each death shuts down entire chains and deprives you of crucial allies or essential merchants.
Larian published on August 4, 2026 its anniversary infographics for the three years of Baldur's Gate 3, and one piece of data deserves more attention than the others: the ranking of the NPCs that players have most often let die. Zevlor comes in far ahead with 12.3 million cumulative deaths, ahead of Rolan (8.6 million), then Isobel, Barcus Wroot and the bard Alfira.
This ranking isn't a list of premeditated crimes: it's a map of the story's pitfalls. These characters die above all from bad timing, wrong quest order, or a long rest taken at the worst possible moment — and each death closes off quests, removes a merchant, or deprives you of reinforcements in the final confrontation.
Here, for each of them, is the exact point where the run tips over, what you lose, and the maneuver you need to know. Everything below applies to the current version, with Patch 8 remaining the studio's latest content update.
What Larian's ranking really reveals
The five names mentioned aren't background characters: each one opens a chain of quests that runs across several acts. What they have in common is that they can be lost without you even realizing it.
| NPC | Where the run tips over | What you lose |
|---|---|---|
| Zevlor | Emerald Grove (Act 1) or the mind flayer colony (Act 2) | An ally for the final battle |
| Rolan | South of the Shadow-Cursed Lands (Act 2) | The Sorcerous Sundries counter and reinforcements against Lorroakan |
| Isobel | Last Light Inn (Act 2) | The entire inn, Dammon, Halsin, Jaheira, Lady Aylin |
| Barcus Wroot | Waukeen's Rest mill (Act 1) | The Ironhand Gnomes and Gondian reinforcements |
| Alfira | Camp, first long rest (Act 1) | A singer at the inn, and a lot of regret |
Second lesson from the infographic: in a Dark Urge playthrough, the ranking changes order. Isobel moves to the top, ahead of Zevlor, Alfira, Wulbren and Popper — consistent with an origin that multiplies the opportunities to tip over. Larian even slips in a well-aimed jab: more non-Dark Urge players killed Alfira than Dark Urge players did, even though the origin forces her death in one scene.
Zevlor: 12.3 million deaths, and one less ally at the end
The leader of the tiefling refugees dies in two ways. The first is massive: allying with Minthara to massacre the Emerald Grove, or pushing Kagha to expel the refugees. Zevlor then disappears along with his entire community — which no doubt explains the huge gap with the runner-up in the ranking.
The second is more insidious. In Act 2, after facing Ketheric Thorm at Moonrise Towers, you gain access to the mind flayer colony. Zevlor is locked in a pod there, in the north of the map. Freeing him triggers a fight, then a dialogue in which he admits to having given in to the Absolute's promises. Many players condemn him on the spot, for negligible loot.
What you lose: if you forgive him, he refuses to follow you but goes off on his own way — and he reappears as an ally during the final confrontation. Killing him turns a three-act conclusion into gear of little value.
How to avoid it: only free his pod if you're ready to handle the fight, then always favor the forgiveness lines over the accusation. The dialogue gives you no indication that this is a point of no return.
Rolan: the long rest that seals his fate
Rolan is the most unfair case on the list: his death almost never happens right in front of you. He first needs to survive Act 1, meaning you have to have helped the tieflings of the Emerald Grove. You then find him leaning on the bar at the Elfsong Tavern in Act 2, eaten up by guilt over having left his people behind.
And that's where the trap closes in. Past a certain point, Rolan leaves the tavern alone to go look for Cal and Lia in the cursed zone. If you chain a long rest instead of setting off after them right away, he heads off on his own, gets surrounded by shadows in the south of the map, and dies without the slightest notification. Many players only discover this in Act 3.
How to avoid it: check that he's still at the bar every time you pass through the tavern. If he's gone, talk to the kid hanging around nearby: he'll confirm his departure. Then rush to the south of the area, follow the screams, and take out the shadows attacking him — the goal isn't to win the fight, it's for him to come out alive. Once saved, he goes back to his stool.
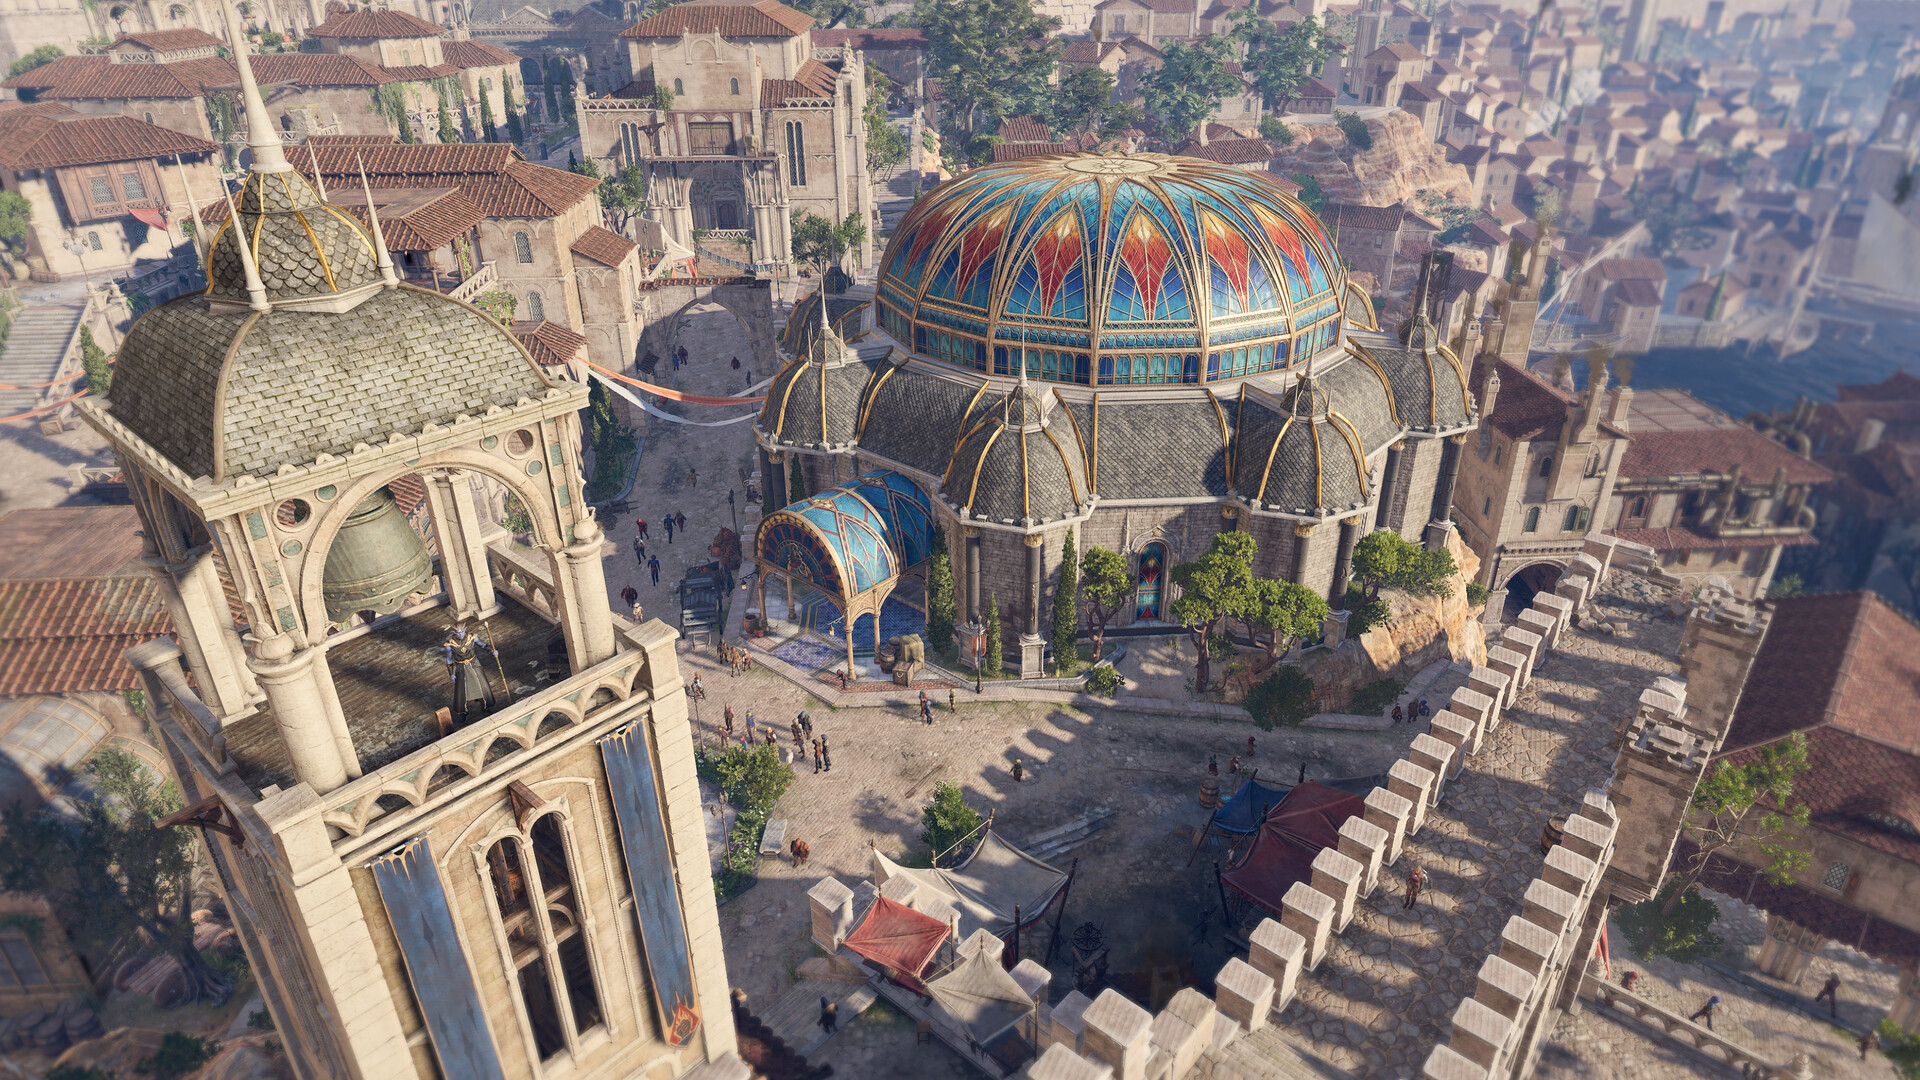
What you lose: in Act 3, a living Rolan runs the counter at Sorcerous Sundries, the Lower City's big magic shop. If he's dead, it's a projection of Lorroakan who greets you instead. More importantly, if the tieflings were saved in Acts 1 and 2, one of them joins you during the confrontation with Lorroakan in Ramazith's Tower, then takes over the shop afterward.
Isobel: the death that brings down a whole area
This is the costliest death on the list, and the one that tops the chart for Dark Urge players. Isobel, a priestess of Selûne, maintains the moonlight shield above the Elfsong Tavern. When Marcus comes to abduct her, the fight that follows isn't like any other: if Isobel falls, a cutscene triggers, she's taken away, the protection collapses, and the entire tavern falls under the curse.
What you lose: everything tied to that location. Dammon, the tiefling blacksmith, disappears — and with him the only chain capable of reworking Karlach's infernal engine with Infernal Iron. Recruiting Halsin, lifting the shadow curse, Mol's arc, the relationship with Jaheira: it all shuts down at once. And you deprive yourself of both Isobel and Lady Aylin as reinforcements in the final battle, where Isobel heals up to six nearby allies for 14d6 hit points.
How to avoid it: take care of everything you need to do at the tavern and its surroundings before going to talk to Isobel, despite Jaheira's urging. Once the dialogue starts, position your party around her, keep a ranged heal ready, and focus damage on Marcus: he's the one who brings her down.
Barcus Wroot: the wrong mill lever
Barcus Wroot ranks fourth, and his most frequent death comes down to an interface detail. He's found tied to the sails of a windmill in the Waning Moon, west of the Emerald Grove, surrounded by goblins led by Fezzerk. Inside the windmill, two levers. The right one is the brake: the other speeds up the mechanism and throws Barcus into the air. He doesn't survive.
The chain continues at Grymforge, where he's enslaved by Nere and his duergar, then at the Last Light Inn, and finally at the Grey Harbor Gnomes' headquarters in Act 3. There he asks you to save the Gondians held at the Iron Throne Foundry instead of following Wulbren's plan.
What you lose: by supporting him to the end and putting him in charge of the Grey Harbor Gnomes instead of Wulbren, you gain both the Gondians and the gnomes as allied factions for the final battle, where Barcus additionally summons two gnomes capable of exploding at range.
How to avoid it: before touching either lever, walk around the windmill. You can also solve the problem without going inside, by passing a Persuasion, Intimidation, or Deception check against the goblins. Finally, remember to retrieve his backpack through the hatch located northwest of the windmill.
Alfira: the only scripted death on the list
Alfira is the tiefling bard you meet at the Emerald Grove, writing a song to honor her dead. In Dark Urge playthroughs, the game forces you to kill her in a scene, during the first long rest after you meet her. It's the moment that has pushed many players toward a second playthrough.
How to avoid it: the workaround is openly a metagame trick, but it works. Knock her unconscious before the long rest, using a blunt weapon and non-lethal damage. Unconscious, she can no longer join the camp: another bard appears in her place and goes through the scene instead. You keep the associated reward, and Alfira reappears later.
There remains one stinging statistic: if more players outside Dark Urge playthroughs killed her, it's because most of those deaths simply come down to an evil playthrough choice.
The four rules that avoid most of these deaths
- A named manual save before every high-stakes dialogue, not just before fights: these deaths happen in a line of dialogue or a cutscene, not in a dice roll.
- Never take a long rest while a rescue quest is open. That's the exact mechanism that kills Rolan, and the hardest reflex to unlearn.
- Clear an area before triggering its key dialogue. When an NPC pressures you to act, the urgency is almost always narrative, not mechanical.
- Read interactions before activating them. The windmill lever is the textbook case, but the principle applies everywhere.
In Honour Mode, where there's only a single save, these four rules stop being tips and become prerequisites: none of these deaths can be undone.
The real cost is the final hour of the game
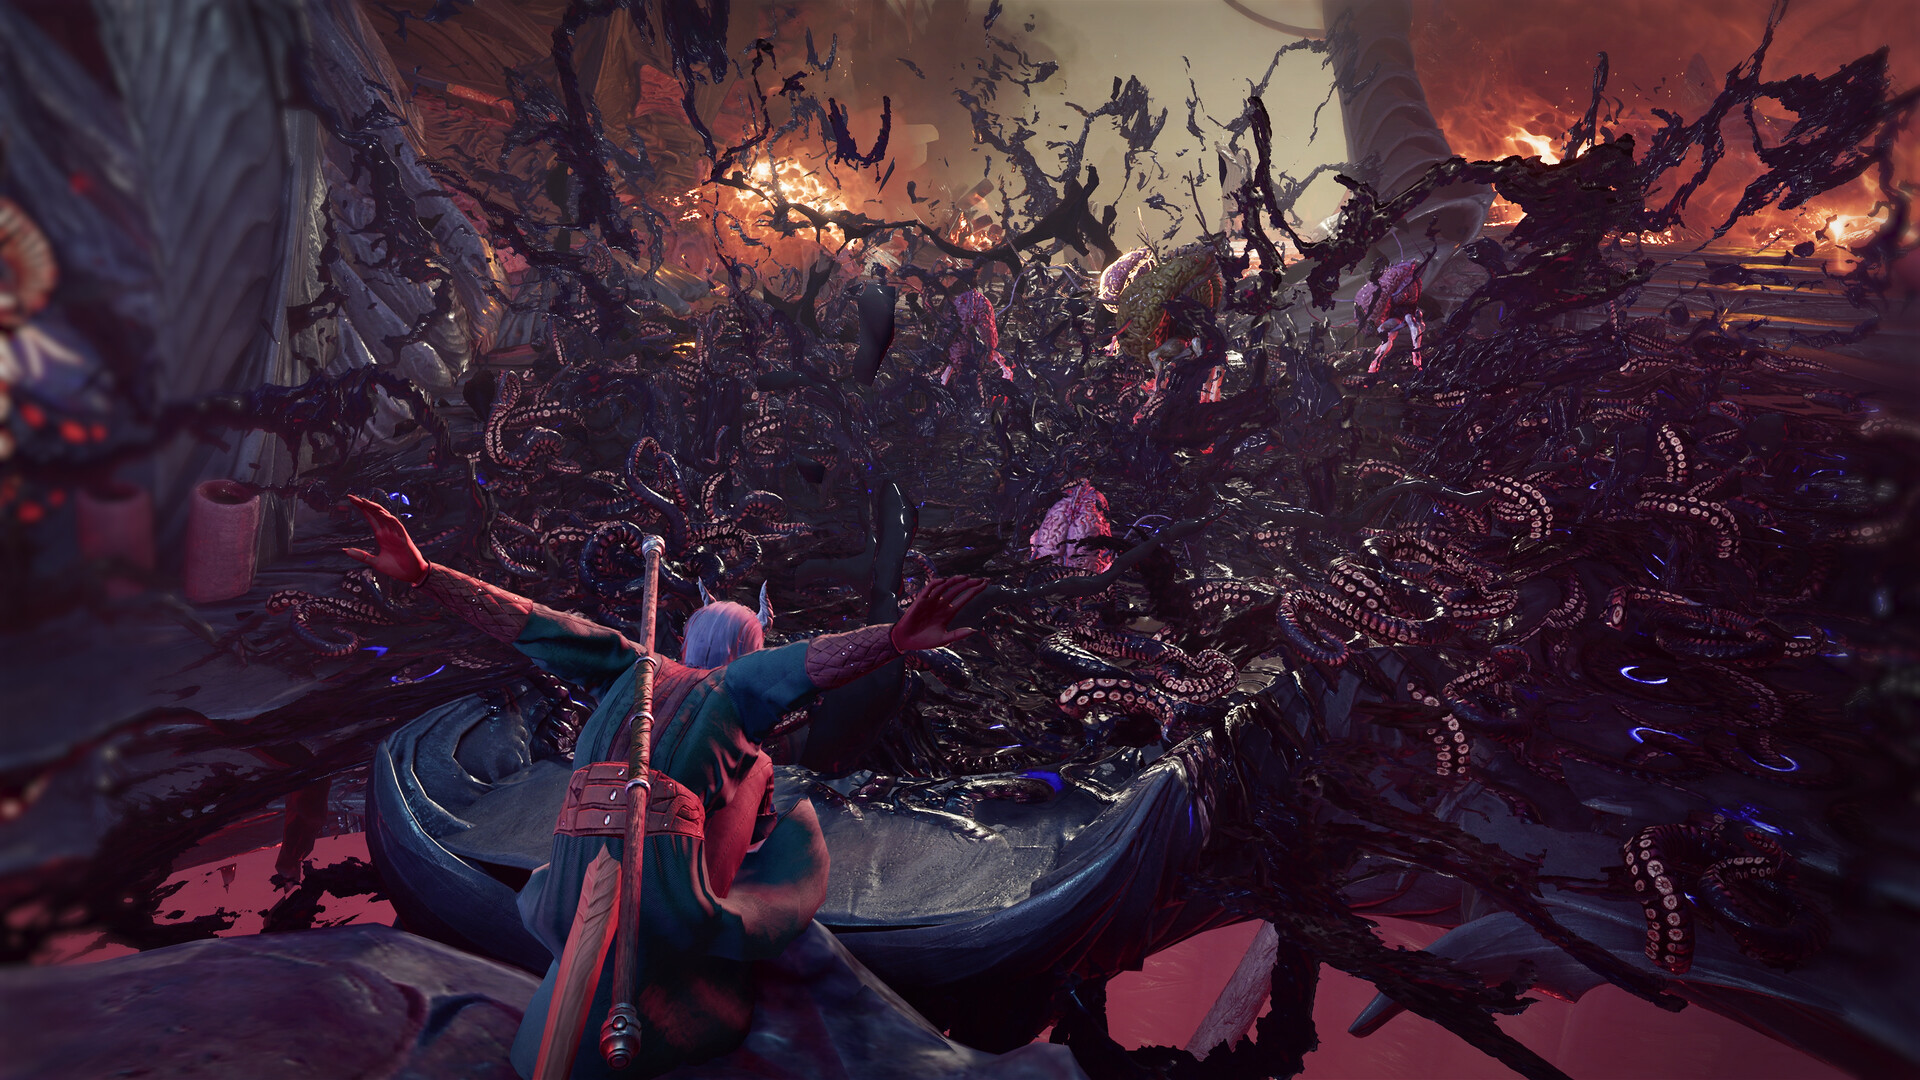
You can play Baldur's Gate 3 while letting everyone die: nothing blocks progress and the game remains completable. But Larian's ranking mostly describes an impoverished adventure, whose final battle unfolds without a healer, without exploding gnomes, without tieflings, and without Lady Aylin.
The rest of the infographic points in the same direction: the game's most-used weapon is the legendary longbow Gontr Mael, far ahead of Balduran's Giantslayer and the Sceptre of the Emperor, and Blood of Lathander has been used 670.4 million times in combat. The community clearly knows how to optimize its gear — much less so its party composition. That's probably where there's the most room for improvement in a future playthrough.
Share this article
Which of these NPCs did you let die during your first playthrough, without really meaning to?
Frequently asked questions
Why is Zevlor the most killed NPC?
He dies in two ways: en masse if you slaughter the Emerald Grove with Minthara, then insidiously in Act 2 if you free him from his pod and condemn him instead of forgiving him. Many players don't realize this dialogue is a point of no return.
How do you save Rolan without knowing he died before Act 3?
Check that he's still at the bar every time you visit the inn. If he's gone, talk to the child next to him to confirm his departure. Head south of the cursed zone to eliminate the shadows attacking him — it's not a fight you need to win, just one where you need to see him come out alive.
What do I lose if Isobel dies?
Everything. Her death collapses the moonlight shield, the inn falls under the curse, Dammon disappears (making it impossible to rework Karlach's infernal engine), and you lose Halsin, Jaheira, Isobel and Lady Aylin as reinforcements. It's the costliest chain of losses in the game.
Is Barcus's mill lever really an interface mistake?
Yes and no. It's a genuine trap, but you can avoid it: walk around the mill before entering, or handle the goblins through Persuasion/Intimidation/Deception without touching anything.
Are some deaths forced by the game?
Yes, in Dark Urge: Alfira dies there in a scripted event. Outside of that origin, it's always an accidental death or one tied to quest timing.
Key takeaways
- Zevlor costs you an ally in the final battle, but it's mainly his massive alliance across Acts 1-2 that makes him the top victim on the list.
- Rolan most often dies without you even seeing it, killed by shadows south of the cursed zone while you rest at the inn.
- Isobel's death is the most destructive: it collapses the entire Inn, removing Dammon, Halsin, Jaheira and costing you major reinforcements.
- Barcus usually falls due to an interface mistake, by pulling the wrong lever on the mill — but saving the Gondians nets you two explosive allies in battle.
- Every death closes off side quests, merchants, or reinforcements, turning an oversight into a permanent regret by Act 3.
Comments
No comments yet. Be the first to react!
Leave a comment
Similar guides
Latest articles








Your opinion counts
Rate Baldur's Gate 3
Click a star to rate