



 Fabian Lainé

Equipment
Baldur's Gate 3: the legendary items you can permanently miss, act by act
In brief
Baldur's Gate 3 hides dozens of legendaries that can be permanently lost, and not just through carelessness. Some are trapped behind vicious mechanics that kill the loot without warning, others buried in dungeons that no journal quest ever flags for you. This guide breaks down, act by act, the essential pieces you shouldn't miss and the exact traps that make them inaccessible.
On August 4, 2026, for the third anniversary of Baldur's Gate 3, Larian published a series of statistics drawn from its community's playthroughs. Two of them relate directly to equipment: the longbow Gontr Mael is the most used weapon in the game, ahead of Balduran's Giantslayer, and Blood of Lathander was drawn 670.4 million times in combat.
The irony of the ranking: these three items are also among the easiest to lose. Blood of Lathander is guarded by a trap that punishes hasty parties, Gontr Mael won't drop if you kill its wielder the wrong way, and Balduran's Giantslayer sleeps behind four trials that no journal quest ever sends you to seek out.
Here is the list of legendary items that are genuinely losable, act by act, with the precise steps to keep them safe. In Honour Mode, the single save file makes each of these mistakes final.
Three ways to lose a legendary item
- The scenario exclusivity: two items are mutually exclusive, you will never have both in the same playthrough. Nothing to optimize, just a choice to make with full knowledge.
- The loot trap: the item is within reach, but a wrong sequence of actions prevents its loot from dropping. The most vicious case: no message warns you.
- The optional content that's never triggered: the dungeon doesn't appear in the journal until you've taken the first step. This is by far the main cause of playthroughs completed without a single legendary item.
Act 1: Blood of Lathander and the monastery's solar defenses
The legendary mace is found at the Monastery of the Sundering Flame, along the mountain pass route. The sanctuary puzzle comes down to four altars and four ceremonial weapons: the longsword is already in place, the battleaxe is guarded by a Guardian of Faith — whose damage is deducted from its own hit points, meaning you can let it destroy itself — and the warhammer is perched in the giant eagle's nest, on the roof.
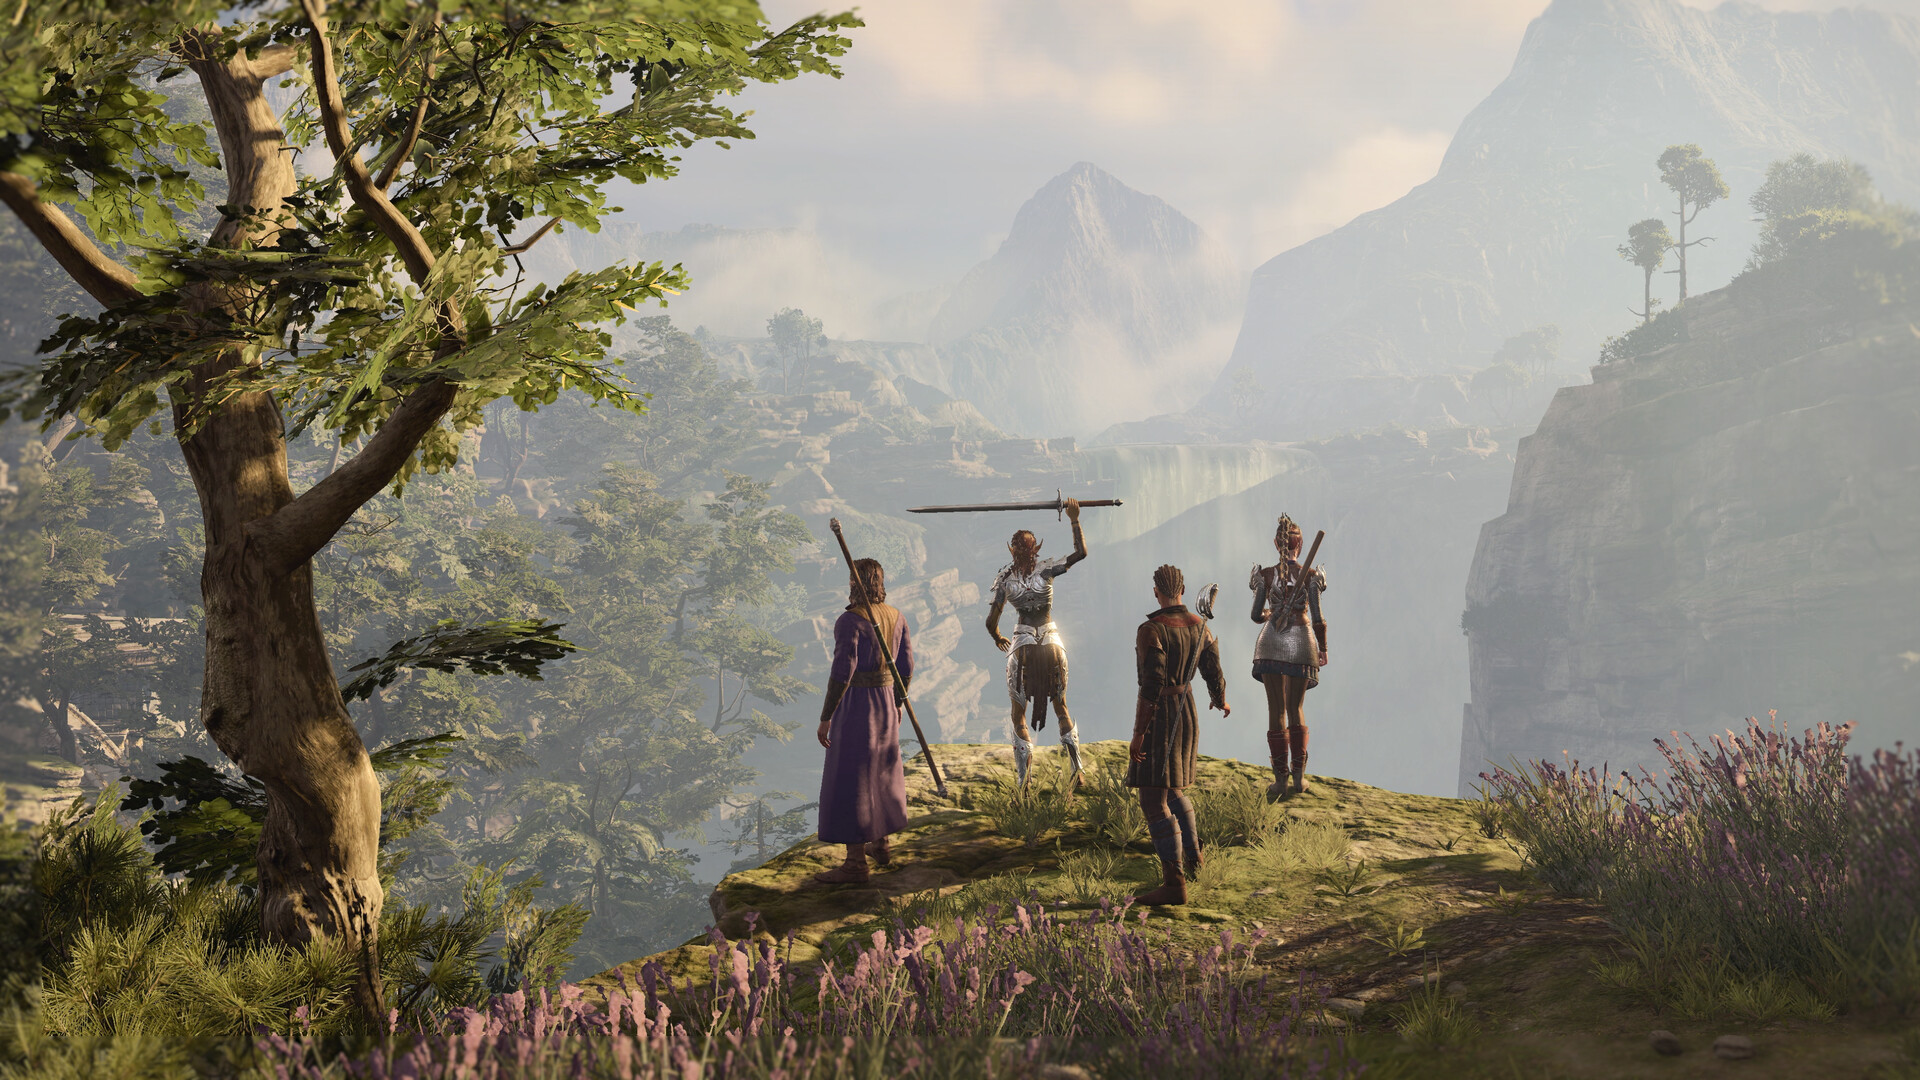
The trap comes afterward. Once the four weapons are placed, the secret chamber opens — you can also spot it with a Perception check (DC 10) followed by a very demanding Dexterity check (DC 30). If you remove the mace from its altar without having placed the Chosen One's Crest in its slot, the solar sensors installed on the roof light up and flood the sanctuary: in most configurations, the party doesn't have time to get out. Two ways to avoid this: place the crest, or destroy the four solar generators from a distance before touching the altar.
Act 1's second surprise, much less well known: the Silver Sword of the Astral Plane, normally reserved for act 3, can be obtained as early as the encounter with Kith'rak Voss, before the mountain pass. All you have to do is disarm him before taking any hostile action — the Command spell, in its variant that forces the target to drop their weapon, works very well. Be careful: Voss flees at the first act of aggression, and if you obtain the blade this way, the act 3 quest won't offer you a second one.
Act 2: the spear you'll never have
In front of Nightsong, deep within the Gauntlet of Shar, the game makes you choose between two legendary weapons, and only one will end up in your pack.
- If Shadowheart kills Nightsong, you get the Shar's Spear of Evening.
- If you convince her to spare her, you get the Selûne's Spear of Night — but only after talking to Shadowheart at camp, once act 2 has closed. This is the step that gets skipped most often, by going straight into the arrival at Baldur's Gate.
No workaround, no dialogue mod changes anything about this in a standard playthrough: it's an acknowledged story exclusive.
Act 3: Gontr Mael and the only way to make the loot disappear
The most-used weapon in the game is picked up at the Steel Watch Foundry, southwest of the docks: you need to clear the area, then take down the Steel Watcher Titan in the control center. Nothing exotic so far.
The trap lies elsewhere, and it's documented by the community wiki bg3.wiki: if the Titan dies because its Intelligence has dropped to 0 — which is notably caused by the illithid power that drains intellect —, the bow does not drop. The creature collapses, the fight ends, and the body is empty. On a character who has invested in the tadpole powers, it's a very mundane way to lose a legendary item without ever understanding why.
An often-forgotten corollary: the panel that blows up the foundry activates after the Titan's death. Search the room before pressing it.
Wyrm's Rock: two legendaries behind four trials
This is the most rewarding optional dungeon in act 3, and nobody sends you there. From Wyrm's Rock, take the western passage toward the underground prison. In the corridor on the right, two dragon-headed torches face each other: strike them with lightning damage to reveal the hidden passage.
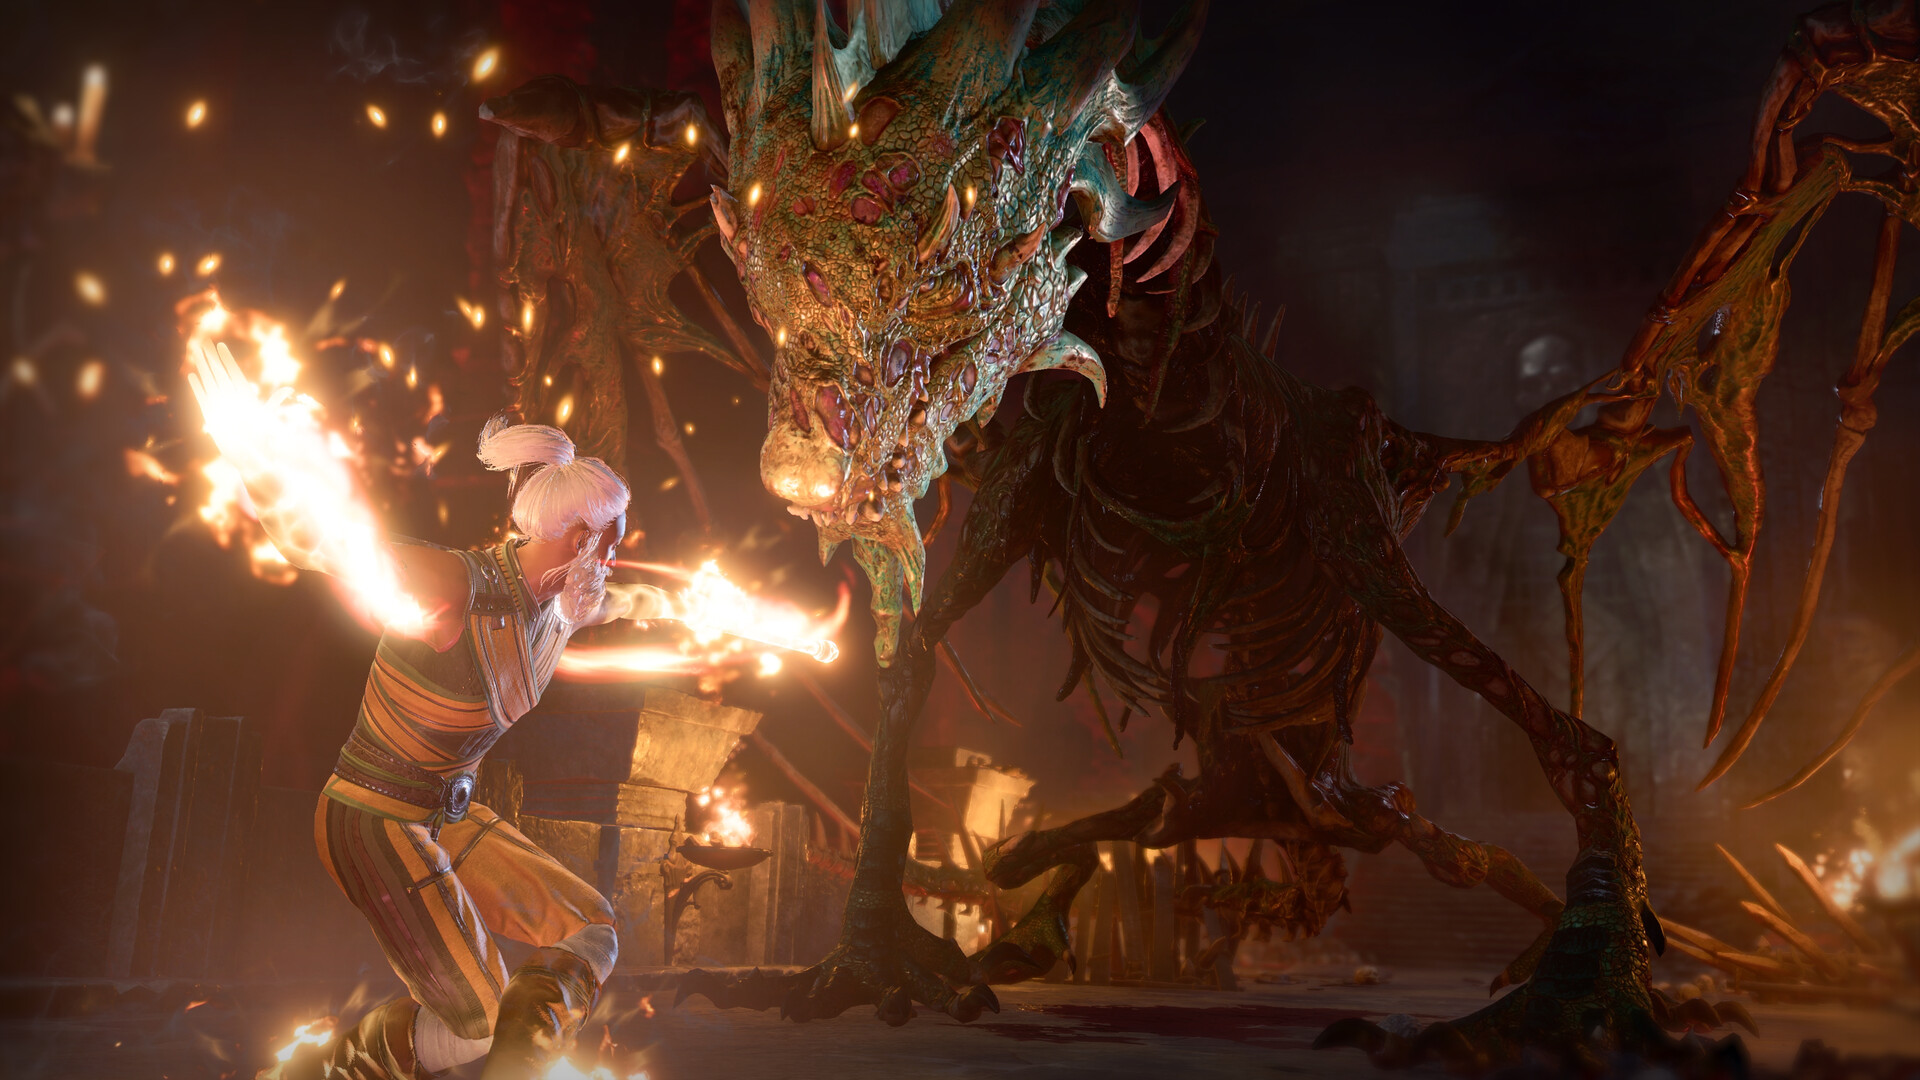
Next come the four trials: the Hall of Justice (veiled paintings, to be solved by lifting the curse on the central shadow), the Hall of Strategy (a chessboard, the crimson king to be taken down in two hits), the Hall of Perception, and the Hall of Courage, where you must hold four towers against waves of elementals. At the end, the dragon Ansur, then two legendaries at once: the Giantslayer of Balduran, which doubles the Strength modifier bonus and grants advantage against Large creatures, and the Helm of Balduran, which restores 2 HP per turn and grants immunity to critical hits and stunning.
The window is simple to remember: all of this must be wrapped up before starting the final sequence. Past that point, the city is no longer accessible.
House of Hope: three items, two conditions
Raphael's mansion alone holds three legendaries, and two of them depend on what you do with one character.
- Orphic Hammer: accept Raphael's bargain, or go through the "House of Hope" portal to steal it from the safe in his private quarters.
- Soul Capture Gloves: the reward for Hope, freed from her cell by striking the red crystals with the orphic hammer. She must survive the escape — this is where most parties lose them, letting her take the fire on her own as it spreads.
- Armour of Hellish Dusk: it can only be found on Raphael's corpse. Signing the contract, leaving with the hammer, and never fighting him means permanently giving up one of the best heavy armours in the game.
A rarely mentioned bonus: a rescued Hope joins your camp and can cast Divine Intervention for you. It's the only way to obtain the Mace of the Faithful when there's no level 10 cleric in the party — and a cleric only gets a single wish per playthrough anyway, to be split between the weapon, healing, and damage.
The myth about needing to give away the hammer
You'll often read that you need to "bring" the orphic hammer to Voss, in the sewers of the Lower City, to receive the Silver Sword of the Astral Plane. In practice, you simply need to show it to him — or beat him in combat. The hammer stays in your inventory, which is just as well: it's the one that determines one of the major endgame options. So you don't have to make any trade-off here, contrary to what several guides suggest.
Legendary items tied to an NPC, a theft, or a forgotten dungeon
- Nyrulna: at the Circus, first steal the rigged ring from the djinn Akabi with your stealthiest character, then play the wheel of fortune. He'll teleport you in a rage to a jungle where the chest contains the trident.
- Duellist's Prerogative: you need to follow the Guild Against Guenae and save Vanra from Auntie Ethel, throwing the anti-guenae concoction during the fight.
- Viconia's Walking Fortress: only by completing the House of Grief, an entirely optional dungeon in the Lower City.
- Markoheshkir: the passage to Ramazith's Tower opens at Sorcerous Sundries when you tell Lorroakan's projection about Nightsong. Go down, activate the "Weave Button," then retrieve the staff using the levers.
- Crimson Mischief: on Orin's corpse, at the Temple of Bhaal.
The summary to keep handy
| Item | What makes you lose it | Window |
|---|---|---|
| Blood of Lathander | Removing the mace without the Helm of the Dawnmaster | Act 1, Rosymorn Monastery |
| Duskblade of Shar / Nightsong's Lance of Selûne | Making the opposite choice in front of the Nightsong; forgetting to speak to Shadowheart at camp | Act 2 |
| Gontr Mael | Titan killed while Intelligence has dropped to 0 | Act 3, Steel Watch Foundry |
| Bhaalist Giantslayer and Bhaalist Armour Helm | Never opening the passage to the underground prison | Act 3, before the final sequence |
| Armour of Hellfire Twilight | Signing the contract without ever facing Raphael | Act 3, House of Hope |
| Soulcatcher Gloves | Hope dies during the escape | Act 3, House of Hope |
| Nyrulna | Playing the wheel before stealing Akabi's ring | Act 3, Circus |
| Mace of the Faithful | Spending Divine Intervention on something else | Cleric level 10, or Hope at camp |
What order to get them in
The safest order: secure the Blood of Lathander before leaving Act 1, settle the camp conversation with Shadowheart right after Act 2, then handle the Circus and Ramazith's Tower upon arriving in the city. The House of Hope and the dragon's lair come next, and the Steel Watch Foundry last, once the party is strong enough to bring down the Titan the old-fashioned way, without resorting to a trick that skips its loot.
What the numbers from these three years mainly show is this: the gap between a well-equipped playthrough and one that ends in purple gear has less to do with difficulty than with a handful of actions taken — or not taken — at the right moment.
Share this article
Have you ever lost a legendary item without understanding why during your first playthrough?
Frequently asked questions
Why does Lathander's Blood disappear if I grab it normally?
The rooftop sun sensors trigger if you remove the mace without first placing the Helm of the Dawnmaster in its slot. They flood the sanctuary and kill the party before it can escape. Place the helm first, or destroy all four generators from a distance before touching the altar.
Do I really have to choose between Shar's Spear of Evening and Selûne's Spear of Night?
Yes, that's a deliberate story exclusivity. Shadowheart kills Nightsong = Spear of Evening. You convince her to spare her = Spear of Night, but only after talking to Shadowheart at camp once act 2 has wrapped up — a step many players skip when loading straight into act 3.
Do I really need to go to Wyrm's Rock? Isn't it optional?
Zero obligation, zero journal hint. But it's the most rewarding optional dungeon in act 3: two major legendaries, including the Giantslayer. You just need to find the hidden passage using lightning on the dragon-head torches and survive four trial rooms.
Can I get two copies of the Astral Silver Sword?
No. If you steal it from Voss as early as act 1 using Command, act 3 won't offer you a second one. It's a one-per-playthrough weapon.
Is it true you have to give the Orphic Hammer to Voss?
No, that's a myth. You only need to show it to him or beat him in combat. The hammer stays in your inventory, which matters since it determines major endgame options.
Key takeaways
- Lathander's Blood disappears if you touch the altar without first placing the Helm of the Dawnmaster — mandatory placement, no workaround.
- Gontr Mael, the most-used bow in the game, disappears from its corpse if the Titan dies from Intelligence drain via the illithid power.
- Grymforge... wait, Wyrm's Rock: zero journal appearance, but two major legendaries (Giantslayer, Helm of Balduran) await beyond four trials.
- The Astral Silver Sword can be stolen from Kith'rak Voss as early as act 1, but act 3 won't give it back to you if you already have it.
- House of Hope: three legendaries tied to story choices, including the Armour of Persistence... wait, Infernal Twilight Armour, which requires fighting Raphael.
Comments
No comments yet. Be the first to react!
Leave a comment
Similar guides



Latest articles





Your opinion counts
Rate Baldur's Gate 3
Click a star to rate