



 Fabian Lainé

Full Guide
Halo: Campaign Evolved — the Legendary guide: surviving mission by mission and taming the sandbox (2026)
In brief
Surviving Halo: Campaign Evolved on Legendary difficulty demands far more than reflexes: it's a game of positioning, resource management, and reading the battlefield. This guide breaks down the sandbox weapon by weapon, boss by boss, mission by mission, to give you the strategies that turn a nightmare playthrough into a well-earned victory.
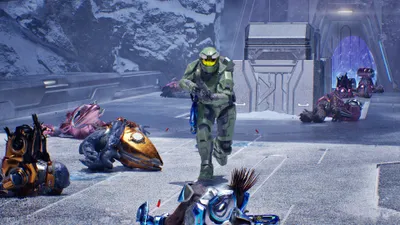
Beating the ring on Easy? Everyone can do that. The real question veterans and newcomers alike have been asking since Halo: Campaign Evolved launched into early access on July 28, 2026 is how to survive Legendary difficulty without throwing your controller. The remake, developed by Halo Studios, completely rebuilds the 2001 campaign on a new engine, but it keeps the brutal DNA of the original: a Covenant AI that surrounds you, shields that soak up your magazines, and a Flood that turns the smallest corridor into a nightmare. This guide breaks down the sandbox (which weapon for which enemy), the combos that save your life, and the sections that blow up Legendary runs, mission by mission. Let's get into it.
Why Legendary mode changes absolutely everything
The four difficulty tiers remain faithful to the series: Easy, Normal, Heroic, and Legendary. The gap between Heroic and Legendary isn't cosmetic. On Legendary, enemies soak up far more damage, return fire with surgical precision, throw their grenades to flush you out of cover, and adapt their movements to flank you. A Hunter shot or a well-stuck plasma grenade means near-instant death. The consequence is simple: Legendary isn't a game of reflexes, it's a game of positioning, resource management, and target priority. Rushing in means dying. Patience is the key word.

Survival basics: shield, grenades, and melee
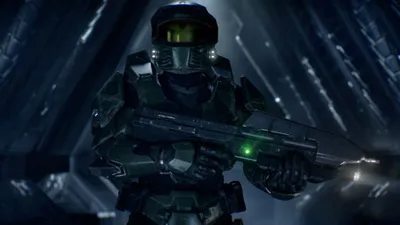
Before even talking about weapons, you need to relearn the three reflexes that keep the Chief (Master Chief) alive. First, the energy shield recharges on its own after a few seconds without taking damage: every exchange should end with a retreat to cover to let the bar refill. Next, grenades are your best allies. Save the fragmentation grenade for flushing out an entrenched group or bouncing a projectile into a nook, and the plasma grenade for sticking onto an Elite or a Hunter — the stick guarantees a kill that no dodge can save them from. Finally, a melee attack from behind instantly knocks out most infantry. On Legendary, these fundamentals aren't optional, they're conditions for survival.
- Never stay out in the open: every position needs an exit.
- Save rare ammo (sniper rifle, rocket launcher) for the big threats.
- Pick up Covenant weapons off the ground: your reserves run out fast.
- Mentally save every checkpoint: advance one enemy at a time so you don't trigger an entire wave at once.
One last reflex, more subtle, separates good runs from bad ones: reading the battlefield. Before opening fire, take a second to spot enemy positions, identify the group's leader, and locate your cover. On Legendary, a checkpoint that saves at the wrong moment — just before a grenade to the face — can trap your save in a death loop. The best way to avoid this is to end every engagement in cover, with full shields, before the game freezes the save. This discipline, a bit frustrating at first, quickly becomes second nature and will save you dozens of restarts.
Which weapon against which enemy: the sandbox broken down
Halo's great strength is its sandbox: every weapon has a preferred target. On Legendary, using the wrong tool means emptying a clip for nothing. The king combo remains the famous plasma combo: discharge a charged shot from the plasma pistol to pop an Elite's shield, then immediately follow up with a headshot from the M6D pistol. This pistol, accurate and overpowered at any range, is the most cost-effective weapon in the game — never let it go.
| Target | Recommended weapon | Why |
|---|---|---|
| Elite (shield) | Charged plasma pistol + M6D pistol | The charged shot pops the shield, the M6D finishes with a single headshot |
| Grunt | M6D pistol / Needler | One headshot is enough; homing needles show no mercy |
| Jackal | M6D pistol / plasma grenade | Aim for the hand or head sticking out from behind the shield, or flank the guard |
| Hunter | M6D pistol in the back / rocket launcher | The exposed orange spot on its back and belly is its only weakness |
| Combat form (Flood) | M90 shotgun / melee | At close range, a blast obliterates them before they can charge |
| Infection form | MA5B assault rifle (sweeping fire) | Area fire pops these little spheres in clusters |
| Sentinel | Plasma rifle / plasma pistol | Covenant weapons quickly chew through their energy armor |
Handling the Covenant: Grunts, Jackals, Elites, and Hunters
The Covenant operate as a hierarchical pack, and understanding this hierarchy is key to survival. Grunts are cannon fodder, but on Legendary they panic-throw plasma grenades and overwhelm you through sheer numbers: kill their squad leader and they flee in a rout, giving you a precious window to breathe. Jackals hide behind an energy shield: flank them or wait for them to lower their guard before firing. Elites are the central enemy: their rechargeable shield calls for the plasma combo described above, and the gold variants (the highest-ranked) sometimes require two charged shots. As for Hunters, always found in pairs, they have only one weak point — the exposed orange area on their back and belly. Dodge their shield charge, slip behind them and empty your pistol into them, or stick them with a plasma grenade.
The Flood nightmare: The Library and Two Betrayals
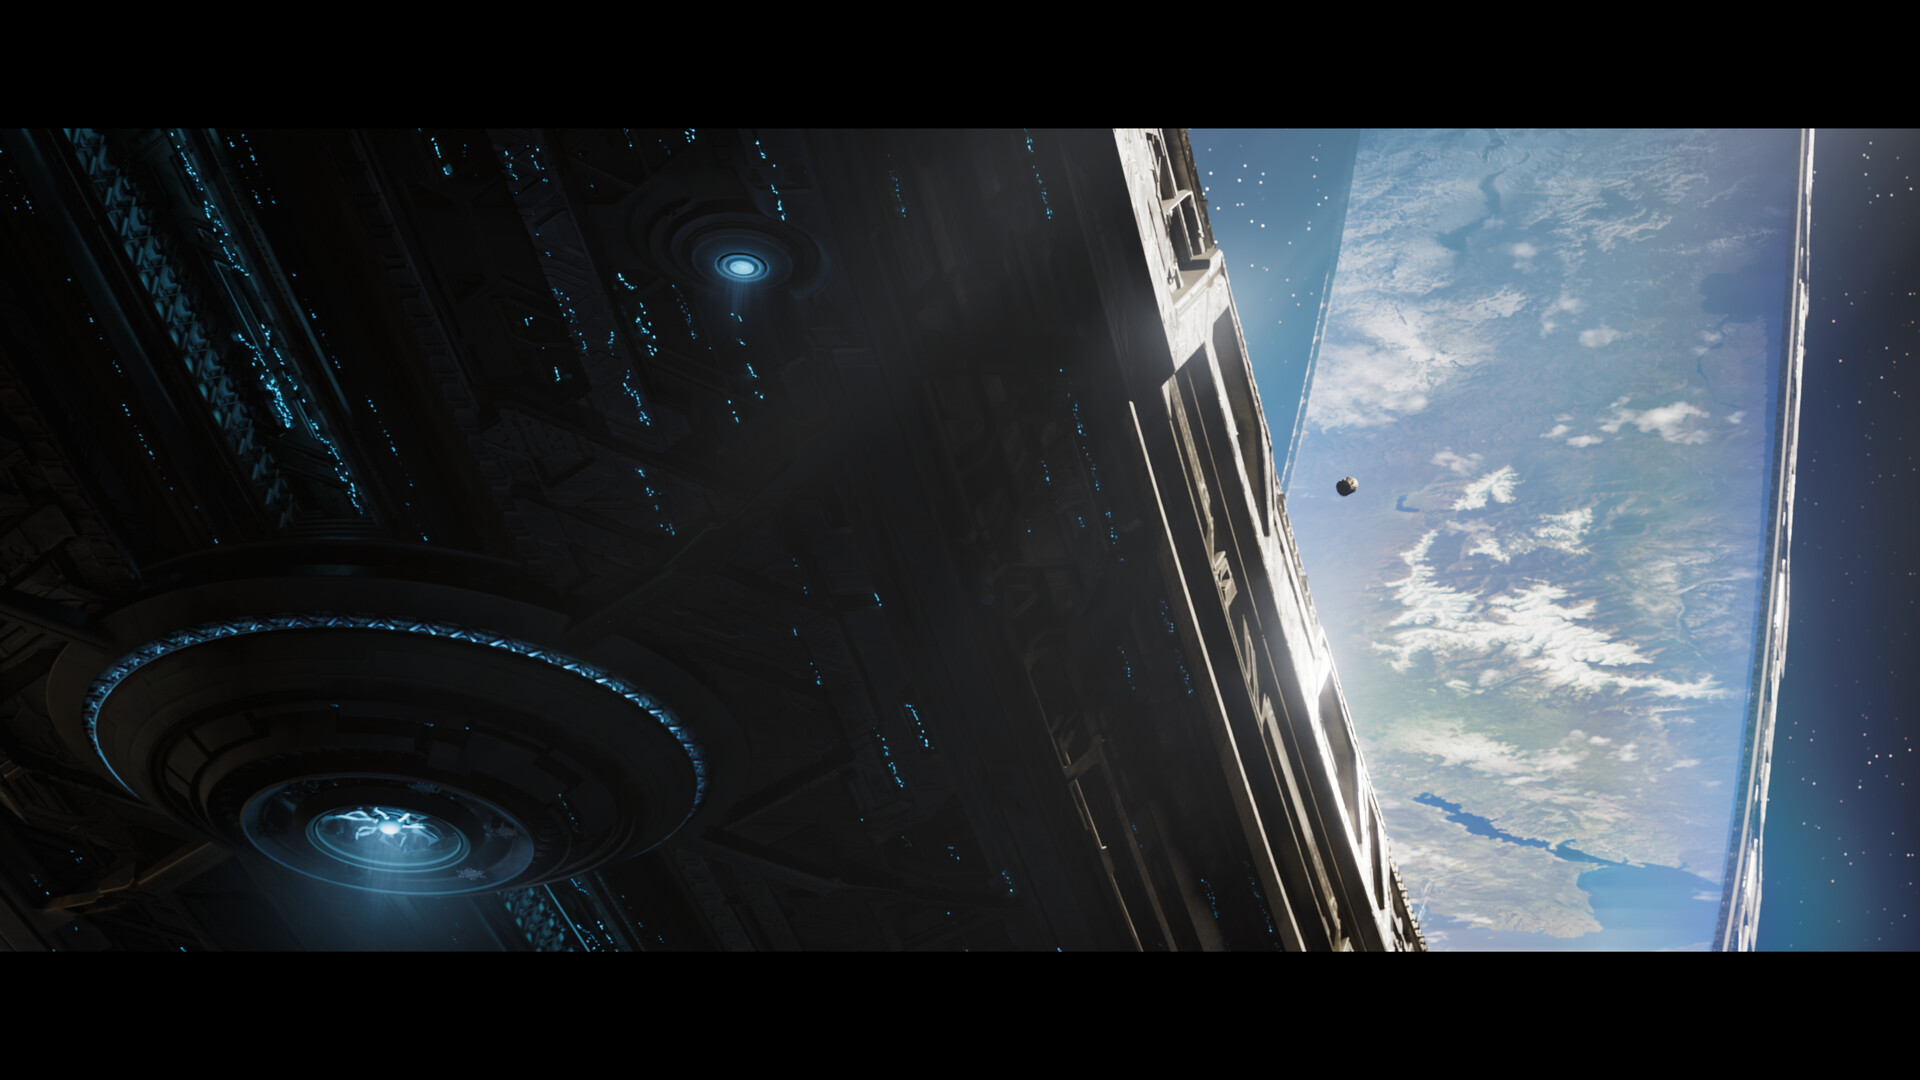
Halfway through the campaign, the reveal of the Parasite (Flood) turns the game on its head. Gone are the measured, ranged firefights: these creatures rush you in swarms through narrow corridors. Combat Forms, reanimated former soldiers, soak up an enormous amount of damage — the M90 shotgun at point-blank range remains the most reliable answer, backed up by the rocket launcher when they cluster together. Infection Forms, those small bouncing spheres, swell your enemies and trigger your shields: sweep them away with the assault rifle. Watch out especially for bloated Carrier Forms that explode and release a swarm of infectors. The The Library mission, a long escort trek alongside the monitor 343 Guilty Spark against near-endless waves, is the game's difficulty peak: ration your shotgun ammo, never let yourself get surrounded, and always fall back toward a doorway to funnel the flow.
Legendary Walkthrough: the sections that break runs
The campaign features the ten missions from the original. Here, mission by mission, are the moments that cause most Legendary attempts to fail, and how to get through them.
| Mission | Dreaded section | Key tip |
|---|---|---|
| The Pillar of Autumn | First Elites in the corridors | Grab the M6D pistol as soon as possible and aim for the head |
| Halo | Rescuing the scattered marines | Let allies draw fire, clean up with the pistol from range |
| Truth and Reconciliation | Riding the gravity lift up (grav lift shaft) | Snipe the Elites one by one before going up, never blindly |
| The Silent Cartographer | Beach landing and the invisible Elite | Secure the beach with the rocket launcher, watch for the stealthy Elite's shimmer |
| Assault on the Control Room | Long bridges under Banshee fire | Advance from cover to cover, hijack a Banshee as soon as possible |
| 343 Guilty Spark | First Parasite encounter in the swamp | Switch to the shotgun, always keep an escape route behind you |
| The Library | Continuous waves during the escort of 343 | Ration the shotgun and rocket launcher, funnel the Parasite through doorways |
| Two Betrayals | Open areas contested between the Covenant, the Parasite and the Sentinels | Let the factions kill each other before picking off the survivors |
| Keyes | Corridors packed with Carrier Forms | Trigger the explosions from a distance with the assault rifle before advancing |
| The Maw | Final Warthog run against the clock | Memorize the route, cut the corners, never stop |
Skulls: spicing up (or easing) the experience
Just like the Anniversary edition before it, the remake reintroduces the skulls system, those modifiers scattered throughout the levels waiting to be found. Some crank up the challenge — a shield that no longer recharges, enemies that retaliate after death, scarcer ammo — while others are cult jokes, like the famous skull that makes Grunts explode into confetti when headshot. Two pieces of advice: never activate a "punishing" skull on a first Legendary run, as it would make things unnecessarily harder; on the other hand, for achievement hunting and high scores, they stack to multiply your rewards. Explore the nooks, rooftops, and ledges off the main path: that's where they hide, just like on day one.
Co-op, vehicles, and final checklist
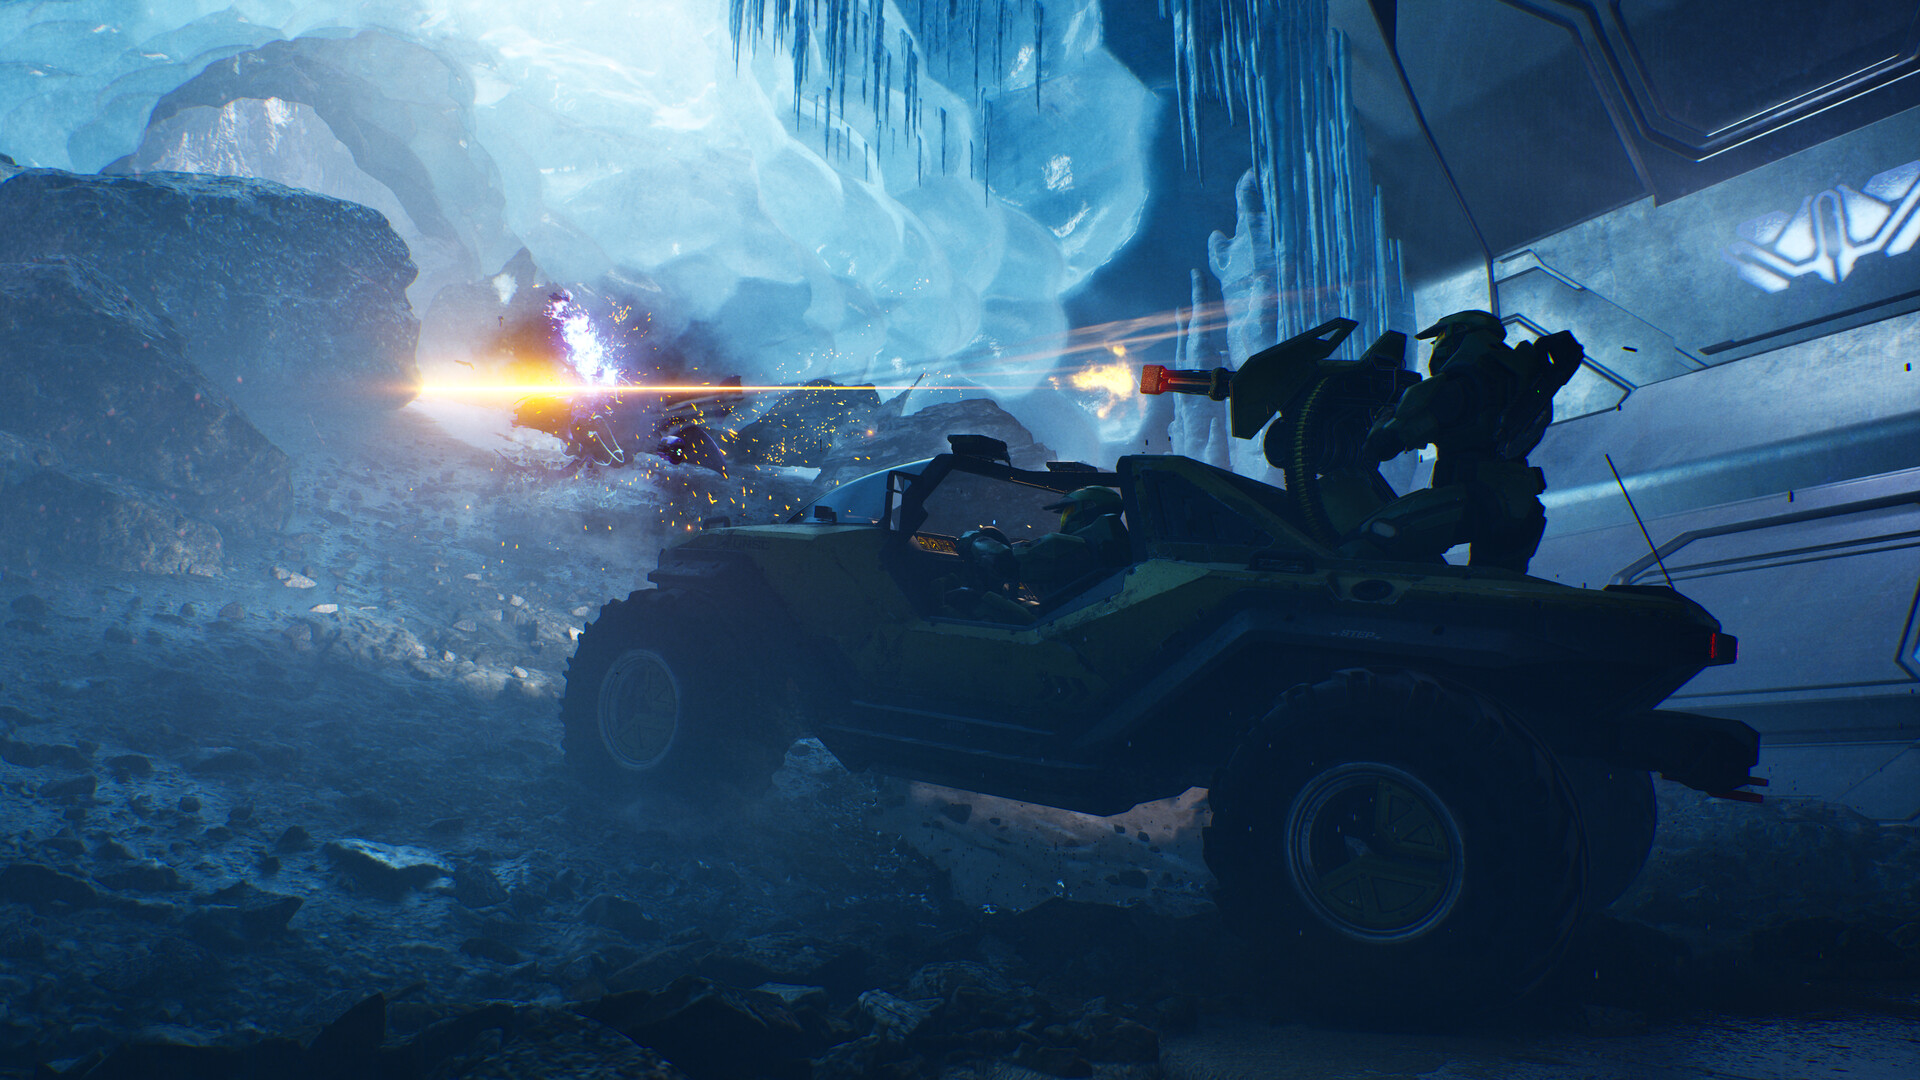
Good news for tough runs: the campaign can be completed entirely in co-op, with up to four players. With more players, the difficulty ramps up (enemies are tougher), but the ability to revive each other and cover blind spots radically changes sections like The Library. Split up the roles: one player carrying a rocket launcher for the Hunters and Flood groups, one wielding the M6D pistol for the Elites, and always keep one player in reserve to hold the position. As for vehicles, the Warthog and the Scorpion are rolling tanks to exploit without hesitation, while a hijacked Banshee works wonders in open areas. One tip worth its weight in gold: the Warthog's turret is far more effective when manned by a human ally rather than the AI, one more reason to favor co-op for the final run through the Maw.
On both PC and console, a few settings make a real difference on Legendary. Lower your aim sensitivity enough to land headshots with the pistol without shaking, enable a comfortable field of view to spot enemies flanking you, and strip away anything cluttering the screen so you can track your shield status at a glance. Reading comfort isn't a luxury: on the highest difficulty, every piece of information seen half a second earlier is a bullet dodged.

To sum up your Legendary battle plan: never let go of the M6D pistol, master the plasma combo against the Elites, save the shotgun for the Flood, stick your plasma grenades on the big threats, and always fall back to recharge your shield. Advance one enemy at a time, let enemy factions tear each other apart when they cross paths, and approach every checkpoint as a new positioning puzzle rather than a firefight. The Ring is waiting for you — and this time, there's no excuse.
Share this article
What's your biggest nightmare on Legendary?
Frequently asked questions
Why is Legendary so drastically harder than Heroic?
Enemies soak up far more damage, aim with surgical precision, throw grenades to flush you out of cover, and adjust their movements to flank you. A single Hunter shot or a sticky grenade means near-instant death. It's a game of positioning and patience, not pure reflexes.
What's the best weapon combo for dominating the sandbox?
The reigning duo is still the plasma combo: a charged plasma pistol shot to pop an Elite's shield, followed by a precise, overpowering M6D pistol headshot at any range. Never let it go, and save the sniper rifle and rocket launcher for the biggest threats.
How do you handle the Library's endless waves without burning through your ammo?
Ration your shotgun and rocket launcher, never let yourself get surrounded, and always fall back toward a doorway to funnel the Flood's advance. Every shot needs to count: mow down the small Infection Forms with your assault rifle and save the shotgun for Combat Forms.
What's the Hunter's weak point on Legendary?
The exposed orange area on its back and belly. Dodge its shield charge, slip behind it, and empty your pistol into that spot, or stick it with a plasma grenade for a guaranteed kill.
When should you mentally 'save' a checkpoint to avoid death loops?
Finish every engagement in cover with a full shield before the game locks in the save. A checkpoint that saves right before a grenade to the face can trap your run: making a habit of finishing fights safely quickly becomes second nature.
Key takeaways
- The plasma-M6D combo (charged shot on the shield, then a headshot) is the most cost-effective weapon against Elites, the heart of every Legendary fight
- Never stay out in the open: every position needs an exit, and your shield recharges while you retreat, not while you're under fire
- Killing the Grunts' squad leader sends them fleeing in a rout, offering a precious window to catch your breath
- The Library and Two Betrayals are the difficulty peaks: ration your rare ammo and funnel the waves through doorways instead of spreading yourself thin
- Read the battlefield before opening fire: identifying enemy positions, the squad's leader, and your cover options changes everything
Comments
No comments yet. Be the first to react!
Leave a comment
Similar guides



Latest articles








Your opinion counts
Rate Halo: Campaign Evolved
Click a star to rate