



 Alexandre Jollier

Walkthrough
Big Walk: opening the drawbridge and solving the key puzzle
In brief
Big Walk's drawbridge is unlocked by collecting four flasks hidden around the starting map. Each flask requires solving a small puzzle as a group: patterns to memorize, a human pyramid, spotting with a spyglass, four-player synchronization. Once assembled, the flasks generate a raw key that must be shaped on five devices scattered across the area before the passage can be opened.
The drawbridge is the first real barrier in Big Walk. Without it, there's no way to access the rest of the island. To lower it, you need a key, and this key is crafted by gathering four canteens hidden around the starting map. Nothing insurmountable, but it takes some coordination if you're playing in a group.
Good news: since the advanced areas are still locked at this stage, all four canteens are grouped together near the starting point. There's no required order, you can collect them in any sequence.
Canteen 1: the pattern room
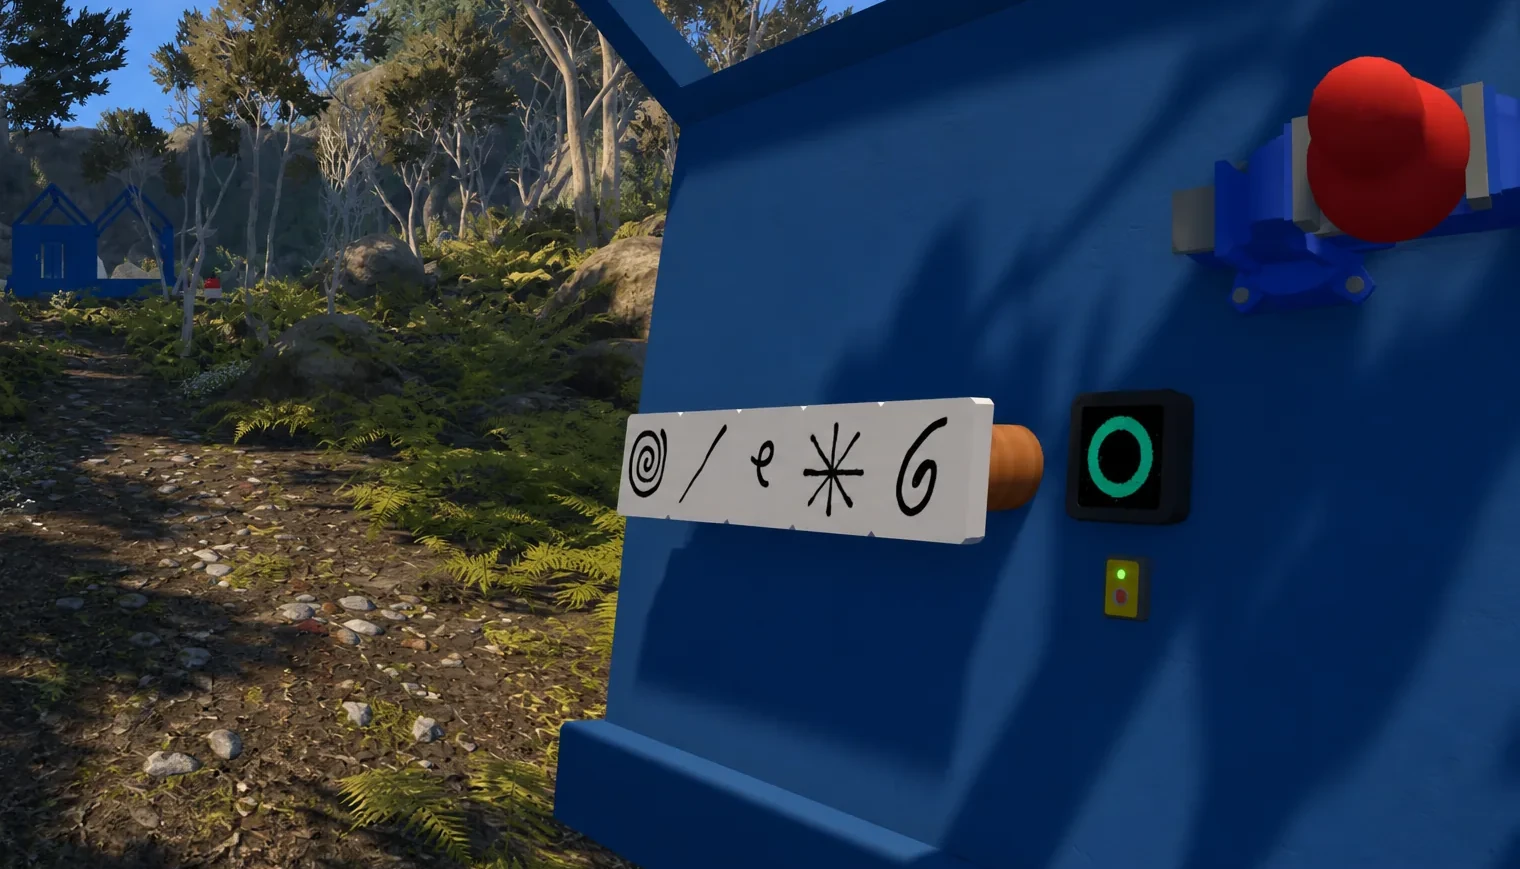
Start from the red door you entered the map through, and follow the path along the left side. You'll quickly come across a blue structure. One player must enter the locked room inside: it contains patterns to memorize.
This player must then relay the pattern to the rest of the group, who will need to place the correct panels on the outer wall before flipping the switch. Correct pattern = first canteen secured.
Canteen 2: the human pyramid
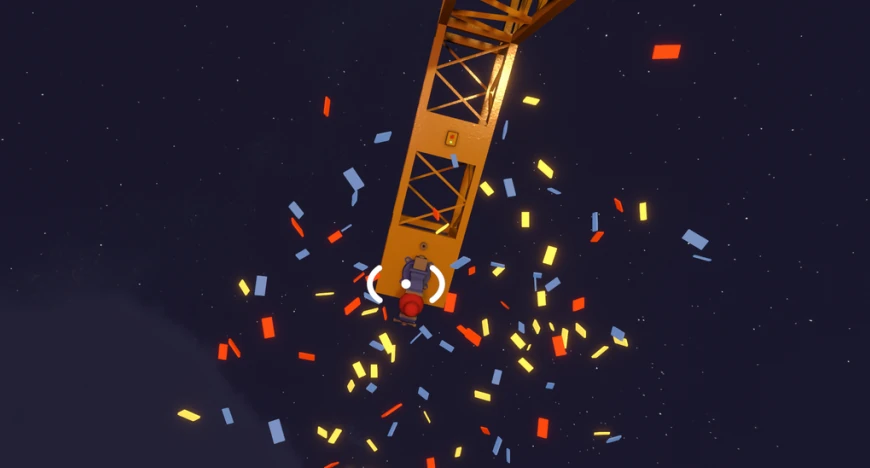
This second canteen hangs from a yellow L-shaped mechanical structure, still near the main path as you descend the cliff. To grab it, you need to activate a switch located up high.
The method: stack four players on top of each other. The last one on the pile will likely need to jump to reach the switch. A bit brute-force, but it works.
Canteen 3: the telescope and the light beacon
Head to the cliff on the right side of the map. There you'll find a telescope alongside a switch. The latter activates a red box visible in the distance - basically a light beacon.
One player must stay in place to keep the switch activated. The rest of the group uses the telescope to pinpoint the exact location of the canteen, then heads to the corresponding cave. Follow the red light, the canteen isn't hidden far away.
Canteen 4: the four-player sync
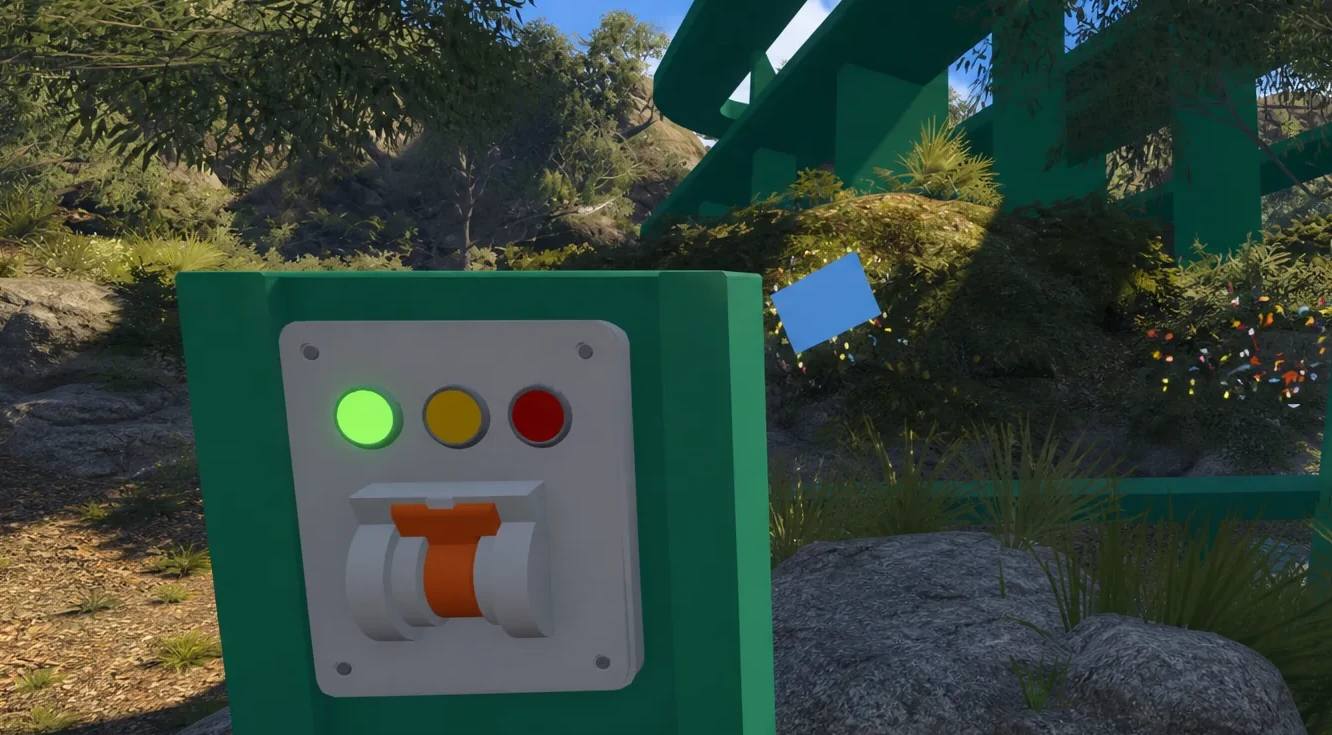
The last canteen is located in a green structure on the left side of the map. This part requires exactly four players: each must activate their switch at the exact same moment. If the timing is off, you'll have to try again.
Assembling the key
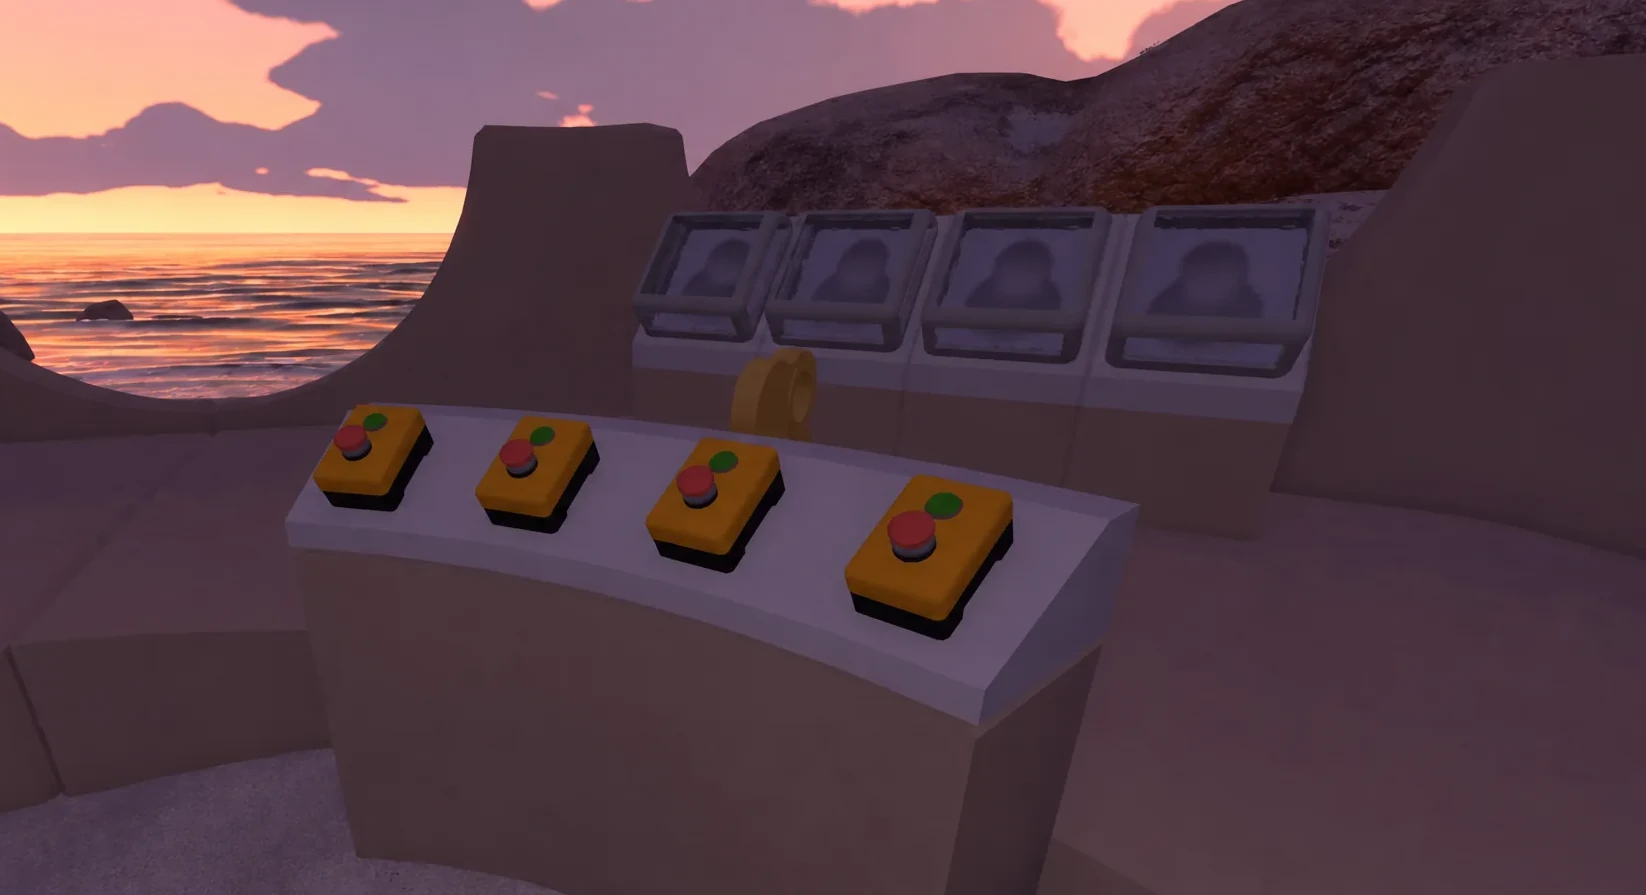
Once you have all four canteens in hand, bring them back to their original location and place them in the empty slots provided for that purpose. One player must press a switch to open the casing, while the others deposit the canteens inside. The key appears once all four slots are filled.
Shaping the key and opening the drawbridge
Careful, the raw key is useless as it is. You must first shape it using five special devices scattered across the map: three are located near the spot where you picked up the key, and the other two are on the coastal rocks.
Insert the key into each of these devices to shape it progressively. Once the process is complete, head to the drawbridge, place the shaped key in the designated slot, and the passage to the rest of the island finally opens.
Share this article
What type of puzzle frustrates you the most in this kind of co-op game?
Frequently asked questions
What order should you collect the four flasks in?
There's no set order. You can collect them in any sequence, as they're all accessible near the starting point before the advanced areas unlock.
How do you unlock the human pyramid flask?
Stack four players on top of each other. The last one must jump to reach the switch up high that activates the yellow L-shaped mechanism the flask hangs from.
What do you need to do after collecting the four flasks?
Bring them back to their original spot and place them in the empty slots while one player presses the switch to open the case. The raw key appears once all four slots are filled.
Why doesn't the key work directly on the drawbridge?
The raw key must be shaped on five specialized devices scattered across the map before it can be used. Three are located near where you picked up the key, and two more are on the coastal rocks.
Can a single player solve these puzzles alone?
No, the fourth flask (four-player sync) absolutely requires four players to unlock. The others also demand real group coordination to work effectively.
Key takeaways
- The four flasks have no set order and are all grouped near the starting point
- Each flask requires a different form of cooperation: memorization, physical building, tool use, or synchronization
- The raw key must be shaped on five specialized devices before the drawbridge can be activated
- Some puzzles like the human pyramid or the four-player sync require timing and precision
Comments
No comments yet. Be the first to react!
Leave a comment
Similar guides
Latest articles








Your opinion counts
Rate Big Walk
Click a star to rate