



 Fabian Lainé

Full Guide
PUBG: Battlegrounds — Solo Deathmatch mode guide: scoring, arenas, and respawn kits
In brief
PUBG: Battlegrounds' Solo Deathmatch runs on a mixed scoring system combining eliminations, streaks, and damage, with supply crates triggered at set thresholds. Mastering your respawn kits and understanding that victory is rarely decided at the 100-point threshold completely changes your approach to the mode.
The Solo Deathmatch mode in PUBG: BATTLEGROUNDS is playable right now, and the window is closing fast. On PC, the mode opened on July 29, 2026 at 9 a.m. and closes on August 12 at 1:59 a.m. (Paris time). On console, it's the other way around: it starts today, August 6, at 9 a.m., and stays online until August 19 at 2:59 a.m. The Hot Drop mode, which had occupied the Arcade tab on console since July 23, closed this morning at the same time: the switch is immediate.
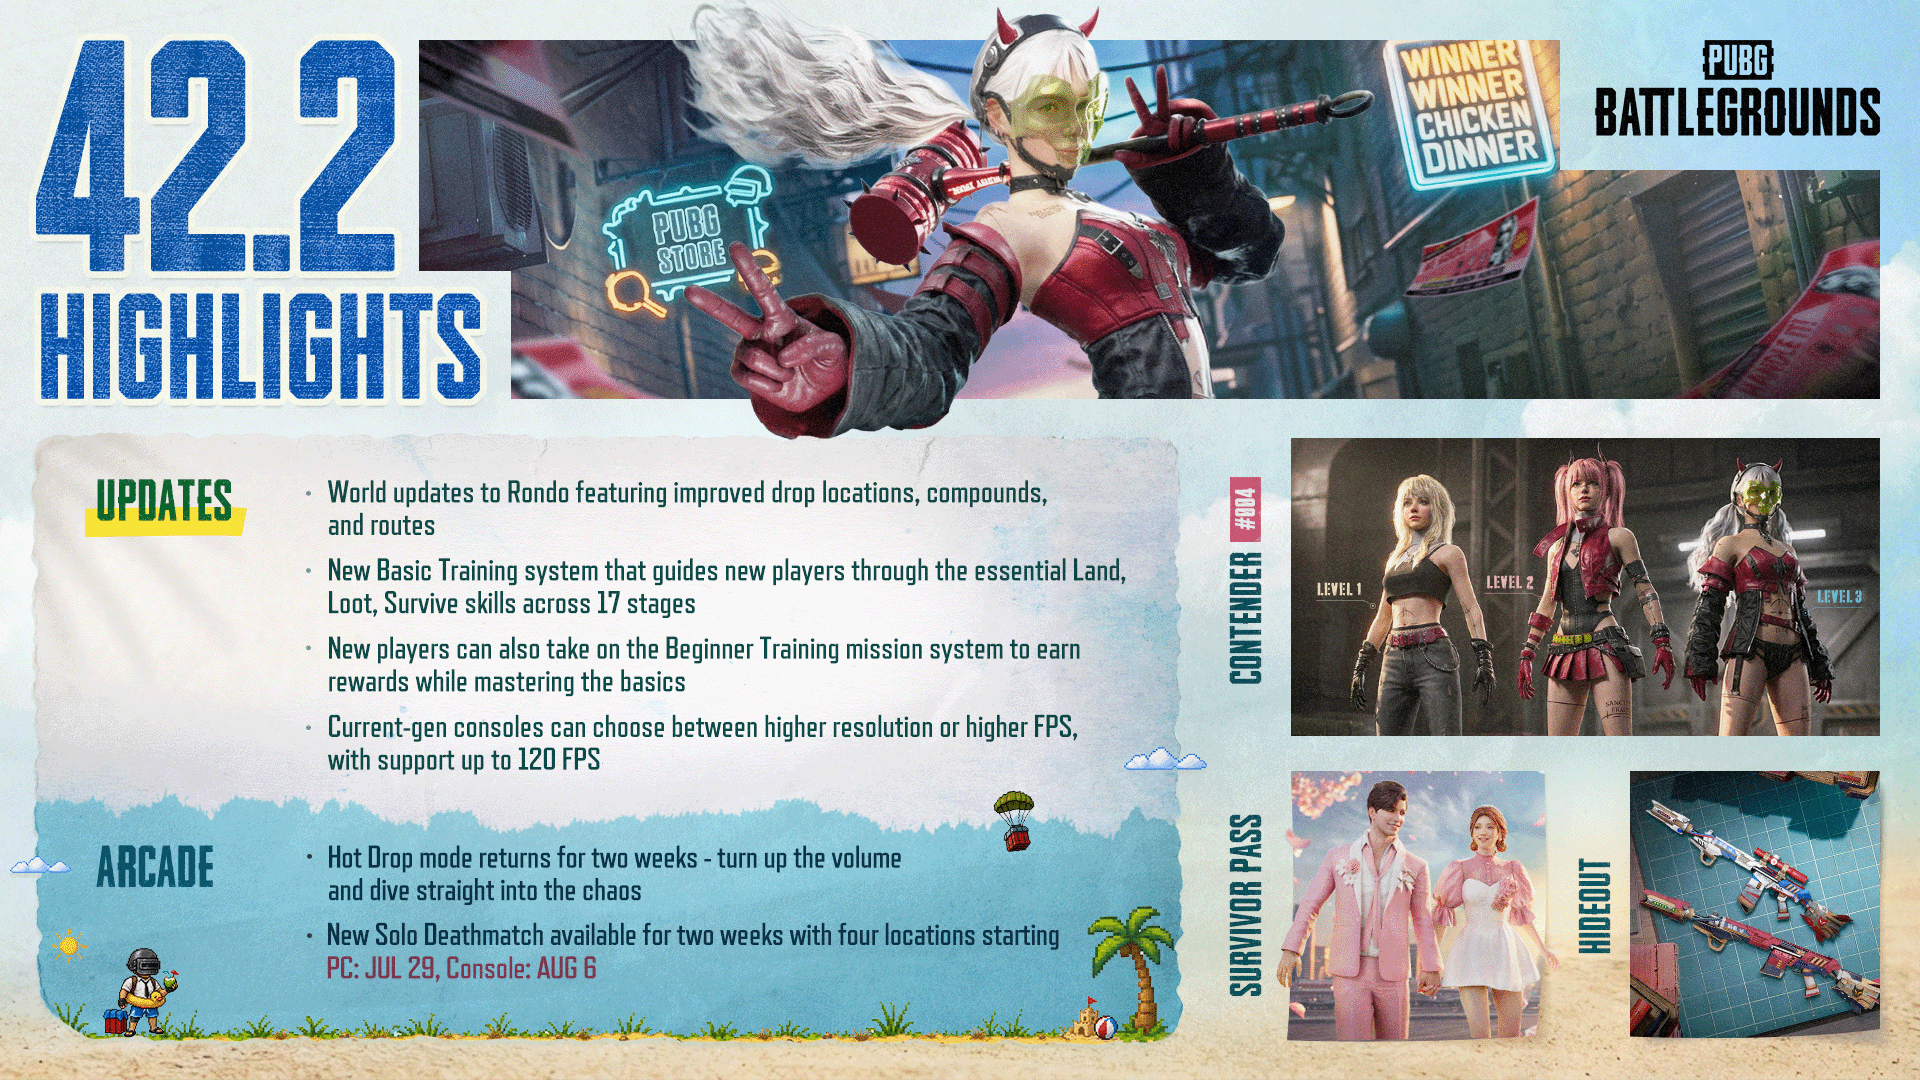
Introduced with update 42.2 (July 15 on PC, July 23 on console), Solo Deathmatch is not simply a Team Deathmatch stripped of its teams. It relies on a mixed scoring system — eliminations, kill streaks, and damage — on supply crates triggered at score thresholds, and on a respawn kit system that can be changed mid-round. Three mechanics that reward behaviors very different from those of Battle Royale.
The mode's rules, straight up
- Access: Play > Arcade > Solo Deathmatch. The mode is also available in custom match.
- Player count: 10 players minimum, 14 maximum, on both PC and console.
- Point of view: FPP only. No third-person view, so no free peek around a wall.
- Arenas: Erangel - School, Sanhok - Camp Charlie, and Taego - Palace.
- Duration: 10 minutes per round.
- Victory: first player to reach 100 points; otherwise, the highest score when the timer runs out.
- Respawn: random location, with a brief period of invincibility.
- Backfill: you can join a round already in progress, unless it's nearing its end.
- M key: opens the leaderboard and lets you change your respawn kit.
A useful clarification: the labels remain in English in the French client. The mode is indeed called "Solo Deathmatch" in the Arcade menu, and the three arenas keep their original names; only the mechanics are translated ("kit de réapparition," "jauge de boost," "caisse de ravitaillement").
The scoring system: damage is not a consolation prize
| Action | Points |
|---|---|
| Elimination | 2 |
| Elimination as part of a streak of 3 | 3 |
| Per 100 points of damage | 1 |
It's the third line that makes all the difference compared to a classic deathmatch. In a 14-player free-for-all, a good portion of your duels end with a stolen elimination: you bring an opponent down to 15 health and a third party finishes them off. Here, that damage still counts toward your tally — opening fire on a target that's already engaged becomes a source of income.
One point worth flagging: the rules published by KRAFTON don't specify whether damage absorbed by armor is counted, nor at what point the elimination streak resets. Until the studio clarifies this, the cautious assumption is to count on roughly 100 health points removed per 1 damage point, and to consider that dying resets you to the base scoring.
The math that should change your game plan
Let's run the numbers. A "clean" elimination on a full-health target earns 2 elimination points, plus roughly 1 damage point: 3 points. Once the streak of three kicks in, that same elimination climbs to 4 points. To hit the 100-point mark, you therefore need, roughly speaking, between 25 and 34 eliminations in ten minutes — that's one every 18 to 24 seconds, without interruption, respawns included.
No one can keep that pace in a 14-player arena where everyone's shooting in every direction. As a result, the vast majority of rounds are decided on the clock, by the best score, rather than by hitting the 100-point threshold. The real objective, then, isn't to "finish" the round, but to maximize a cumulative total over ten minutes. That changes a couple of reflexes:
- Downtime costs more than death. Thirty seconds camping an angle without engaging is 3 to 5 points lost. A death, on the other hand, doesn't subtract anything from the counter—just your streak and your boost gauge.
- Chip damage pays off. Two opponents fighting each other at forty meters is a source of points even if you don't finish off either one.
- The streak is worth chasing. Going from 3 to 4 points per elimination is a 33% increase in yield. Once you've locked in your third elimination, the risk/reward calculation clearly leans toward cautious aggression: keep the momentum going, but avoid the one-against-three duel that breaks the streak.
Supply crates, the only real hotspots
The mode drops a supply crate as soon as a player reaches 20, 40, 60, or 80 points. So there are four key moments in a round that otherwise doesn't have many others.
These drops serve two purposes. The first is informative: seeing the first crate fall tells you someone has just crossed the 20-point mark, without having to check the leaderboard. The second is more brutal—in a closed arena, everyone converges on the same spot at the same time. If you're in the lead, let the scrum form and rack up damage from the sidelines. If you're behind, this is the only moment in the round where you can catch up five or six points at once. The update notes don't detail the contents of the crates in Solo Deathmatch; either way, it's better to arrive in the second wave than the first.
Boost, regeneration, and respawn: the loop to master
Solo Deathmatch replaces healing items with a closed loop: eliminating enemies fills your boost gauge, and if you take no damage for 5 seconds, your health regenerates by consuming that gauge. In other words, your healing is earned in combat and cashed in during the calm.
Two takeaways follow from this. On the defensive side: after every duel you win, break contact and count to five behind a wall. It's the only way to get back to full health, and it's much faster than PUBG's usual healing cycle. On the offensive side: a player who's just secured an elimination is at their most vulnerable during those five seconds—if you hear a duel wrap up nearby, the window is right there.
Respawning happens at a random location with brief invincibility. So don't bother looking for fixed spawn points to watch, and don't open fire on a silhouette that's just appeared: you'll take the return fire without denting their health bar.
The respawn kit, your only setting during a round
The respawn kit is a preset loadout you select via the M key. The change doesn't apply immediately: it takes effect on your next respawn, or at the start of the following round.
It matters more than it seems: every death becomes a chance to fix your approach. Are you stuck in a string of close-range duels in School's corridors with a mid-range weapon? Switch your kit during the death screen, the correction is free. Get in the habit of opening the leaderboard and the kit selector in the same motion: it's the only menu in the mode that actually affects your score.
The three arenas and what they demand
PUBG recycled three well-known enclosed areas rather than creating new ones, which eliminates the learning curve:
- Erangel - School: Erangel's school, a two-story main building with an accessible roof and an open courtyard around it. It's the most vertical arena of the three: staircases and windows decide duels, and the courtyard is a crossfire trap.
- Sanhok - Camp Charlie: one of Sanhok's military camps, built solid but surrounded by the map's dense vegetation. Angles are shorter here and approaches more covered; it's the arena where sound carries the most information.
- Taego - Palace: Taego's palace compound, with walls and inner courtyards. A closed structure, lined-up engagements, many mandatory chokepoints — ideal for racking up damage points on opponents passing through.
In all three cases, the read is the same: since the score accumulates over ten minutes, the position that pays off isn't the safest one, but the one that sees the most traffic while still keeping an exit within five seconds of cover.
Meanwhile, the map rotation
The 42.2 map exploitation report sets a four-week rotation, which switches on Wednesday at 4 a.m. on PC and Thursday at 9 a.m. on console (Paris time). As of August 6, PC entered week 4 starting August 5, and console entered week 3 this morning. Specifically, in Normal Match:
- PC, EU region: Erangel as the fixed map, Taego as the featured map, then Miramar, Vikendi, and Karakin. Rondo, present for the first three weeks so everyone could see its rework, drops out of the rotation this week.
- Console, all regions: Erangel as the fixed map, Rondo as the featured map, then Taego, Miramar, and Deston.
- Ranked mode: Erangel, Miramar, Taego, and Rondo, at 25% each.
On PC in Europe, revisiting the reworked Rondo from 42.2 — new routes, reduced water depth in some spots, peripheral buildings removed — therefore requires going through Ranked mode until the next switch.
What the mode is really worth
Solo Deathmatch isn't a disguised training mode: the lack of inventory management and automatic regeneration make it too far removed from Battle Royale to serve as tactical rehearsal. On the other hand, it's an excellent testing ground for two specific things: recoil control over long repeated bursts, and first-shot accuracy after movement. Ten minutes here condense more duels than three regular matches.
The real selling point is the window. PC players have until August 12 at 1:59 a.m. before the mode leaves the Arcade tab; console has two full weeks ahead, until August 19 at 2:59 a.m. There's no indication that KRAFTON plans to keep it around beyond this rotation, and the next major update — 43.1, if the studio keeps its naming convention — doesn't have a date yet. If you want to try it, now's the time — and preferably in a custom match if you're looking to work on a technical point rather than climb the leaderboard.
Share this article
In Solo Deathmatch, do you prefer going for clean kills or farming damage across multiple targets?
Frequently asked questions
Does victory really come down to 100 points or to the clock?
To the clock, in the vast majority of cases. Reaching 100 points requires 25 to 34 eliminations in ten minutes, or one every 18 to 24 seconds without interruption. In a 14-player arena, that's nearly impossible. The real goal is to maximize your total over the ten minutes.
How does health regeneration work?
Your boost gauge fills up as you eliminate enemies. If you take no damage for 5 seconds, your health regenerates by consuming that gauge. After every kill, break contact and hide until regen finishes; it's much faster than PUBG's classic healing items.
When should I switch respawn kits?
During the death screen, using the M key. The change takes effect at your next respawn. If you find yourself at close range with the wrong weapon, that's your moment to fix it for free.
Are there respawn zones worth watching?
No, respawns are completely random. Don't waste time camping a fixed spot, and don't shoot at a silhouette that just appeared: it benefits from brief invincibility.
Which arena should I pick to get started?
Erangel - School if you like vertical engagements and good visibility; Sanhok - Camp Charlie if you prefer a rich, covered sound-heavy zone; Taego - Palace for tighter, more enclosed duels. All three are well known, so there's no extra learning curve.
Key takeaways
- Damage earns 1 point per 100 damage dealt: chipping away at an already engaged target becomes a genuinely profitable strategy.
- Chaining three eliminations increases your yield by 33%; the streak is worth chasing, but not worth suiciding against three opponents.
- Downtime costs more than dying itself: thirty seconds without engagement means 3 to 5 points lost, versus zero if you go down.
- Supply crates at the 20, 40, 60, and 80-point thresholds are the only real pivots of a round; if you're behind, this is your chance to catch up.
- Switch respawn kits during the death screen to fix your loadout for free depending on the zone you respawn in.
Comments
No comments yet. Be the first to react!
Leave a comment
Similar guides

Latest articles








Your opinion counts
Rate PUBG: Battlegrounds
Click a star to rate