



 Fabian Lainé
Map
Battlefield 6: the Wake Island guide, the game's 17th map — 7 points of interest, 4 tunnels and the MV Cetus Wreck
In brief
Wake Island lands in Battlefield 6 as its 17th map on August 18, 2026. This island terrain is built around seven points of interest, a network of four underground tunnels, and a brand-new central shipwreck — the MV Cetus — which completely restructures combat flow and forces teams to master naval warfare to dominate the coastal zones.
Wake Island has been playable in Battlefield 6 since Tuesday, August 18, 2026, brought in by the 1.4.2.0 update rolled out at 12:00 UTC, i.e. 2:00 p.m. in Paris. It becomes the game's 17th map.
What sets this terrain apart isn't visible from the runway. Four elements structure it: seven points of interest, a tunnel network split into four segments, a central point set on a wreck — the MV Cetus Wreck — and capture zones that spill out into the water. The development team's map guide, published on August 11, documents each of them.
A note on method. The Steam announcement covering the map's return, also published on August 11, remained in English, including on the French-language feed. The French labels quoted here therefore come from ea.com/fr-fr, the only French-language version published for this map; wherever EA left something untranslated, we flag it rather than invent a name.
The seven points of interest and their official French labels
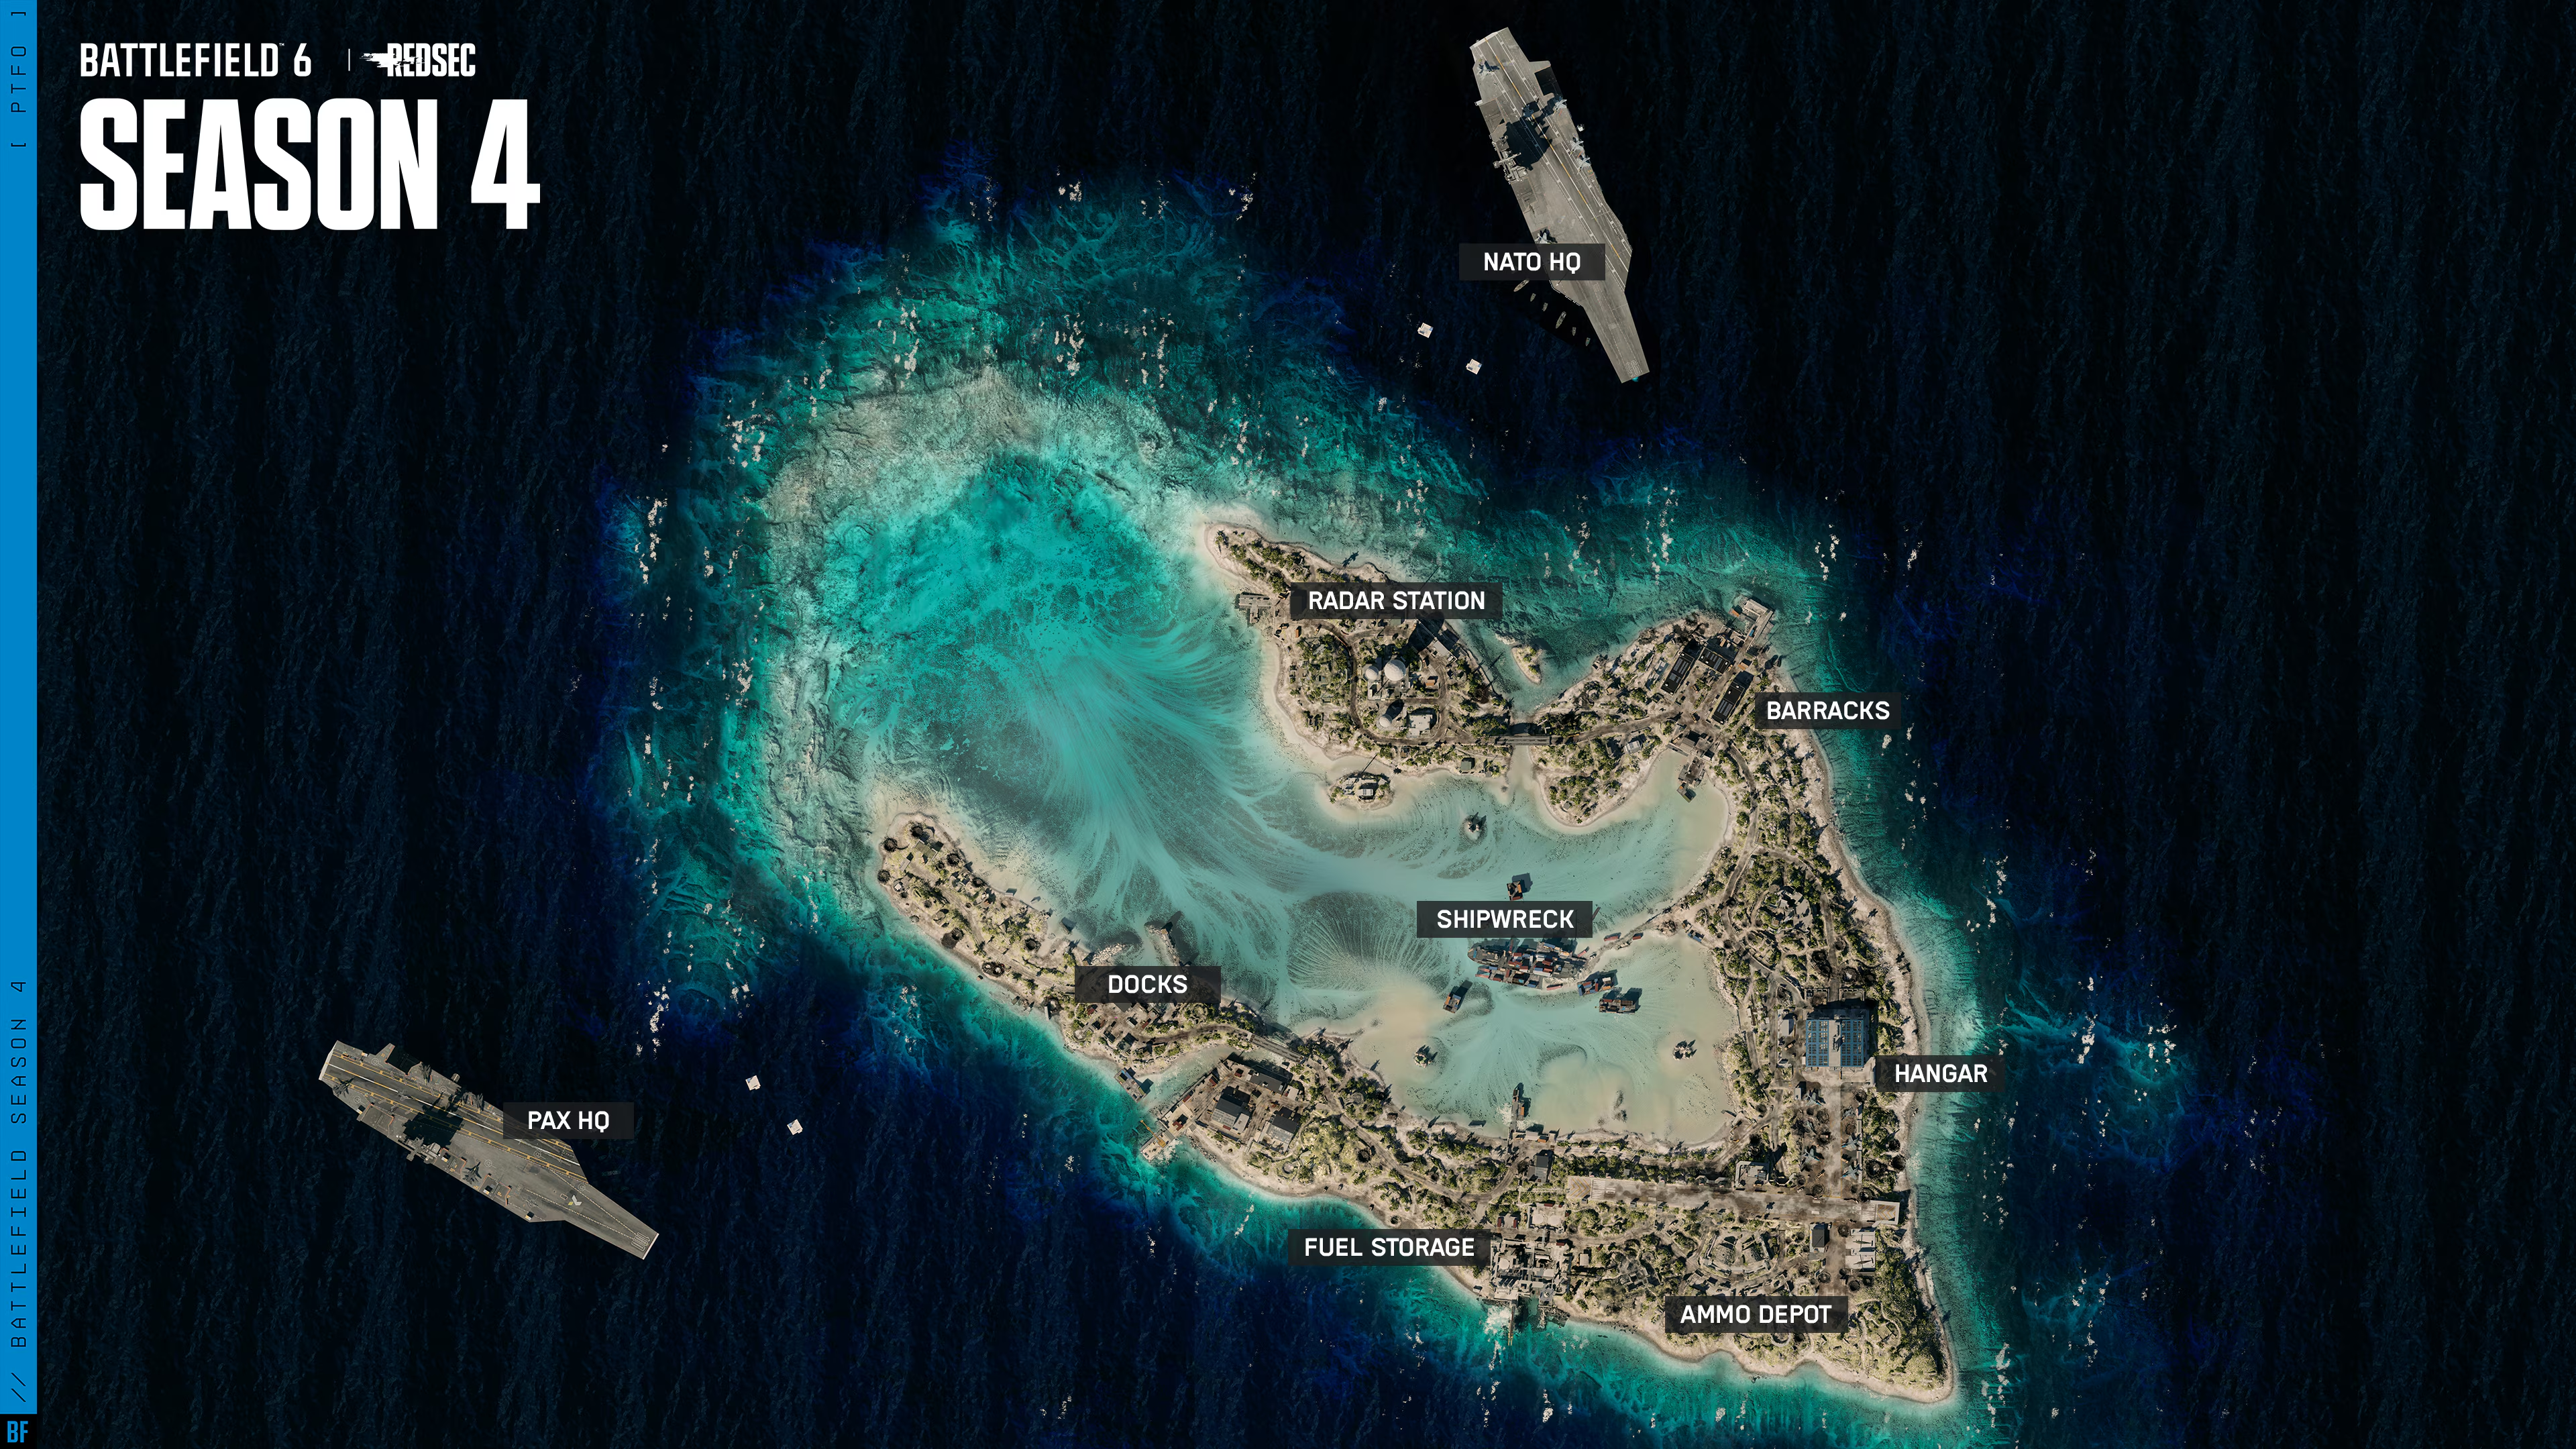
EA publishes the breakdown as a summary, running from the northwest toward the center. Here's what each one brings and the fighting expected there.
| Point of interest | What's there | Expected combat |
|---|---|---|
| Taussig Radar Station | NATO surveillance tower on the northwest island, perched on a hill, paired with an underground area | Close range below ground, medium and long range outside |
| Heel Point Barracks | Three adjacent buildings active since World War II; the total-warfare modes' capture zone sits between them | Elevated firing positions, or rubble turned into cover |
| Hangar 1 | Main hangar and landing strip of the airbase, at the center of the map | Vast interior: a deadly corridor for armor, lockable sightlines |
| Munitions and Armaments Depot | Six depots spread around the base; a key objective at the center | Close-quarters combat at varying elevations, on terrain that can explode |
| True Energy Hydrocarbons Fuel Depot | Two oil silos, a semi-indoor multi-level complex, with a view of the wreck | Objective at the center, so close combat, but exposed to fire from the sea |
| Toyoshima Docks | The island's port facilities, in a cove lined with a few buildings | Naval warfare, supported from nearby structures |
| MV Cetus Wreck | Brand-new point of interest in the middle of the map, ziplines and an intact AA gun | Cover among the debris, anti-aircraft fire from the deck |
One detail before copying down these names: EA's page hedges. The summary writes “Pointe du Talon”, the section heading “Casernes de la Pointe du Talon” (“Heel Point Barracks”). Same location, two forms; go with the latter.
The tunnel network: four segments, only one wide enough for an armored vehicle
This is the layer that newcomers ignore the longest, and the most rewarding one to learn. Heel Point Barracks is its northern entrance. Victor Guillermo, level designer at Battlefield Studios, gives the full layout:
"There are tunnels located between the barracks and the hangar, between the ammo depot and the hangar, between the ammo depot and the fuel storage, and between the fuel storage and the docks. These tunnels can cut down travel time, offer flanking opportunities, and provide escape routes during firefights. Use them strategically."
Four segments, then, linking five of the seven points of interest in a chain. Only one technical distinction matters: the tunnel between the ammo depot and Hangar 1 is large enough to accommodate big vehicles. The other three remain infantry-only corridors.
The consequence is direct. With an SMG or a carbine, EA advises staying underground and between buildings to limit exposure to long-range weapons. Conversely, an armored vehicle that shows up at the ammo depot without any warning on the surface has likely come through the wide tunnel.
An area with no objective is also worth the detour: the southwest corner of this landmass, outside the depot, toward the hangar. Destroyed bunkers, elevated terrain, a bypass route for boats — and less traffic observed in testing. Hence its appeal.
The MV Cetus Shipwreck: an addition that fixes a design flaw
The new central point of interest isn't a decorative flourish. In the lore, it's the remains of the MV Cetus, an Egyptian cargo ship caught during a resupply mission to the island base, which American forces were meant to recover before hostilities broke out.
Above all, it addresses a criticism leveled at earlier versions. Guillermo lays it out plainly: the large stretches of open water in the middle of the island strongly favored snipers and discouraged boat movement, for lack of cover. The shipwreck fixes this, with zip lines that spare infantry from having to finish the crossing by swimming.
Three features shape the combat there:
- Only one land route, from Hangar 1. Everything else goes through water or zip lines.
- Multiple zip lines and clear waterways around the shipwreck.
- An intact AA gun on deck, to hose down approaching air and naval vehicles. On a map built around aviation, it's the most underrated position.
The three points of interest in the north — radar station, barracks, hangar — open up routes toward the shipwreck, and the studio recorded heavy traffic there in testing. Expect dense fighting.
Capture zones that extend into the water
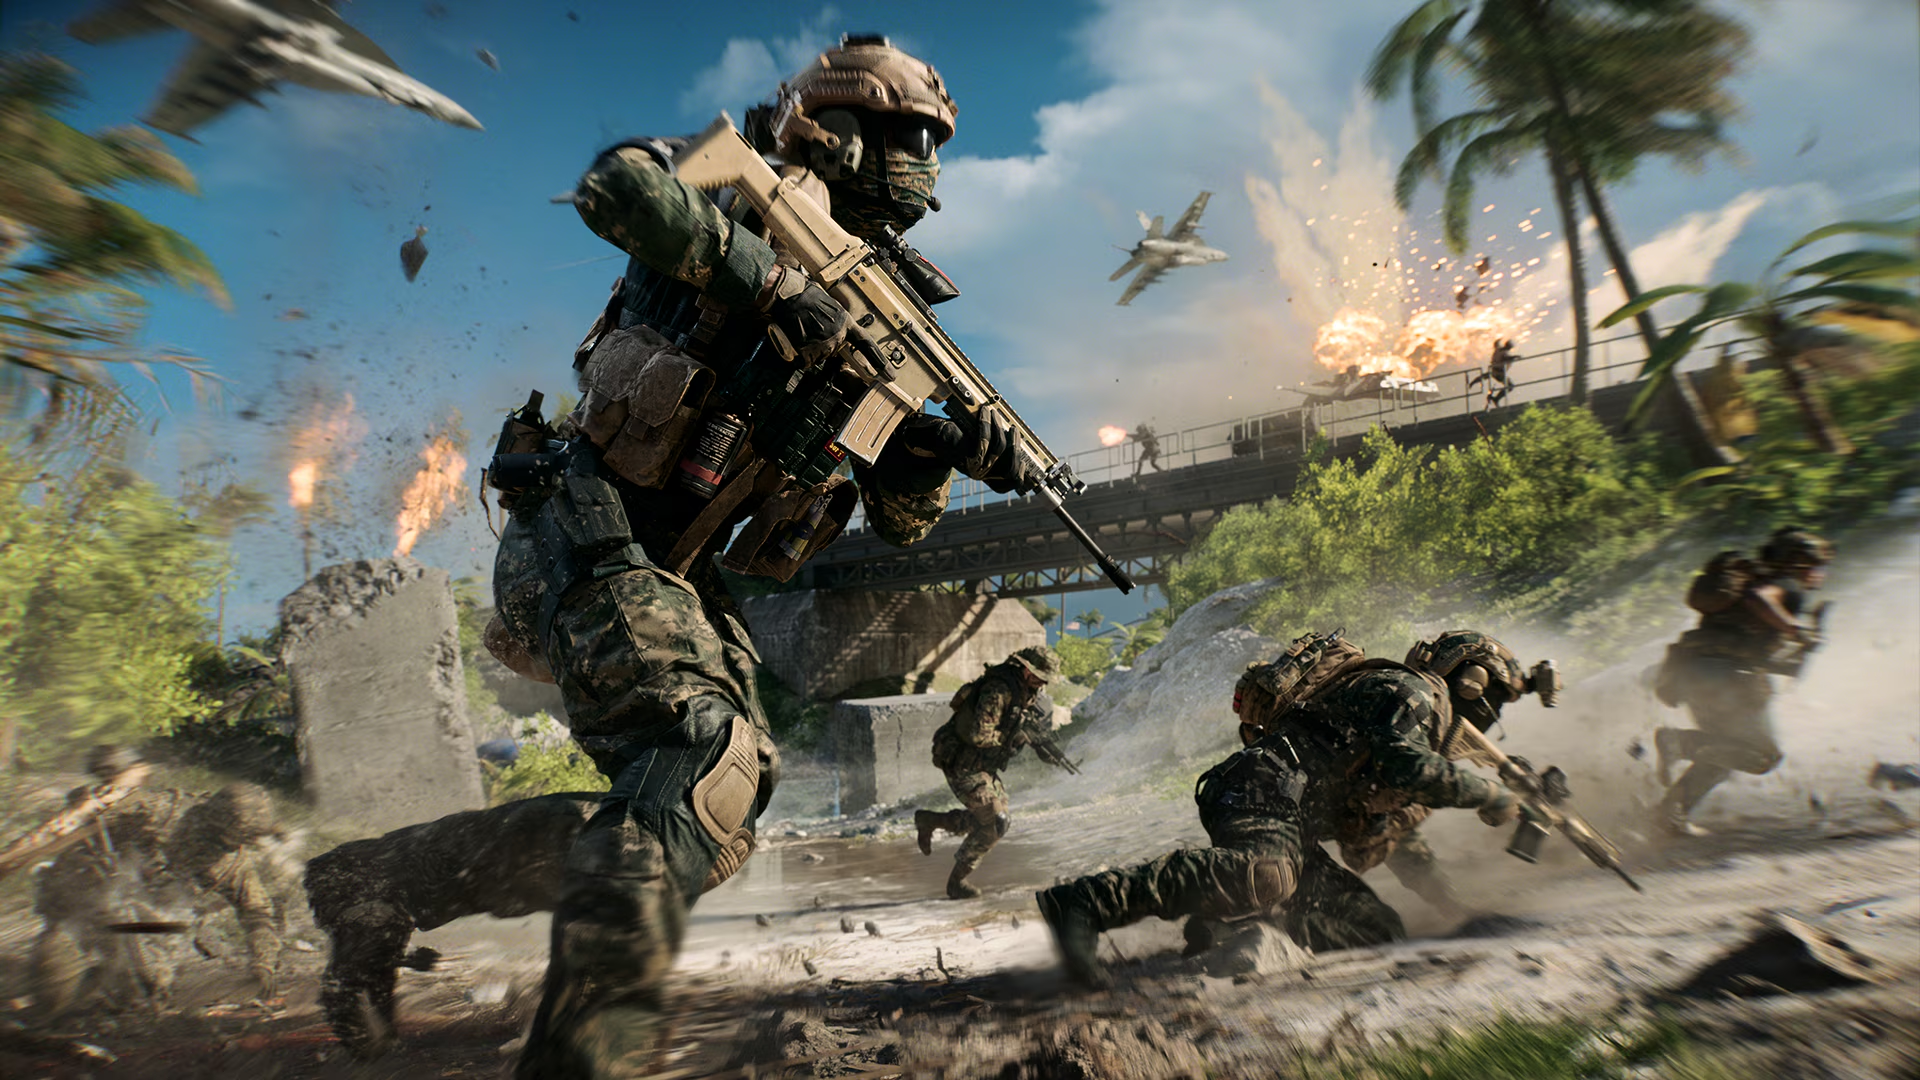
This is the map's most concrete distinctive feature. In several modes, the capture zones of three points of interest — the docks, the fuel depot and the wreck — extend into the water: boats can capture and contest them without anyone setting foot on land.
Guillermo names the modes concerned — Conquest, Breakthrough, Expansion — and draws a clear conclusion from it: a player who masters naval warfare can seriously change the course of a match.
Two reflexes follow from this. Never leave a coastal point of interest without naval oversight, even when the zone seems held on the ground: at the fuel depot, the objective sits at the center of the complex but the sea remains within reach, and a captain aboard a boat can back up a squad in trouble. Between this depot and the docks, another bridge connects the islands, lined with a small complex where anti-armor infantry post up on high ground to cut off traffic.
Two objectives per sector: the decision that rewrote the map
The current layout wasn't the first one. The studio initially worked on a configuration close to that of Battlefield V, which testing rejected for two reasons: travel times were too long, and the second sector, with three objectives, was too hard to capture on the attacking side.
Hence the rule that was adopted: a maximum of two objectives per sector. The spacing problem didn't disappear for all that, and the studio went back over the points of interest one by one, the map's boundaries, vehicle distribution and cover options — it's from this work that the central wreck was born.
Same logic on the vegetation side: an initial pass had covered the island in bushes and rocks, to the point where players could no longer find the routes; the studio scaled them back in favor of a sculpted, undulating terrain.
The horseshoe-shaped atoll carries a long history: Battlefield 1942 in 2002, Battlefield 2, Battlefield 1943 which centers everything on runway control, Battlefield 3 via the "Back to Karkand" expansion, and finally Battlefield V, the version that served as the basis for the current return.
Where to start, and the two deadlines to note
If you're discovering the map this weekend, proceed in this order. A ground match first, going through the four tunnel segments in both directions: that's what ages the least. A boat next, to contest the docks, the fuel depot and the wreck from the water. The AA gun to finish, the most rewarding position when enemy aviation dominates.
Two deadlines frame all this. Wake Island is among the four maps in the free access week, whose window closes on Tuesday, August 25: until then, the queues will stay full of players discovering the atoll at the same time as you. The Top Gun phase, for its part, runs until September 15, 12:00 PM UTC — 2:00 PM Paris time. Three more weeks to learn the map, but only four days to take advantage of this crowd.
Last call for anyone preparing a plan to share: the official points of interest map is only released in English, as its French variant isn't published. Plan for the name correspondence before sending it to your squad.
Share this article
On Wake Island, where do you feel strongest?
Frequently asked questions
Which tunnel can I take with an armored vehicle?
Only the tunnel connecting the Ammunition and Weapons Depot to Hangar 1 is wide enough for large vehicles. The other three tunnels — between the barracks and the hangar, between the ammunition depot and the fuel depot, and between the fuel depot and the docks — remain infantry-only.
Why was the MV Cetus shipwreck added to the center of the map?
The wreck fixes an issue from previous versions where the vast stretches of open water heavily favored snipers and discouraged boat movement. It now offers cover, zip lines, and an intact AA gun to balance out fights in the middle of the island.
Which points of interest have capture zones that extend into the water?
Toyoshima Docks, the True Energy Hydrocarbons Fuel Depot, and the MV Cetus Shipwreck all have capture zones that spill out into the sea. In Conquest, Breakthrough, and Rush modes, boats can capture and contest these objectives without anyone ever setting foot on land.
Is there actually a lore reason for the shipwreck's presence?
Yes. The MV Cetus is an Egyptian transport ship that got caught out during a resupply mission to the island base. American forces were meant to recover it before hostilities broke out, but it ended up run aground right in the heart of the atoll.
Key takeaways
- The four tunnels connect five points of interest in a chain, but only the one between the ammunition depot and the hangar allows armored vehicles through.
- The MV Cetus shipwreck at the center fixes a major flaw from previous versions by offering cover and zip lines where snipers used to reign supreme.
- Three coastal points of interest have capture zones that extend into the water: ignoring naval oversight on these objectives means losing the match.
- The final map dropped the previous three-objectives-per-sector layout in favor of a maximum of two, cutting down travel times and strengthening the attack-defense balance.
- The rolling terrain and stripped-back vegetation are deliberate choices so players can clearly read the combat routes.
Comments
No comments yet. Be the first to react!
Leave a comment
Similar guides
Latest articles







Your opinion counts
Rate Battlefield 6
Click a star to rate