



 Alexandre Jollier


Full Guide
AC Black Flag Resynced Photo Mode: the ultimate guide
In brief
Black Flag Resynced finally integrates a Photo Mode absent from the original AC4. You must first enable it in the options (Gameplay > Photo Mode), then launch it in-game with F3 (PC), L3+R3 (PS5), or both sticks (Xbox). The interface offers four complete tabs to craft your captures: camera, depth of field, filters, and decorations.
The Photo Mode didn't exist in the original AC4 - it's one of the standout new features of Black Flag Resynced. But be careful: it's not enabled by default. You'll need to go through the options menu before you can press anything in-game. And given the graphical quality of this remake, we imagine you'll want to immortalize a few scenes!
Enabling Photo Mode in the settings
Open the main menu (Esc key on PC, Start button on controller), then go to Options. On PS5, it's accessed via the touchpad; on Xbox, via the View button. Then head to the Gameplay tab, scroll down to the Photo Mode menu, and switch the option to ON.
This is the essential prerequisite. Without it, the in-game shortcut won't do anything.
Launching Photo Mode in-game
Once the option is enabled, here are the shortcuts depending on your platform:
- PC (keyboard): F3 key
- PS5: press L3 + R3 simultaneously
- Xbox Series X|S: click both sticks simultaneously (left + right)
The game pauses completely the moment you trigger the mode, whether you're mid-boarding or running across rooftops. Cutscenes are the only exception - there's no way to launch it during a scene.
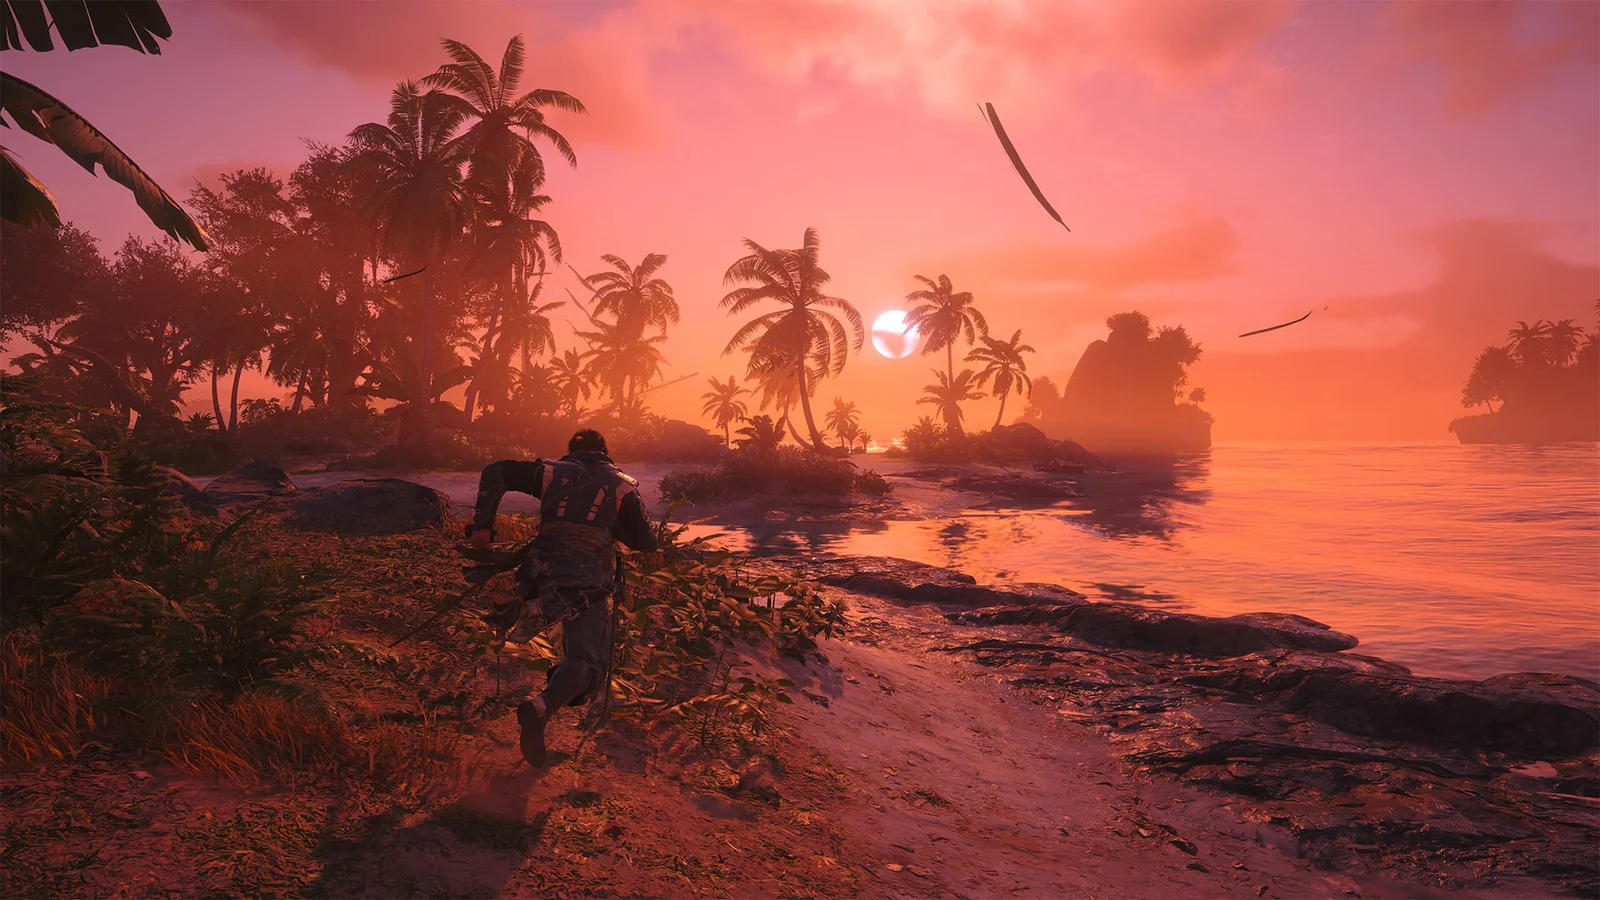
Camera controls
On PC, the camera moves with WASD + mouse for rotation. Ctrl + WASD allows finer movement, and C / Z handle height (raising/lowering the camera crane). Space to trigger the capture, F to preview.
On controller, the left stick moves the camera, the right stick handles rotation. The triggers (LT/RT or L2/R2) control height. Basic, but functional.
The four Photo Mode tabs
The interface is split into four sections. Here's exactly what each one offers:
Camera
- Image rotation (camera roll)
- Field of View - to tighten or widen the frame
- Choice between several framing grids (thirds, center, etc.)
Lens
- Depth of Field with aperture and focal distance adjustment
- Bokeh effect to blur the background
- Auto-Focus mode: the game automatically selects the subject to highlight
- Film grain with intensity adjustment
Filters
- Various FX filters to change the overall mood
- Manual adjustments: brightness, exposure, temperature, hue, saturation, contrast
Decorations
- Vignette with size and intensity control
- Frames to apply around the edges
- Customizable stickers: position (X/Y axes), scale, rotation, hue, luminance, saturation
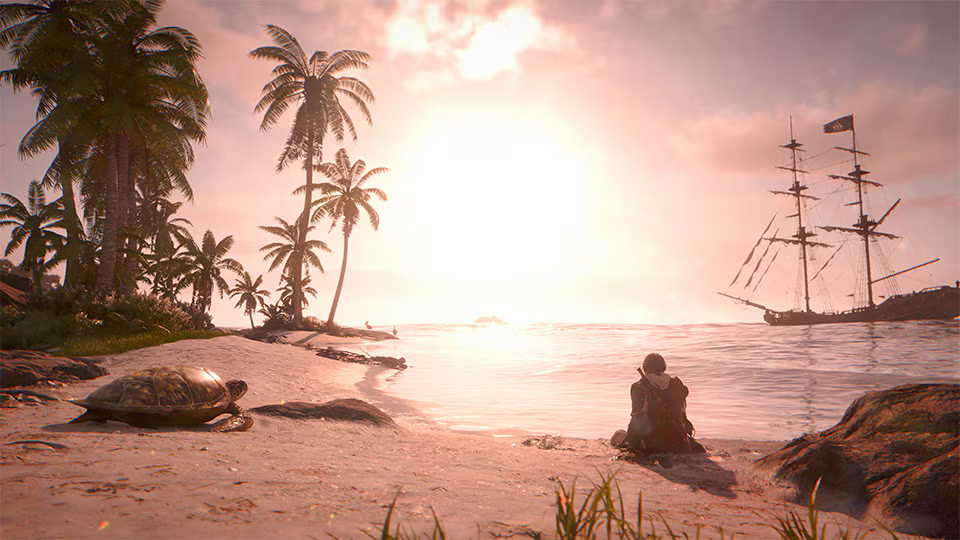
Where captures are saved (PC)
On PC, photos are automatically saved in the following folder: C:\Users\YourUsername\Documents\Assassin's Creed Black Flag Resynced\photos. No need to search for them in Steam screenshots or elsewhere - they have their own dedicated directory.
A few practical tips
The Auto-Focus in the Lens tab is useful when you're struggling to isolate Edward in a busy scene - let the game handle the focus, then fine-tune manually if needed. For sea scenes, the exposure and temperature settings in the Filters tab make a real difference on light reflections. And if you're going for a cinematic look, combine a strong Bokeh with a wide frame and a light vignette.
Ubisoft also offers an official community section for submitting your best shots - a good reason to take care with your framing rather than spamming F3 non-stop.
Share this article
What would you use Photo Mode for the most?
Frequently asked questions
Why doesn't Photo Mode work when I press the button?
That's normal: Photo Mode is disabled by default. Go to the main menu > Options > Gameplay, find "Photo Mode" and switch it to ON. Once enabled, the shortcut will work.
Can I launch Photo Mode during a cutscene?
No, cutscenes are the exception. Photo Mode works everywhere else — mid-combat, while swimming, on rooftops — but not during cutscenes.
Where do my captures end up on PC?
They automatically save to C:\Users\YourUsername\Documents\Assassin's Creed Black Flag Resynced\photos. No need to look for them in Steam screenshots, they have their own folder.
What is this Auto-Focus feature everyone's talking about?
It's a smart shortcut in the Lens tab: the game automatically picks the main subject (Edward, an enemy, a detail) and focuses on it. Handy when the scene is too busy to manually isolate what you were aiming for.
I want a cinematic effect, how do I get it?
Combine a pronounced Bokeh (Lens tab) to blur the background, widen the field of view, then add a light vignette (Decorations tab). Also play with exposure and temperature (Filters) for sea scenes — it really makes a difference.
Key takeaways
- Photo Mode is disabled by default — go through Gameplay > Options to enable it, otherwise no shortcut will work.
- Three inputs are all it takes: F3 on PC, L3+R3 on PS5, or both sticks on Xbox to freeze the action and start capturing.
- Bokeh, depth of field, Auto-Focus, and film grain let you aim for a cinematic look rather than plain screenshots.
- On PC, your photos automatically save to Documents/Assassin's Creed Black Flag Resynced/photos, not in Steam screenshots.
- Combine a light vignette, pronounced Bokeh, and adjusted exposure to elevate sea scenes where reflections matter most.
Comments
No comments yet. Be the first to react!
Leave a comment
Similar guides
Latest articles








Your opinion counts
Rate Assassin's Creed: Black Flag Resynced
Click a star to rate