



 Fabian Lainé
Full Guide
Subnautica 2: Optimal Tech Tree Order — 2026 Blueprints
In brief
Subnautica 2 imposes a dense, interdependent tech tree where every blueprint unlocks depth, immersion time, and resources. This guide maps out the critical path (seven mandatory steps to progress through the story), details the quality-of-life blueprints that truly change the game, and ranks the tools, vehicles, and modules to prioritize unlocking so you don't get stuck early on.
Once the escape pod has stabilized on Proteus, the real work begins: the tech tree. In Subnautica 2, every blueprint you unlock determines how deep you dare to dive, how long you can stay underwater, and how many resources you bring back to base. But the 2026 early access version has considerably thickened the tech tree compared to the original Subnautica, with scans requiring two to three fragments, rare materials protected by biological adaptations, and a critical path that's far from obvious to newcomers. This guide maps out the full list of recipes category by category, indicates the biomes where each fragment can be scanned, proposes an optimal progression order, and highlights the ten blueprints you absolutely need to unlock first so you don't get stuck on the Shallow Reefs.
How the Subnautica 2 tech tree works
The Subnautica 2 tech tree is nothing like a linear tree à la Tarkov or Rimworld. It relies on three coexisting unlock mechanisms: gathering all the materials needed for an item at least once, scanning wreckage debris or alien artifacts with the Scanner tool, or recovering a recipe data card from a point of interest. The majority of useful mid-game recipes require two or three scans of identical fragments: a single pass is almost never enough, which explains why some players get stuck for hours on the same vehicle.
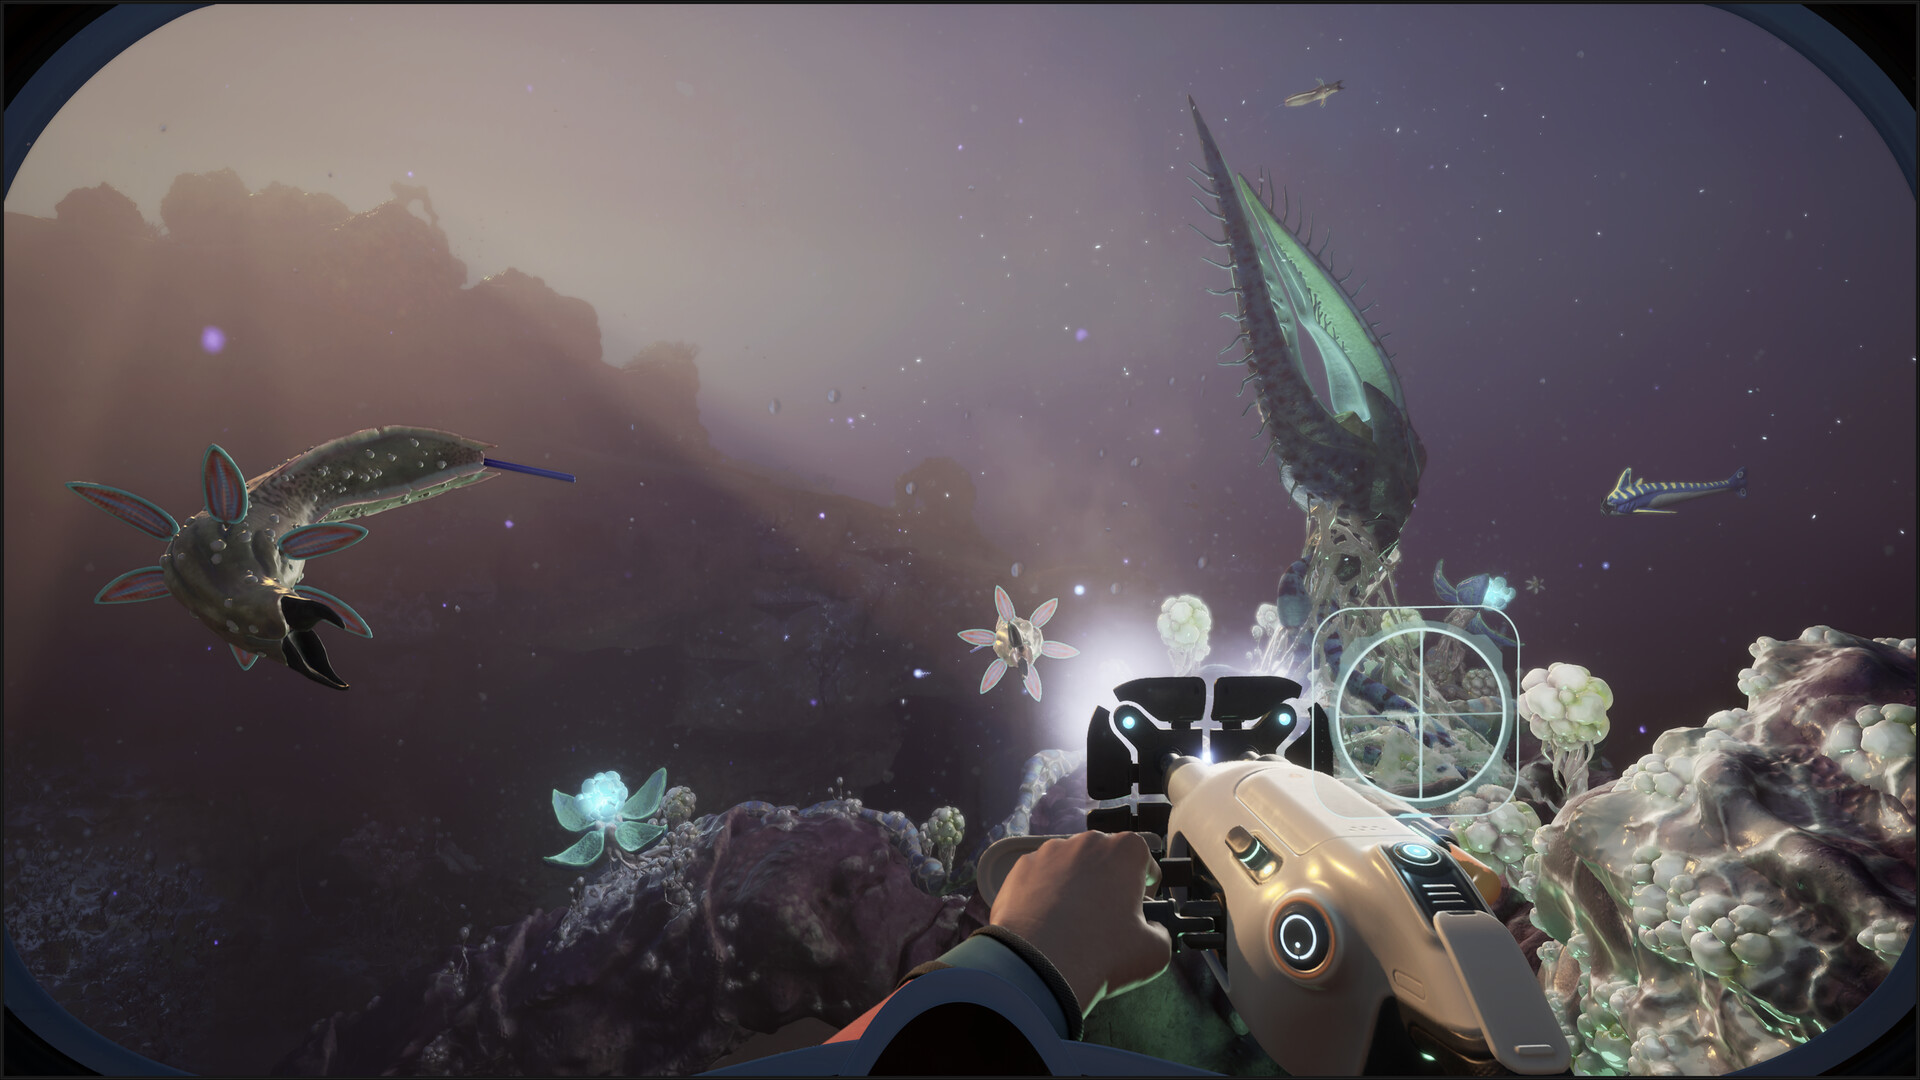
Second subtlety: the escape pod's Fabricator is corrupted. It only offers basic recipes (Basic Battery, Flashlight, Fins, Scanner) and you absolutely must build a fully functional Fabricator inside a habitat module to access the rest of the catalog. This means the Habitat Builder is the game's first progression gate — not a comfort item, but a critical one. Finally, several areas require a biological adaptation (Thermal Resistance, Pressure Tolerance) that you activate at the NOA by absorbing genes from local wildlife, which gates certain fragments behind a genetic prerequisite.
Critical path: the mandatory sequence for the story
The critical path refers to the minimum sequence of tools, vehicles, and modules you need to unlock to advance the main storyline and reach the deep biomes. It boils down to seven ordered steps:
- Basic Battery (Lifepod Fabricator, 2 Copper + 1 Raion Acid Pouch) — the fuel for everything else.
- Scanner (2 Titanium + 2 Quartz + 1 Basic Battery) — without it, no fragment can be logged.
- Flashlight (2 Titanium + 1 Quartz + 1 Basic Battery) — essential for reading the inside of wrecks.
- Habitat Builder — two fragments in the Reception Center, about 85 meters southeast of the lifepod.
- Compartment (I) + Hatch + Fabricator — the minimal base that unlocks the full crafting catalog.
- Repair Tool — three fragments spread between the base tied to Chap's signal (~220 m southeast), the crashed base (~270 m south), and the sunken warehouse (~350 m northeast).
- Seaglide — three fragments to the west and east of the lifepod; it's the vehicle that opens up exploration beyond the 100-meter mark.
As long as these seven blueprints aren't checked off, there's no point trying to dive deeper: you'll waste oxygen and miss scans that would unlock the rest of the game much faster.
Comfort route: the blueprints that change everything
Alongside the critical path, a parallel comfort route makes the game radically more pleasant. Fins (2 Titanium + 1 Fiber Mesh) double swim speed and can be crafted within the first hour. The Standard Oxygen Tank (2 Titanium + 1 Rubber + 2 Silver) brings the oxygen reserve up to a level that can support exploring for Repair Tool fragments. The wall-mounted Storage Locker avoids constant back-and-forth trips to the lifepod's inventory. And above all, Filtered Water obtained by squeezing a Water Slug solves the thirst problem without needing a Water Filtration Machine, which comes much later.
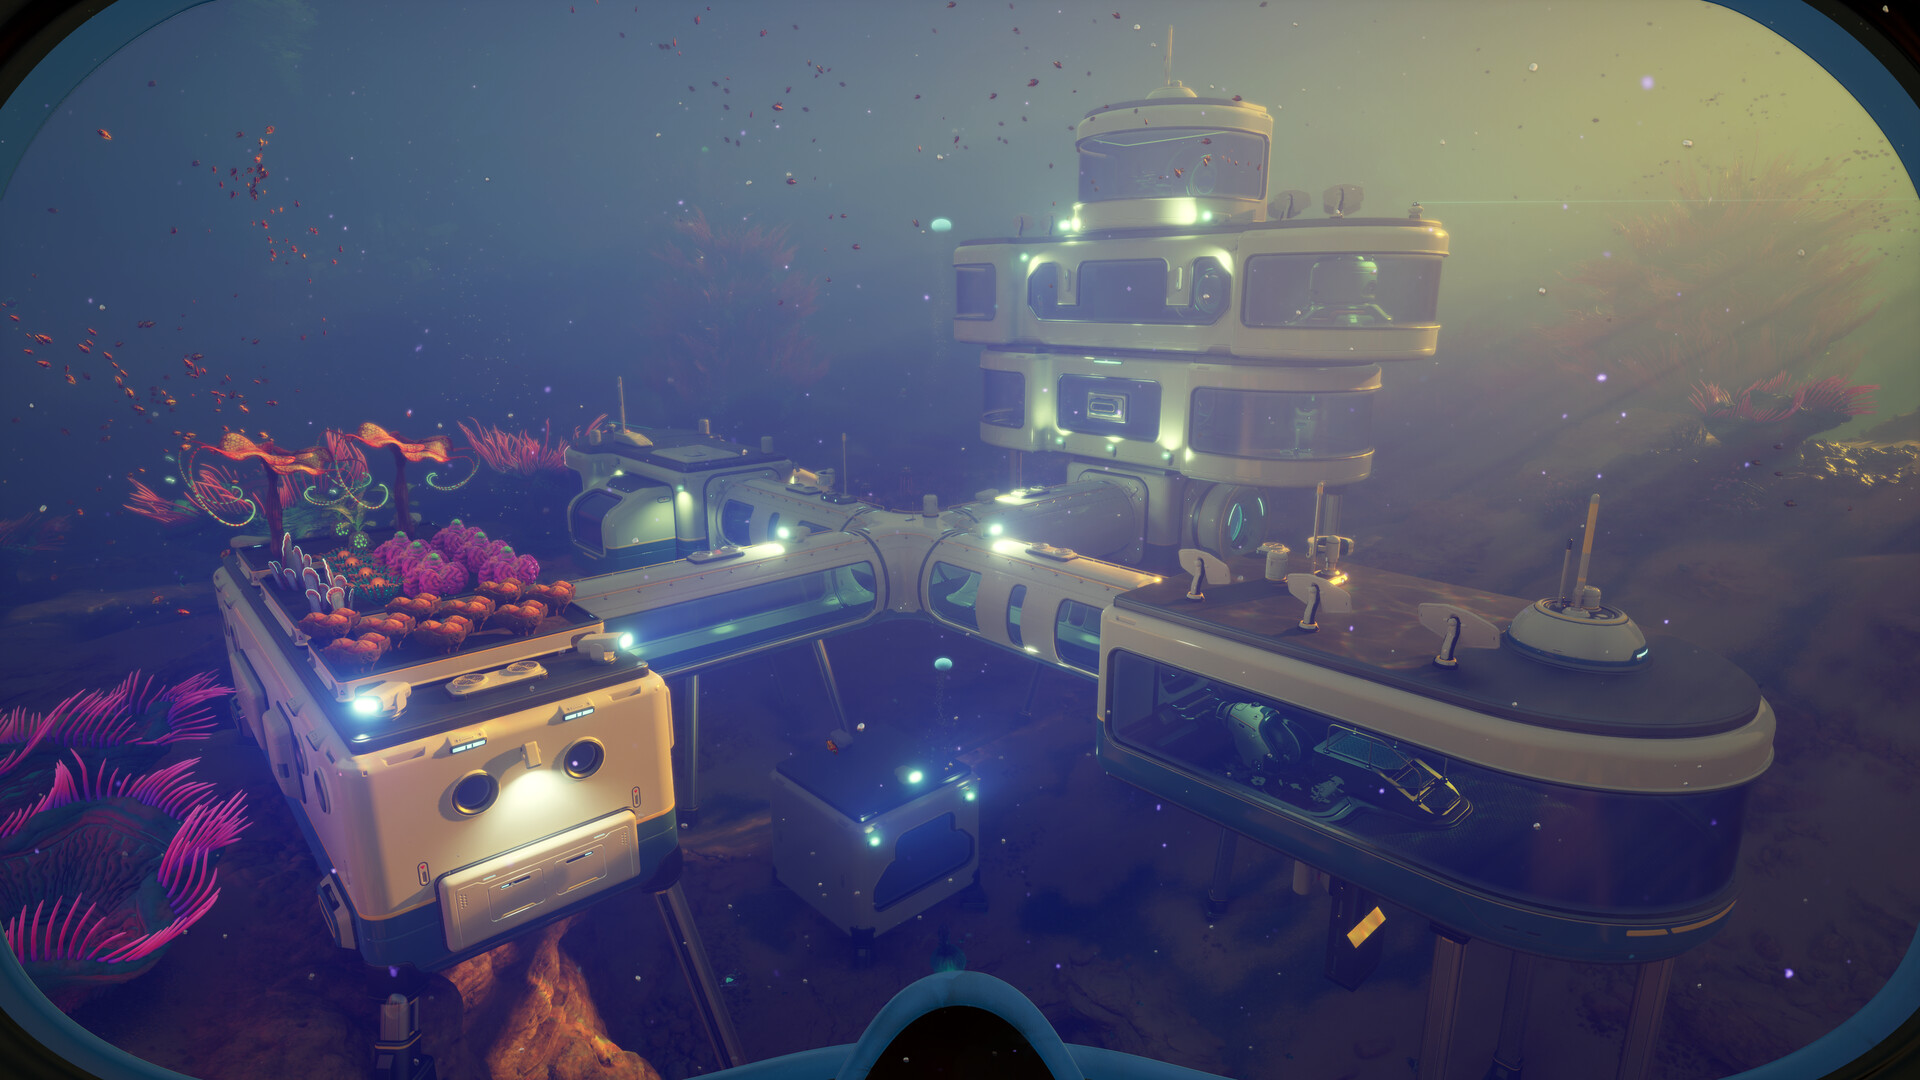
Another cornerstone of comfort: the Solar Panel. Placed above a base module at a depth of less than 50 meters, it provides continuous, free energy that powers the Fabricator, lighting, and lockers. The Bioreactor comes next, as backup for nights or deeper dives where sunlight no longer reaches. Players who neglect these two modules regularly find themselves recharging their batteries by hand, a massive waste of time.
Essential tools and their fragments
The Tools category holds most of the progression gating. Here is the exhaustive list as found in mid-2026:
- Scanner — 2 Titanium + 2 Quartz + 1 Standard Battery. Three fragments to scan (but a first copy is provided upon opening the escape pod).
- Flashlight — 2 Titanium + 1 Quartz + 1 Standard Battery. Fragments in the caves of the Shallow Reefs.
- Habitat Builder — 2 Titanium + 1 Glass + 1 Standard Battery + 1 Copper Wire. Two fragments at the Welcome Center.
- Repair Tool — 1 Titanium Ingot + 1 Wiring Kit + 1 Standard Battery + 1 Sulphur. Prerequisite: Sonic Resonator + Thermal Tolerance to fetch the Sulphur from the Thermal Spires.
- Sonic Resonator — 2 Titanium Ingots + 2 Lead + 1 Wiring Kit + 1 Standard Battery. Two fragments concentrated at the Old Habitat, 420 meters north-northwest of the escape pod.
- Feedback Resonator — upgrade to the Sonic Resonator: 1 Sonic Resonator + 2 Enameled Glass + 2 Conductive Crystal + 2 Strontium, assembled at the Modification Station.
- Wakemaker — 1 Silver + 1 Wiring Kit + 1 Grease + 1 Standard Battery. Late-game underwater propulsion tool.
- Gas Torpedo — defensive weapon, unlocked via a recipe data card found in a wreck.
The good news is that Scanner and Flashlight fragments are everywhere from the Shallow Reefs onward: missing them is almost impossible. The bad news is that the Sonic Resonator and the Repair Tool form a duo that must be unlocked together, since the Repair Tool requires Sulphur that's inaccessible without breaking nodules with the Resonator.
Vehicles: the Têtard and its modular chassis
Unlike the first Subnautica, Krafton and Unknown Worlds have gone all in on the modular vehicle. The Cyclops is renamed Têtard in the French version, and it replaces both the Seamoth and the heavy submarine from the first game. You get the base hull from three fragments scattered in a circle around the escape pod: 110 meters south-southwest (a wreck hanging from a cliff), 240 meters southwest (inside a hatch on a rock wall), and 280 meters east-northeast (a platform accessible via a downward current).
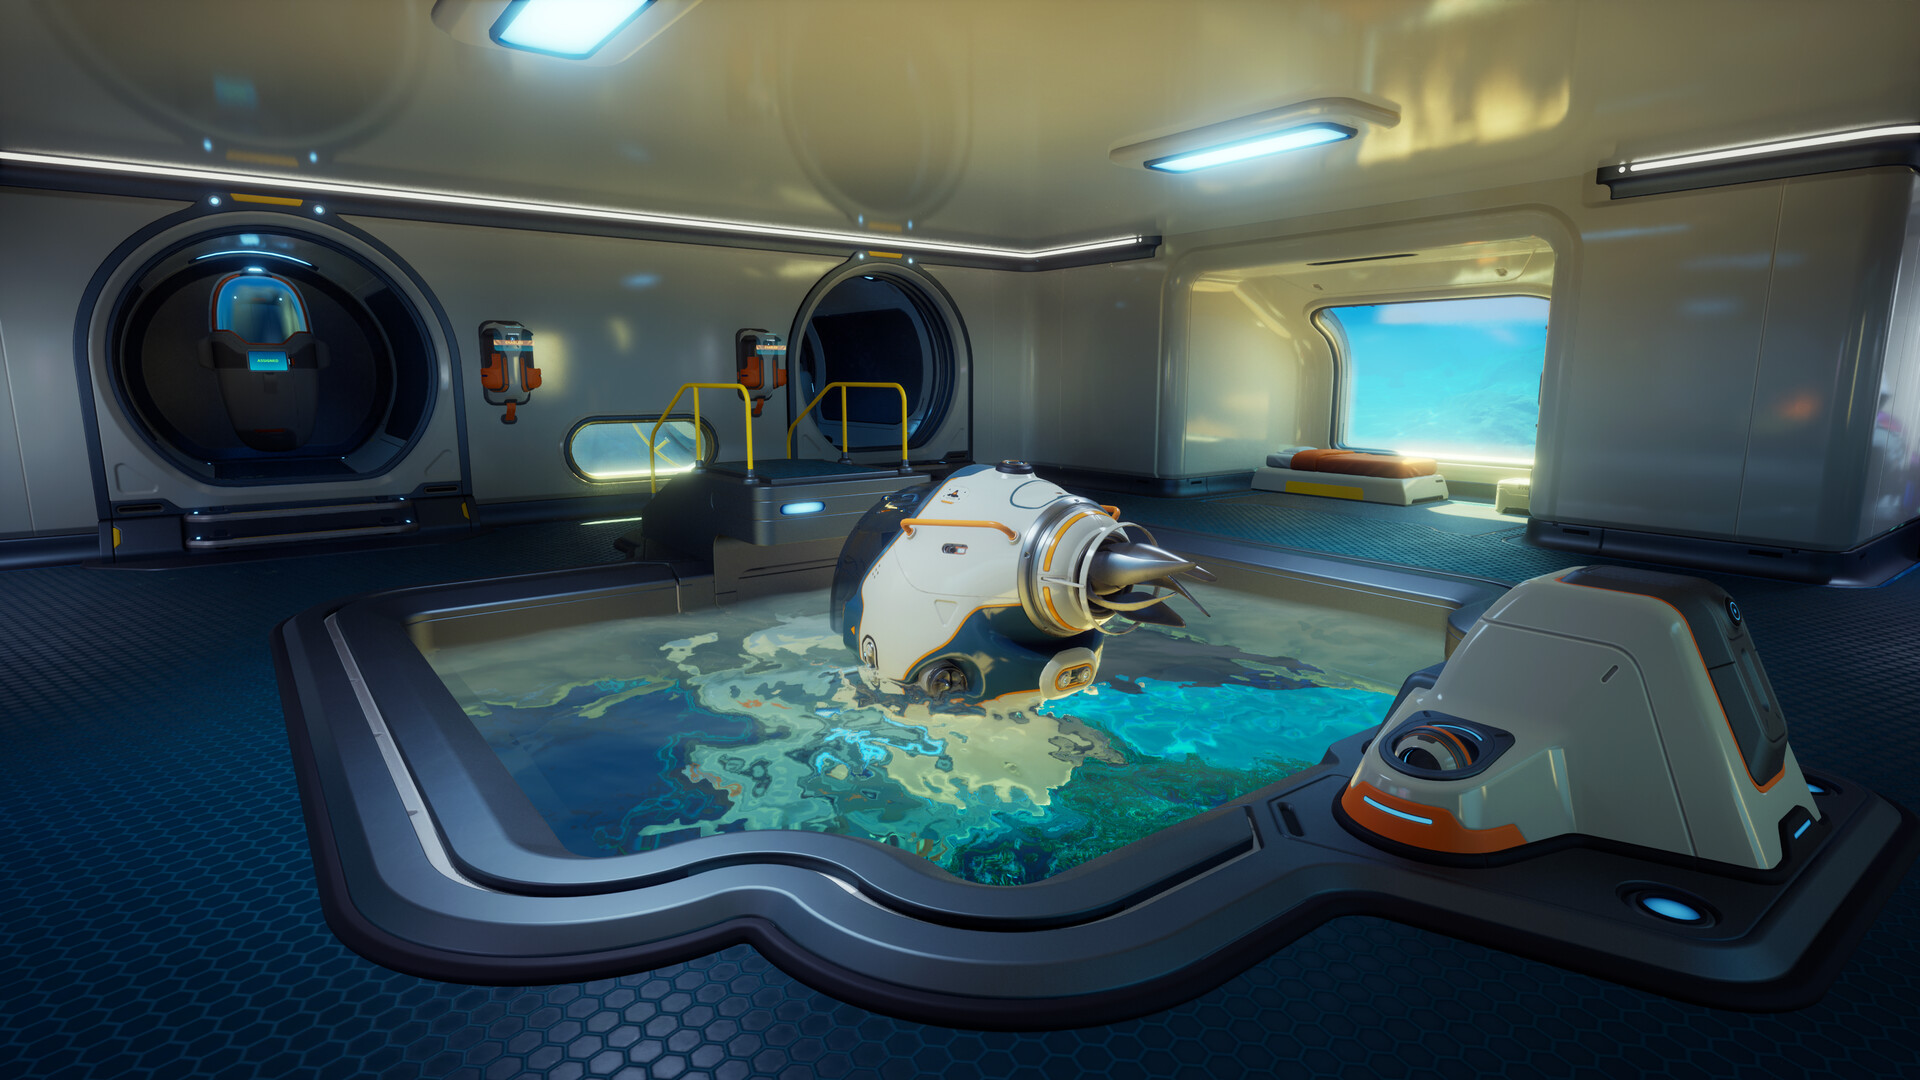
The Têtard recipe requires 2 Titanium Ingots, 1 Glass, 1 System Chip and 1 Power Cell. It must be built in a Vehicle Fabricator (2 Titanium Ingots + 1 Copper Ingot + 2 Glass) which is itself placed inside a Immersion Chamber (5 Titanium). Once the vehicle comes out of the workshop, you dock it at the Têtard Dock module (2 Titanium Ingots + 1 Silver Ingot + 2 Copper Wire) to recharge it and swap chassis. Two advanced chassis can then be unlocked: the Scout Ray Chassis (2 Plasteel Ingots + 1 Advanced Wiring Kit + 1 Dedicated Core + 1 Strong Acid), specialized in speed and sonar, and the Haul Chassis, dedicated to resource transport. The Prawn Suit and the large mobile base submarine are confirmed but not yet present in the July 2026 build.
Habitat and energy: building your optimal base
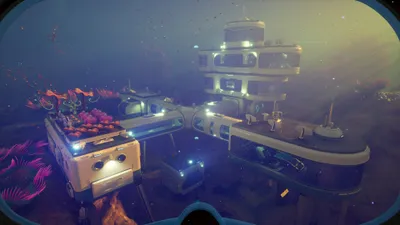
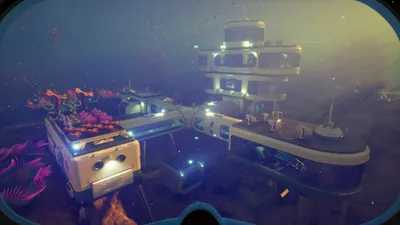
On the habitat side, the English nomenclature faithfully follows that of the first installment while adding the new modular features. The base building blocks are the Compartment (I/T/X) for straight, T-shaped and cross-shaped corridors (2 Titanium per section), the Multipurpose Room (6 Titanium) for living and crafting space, and the Moonpool to house the Vehicle Fabricator. The Scanner Room remains one of the most cost-effective blueprints: it automatically maps resources and fragments within a given radius and saves a considerable amount of time on gathering runs.
For power, the hierarchy is clear:
- Solar Panel — perfect below 50 meters, free to run.
- Thermal Plant — for areas with strong currents.
- Bioreactor — burns plants and fish, ideal as a backup.
- Thermal Power Plant — place it near Thermal Vents for near-infinite energy.
- Power Transmitters — to supply distant bases without multiplying generators.
The Habitat Builder, once unlocked, opens access to four specialized crafting stations to place inside a module: the Fabricator (tools, food, basic equipment), the Modification Station (upgrades and modules), the Processor (refining raw materials into ingots), and the Biolab (organic projects and creatures). The May 2026 early access build delivered 76 placeable pieces in total, leaving considerable room for decoration.
Equipment, consumables and advanced materials
The Equipment category remains relatively compact in early access. Fins, the Standard Oxygen Tank and the Rebreather make up the diving set. On the Consumables side, notable items include Cooked Fish (at the Fabricator, made from scanned fauna), the Nutrient Block (2 Plant Matter + additional ingredients) for dietary stability, the First Aid Kit made from a Medical Gel Sac, and Water extracted from a Water Slug. The Water Filtration Machine comes later, but once unlocked it eliminates the need to hunt for water-producing fish.
The intermediate materials to keep an eye on in order to progress beyond the critical path are the Titanium Ingot (refined at the Processor from raw titanium ore), the Wiring Kit (1 Silver + 1 Copper Wire), the Circuit Chip (obtained by scanning artifacts) and the Power Cell (2 basic Batteries + 1 Strong Acid + 1 Salt). Advanced blueprints — Scout Ray Chassis, Feedback Resonator, Scanner Room — all require a combination of these intermediates, which is why it pays to refine them ahead of time.
The 10 priority blueprints to unlock in 2026
Here, in the exact order in which they should be checked off to progress quickly, are the ten recipes that unlock 80% of the early access content:
- Scanner — the gateway to the entire tech tree.
- Basic Battery — the fuel for every tool.
- Habitat Builder — access to the full Fabricator.
- Compartment (I) + Hatch + Fabricator — the minimum operational base.
- Solar Panel — freedom from the energy constraint.
- Repair Tool — access to sealed wrecks.
- Sonic Resonator — breaks crystalline nodules (Sulfur, Conductive Crystal).
- Pod — a leap in mobility and depth.
- Scanning Room — automatic resource mapping.
- Feedback Resonator — access to deep biomes and alien artifacts.
Following this order avoids the game's main pitfall: heading off to hunt Sulfur before getting the Sonic Resonator, or attempting the Pod without having built its Immersion Chamber and its Vehicle Fabricator.
Mistakes to avoid in scan order
Three pitfalls keep coming up on the early access forums. The first: scanning a single fragment per blueprint and assuming the recipe is unlocked. No — the interface clearly shows the number of remaining scans in the PDA. The second: searching for advanced fragments too early. The Repair Tool fragment located in the sunken warehouse 350 meters to the northeast is reachable without the Pod, but oxygen runs out too fast to hope for three dives in a row without an intermediate base. The third: ignoring biological adaptation. The Pod Enclosure, which contains several unique fragments and materials, only opens with Thermal Resistance — activated at the NOA after absorbing the right genes.
One last habit to build: before every expedition, head back to base, load up two spare Basic Batteries, fill your inventory with water and nutrient blocks, and check the state of your Air Bladder. Since resources are procedurally generated, the exact location of fragments varies slightly from one playthrough to another, but the described zones (Reception Center, Old Habitat, crashed base) remain consistent.
What to remember to progress quickly
Subnautica 2's tech tree rewards scanning discipline more than exploration speed. Prioritize the Scanner, the Basic Battery, and the Habitat Builder within the first hour, immediately build a module housing a fully functional Fabricator, then move on to the Repair Tool and the Sonic Resonator to open the door to the Thermal Spires. The Pod comes next, supported by its Immersion Chamber and its Mooring. Following this order turns a game that was dragging into a smooth progression, where every dive yields the fragments and materials planned for. Updates after July 2026 should flesh out the Vehicles category with the Prawn Suit and the large submarine promised by the developers — but until then, this optimal route remains the go-to reference for reaching the deep biomes without wasting time.
Share this article
Are you the type to unlock the critical path first, or to explore every corner for quality-of-life blueprints?
Frequently asked questions
Why can't I craft advanced recipes with the pod's Fabricator?
The pod's Fabricator is deliberately corrupted and only offers four basic recipes. You must build a fully functional Fabricator inside a habitat module to access the full catalog. This is a progression gating mechanic, not a bug.
In what order should I unlock the Scanner, Flashlight, and Habitat Builder?
Basic Battery first (it powers everything), then the Scanner (otherwise you can't record fragments), then the Flashlight to explore wrecks, and finally the Habitat Builder to build your base. This sequence of four blueprints is unavoidable.
The Sonic Resonator and Repair Tool are blocking my progress because of Sulfur, how do I unlock them?
Yes, that's a deliberate circular lock. The Sonic Resonator breaks Sulfur nodules in the Thermal Vents, but you also need Thermal Tolerance (a biological adaptation at the NOA) to survive there. Unlock the Resonator first, then genetically adapt, then go look for Sulfur.
Do I really need to build a Solar Panel, or is it just a quality-of-life item?
The Solar Panel and Bioreactor are technically not mandatory, but without them you'll be recharging your batteries by hand constantly — a colossal waste of time. The Panel at less than 50 m depth provides free, continuous power: it's nearly critical for the mid-game.
Where can I find the three Tadpole fragments to assemble it?
The three fragments are scattered in a circle around the pod: 110 m south-southwest (wreck hanging from a cliff), 240 m southwest (hatch on a rock wall), and 280 m east-northeast (platform accessible via a downward current). They require no biological adaptation to collect.
Key takeaways
- A fully functional Fabricator at your base is the first critical lock: the Fabricator inside the pod is corrupted and useless.
- The Scanner and Flashlight are scanned in the Shallow Reefs, while the Sonic Resonator and Repair Tool form a duo locked together.
- Fins, a Standard Air Tank, and a Solar Panel are not optional if you want to breathe during your explorations.
- The modular Tadpole replaces the Seamoth and the Cyclops from the first game, with three hulls to unlock progressively.
- Several zones require biological adaptations (Thermal Resistance, Pressure Tolerance) absorbed at the NOA before accessing certain fragments.
Comments
No comments yet. Be the first to react!
Leave a comment
Similar guides
Latest articles








Your opinion counts
Rate Subnautica 2
Click a star to rate