



 Fabian Lainé

Full Guide
Subnautica 2: Deep Biomes Guide — Karakorum, Root Canyon and the Void (2026)
In brief
Subnautica 2's deep biomes (Karakorum, Root Canyon, and the Void) turn the light exploration of the early hours into a technical dive where every piece of gear matters. This guide details where to dive, which resources are worth harvesting, which Leviathans to face, and how to come back alive in the July 2026 Early Access build.
Once you've moved past the comfort of the Shallows and the adventure of the opening hours, Subnautica 2 forces you to shift from a light exploration mindset to a technical diving one. The deep biomes forgive no oversight: not enough oxygen, a poorly equipped chassis, a base too far away to recharge the Tadpole, and you lose your load of celestine halfway to the surface. This guide covers everything that matters beyond 250 meters in the July 2026 Early Access build: where to dive, which resources are worth the trip, which Leviathans actually patrol the endgame corridors, and how to armor your route so you come out alive.

Why the deep biomes change the nature of the game
In the first Subnautica, depth rewarded curiosity. In Subnautica 2, it punishes haste. The map is stacked vertically around three major regions — the Coral Gardens, the Sparse Plains, and the Karakorum ruins — and the difficulty spikes sharply past 300 m. Below that line, oxygen becomes a constant metronome, the pressure demands at least the Mk1 depth module on the Tadpole, and you encounter for the first time Leviathans capable of swallowing your Explorer chassis whole rather than just reducing it to a drift of algae.
Another major difference: the natively deployed 4-player co-op changes how roles get split. One duo can secure the return route at the ping while another dives, which radically extends the exploration window in the abyss. The 1.1 update rolled out in June 2026 also added coordinated stuns on predators, a mechanic designed for three or four players facing the big deep-water Leviathans.
Vertical mapping: where the endgame really begins
The Early Access build officially offers six explorable biomes, plus the Void, which serves as the boundary, and two zones (Great Trench and Xanadu) still in development. Here is the current stratification, along with what diving costs you in gear.
| Biome | Depth | Key resources | Main threat |
|---|---|---|---|
| The Shallows | 0-224 m | Copper, titanium, quartz, coral shards | None |
| Dolerite Spires | 0-128 m | Lithium, fibrous pulp | Great Jaw (ambush) |
| Sparse Plains | 0-250 m | Titanium, copper, celestine, dragon scales | Collector Leviathan |
| Karakorum Metal Farms | 0-500 m | Atacamite, celestine, rare metals | Collector Leviathan |
| Overgrown Ruins | 0-600 m | Narrative fragments, alien artifacts | Ambient fauna; late narrative boss |
| Root Canyon | 364-750 m | Deep crystals, massive metal deposits | Deepwing Brooder |
| Void (border) | 0-3100 m | — | Shiver Leviathan (pack) |
Remember the logic: as long as you stay above 250 m, a basic Tadpole is enough. Once you're targeting the Metal Farms or the Canyon, you'll need the Mk1 depth module (450 m), an extended oxygen reserve, and ideally an Explorer chassis loaded with storage lockers. The Cargo chassis becomes worthwhile for Karakorum round trips, and the Predator chassis only really earns its place from the Canyon onward, once the margin for error against hostiles collapses.
Karakorum Metal Farms: the first real endgame dive
The Metal Farms, adjoining the Karakorum ruins, are the game's rigorous training ground. Expect a descent between 250 and 500 m, a seafloor riddled with thermal vents and mineral fissures, and a permanent presence of the Collector Leviathan, which follows a circular patrol above the richest areas.
What you're coming here to find:
- Atacamite — key material for the Seamoth's Mk2 modules, notably the sonar and hull upgrade.
- Celestine — already appears in the Sparse Plains but becomes abundant here, essential for advanced electronics.
- Massive metal deposits — large copper and titanium nodules to break open with the pulse laser; a single well-executed run covers several crafting sessions.
Crucial tip: the Collector has a very long attack phase but a substantial recovery time. If you spot it on the compass, don't flee with active sonar on — the signature alerts it instantly. Cut the engine, let the Seamoth drift behind a vent, and only start it up again once its silhouette is out of view. In co-op, one player can act as bait while another harvests: it's brutally more profitable than going solo.
Root Canyon: the true abyssal tier of the current build
Officially, the Root Canyon (translated as « Canyon Racinaire » in the French client) is the deepest biome actually explorable in version 1.1. It begins at 364 m and descends to roughly 750 m, which absolutely requires the Mk1 depth module and very tight energy management.
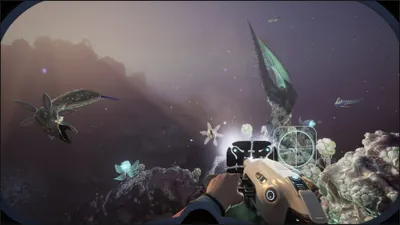
The setting is a labyrinth of calcified roots and vertical galleries. Natural light disappears around 500 m: turn on the Seamoth's headlight, but keep in mind that it attracts predators. Three things to gather here:
- Deep crystals — used by the Advanced Scanner Room and by the Seamoth's stealth modules.
- Late-game blueprint fragments — several blueprints for the Rare Multipurpose Room and the Upgraded Vehicle Fabricator only appear in the Canyon's side nooks.
- Eggs and organic shards — needed for the High-Pressure Water Filtration Machine and certain bio-fuel recipes for the Bioreactor.
The Canyon is also the area where several players have documented the Deepwing Brooder, the fourth confirmed Leviathan of patch 1.1. Unlike the Collector, it doesn't patrol: it nests. You can cross the same gallery ten times without encountering it, then stumble upon its territory on the eleventh pass. Mark the egg alcoves with a beacon ping so you never go back in blind.
Overgrown Ruins: the narrative route beneath the Overgrown Ruins
Technically shallower (0-600 m), the Overgrown Ruins — Ruines Envahies in the French client — serve as a narrative corridor between Karakorum and the Canyon. It's here that you'll come across the Axum Observatory and the Rosetta Stone, two major milestones in the current story.
Unlike other deep biomes, the Overgrown Ruins reward analysis rather than raw harvesting. Every room hides consoles to scan, audio logs to retrieve and environmental puzzles to solve. Always bring along a stock of charged batteries: the Scan Room consumes enormous amounts of energy, and a round trip to the submarine through a poorly lit alien corridor costs a lot of oxygen.
A point often overlooked: the Overgrown Ruins connect to the Root Canyon via a narrow tunnel. In co-op, one team can secure the tunnel and serve as an oxygen relay for the team pushing deeper. It's the only real horizontal link between the two endgame zones — knowing about it shortens your runs.
The Void and the Shiver Leviathan: crossing the border?
The Void is not a biome to farm, it's a boundary. On paper, it goes down to 3,100 m, but nothing grows there and nothing can be collected: its function is to contain players within Proteus's map. In gameplay terms, crossing it means exposing yourself to packs of Shiver Leviathans, whose female measures around 89 m and coordinates several 39 m males from a distance.
Shivers function as a biological pack: the female stays back and "designates" her target, while the males envelop the Seatruck. On a bare Explorer chassis, survival is nil. On a Predator chassis with a silence module and shield, you can pull away — but only by cutting off every sound signal, including the spotlight, at the very first blip of the passive sonar.
Important note regarding patch 1.1: the Wakemaker, also classified as a Leviathan, has documented behavior of carrying players beyond the world's border. This is not a bug, it's a scripted trap. Never attempt to ride it without a recall plan: without a beacon and without a teammate ready to come get you, you'll be dropped straight into the Void, within direct range of the Shivers.
The four confirmed Leviathans of patch 1.1
The current build exposes four distinct Leviathans. Factoring them into your planning is more profitable than trying to fight them:
- Great Jaw — a near-motionless ambush giant, much like a carnivorous plant, lurking in the Dolerite Spires. Spotting it is enough to avoid it; it doesn't pursue.
- Collector Leviathan — a solitary, intelligent cephalopod that patrols the waters east of the lifepod and as far as the Karakorum Metal Farms. The first real test of evasion.
- Deepwing Brooder — nests in the Root Canyon. Territorial, aggressive near its eggs, very manageable if you map out its nesting areas.
- Shiver Leviathan — an air-and-sea pack (female + males) that haunts the Void. To be avoided at all costs, except on a dedicated co-op run with a Predator chassis.
Fragments and blueprints that only appear in the depths
Several blueprints essential to the late game never drop in shallow zones. Here is a practical harvesting map:
- Tadpole Mk2 Depth Module — wrecks in the Metal Farms, often near vents.
- Advanced sonar and silent running module — lateral sections of the Root Canyon; scan every piece of colonial debris.
- Tadpole Shield — fixed deposit in a sealed room within the Overgrown Ruins, unlockable via a resonance puzzle.
- Thermal Plant — wrecks along the Karakorum edge, systematically stuck to geysers.
- Long-range power transmitters — fragment combos spread between the Overgrown Ruins and the Canyon; needed to power a deep base from the surface.
Harvesting tip: always do at least two scan passes per wreck. The Scan Room marks missing fragments for the same blueprint on the surface, which saves you from diving back down to 500 m for a half-completed plan.
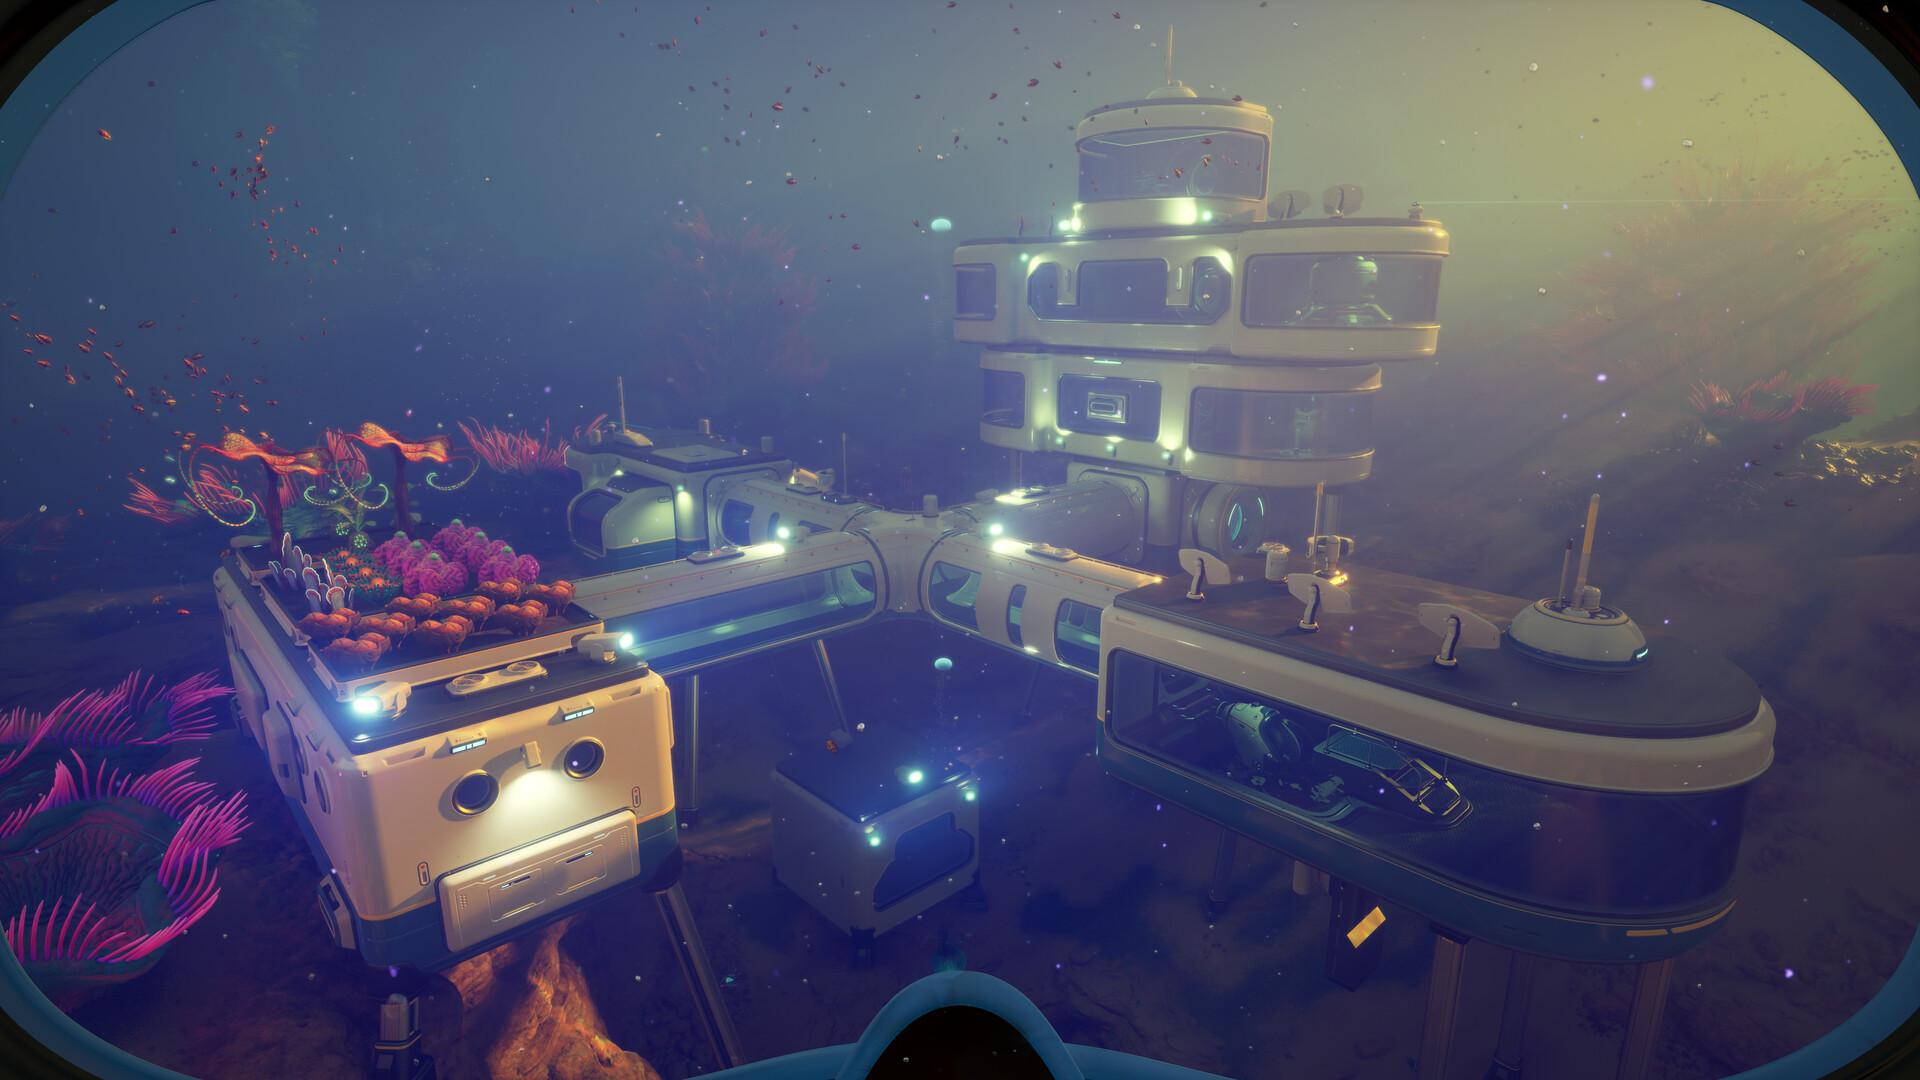
Secondary base at 400 m: the essential checklist
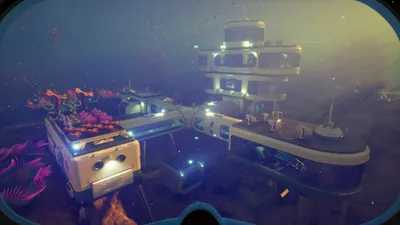
Exploring the deep biomes without a relay base is doable, but time-consuming. Efficiency climbs as soon as you plant an intermediate base at around 350-400 m, at the junction of the Metal Farms and the Canyon.
Build it with the official English modules:
- Moonpool for smooth entry and exit without depressurizing.
- T Compartment to multiply lockers and dock several Tadpoles in co-op.
- Multipurpose Room with a Habitat Builder and Vehicle Fabricator.
- Tadpole Dock — essential for recharging and re-equipping the submarine without heading back to the surface.
- Thermal Plant if you're near vents, otherwise several Bioreactors and a backup Hydroelectric Turbine.
- Water Filtration Machine so you no longer depend on surface runs.
- Power Transmitters to link the deep base to an intermediate relay.
Two common mistakes to avoid: building too close to a Crabsquid patrol (its pathfinding will make it circle around your Tadpole Dock, blocking access) and undersizing your power supply. A bare Bioreactor can't sustain the Scan Room plus filtration plus fabrication. Always plan for a redundant power buffer, especially if you're playing co-op.
Typical route for a "deep biome" session
Here's the routine that gets the most out of a two-hour session, once the relay base is set up:
- Takeoff from the surface base with the Tadpole in Cargo hull configuration, lockers empty.
- Gentle descent toward the Sparse Plains, quick pickup of celestine and dragon scales.
- Enter the Karakorum Metal Farms with the engine off, dodge the Crabsquid, 15-minute run on the large nodules.
- Intermediate drop-off at the 400 m base, inventory transfer, recharge at the Tadpole Dock.
- Technical descent into the Root Canyon for crystals and fragments, never more than 20 minutes per dive to keep an oxygen margin.
- Ascend through the Overgrown Ruins if a narrative scan needs finishing, otherwise head straight back via the connecting tunnel.
On a well-run session, expect a full haul of Mk2 materials and one to two advanced fragments recovered — enough to chain end-game crafts without diving back in empty-handed next session.
What to remember before diving in
The deep biomes of Subnautica 2 aren't beefed-up versions of the Shallows: they're self-contained systems where oxygen, energy, evasion, and co-op all come together. Always bring an adequate depth module, a chassis suited to the biome you're targeting, a relay base at the midpoint, and never enter the Void without a recall plan. Patch 1.1 has solidified the endgame loop and laid the groundwork for Great Trench and Xanadu, but everything that matters today already plays out between the Metal Farms, the Root Canyon, and the Overgrown Ruins. Map them out properly, and the rest of the upcoming content will simply expand on a foundation you'll already have mastered.
Share this article
Facing an endgame Leviathan, what's your move?
Frequently asked questions
What's the minimum gear needed to reach the Metal Farms?
The Mk1 depth module on the Seatruck (450 m), an extended oxygen reserve, and ideally an Explorer chassis packed with lockers. Without that, you won't reach 250-500 m safely.
How do you avoid the Collector Leviathan at the Metal Farms?
Spot it on your compass and don't flee with active sonar, or you'll instantly alert it. Instead, cut your engines, let the Seatruck drift behind a thermal vent, then start up again once its silhouette is out of range.
Is there a major difference between exploring solo and in co-op?
Yes, radically. In 4-player co-op, one pair can secure the return to the ping while another dives deeper. Coordinated stuns on predators and decoy roles multiply your efficiency, especially against endgame Leviathans.
What is the Void and is it really worth crossing?
The Void is a non-farmable border that descends to 3100 m and keeps players within the map's bounds. Crossing it exposes you to Shiver Leviathan packs: there's no point going there without a major narrative reason and without an equipped Predator chassis.
Where can you find Deep Crystals and late-game blueprint fragments?
Exclusively in Root Canyon between 364 and 750 m, in the side nooks of the vertical galleries. Deep Crystals power the Advanced Scan Room, while the fragments serve the Multipurpose Room and the Upgraded Vehicle Fabricator.
Key takeaways
- Karakorum Metal Farms requires the Mk1 depth module; spot the Collector Leviathan on your compass and cut your engines behind a thermal vent to harvest in peace.
- Root Canyon descends to 750 m and hides the Deepwing Brooder: mark the egg alcoves with a beacon ping to avoid its nesting zones.
- The Overrun Ruins play the narrative card rather than the farming one; they connect to the Canyon through a narrow tunnel, a crucial link in co-op.
- The Void isn't farmable but a dedicated border; its Shiver Leviathans form a coordinated pack that demands absolute radio silence to escape.
- In 4-player co-op, split up roles: one pair secures the return to the ping while the other dives, a strategy that multiplies your exploration window in the abyss.
Comments
No comments yet. Be the first to react!
Leave a comment
Similar guides
Latest articles








Your opinion counts
Rate Subnautica 2
Click a star to rate