



 Fabian Lainé


Walkthrough
Star Wars Zero Company: Infinite Coil Final Mission Guide
In brief
The Infinite Reel is the point of no return in Star Wars Zero Company: a series of chained battles with no chance to swap your team, culminating in a fight against Fathom. This guide breaks down every step, from the pitfalls to avoid to the optimal team composition, all the way to the strategy for taking down the final boss in a single turn.
The Infinite Reel is the point of no return in Star Wars Zero Company. Once launched, there's no changing your team: it's a series of chained battles all the way to the final boss, Fathom. Before you dive in, know that you only have three cycles to finish your side quests and build up your operators' bonds - after that, the game forces your hand.
Suffice to say it's best to arrive prepared. Here's the full breakdown, step by step.
Build your team before you go
Hawks is mandatory and must survive the entire mission. That leaves you three free slots to optimize. A little advice from experience: don't cram in all your main characters hoping for bonus content. There isn't any, aside from a few lines between fights and the usual reactions at the end of objectives.
- Cly: her unique abilities allow for area damage, invaluable when enemies pile up.
- Jae: his Final Shot automatically finishes off low-health enemies, which saves you from wasting a turn confirming a kill.
- A medic capable of instantly reviving with full health, if your Hawks doesn't have healing abilities.
- Trick or another brute-force soldier, if your Hawks can already heal himself.
Step 1: reach the security terminal
Follow the marked objective, grab the datapad along the way for bonus intel, then go through the door to trigger the first fight. The goal: get an operator to the security terminal without being interrupted.
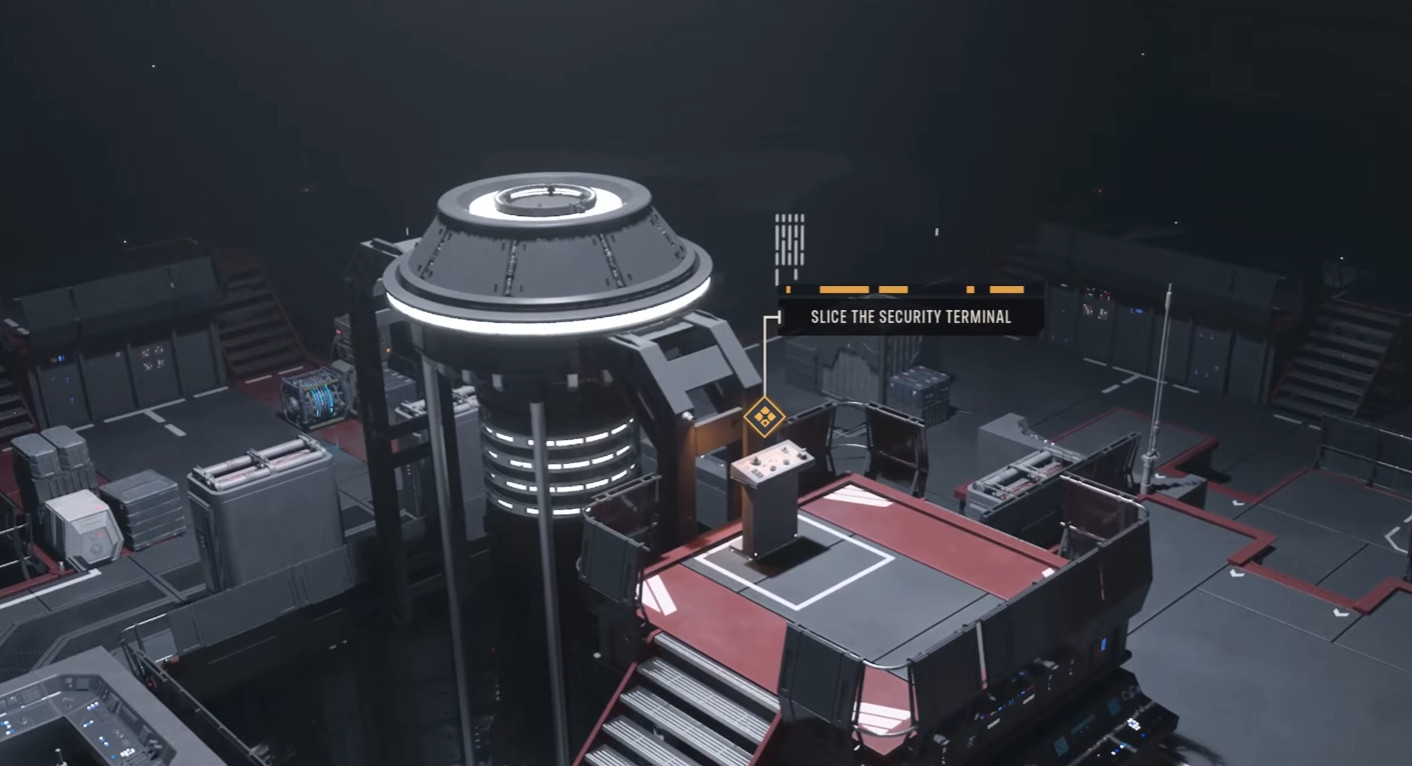
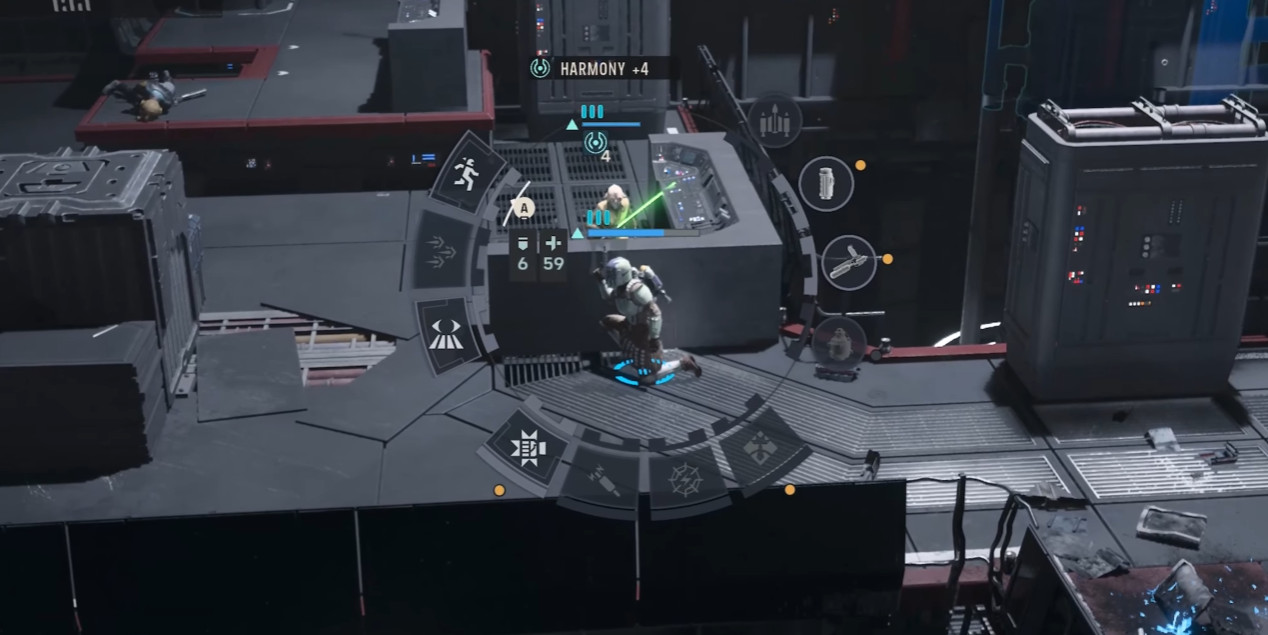
The combo that works well: combat-jump Cly directly onto nearby enemies to deal damage on the way in, while keeping enough AP to reach the terminal in the same turn. Then use the rest of the team's turns to mop up any remaining enemies and get ahead of the next waves.
Reinforcements arrive through the doors on the left and at the top of the room. Always keep an operator near the one activating the terminal: if an enemy gets too close, the process gets interrupted, and you'll need to clear them out fast. Good news, most reinforcements are weak droids that go down in one hit - take advantage and unleash your area attacks.
Step 2: take down Tython
Once the room is secured, move forward to the turbolift leading to the command mast. Spot the large window along the way for +10 intel, not mandatory but always useful.
At the next objective, you're ambushed by Tython, Fathom's droid right hand. Objective: eliminate Tython and all his allies. Good to know: Tython himself only appears after three turns. Use that time to take down as many of his troops as possible with your area attacks, without burning through everything - you'll need it later.
Tips
Sniper droids grow stronger every turn and can deal huge damage on Typhon's orders. Prioritize them. And above all, once Tython enters the fight, don't attack it head-on unless you can tank the retaliation: every hit landed triggers a counter-attack from one of its droids.
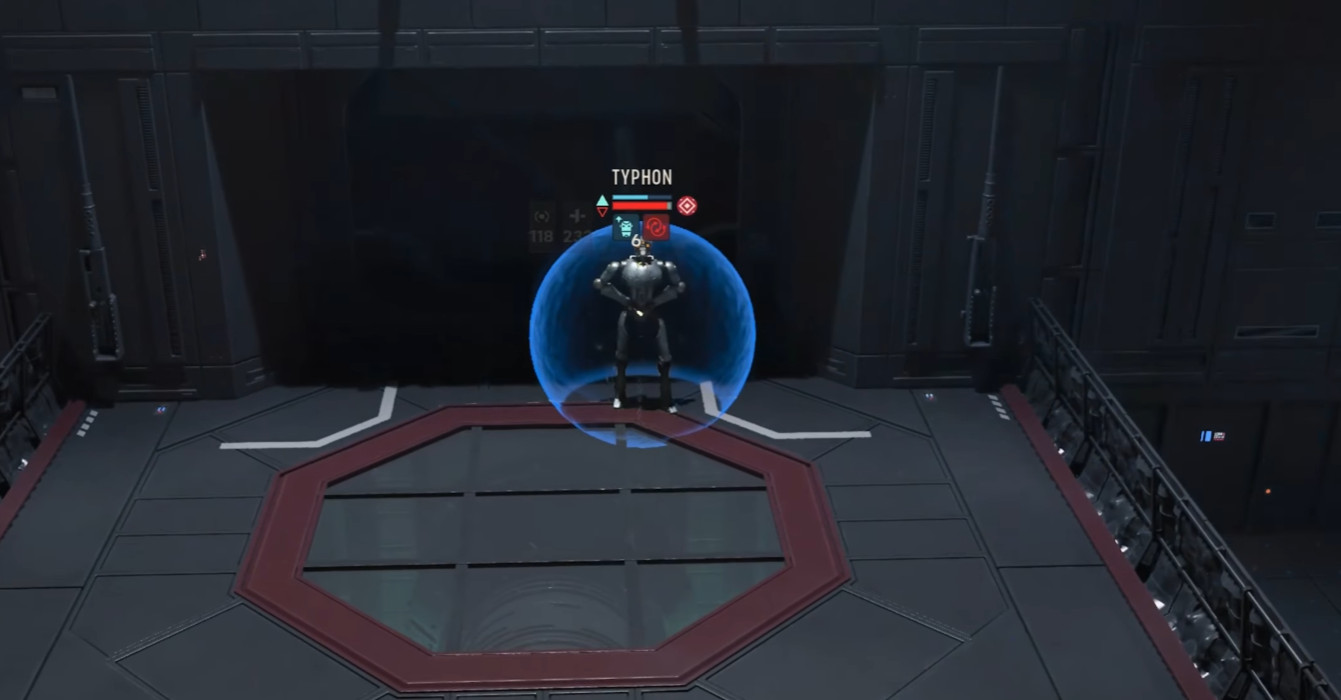
The safer method is to keep clearing out its allies first, while gradually chipping away at its health bar if you have a medic on hand to absorb the return damage. This lets you neutralize its abilities earlier. Be careful though: the fight only ends once everyone is defeated, not just Typhon.
Step 3: The final battle against Fathom
A classic end boss, with several phases. The transition between phases triggers when Fathom reaches half health, at which point the battlefield changes.
First phase: completely ignore the Coil and put everything into Fathom, it's the only target that matters. Once she's at half health, a cutscene brings Bennic into the fight - the second phase follows the same principle, total focus on Fathom, but with one more ally in the mix.
Play it well, and you can finish off Fathom in a single turn. The combo that works: everyone hits her, Cly does a combat jump to deal damage without spending AP, and Jae is positioned to automatically trigger her Final Shot as soon as Fathom drops below the critical threshold.
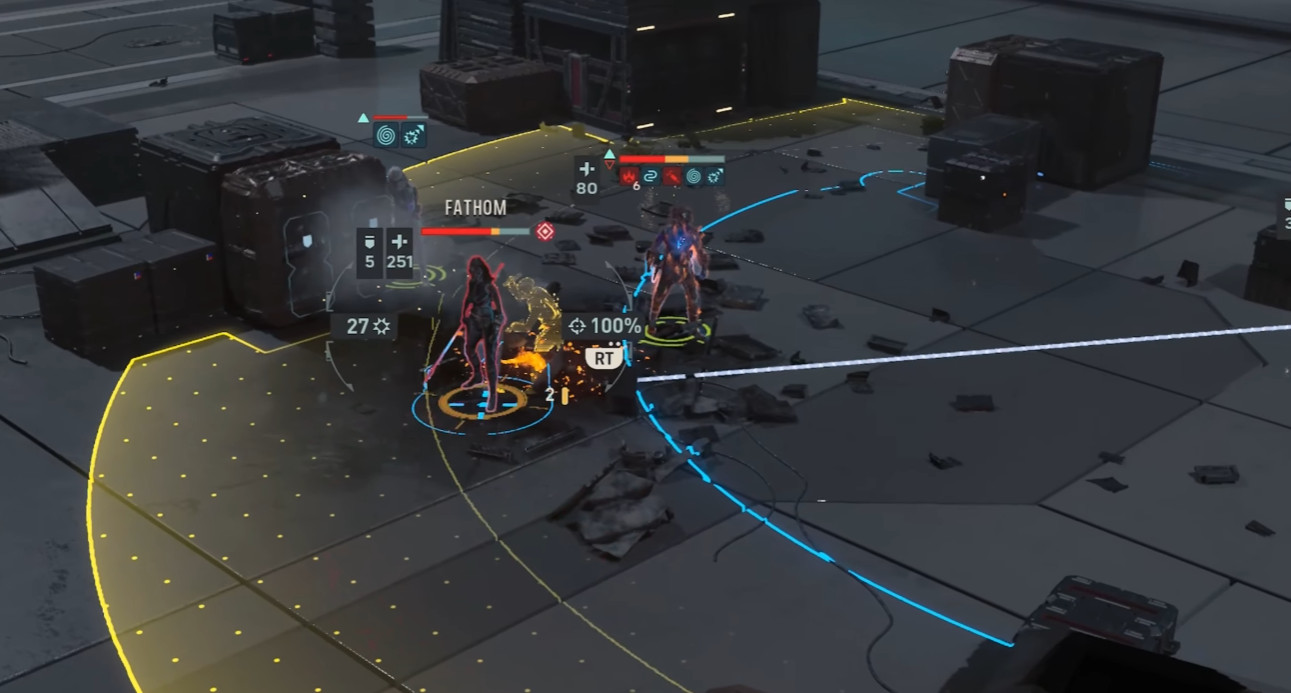
The real point of attention is Hawks' positioning. Fathom can control him and force him to attack his own teammates - and if you've leveled Hawks up well, the damage can be severe. So keep him away from Fathom and the rest of the group throughout the fight. If he ends up hurting someone anyway, Bennic will be able to heal the damage once he rejoins the team.
Once Fathom is defeated, a cutscene shows her influence leaving her victims. Bennic returns to the team for good, and everyone heads back to the Den for the epilogue. Mission complete, game finished!
Share this article
Would you rather finish off Fathom in one turn with an optimized combo, or take your time in the fight to explore your whole team's abilities?
Frequently asked questions
What happens if I lose Hawks during the mission?
You fail the mission. Hawks is mandatory and must survive from start to finish — it's a non-negotiable condition of the game.
How much time do I have to finish side quests before being forced into the final mission?
You have three cycles after unlocking the Infinite Reel. Once that window passes, the game forces your hand, so make sure to properly prepare your operatives and complete your side objectives beforehand.
Is there any bonus content if I select all my main characters?
No, there's no hidden content. You'll just get a few lines of dialogue between fights and the usual reactions at the end of the objective — you're better off prioritizing an optimized composition over narrative completeness.
How can I keep Hawks from being mind-controlled by Fathom?
Position Hawks far from the boss and the rest of the team throughout the fight. Fathom can take control of him and force him to attack his allies — keeping a safe distance limits the collateral damage.
Fathom has multiple phases, how do I know when it changes?
The transition triggers when the boss reaches half health. A cutscene shows Bennic joining the fight, and the battlefield changes. Completely ignore the Reel in both phases — the boss is your only target.
Key takeaways
- Hawks is mandatory and must survive the entire mission — keep him away from the rest of the group to avoid having him mind-controlled by Fathom.
- Build your team around Cly for area damage and Jae for his Final Shot, which finishes off weakened enemies in one hit.
- Tython doesn't appear until after three turns — use this window to clear out his troops before facing him.
- The fight against Fathom is split into two phases: ignore the Reel and focus all your firepower on the boss, as Bennic will join in for the second phase to help you.
- A well-honed strategy lets you finish off Fathom in a single turn with a combo mixing combat-jump, massive damage, and Final Shot.
Comments
No comments yet. Be the first to react!
Leave a comment
Latest articles







Your opinion counts
Rate Star Wars Zero Company
Click a star to rate