



 Fabian Lainé
Full Guide
Phasmophobia: the guide to the 7 cursed possessions in 2026 — effects, sanity costs and cursed hunts
In brief
Phasmophobia's seven cursed possessions are powerful but risky investigation tools: Music Box, Ouija Board, Tarot Cards, Voodoo Doll, Haunted Mirror, Monkey Paw and Summoning Circle. Each one locates the entity, forces evidence or saves a match, but drains sanity and can trigger an almost unstoppable cursed hunt. This guide breaks down the exact effects, drains, and countermeasures — particularly against the Deogen... sorry, the Deildegast, which completely ignores these items.
On every Phasmophobia contract, a cursed possession is hidden somewhere on the map: just one, chosen at random from the seven the game features, and present on all difficulties by default except Insanity. Music Box, Ouija Board, Tarot Cards, Voodoo Doll, Haunted Mirror, Monkey Paw and Summoning Circle are the most powerful shortcuts in an investigation: they locate the entity, force evidence, or save a badly started run. But each one costs sanity, and almost all of them can trigger a cursed hunt.
This guide details all seven objects: exact effects, precise costs, hunt conditions and verified counters. Two topical reminders: the 13 Willow Street rework that arrived with v0.18.0.0 on July 21, 2026 redistributed the spawn locations on that map, and against the Deildegast — the entity added by that same update — handling a cursed possession does not count toward its slowdown mechanic. So there's no point drawing cards to slow it down.
How cursed possessions work
The rules common to all seven objects are simple but come with heavy consequences:
- Only one object per contract, with a one-in-seven chance for each, and a dedicated spawn location per map. In custom difficulty, you can set the number of objects from 0 to 7 and even choose which ones.
- On most maps, the possible spawn locations are scattered. Three notable exceptions: Brownstone High School, Prison and Sunny Meadows, where all seven spawn locations are found in a single room.
- Activating or using a cursed possession immediately cancels the setup phase (5 minutes on Amateur, 2 on Intermediate). Don't touch anything until the team is settled in.
- They can't be stored in your inventory: you need a free hand, and switching items makes them drop to the floor — which, for a Music Box that's playing, triggers a hunt.
- Each object can be photographed for up to $7 and 7 XP, and the weekly challenge "Use Cursed Possessions" rewards using them.
The cursed hunt: the shared price to pay
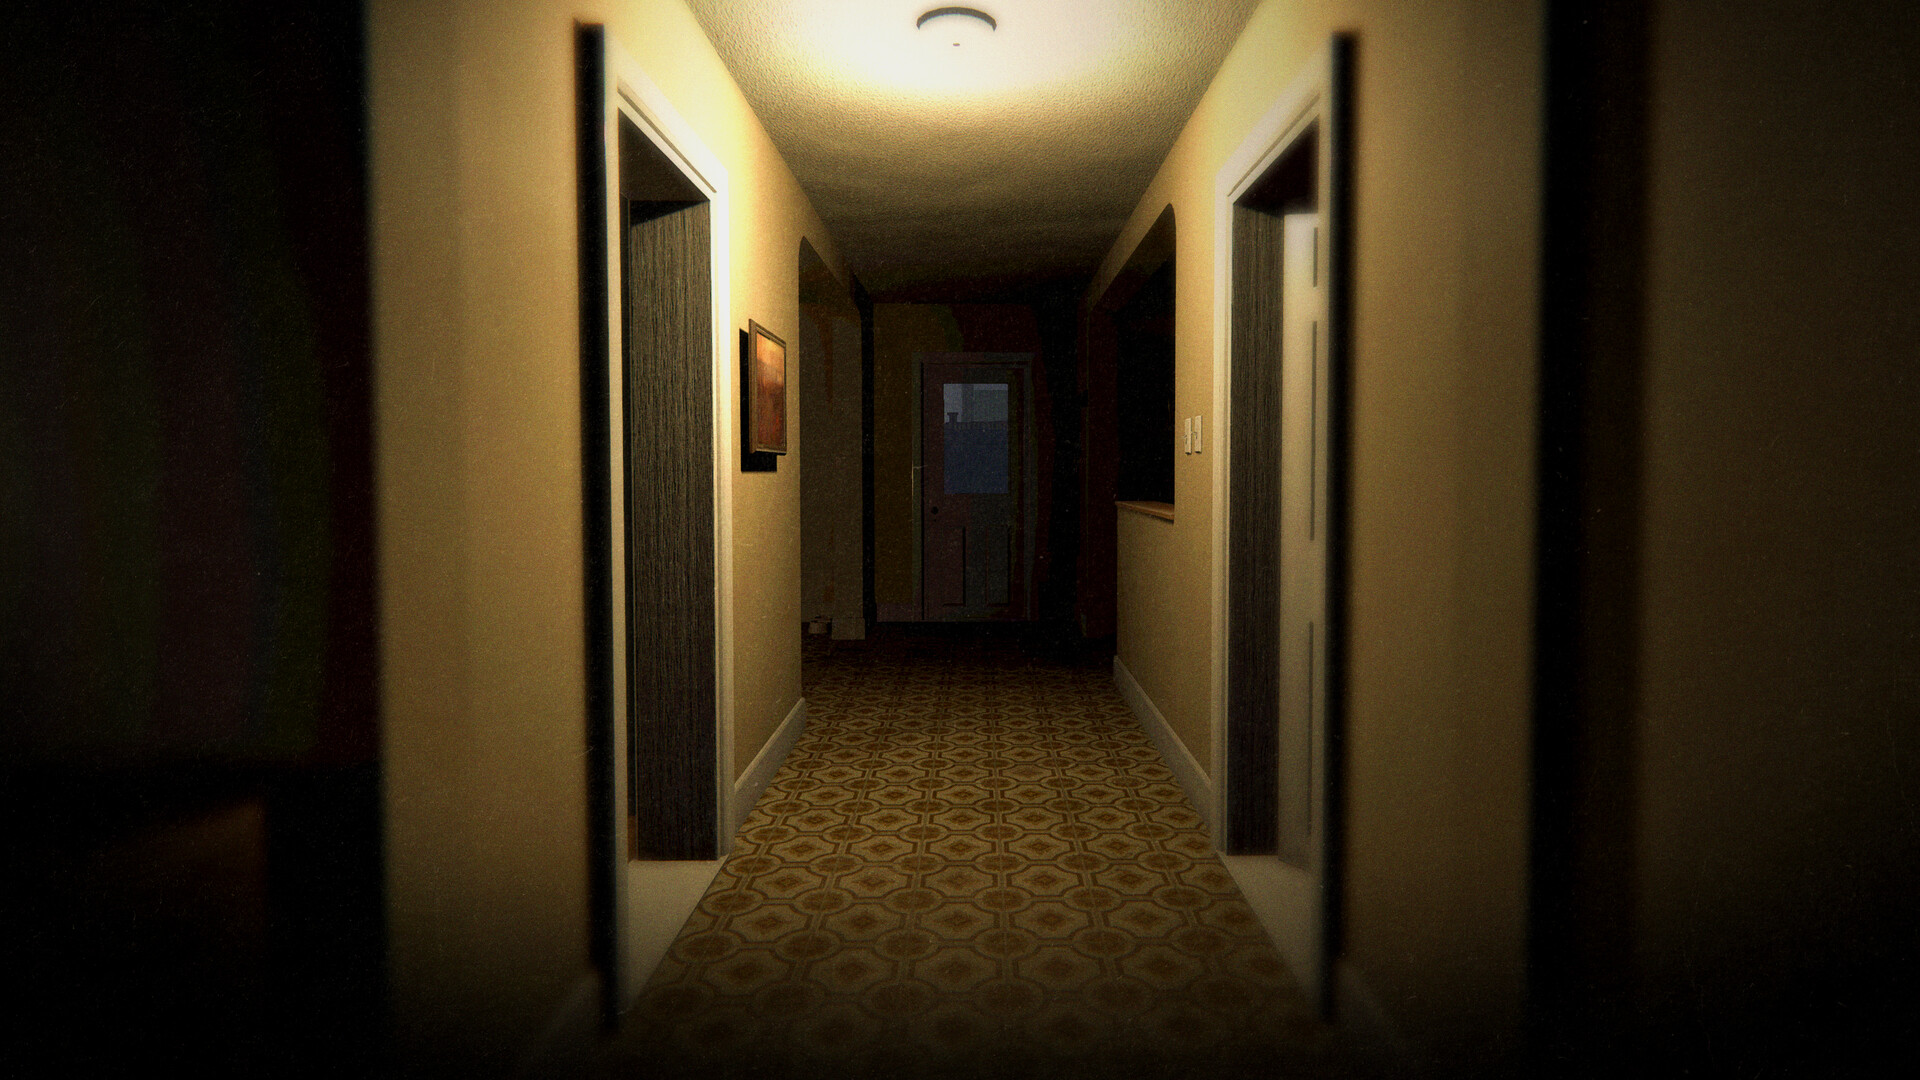
Most cursed possessions can trigger a cursed hunt, and it's important to understand what makes it different before touching one:
- It ignores sanity thresholds and cooldowns: it can start immediately after a normal hunt, even at 100% team sanity.
- The grace period drops to 1 second, compared to 5 on Amateur, 3 on Professional and 2 on Nightmare or Insanity. Be near a hiding spot before activating anything.
- Once a cursed hunt has been triggered, every subsequent hunt in the contract lasts 20 seconds longer, whether normal or cursed.
- Only one counter exists: a Tier III Crucifix with both charges intact. Incense blinds the entity during the hunt but never prevents it from starting.
The only clean workaround: get everyone out of the building before triggering it — a cursed hunt with no player inside is cancelled, even though the extended duration of subsequent hunts still applies.
The seven objects, one by one
Music Box — locating the entity, from a distance
Once activated, the Music box makes the entity sing if it's within 20 meters, revealing its position by ear. Within 5 meters, a paranormal event triggers: the entity materializes and walks toward the box. The cursed hunt starts if its head comes within one meter, if it walks for more than 5 seconds during the event, if the box is thrown during the melody, or if you're at 0% sanity. Watch out for the drain: staying within 3 meters of an active box costs 2.6% sanity per second, or 77% over the whole melody. And beware of a Spirit, which can teleport onto the person carrying it.
Haunted mirror — seeing the favorite room
The Haunted mirror displays a live view of the entity's favorite room, including visible lights and equipment. Each use drains 7.5% sanity per second, with a minimum of 20% per activation. It shatters — and triggers a cursed hunt — if your sanity reaches 0% while you're looking into it, or if you activate it below 20% sanity. On maps with similar-looking rooms like Brownstone High School, place a piece of equipment in the suspected room and check for its presence in the reflection.
Ouija board — questioning the entity, at a steep price
The Ouija board responds to voice or via a text interface, but each question comes at a cost: 50% sanity for the entity's current room, 20% for the Bone's location or proximity questions, 5% for age, cause of death, or your own sanity. Two survival rules: always say "Goodbye" to deactivate it — an active board left abandoned more than 5 meters away shatters and triggers a cursed hunt — and never ask about "hide and seek," which guarantees a countdown before a hunt. Little-known bonus: each answer has a 33% chance of producing an EMF level 5 if the entity has that evidence — chain questions within 5 meters of an EMF Reader to confirm it.
Tarot Cards — the ten-draw lottery
Each deck contains 10 cards randomly drawn from among 10 types, whose names are kept in English in the French version:
| Card | Effect | Probability |
|---|---|---|
| The Tower | Doubles paranormal activity for 20 s | 20% |
| The Wheel of Fortune | +25% or −25% sanity (50/50) | 20% |
| The Fool | Mimics another card at random | 17% (100% during a hunt) |
| The Devil | Paranormal event toward the nearest player | 10% |
| Death | Immediate cursed hunt | 10% |
| The Hermit | Sends the entity back to its favorite room for 1 minute | 10% |
| The Sun | Sanity set to 100% | 5% |
| The Moon | Sanity set to 0% | 5% |
| The High Priestess | Revives a dead player (or the next one to die) | 2% |
| The Hanged Man | Instantly kills the one who drew it | 1% |
Never draw during a hunt: the card will be The Fool 100% of the time, purely wasted. Photograph the deck before starting — once depleted, it disappears and no longer yields anything. And keep in mind that about 34.9% of decks contain no Death card at all: the tarot deck is the only cursed possession that can trigger no hunt whatsoever. A documented downside, though: once all ten cards have been drawn, every subsequent hunt still gains 20 seconds.
Voodoo Doll — forcing interactions
Each interaction randomly pushes in one of the doll's 10 pins and forces the entity to interact, for 5% sanity. These forced interactions can produce EMF Level 5 and Ultraviolet traces, but never Spirit Box... wait, never Ghost Writing. The danger: the heart pin costs 10% and triggers a cursed hunt, and using the doll at 0% sanity pushes in all remaining pins at once — triggering a hunt, along with a shower of thrown objects that can be mistaken for a Poltergeist. To target the Ultraviolet evidence, clear the favorite room of throwable objects so the entity touches doors and light switches instead.
Monkey Paw — the all-purpose tool
The Monkey Paw grants 5 wishes up to the x1 multiplier, 4 up to x2, 3 beyond that, either by voice or via the text interface. Each wish has its downside: "I wish to be safe" unlocks the nearest boarded-up hiding spot but breaks the lights and makes the wisher audible to the entity at any distance; "I wish to leave" unlocks all exit doors, even during a hunt, in exchange for a temporary slowdown; "I wish to have information" removes one incorrect piece of evidence from the journal — the only guarantee in the game on reduced evidence settings — but teleports the entity to you with a cursed hunt, blurred vision, and muffled hearing until the end of the contract. The weather wish can even cool down the map to slow down a Hantu. It's the most versatile item in the game, even better in multiplayer since the penalties only affect whoever makes the wish.
Summoning Circle — the guaranteed photo, at the highest price
Lighting the five red candles — only possible with a Lighter or a Fire Light — costs 16% sanity per candle, or 80% total for a solo player. On the fifth candle, the entity appears at the center of the circle, motionless and harmless for 5 seconds: the ideal moment for a photo or entity video. After that, an immediate cursed hunt starts on the spot, without even the usual second of grace. The go-to counter: place a Rank III Crucifix within range of the circle, which cancels the hunt and turns the summoning into an almost free photo op — the sanity cost still applies in full. Split the candle-lighting between teammates, and save the circle for last: most of the optional objectives can be completed thanks to it.
Which item for which need
| Need | Suitable items |
|---|---|
| Locate the favorite room | Haunted Mirror, Music Box, Ouija Board |
| Force evidence (EMF 5, Ultraviolet) | Voodoo Doll, Ouija Board |
| Photo or video of the entity | Summoning Circle, Music Box |
| Survival and retreat | Monkey Paw (safety, exit, weather) |
| Trigger a hunt for an objective | Summoning Circle, Voodoo Doll, Ouija Board (hide and seek) |
The golden rules before you touch one
Four reflexes sum up this guide. First, locate the object without activating it during the preparation phase: finding it costs nothing, using it cuts into your window of safety. Next, check your sanity before each use: below 20%, the Mirror shatters upon activation; below 16%, the last candle of the circle triggers an instant hunt; at 0%, the Music Box and Voodoo Doll punish immediately. Third reflex, prepare your countermeasure before the object: a Tier III Crucifix placed in the right spot turns a risky gamble into a free tool, and a hiding spot less than a second's run away is your life insurance against the shortened grace period. Finally, save the object for after identification: a cursed hunt triggered blindly at the start of a contract is costly, while the same hunt deliberately provoked once the entity is identified becomes a completed objective. Cursed possessions aren't a trap: they're the best tools in the game, provided you pay their price on your own terms.
Share this article
When you come across a cursed possession on the map, your first instinct is to…
Frequently asked questions
What happens if I trigger a cursed hunt while my sanity is at 100%?
It starts anyway, ignoring the normal thresholds. A cursed hunt completely disregards the 0% sanity rule and can begin immediately after a regular hunt. That's exactly what makes it so dangerous.
How do I stop a cursed hunt once it has started?
There's only one counter: a Tier III Crucifix with both charges intact. Incense can blind the entity but never prevents the hunt from starting. The only clean workaround is to evacuate everyone from the building before it triggers — the hunt cancels if no player is inside.
Why are Tarot Cards better than the other cursed possessions?
Because roughly 34.9% of decks contain no Death card at all, making the 10 draws potentially free of any cursed hunt. It's the only cursed possession capable of never triggering one. On the flip side, once all ten cards are used up, every following hunt still gains 20 seconds.
Does the Monkey Paw work against the Deildegast?
Yes, but no better than the other cursed possessions. The Deildegast completely ignores the slowdown mechanic tied to handling cursed items, so unlike other entities, handling the Paw does not slow it down in any way.
What's the exact sanity cost of staying near an active Music Box?
Staying within 3 meters costs 2.6% sanity per second, roughly 77% over the melody's full duration. That's devastating if you want to last, but useful if you're trying to force a specific piece of evidence near an EMF Reader.
Key takeaways
- Every contract hides a single cursed possession, drawn at random from among seven, except during Insanity difficulty, where they disappear.
- A cursed hunt only offers 1 second of grace and extends every subsequent hunt by 20 seconds — the only reliable counter is a Tier III Crucifix or a full evacuation.
- The Ouija Board costs up to 50% sanity per question and breaks if abandoned, while Tarot Cards remain the only cursed possession capable of triggering no cursed hunt at all.
- The Monkey Paw is the most versatile tool thanks to its wishes: unlocking hiding spots, unlocking doors, removing evidence — but every wish comes at a price, sometimes a steep one.
- Activating any cursed possession cancels the setup phase and forces players to hold it in hand — throwing it in the air while it's active often triggers a hunt.
Comments
No comments yet. Be the first to react!
Leave a comment
Similar guides
Latest articles



Your opinion counts
Rate Phasmophobia
Click a star to rate