



 Fabian Lainé
Boss
Monster Hunter Wilds: How to Beat Gogmazios — Weaknesses, Phases, and Farming Transformed Armaments
In brief
Gogmazios imposes a unique mechanic: its solidified oil halves your damage, but once melted, the same hits deal up to thirteen times more Dragon damage. Mastering this switch, using Fire to soften it up before pivoting to Dragon, and exploiting the citadel's siege weapons determines your victory. Farm the 9★ for the Transformed Armaments, a key resource for Artian Gogma weapons.
Gogmazios is the first Elder Dragon in Monster Hunter Wilds, arriving with the free Title Update 4 on December 16, 2025. Nearly eight months later, it remains the game's most demanding fight and, above all, the only source of Converted Armaments, the resource that gates the Gogma Artian weapons. Two permanent quests are devoted to it, both set in the Forlorn Machine Site and locked behind HR 100 or higher.
The trap with this monster is approaching it like a standard hunt. Gogmazios is covered in a crust of hardened oil that halves your physical damage and makes Dragon element practically useless. As long as that layer holds, you're barely scratching it. Once it melts away, the same hits deal up to thirteen times more damage. The entire fight hinges on that switch, and nothing else really matters.
Here's how to chain the two phases cleanly, what you actually need to break, and what a run yields as of August 6, 2026.
The two Gogmazios quests: which one to farm
At the Quest Counter, under the Event Quests tab, two permanent entries coexist:
- "Shade of Sin" — 9★, Forlorn Machine Site, HR 100 or higher, condition "Slay: Gogmazios." Available since December 16, 2025. This is the quest Capcom explicitly presents as the one that awards the Converted Armaments used to forge the Gogma Artian weapons.
- "Special Assignment: Slay the Gogmazios" — 10★, same region, same minimum HR, added in March 2026. Capcom pairs it with an unambiguous note: "no Support Hunters will appear on the upper floor" in this version of the fight.
What that means in practice: the 9★ leaves you the backup of AI-controlled Support Hunters, who tank hits, get knocked down, and hold firing positions while your team deals damage. The 10★ pulls that safety net away on the citadel's upper floor and significantly toughens the damage you take. For farming, stick with the 9★. Save the 10★ for the challenge, once your Dragon weapon is finished.
In both cases, you're facing an Elder Dragon: no shock traps, no pitfall traps, no capture. The quest is only cleared by killing it.
Fire opens it up, Dragon punishes
Gogmazios's hitzone values are all expressed in two stages. The first value corresponds to the part still coated in hardened oil, the second to that same part once the oil has liquefied.
| Part | Cut / Blunt | Ammo | Fire | Dragon |
|---|---|---|---|---|
| Head | 40 → 75 | 32 → 50 | 5 → 20 | 5 → 65 |
| Back | 38 → 75 | 5 → 50 | 10 → 20 | 5 → 65 |
| Wing Legs | 40 → 75 | 32 → 50 | 5 → 20 | 5 → 65 |
| Torso | 25 → 75 | 5 → 50 | 5 → 20 | 5 → 65 |
| Fore and Hind Legs | 20 → 75 | 5 → 50 | 0 → 20 | 5 → 65 |
| Tail | 25 → 75 | 5 → 50 | 5 → 10 | 5 → 65 |
The takeaway is immediate. On physical damage, the gap climbs to nearly fourfold on the legs, and every part converges toward 75 once cleaned off. On elemental damage, Dragon jumps from 5 to 65: a thirteenfold ratio. No other lever in this fight comes close to that kind of impact.
Fire, on the other hand, isn't there to deal damage — its values cap at 20 and drop to 10 on the tail. Its job is to break. The routine is therefore always the same: Fire weapon to soften up the targeted area, then a weapon swap on the Seikret for a Dragon weapon that cashes in. The winged legs are the best opening target: they're the most accessible parts on the ground, they share the best physical values with the head, and breaking them causes a fall.
Two clarifications that save minutes. First, don't switch too early: as long as the Gogmazios is moving around a lot, you'll be chasing a softened part instead of hitting it. Break it wide open, then switch. Second, Water, Thunder and Ice are worthless — 0 everywhere, 5 at best on Thunder.
Status effects: poison and paralysis are out of the game
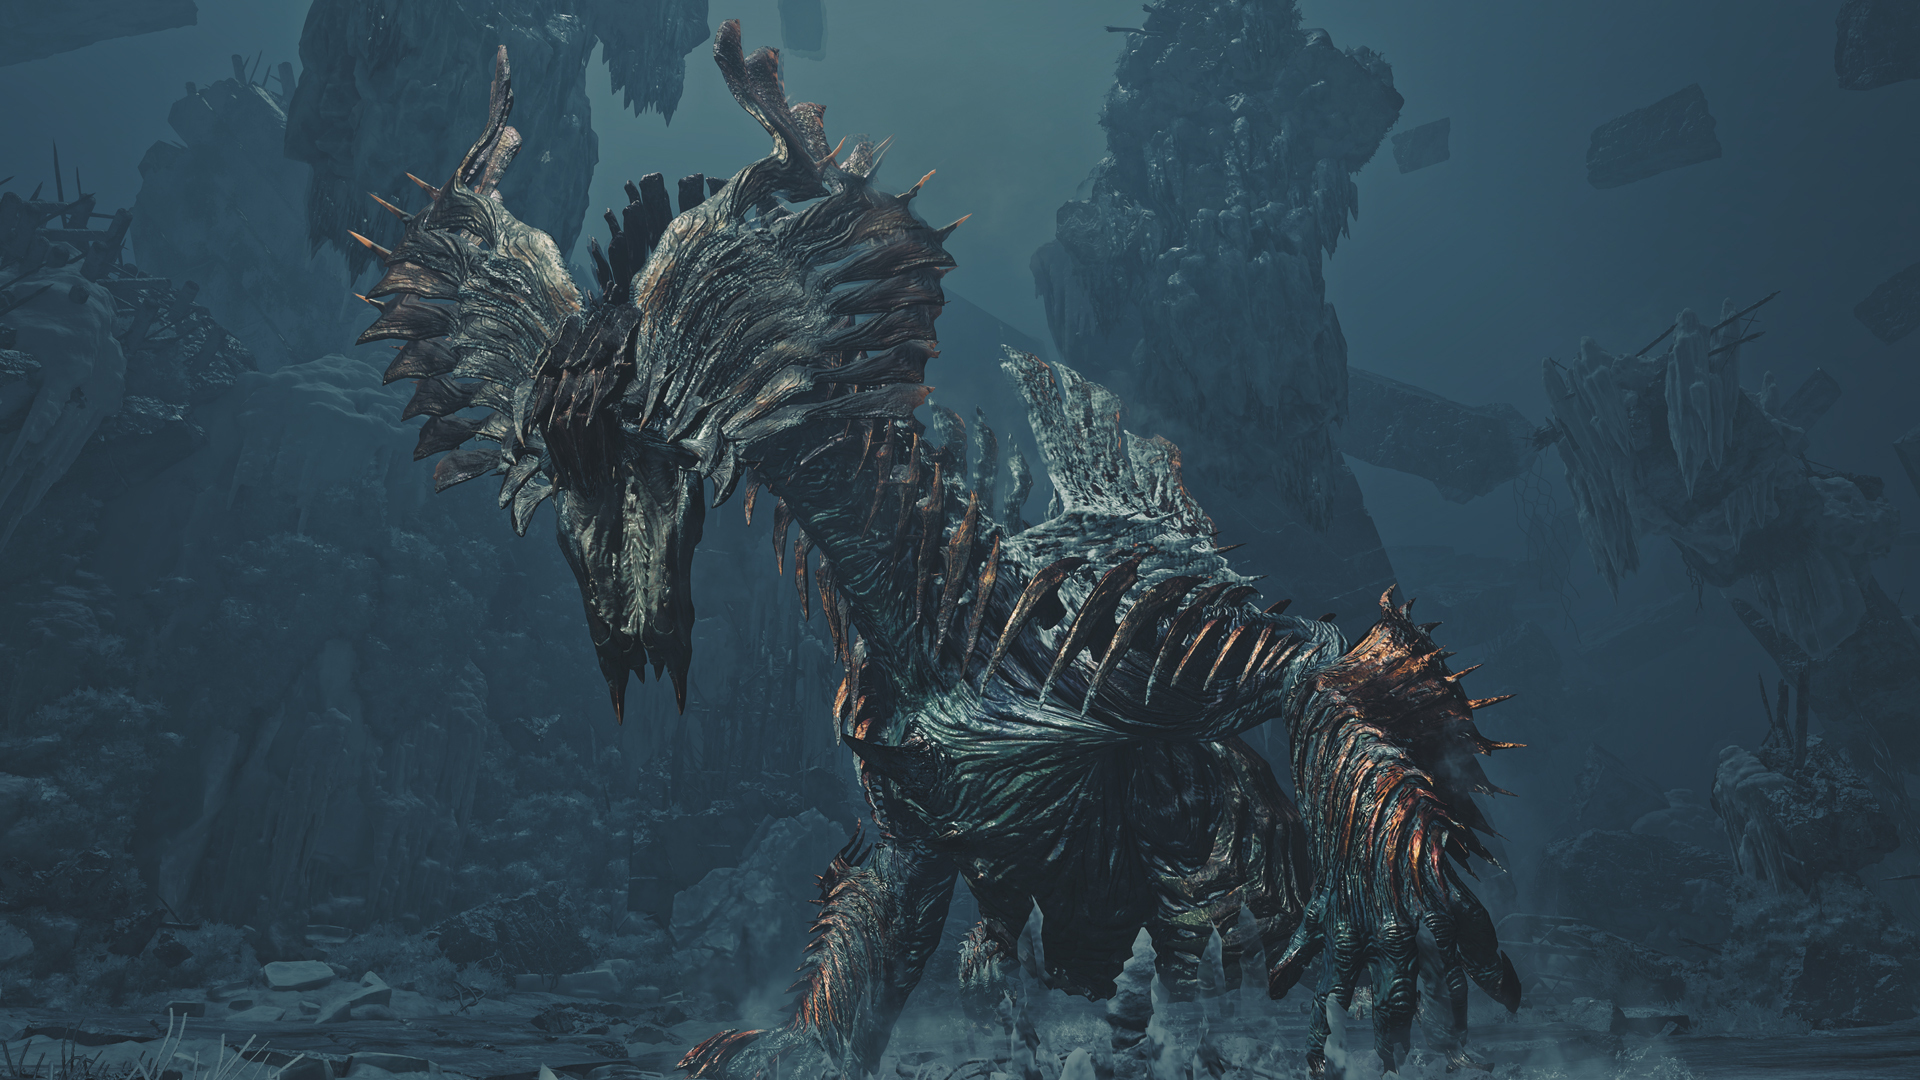
Gogmazios shuts the door on half the bestiary of status effects. Poison, paralysis, sleep and blast are ineffective. Only two vectors remain:
- Blast: initial threshold of 70, climbing up to 670 as it triggers repeatedly. It's the only offensive status that's worth it, and it justifies keeping a blast-focused Artian weapon as a secondary.
- Stun: threshold of 2,250 then up to 3,750, and only on the head — whose stun value stays at 0 as long as the oil is hardened, and only rises to 100 once the area is broken. Stunning Gogmazios therefore requires having already cleared its skull.
Practical consequence: the Hammer and Hunting Horn retain a real team role, as long as they stay glued to the skull. On the other hand, bringing a paralysis Insect Glaive or Dual Blades to this fight is a straight-up loss.
The siege unfolds in three phases
The Forlorn Arsenal isn't an ordinary hunting ground but a fortified citadel, with cannons and ballistae lining the ramparts. These weapons deal damage a lone hunter could never produce, and certain sequences are designed to be answered with them.
First phase. Gogmazios advances toward the center of the arena, its oil still cold and hardened. This is the moment to split up: someone on the cannons to stack stun on the head, the others on Fire against the winged legs. Enough pressure before it reaches the center triggers an initial fall and gives you a free window.
Second phase. The space tightens and the monster becomes fully mobile. Always keep one hunter on the siege weapons while it targets someone else. The priority objective of this phase is the back: breaking it releases the enormous siege lance still lodged in its carapace. It only triggers once, but it's worth several dozen seconds of team DPS — and it drops a batch of Forged Weapons in the process.
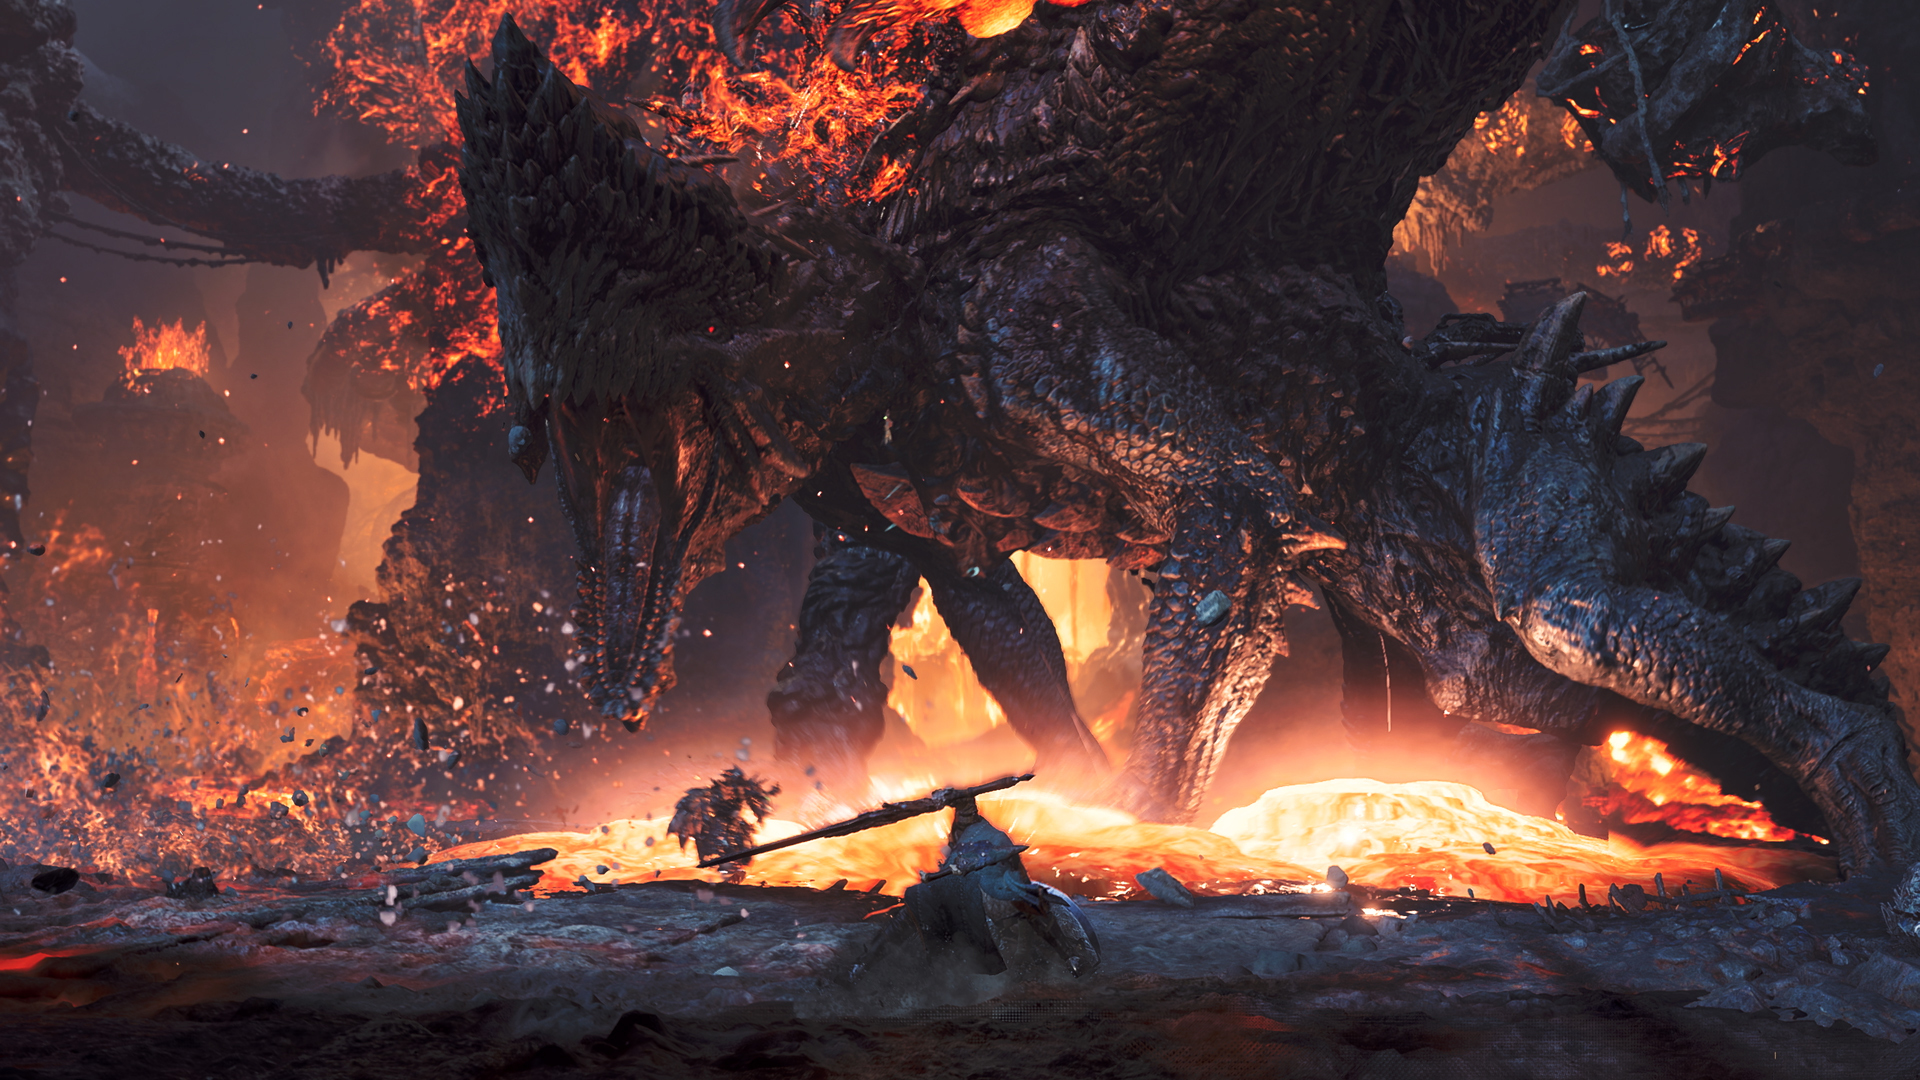
Third phase. At around 40% remaining health, the oil ignites and lifts it into the air. It then becomes extremely vulnerable to Dragon: this is where your secondary weapon earns its keep. You need to deal enough damage during these airborne phases to bring it back to the ground, or else suffer a nova. Stay at full health at all times — several of its attacks cross the one-shot threshold even with fully upgraded armor — and dodge sideways rather than backward: its arm swings cover a distance that backstepping can't outrun.
What a run yields
Transformed Armaments come through several stackable channels within a single quest: a guaranteed drop as the final reward, a drop tied to triggering the siege lance, and up to six additional drops from breaking the glowing clusters scattered across its body, two of which are always located on the arms. Breaking these clusters is therefore worthwhile even when the monster is in a transition phase.
At the forge, these Armaments are then converted into tarred devices, available in three orientations — Attack, Affinity, and Element — and then applied to an existing Artian weapon to turn it into a Gogma Artian weapon. The choice is final: think it over before confirming.
As for carve and reward materials, Gogmazios' table notably includes the Gogmazios Rampart, the Gogmazios Bastion, the Gogmazios Membrane, the Gogmazios Barbed Tail, the Gogmazios Claws, the Gogmazios Scourge, Thick Dragon Oil, Ravaged Dragon Gem, Gogmazios S Ticket, Wyvern Gem (G), and Wyvern Gem Block. The tail can be severed and then carved twice, meaning extra rolls on the table—well worth pursuing if you're after the Ravaged Dragon Gem.
The Gogmazios armor and the Gogmapocalypse skill
The set consists of the Gogmazios Helm, Mail, Vambraces, Coil, and Greaves, in α and β variants. The β version keeps exactly the same decoration slots as the alpha—[3][1][0] on the head, [3][2][0] on the chest, [2][1][0] on the arms, [2][1][1] on the waist, [3][2][1] on the legs—for 68 defense per piece.
The α version's skills are clearly geared toward aggressive offense: Peak Performance and Elemental Absorber on the head, Adrenaline Rush, Carnivore, and Water/Muck Mobility on the chest, Heroics and Recklessness on the arms, Vendetta on the waist, Peak Performance and Recklessness on the legs. Added to this are the group skills Pulse of Zoh Shia, Vigor of Xu Wu, Will of the Thunder Anjanath, Power of the Rotten Odogaron, and Might of Doshaguma.
The set bonus, Gogmapocalypse, reads as follows in the French client: at two pieces, it "increases elemental attack when large monsters are enraged"; at four pieces, "the level I effect increases and you gain a temporary barrier that reactivates after its cooldown." This is a bonus tailor-made for elemental builds, and the barrier is precisely what allows you to survive an attack that would otherwise be lethal.
Ironic twist: this set carries -4 Fire resistance and -5 Dragon resistance—exactly the two things Gogmazios throws at you. Don't take it into battle against him without first plugging those two holes.
The build to bring
- Two weapons on the Seikret, a Fire one and a Dragon one. This is non-negotiable: it's the core of the fight.
- Fire Resistance of 20 or higher to negate the fire ailment. The Fireproof or Bastion skill fills the gap left by the Gogmazios set.
- Guard Up if you're playing Lance, Gunlance, Switch Axe, or Sword and Shield: several of its attacks are otherwise unblockable.
- Water/oily mud mobility so you don't get stuck in the oil puddles in the arena.
- Dragon Attack on the Dragon build, where it directly pays off going from 5 to 65.
- Full health at all times: Peak Performance pays off, and above all, you won't survive a nova without it.
The most efficient farming method remains a loop on "Sinister Shadow" with a party of four, with a role explicitly assigned to ranged positions rather than a quartet glued to melee combat. A run that breaks the back, the horn, and as many clusters as possible yields noticeably more Transformed Armaments than a fast but sloppy run — and with this monster, the quantity of Armaments directly dictates the quality of your final weapon.
Share this article
Facing Gogmazios, are you more drawn to the comfortable 9★ or the hardcore, support-free 10★?
Frequently asked questions
Do you really need to switch between a Fire weapon and a Dragon weapon?
Absolutely. Frozen oil wipes out your physical damage and makes Dragon useless, while melted oil sends Dragon values soaring to 65. The Fire-then-Dragon protocol isn't optional, it's the foundation of the fight.
Which elemental weapon should you pick to soften the oil at the start?
Only Fire. Water, Thunder, and Ice are all worth 0 everywhere. Fire caps at 20 but that's enough to break open the areas, that's its only purpose, don't expect to deal massive damage with it.
Is the 9★ or 10★ quest better for farming Transformed Armaments?
The 9★ gives you access to Support Hunters who tank hits and hold down the turret positions, making the farm much more comfortable. Save the 10★ for the challenge once your weapon is finished.
Why break the glowing clusters on its body during the fight?
Each destroyed cluster drops a batch of Transformed Armaments on top of the end-of-quest reward and the siege lance. Breaking six clusters instead of zero nearly doubles your yield per run.
Which status effects actually work on Gogmazios?
Only Blast justifies dedicated gear, with an initial threshold of 70. Stun only works on the head once the oil has melted. Poison, paralysis, and sleep are pure dead weight.
Key takeaways
- Gogmazios' oil halves physical damage until it melts, which is why Fire is critical to break it open before switching to Dragon.
- Dragon deals thirteen times more damage on melted oil than on frozen oil, far outstripping every other lever in the fight.
- The winged legs are the best opening target: they cause a fall that gives you a free window to attack.
- Poison, paralysis, and sleep are useless; only Blast justifies bringing a secondary weapon for offensive status effects.
- The siege lance lodged in its back and the glowing clusters scattered across its body drop Transformed Armaments beyond the end-of-quest reward.
Comments
No comments yet. Be the first to react!
Leave a comment
Similar guides
Latest articles







Your opinion counts
Rate Monster Hunter Wilds
Click a star to rate