



 Fabian Lainé
Full Guide
ARC Raiders: Phantom Targets project guide — antennas, stages and rewards (August 2026)
In brief
The Phantom Targets project (part one) has been active on ARC Raiders since August 2026. Three stages reward you with six major prizes, including three legendary weapons (Aphelion, Dolabra, Jupiter), not to mention gear and 150 Raider tokens. This guide details every stage, the pitfalls to avoid, and the optimal order to complete it without wasting raids.
The Store Update 1.40.0, rolled out on August 4, 2026 on PC, PS5 and Xbox Series X|S, opened the first part of the Phantom Targets project. The pitch is simple: Shani picked up inconsistent surveillance data around Speranza, and the game asks you to repair antennas to triangulate the signal, then test unusual destruction methods on ARC machines.
Three stages are playable right away. They reward a Combat 3 (aggression) boost, a Heavy Shield, a Vita Spray, 100 Raider tokens, a Motorized Descender, a Horizontal Grip, a Carabiner and, above all, three legendary weapons: Aphelion, Dolabra and Jupiter. It's one of the most rewarding projects Embark Studios has ever put out.
Watch out for a mix-up that's already circulating: what's active today is a project, not the event. The Phantom Targets event and the second half of the project will arrive together on August 18, 2026 with update 1.42, as Embark's official communication states. Here's how to complete the three available stages without wasting raids.
Stage 1: repair three antennas on cargo elevators
The objective asks you to upgrade three antennas located on cargo elevators. This is the stage where most players lose time, because the game doesn't point out the locations on the map and the word "elevator" is confusing.
A cargo elevator is the big standard industrial extraction structure, the one that takes you back underground at the end of a raid. It's marked on the map with a downward arrow inside a square. So this does not include Raider hatches, nor the subway stations in the Buried City, which don't count at all toward this tier.
Where to find them
- Dam Battlegrounds: the most efficient map, with several cargo elevators close enough together to knock out all three antennas in a single run.
- Spaceport: a good alternative, but the extraction points are farther apart there.
- Riven Tides: also eligible, though the map is noticeably more contested in PvP.
How to interact with the antenna
The antenna is mounted on the roof of the extraction structure. From ground level, the interaction prompt won't trigger: you need to climb the sloped edges of the elevator and approach the antenna diagonally until the prompt appears, then hold down the interaction key. No materials or repair components are required, which is good news: you can do this stage in light gear without worrying about losing a full bag.
Another practical point: you don't need to extract to lock in progress. Dying or quitting after repairing the antennas doesn't cancel the tier. The fastest method is therefore a "bare" raid on Dam Battlegrounds: sprint from one elevator to the next, complete the three antennas, and extraction becomes optional.
Stage 1 rewards: 1 Combat 3 (aggression) boost, 1 Heavy Shield, 1 Vita Spray.
Stage 2: deal damage with three disposable ARC parts
The second stage has you use as weapons the components you're used to selling off. Three separate counters, with very uneven thresholds:
| ARC part | Damage required | Source machine | Where to find them |
|---|---|---|---|
| Pop Trigger | 50 | Pop | Everywhere, including in the Buried City's subway stations |
| Wasp Pilot | 500 | Wasp | Dam Battlegrounds, Buried City high-loot zones |
| Leaper Impulse Unit | 1,000 | Leaper | High ARC-density zones, high-rarity containers |
The Pop Trigger is a footnote: 50 damage is one or two throws at a stationary machine and it's done. Just don't spend more than strictly necessary, since these triggers are used to upgrade the explosives station from tier I to tier II at the workshop, at a cost of five units.
The Wasp Pilot is the most cost-effective item of the bunch: it explodes as soon as it's shot, and community data credits it with a little over 250 damage per detonation. Two or three well-placed throws are therefore enough for the 500 damage. Keep in mind, though, that a Wasp Pilot sells for 1,000 Raider tokens to merchants: don't empty your stockpile, just take what you need.
The Leaper Impulse Unit is the real bottleneck. It's an epic item, worth 3,000 tokens on resale, and you need to rack up 1,000 damage. Its description states 100 base damage over a 10-meter radius: thrown into a tight cluster of machines, a single unit will therefore net far more than 100 on the counter, since it creates a singularity that pulls in everything nearby. Aim for swarms of Wasps or Tick patrols rather than an isolated target, or you'll burn through a dozen units.
Stage 2 rewards: 50 Raider tokens, 1 Aphelion, 1 Dolabra, 1 Jupiter.
Stage 3: fire, energy and rocket launchers
The third stage is the longest, with three separate destruction objectives: 1,500 fire damage, 3 ARC machines destroyed with an energy weapon, and 20 flying ARC units destroyed with launcher ammo.
The 1,500 fire damage
The most reliable source remains the Firebrand Grenade, which covers a 10-meter area in flames for 10 seconds at 5 damage per second. Do the math: a single grenade only nets about 50 damage per target hit over its full duration. Spraying it on a lone machine is therefore a straight loss; you need to drop the fire zone on a group, or on a large machine that stays inside it, typically a Bomber or a Bastion. And above all, don't stack two grenades in the same spot: throw them one after another to avoid unnecessary overlap.
The 3 energy weapon kills
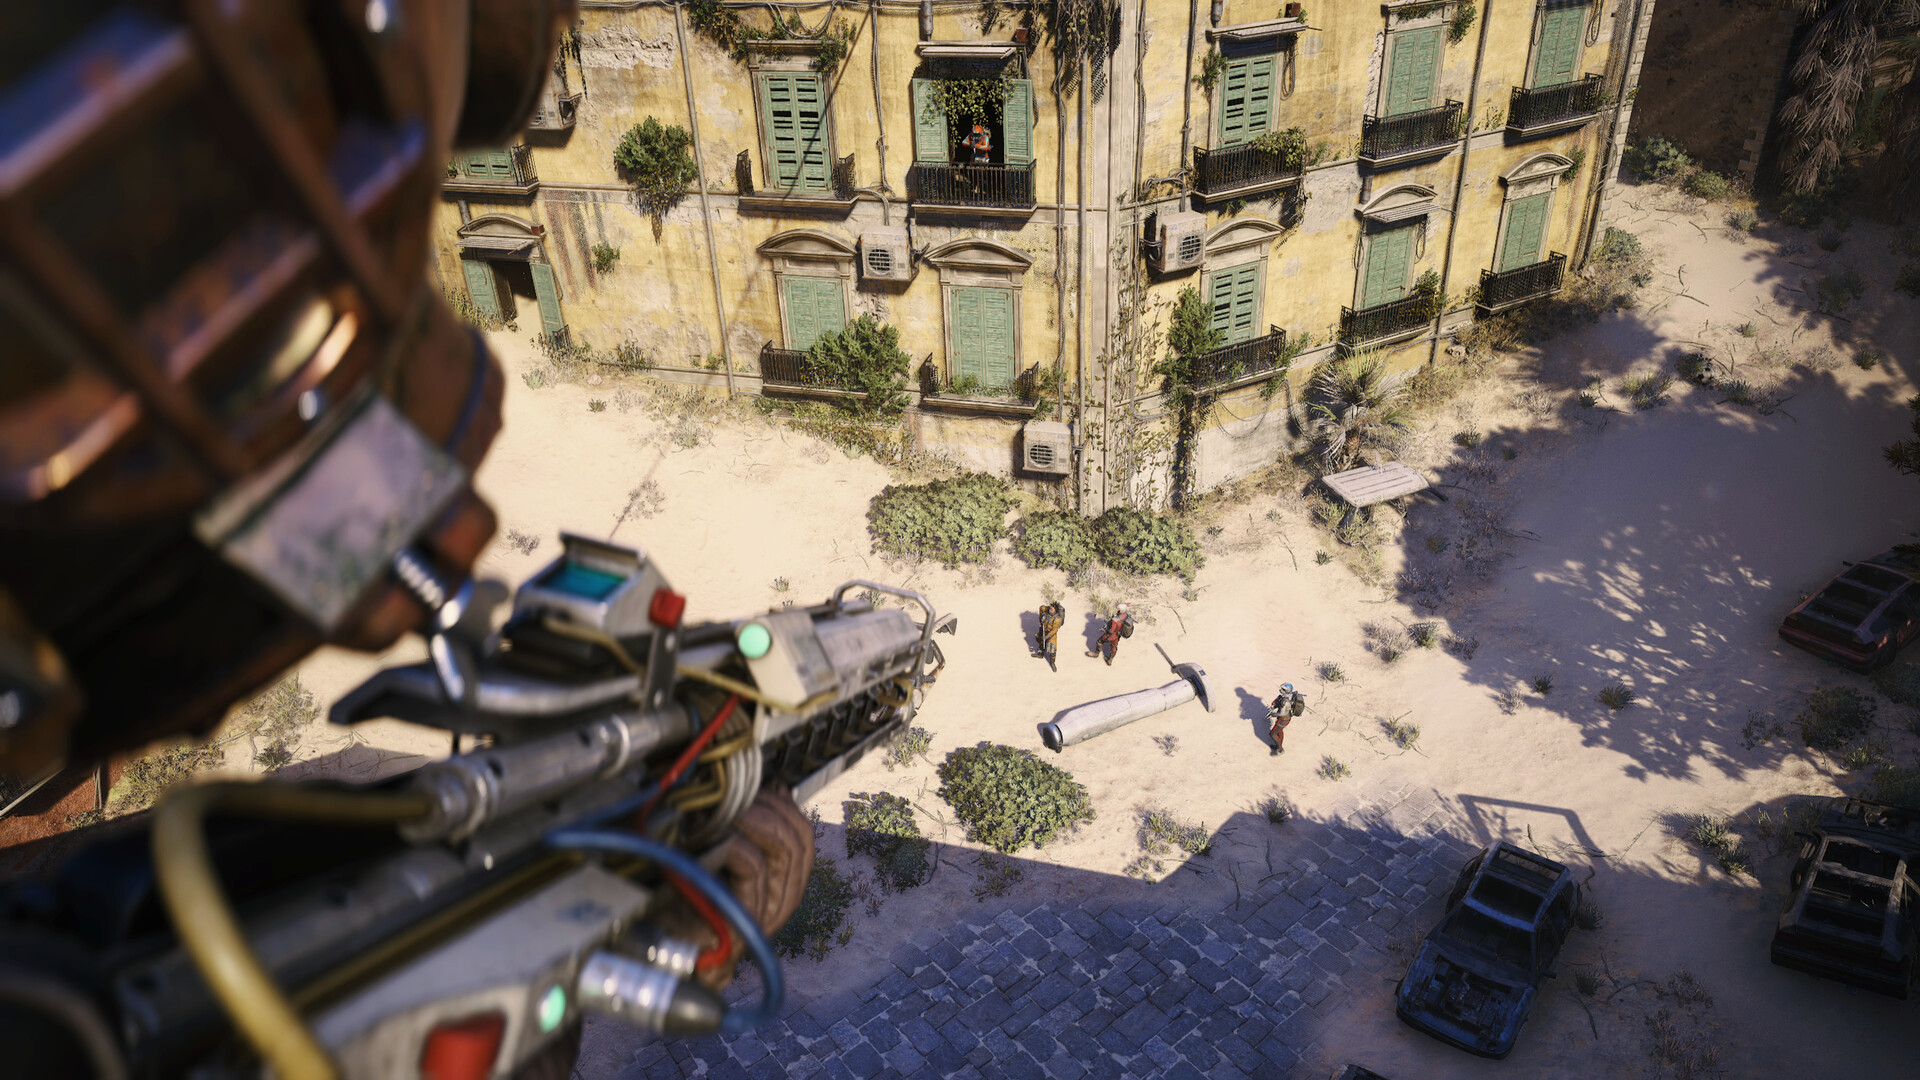
This is where the project's design turns out to be elegant, and nobody's pointing it out: the three legendary weapons awarded in stage 2 are precisely energy weapons. Aphelion, Dolabra and Jupiter all use the energy magazine. So there's nothing to farm beforehand: finish stage 2, equip one of the three, and the next objective is done in a single raid.
- Jupiter: bolt-action precision rifle, 60 damage per bullet. The safest choice for finishing off a machine from range without drawing attention.
- Aphelion: two-round burst combat rifle, very high armor penetration.
- Dolabra: experimental shotgun, capable of focusing a heat beam at medium range.
One detail that costs raids: only the killing blow counts. If you soften up a Bastion with a regular weapon and finish it off with the Jupiter, the kill counts; the reverse doesn't.
The 20 flying ARC units with launchers
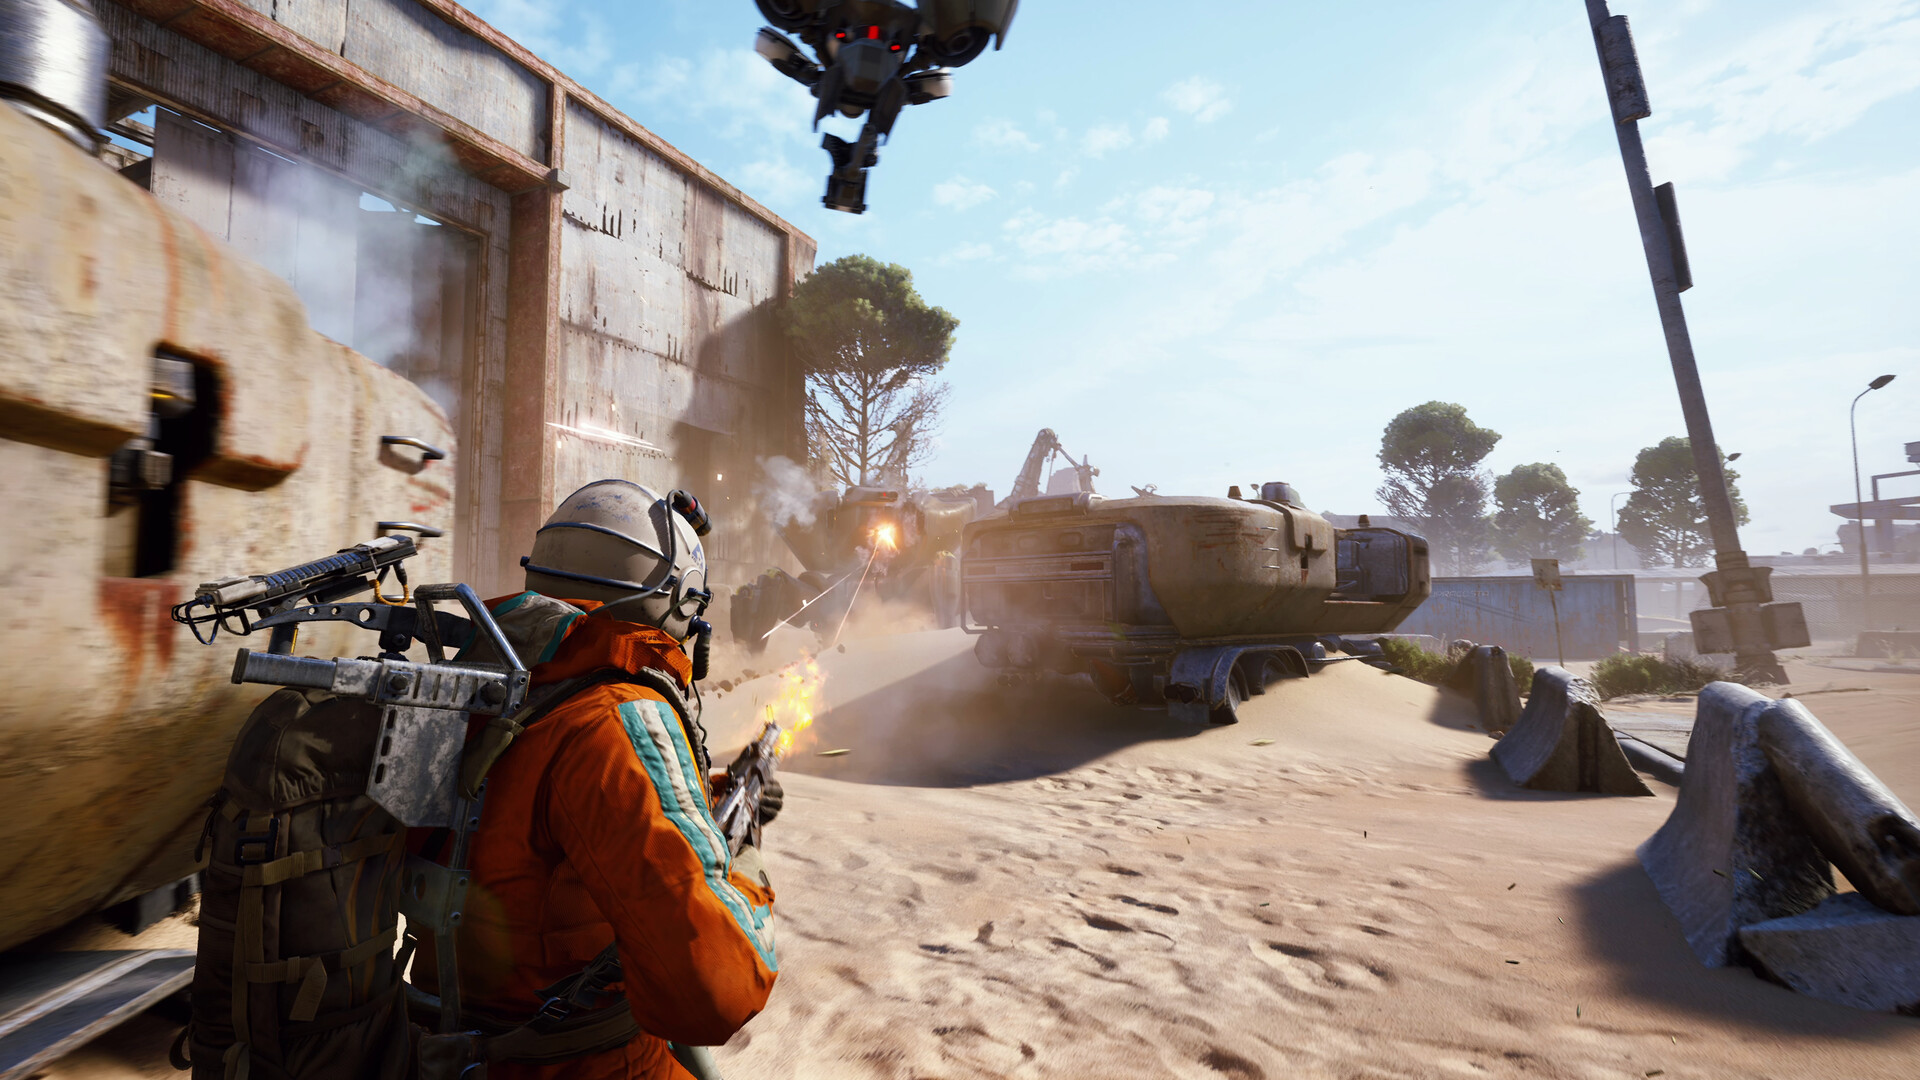
Only two weapons consume launcher ammo: the Rascal (75 damage, break-action) and the Hullcracker (100 damage, pump-action). Eligible targets are flying machines, meaning essentially Wasps and Hornets.
For farming, Riven Tides by far concentrates the most flying ARC units; it's also the map where you'll run into the most players, so head out light and accept up front that you might lose the bag. Dam Battlegrounds remains the cautious option if you prefer low-risk farming early in a session, even if it means spreading the 20 kills across several raids.
Stage 3 rewards: 50 Raider tokens, 1 Motorized Descender, 1 Horizontal Grip, 1 Carabiner.
The most efficient order to clear everything
The classic mistake is tackling stage 3 with your usual loadout. By following the order below, you fund each tier with the rewards from the previous one:
- Raid 1, disposable gear: Dam Battlegrounds, three cargo elevator antennas, extraction optional. Stage 1 complete.
- Raid 2, light bag: bring two Pop Triggers, three Wasp Pilots and your Leaper Impulse Units. Target groups, never isolated units. Stage 2 complete, three legendaries in hand.
- Raid 3: equip an energy weapon and Firebrand Grenades, then target a Bomber or a Bastion. The 1,500 fire damage and the 3 energy kills fall in the same run.
- Raid 4 and onward: Rascal or Hullcracker on Riven Tides until you hit 20 flying ARC units.
What's coming on August 18 with update 1.42
The second part of the Phantom Targets project, the event of the same name, and the Tick Hunter Set cosmetic bundle all launch the same day. The bundle includes the Tick Hunter outfit in four colorways (red, white, green, black), the Field Telephone backpack, the Tick Trophy charm, the Spider Tattoo face style and 2,400 Raider tokens; it can already be added to the Steam wishlist.
Embark hasn't announced an official end date for the project. Community trackers are betting on an early-September close, but nothing confirms it: don't put off stage 3, it's the one that demands the most raids.
Meanwhile, the Embark Summer Celebration offers the Azimuth outfit in THE FINALS in exchange for three hours of playtime on ARC Raiders. On the fixes side, the studio has acknowledged two ongoing issues: the stomp damage from the Queen and the Matriarch, which goes through walls and reaches far too far, as well as launch error codes on PC. 1.40.0 also adds two new colorways, black and yellow, for the Volare outfit.
Should you jump in now?
Yes, for a very concrete reason: three legendary weapons and a Motorized Descender for a handful of raids is an effort-to-reward ratio the game rarely offers. The only real investment is the Leaper Impulse Units, worth 3,000 tokens each on resale. If your stockpile is empty, do stage 1 and the Pop Trigger objective first, then quietly build up your impulse unit stock before unlocking the rest.
Finally, leave some room in your stockpile: part 2 on August 18 will very likely reuse the same ARC components. Better to arrive with a stock already built up than to have to farm in a rush on maps packed with players who came back for the event.
Share this article
Facing stage 3, which do you prefer: a big farming run in one go, or spreading it out over several calmer raids?
Frequently asked questions
Do you need to extract after repairing the antennas for it to count?
No. You can die or quit after repairing all three antennas — the progress is still validated. That's why a "bare" raid on Dam Battlegrounds is the fastest method.
What's the main pitfall with the throwable ARC parts?
Not using the Leaper's impulse unit on groups. It creates a singularity that concentrates damage: a single unit well-placed on a swarm exceeds 1,000 damage. Using one on an isolated target is a waste.
Do I need to farm energy weapons before stage 3?
No, that's one of the project's clever design choices: all three legendaries awarded in stage 2 use the energy magazine. Equip one of them and the objective is settled in a single raid.
How do you validate a kill with the energy weapon?
Only the killing blow counts. If you start a machine with a regular weapon and finish it off with the Jupiter, it's validated. The reverse doesn't count — you absolutely must finish with the energy weapon.
Which map should you pick for the 20 flying launcher kills?
Torn Tides has the highest concentration, but it's intense PvP. Dam Battlegrounds is safer and less contested, even if it takes more raids.
Key takeaways
- Antennas are found on cargo elevators (the large extraction structure), nowhere else — the Dam Battlegrounds packs several of them, letting you clear stage 1 in a single raid.
- The Leaper's impulse unit explodes into a singularity on groups: use it on swarms of machines, never on a single target, or you'll be burning a fortune for nothing.
- The three legendary weapons in stage 2 are energy weapons — they save you from having to farm a specific piece of gear for stage 3.
- Only the killing blow with the energy weapon counts toward destructions: starting with a regular weapon and finishing with the Jupiter invalidates the progress.
- Torn Tides offers the most flying targets for the 20 launcher kills, but it's tight PvP — Dam Battlegrounds remains safer, if slower.
Comments
No comments yet. Be the first to react!
Leave a comment
Similar guides

Latest articles








Your opinion counts
Rate ARC Raiders
Click a star to rate