



 Fabian Lainé

Full Guide
ARC Raiders: All POIs and Best Loot Spots 2026
In brief
ARC Raiders features six major maps, each with its own signature POIs: Buried City, Dam Battlegrounds, Spaceport, Blue Gate, Stella Montis, and Riven Tides. This guide breaks down the best loot spots, their difficulty, and optimal routes whether you're playing solo, duo, or trio, staying up to date with the April 2026 patch 1.26.0.
Since its release at the end of 2025, ARC Raiders has established its own vocabulary among players: Buried City, Dam Battlegrounds, Spaceport, Blue Gate, then Stella Montis and the very recent Riven Tides. Every raid on the surface of the Earth begins with the same question, the one that decides everything: where do you land to get out loaded up without ending up in another Raider's inventory? This guide reviews the major Points of Interest (POI) on all six maps, their difficulty level, the loot to expect, the safest extractions, and the recommended routes depending on your team composition. Nothing evergreen here: we're sticking to the post-patch 1.26.0 meta from April 2026 and the new weapon families the game keeps adding.
The official vocabulary: why everything stays in English
Before tackling the maps, a quick word on terminology. ARC Raiders is distributed with French voiceovers and subtitles, but Embark Studios chose to keep proper nouns in English within the interface: the maps, the POIs, the enemy types (Rocketeer, Wasp, Bombardier, Leaper…) and the extraction methods (Cargo Elevator, Metro Station, Airshaft, Raider Hatch) retain their original names, much like Fortnite does with its Battle Pass. We therefore stick to these official labels so you can cross-reference the info with your client, compass, and quest markers. A useful reminder too: the game takes place entirely on the surface of the Earth, in a future ravaged by the mechanized threat known as ARC, and each map corresponds to a devastated Italian region.
Buried City: the labyrinth of sand and subway
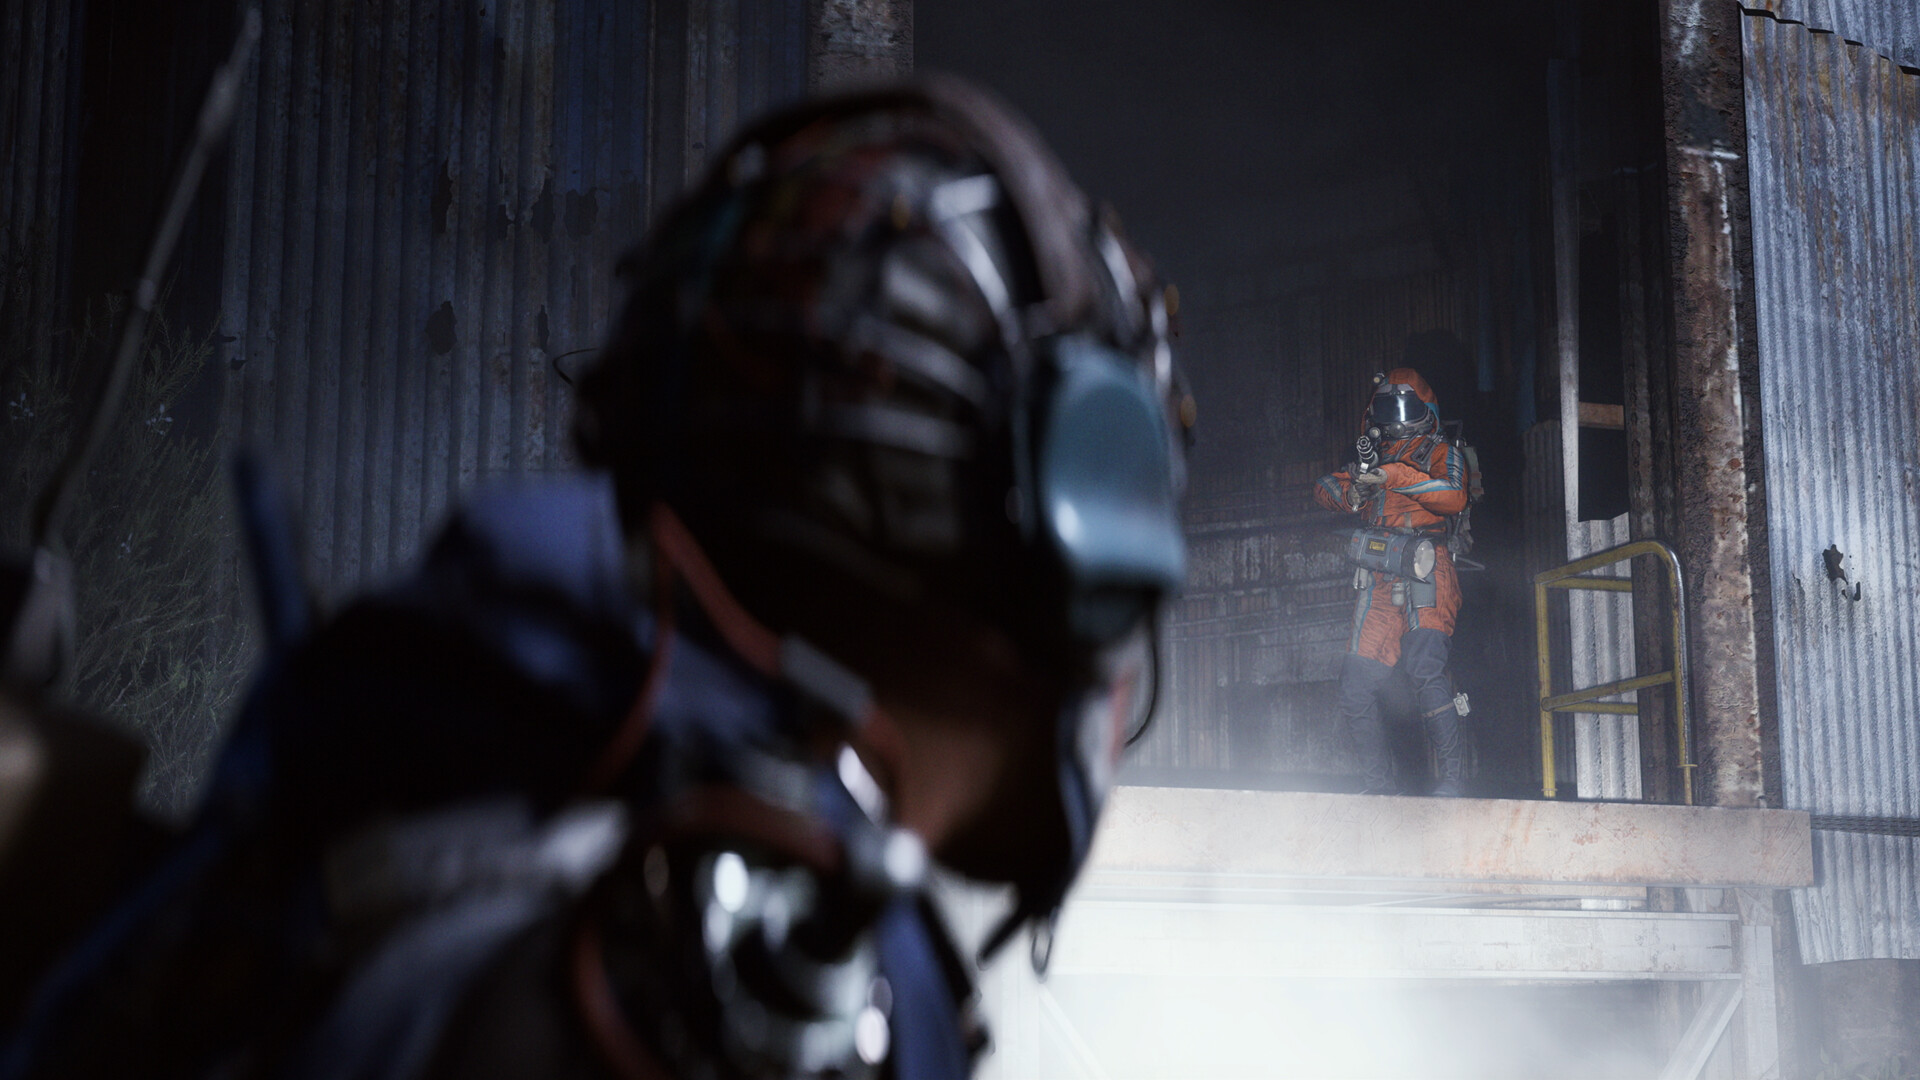
A former Italian city half-buried under dunes, Buried City is divided into four zones: Outskirts, West Village, Old Town, and the New District. This is the map where verticality and reading the floors make all the difference. Extractions here are exclusively Metro Station (four stations, but only one usable per raid), backed up by four silent Raider Hatch exits if you have the key.
- Hospital (HIGH) — meds, rare blueprints. The best spot on the map for healing items and blueprints, but a PvP magnet near the North station.
- Grandioso Apartments (MID-HIGH) — resellable items, Pops and Fireballs inside. Excellent solo for the risk/reward ratio, provided you plan your exit.
- Space Travel (HIGH) — dense tech loot. Multi-story complex, often locked down by Raiders camping the entrance.
- Town Hall (MID) — security chests, keycard required. A worthwhile detour if you pick up the key off a mob during the raid.
- Marano Park (HIGH) — Apricot, Great Mullein, ARC boss. A great farming garden, but patrolled by Rocketeers and Bombardiers.
- Plaza Rosa & Piazza Arbusto (LOW-MID) — pharmacy, weapon attachments. A must-stop for a quick in-and-out raid.
Recommended route. Solo, enter through the Outskirts, hit Piazza Arbusto, then extract via Eastern Station: it's the least camped station. Duo, climb up to Grandioso, come back down to Plaza Rosa, and exit through the East. Trio, try the Hospital + Space Travel combo, push the PvP, and exit via Northern Station while covering the angles.
Dam Battlegrounds: the Raiders' old stronghold
Dam Battlegrounds is the Alcantara Power Plant, a hydroelectric plant sunk into toxic marshes. It remains the map the game recommends to players coming out of Blue Gate. Expect four main extractions and four Raider Hatch spread around the major POIs, plus two extremely loud Cargo Elevators (siren audible across the whole area for 90 seconds).
- The Dam (MID) — weapon parts, military crates. The map's nerve center, dense with Sentinels and Turrets. The Testing Annex and Staff Room are locked, so hang on to their keys when you find them.
- Victory Ridge (MID-HIGH) — Raider Caches. Elevated position, often occupied by duo snipers.
- Red Lakes (LOW-MID) — plants, resources. Large open area, several Wasps flying in formation.
- Formicai Hills (MID) — medical bags, toolboxes. The best POI for a solo player building up their crafting.
- Swamp (LOW) — basic supplies. Serves as a transit point to the western hatches.
Recommended route. Solo: Formicai Hills then a hatch. Duo: Victory Ridge on overwatch while the other clears The Dam. Trio: rush The Dam with one player dedicated to Rocketeers and the Baron, extraction via cargo elevator only if you already control the angles.
Spaceport: the industrial gold mine
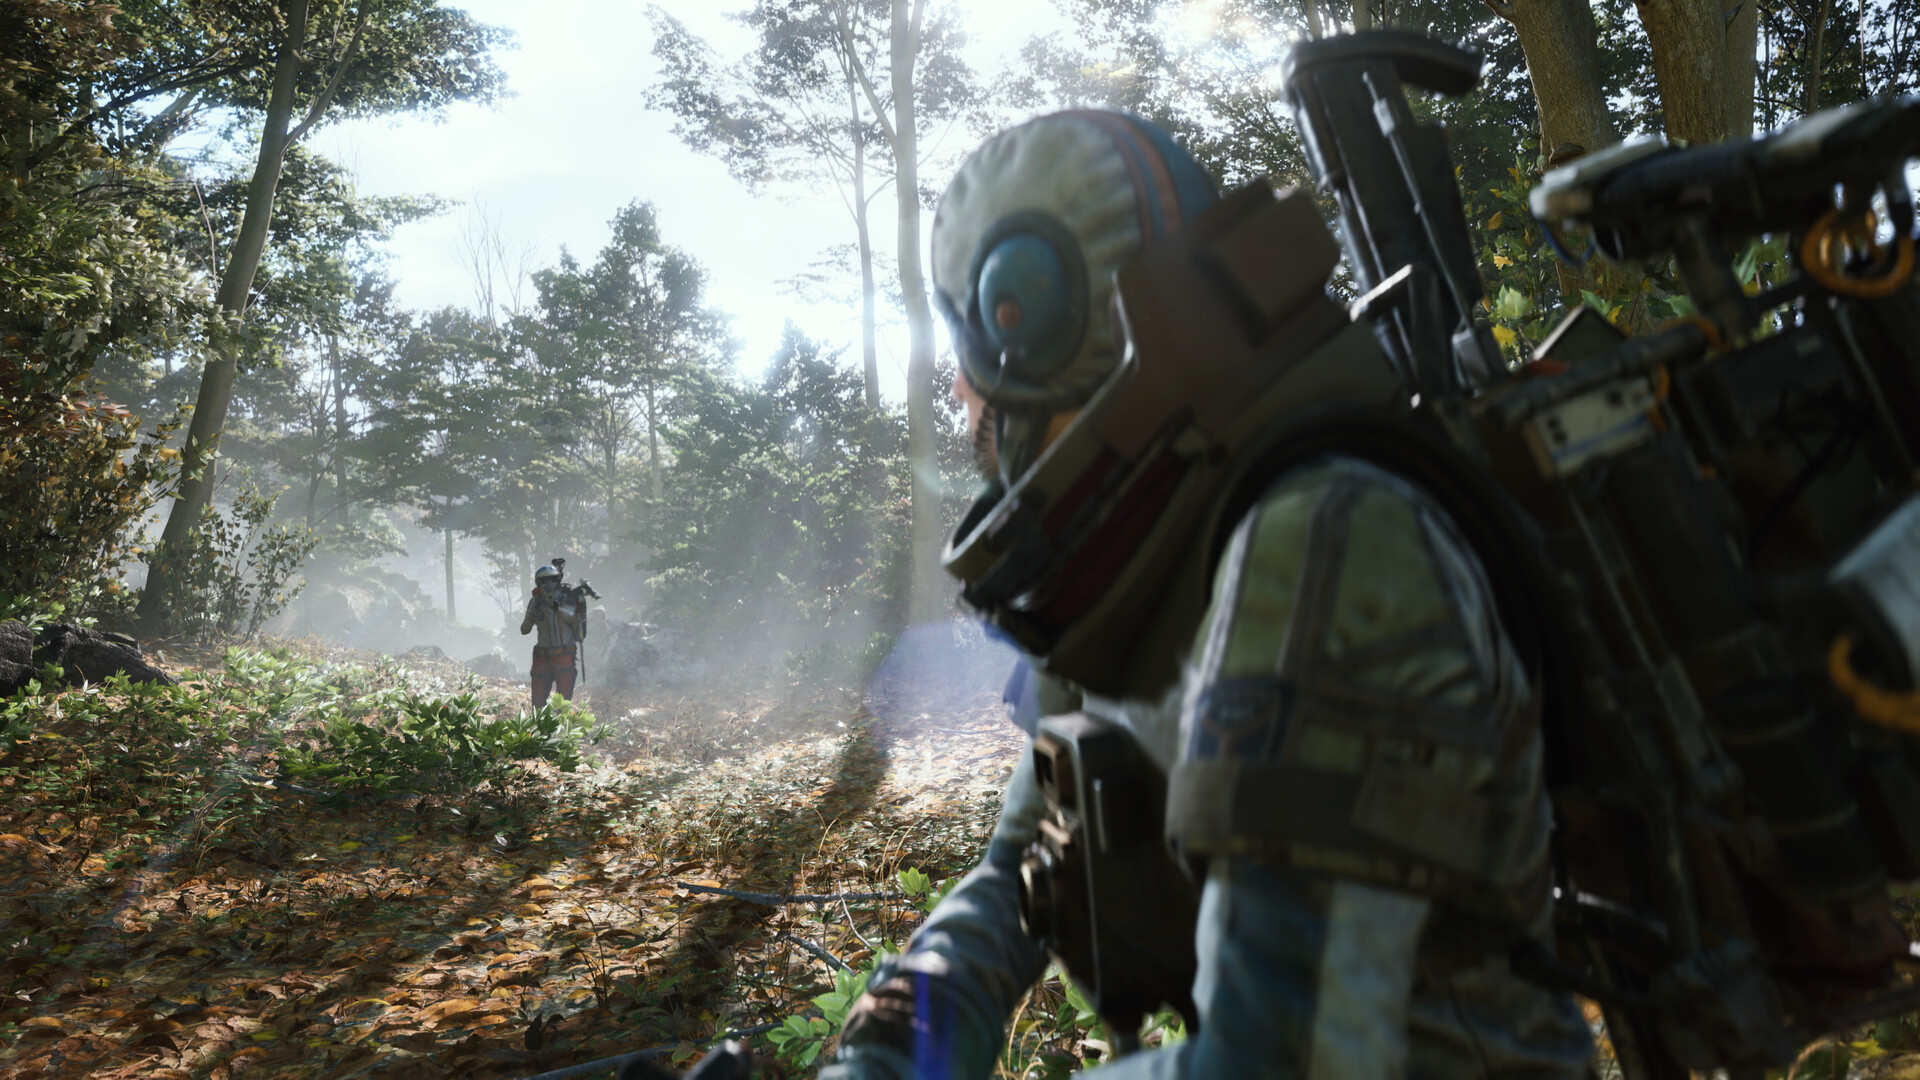
Spaceport (Acerra Spaceport) is the ultimate loot-dense map, built around the central Control Tower and two zipline-equipped Launch Towers. It offers all four extraction types, with four Raider Hatch, several Cargo Elevators, and airshafts around the periphery.
- North & South Launch Towers (HIGH) — tech, grenades, two weapon crates at the top. Requires a fuel cell inserted into the generator at the base of the ziplines. The Launch Tower Loot raid condition further boosts the value of the drops.
- Control Tower (HIGH) — crates, Raider Caches, breach spots. Door A6 opens with the Spaceport Control Tower Key (Rare item) and leads to a zipline heading to the Epic loot on the roof.
- Main Hangars (MID) — weapons, industrial materials. Vast spaces where Rocketeers have the advantage.
- Runway periphery (LOW-MID) — vehicles and field crates. Good for a solo player looking to avoid PvP.
Recommended route. Solo: periphery + one hangar + Raider Hatch. Duo: South Launch Tower (less camped than the North) then extraction via airshaft. Trio: Control Tower via A6 if you have the key, otherwise a double Launch Tower combo with a dispatcher for the Wasps.
Blue Gate: the school of extraction and its puzzles
Blue Gate is presented as the game's entry-level map, with its tight mountain passes and natural chokepoints. But it now harbors puzzles that, when solved at night, unlock the map's best loot. Extractions: four Raider Hatch, four airshafts, and an underground area with its own exits.
- Reinforced Reception (HIGH) — augments, blueprints. The convergence point for the map's best loot, manageable patrol density.
- Checkpoint (HIGH) — premium underground complex. Accessed via the Headhouse: players who don't know it exists miss out on a whole chunk of the map.
- Pilgrim's Peak (MID) — Raider caches, snipers. Ideal control position over the lower area.
- Village (MID) — consumables, light crates. The natural passage between the north and south zones.
- Ancient Fort (MID-HIGH) — tech, weapons. Opens onto an ARC boss (Matriarch) depending on the raid wheel.
Recommended route. Solo: Village + Pilgrim's Peak + airshaft. Duo: quick Reinforced Reception run then hatch. Trio: underground dive through the Headhouse, solve a puzzle, extract through the underground exit to avoid the surface.

Stella Montis: the frozen hell of the endgame
Opened in early 2026, Stella Montis is the endgame map starting at level 25: the smallest map in the game in terms of surface area, but the one with the highest value density per square meter. Extractions can be counted on one hand (three main ones, three Raider Hatch) and are regularly disabled by electromagnetic storms that cut power to the hatches.
- Assembly Workshops (HIGH) — rare weapon components. The best endgame material farm.
- Medical Research (HIGH) — epic meds, blueprints. Keycard-locked rooms, dense with ARC.
- Seed Vault (MID-HIGH) — quest items, cores. Frequent objective for vendor missions.
- Cultural Archives (HIGH with key) — rare artifacts. Only worth the detour if you have the keycard.
- Sandbox zones (MID) — crates and consumables. A good backup plan when the center of the map is locked down by a trio.
Recommended route. Solo: forget the center, loop through the Sandbox zones and leave via a hatch as soon as it's free. Duo: Assembly Workshops, extract via cargo elevator if your partner holds the door. Trio: Medical Research + Seed Vault, split extraction so you never commit everyone to a single airshaft. Extraction camping is at its most brutal here: always prepare two exit plans.
Riven Tides: the coastal map of patch 1.26.0
Released on April 30, 2026, Riven Tides is the new seaside map, with its horseshoe shape, its beached cargo ships, and its iconic hotel. It introduced the Aphelion, Bettina, Arpeggio and Burletta weapon families. Four extractions in normal weather, six during the Beachcombing event.
- Hotel Panorama Azzurro (HIGH) — luxury, 8 of the map's 11 keycards. Room 107 spawns three guaranteed IL Toro Lv.3 and the key to Room 208. The rooftop terrace extraction is highly contested.
- Stacking Yard (MID-HIGH) — Bettina, Torrente, industrial materials. The Crane House is locked, but the dock extraction is less camped than the hotel.
- Port Authority Building (MID) — blueprints, epic weapons. New Secure Storage room added in 1.26.0, rooftop helipad extraction.
- Seabed & Shoreline (LOW outside events, HIGH during Beachcombing) — event crates, Avian Alarm materials. Northwest extraction only active at low tide.
Recommended route. Solo: Port Authority + helipad. Duo: Stacking Yard then cargo dock. Trio: Hotel Panorama, split by floors, terrace extraction. During the Beachcombing period, the Seabed becomes a priority for finishing community projects.
The ARC bestiary: who's waiting for you at every POI
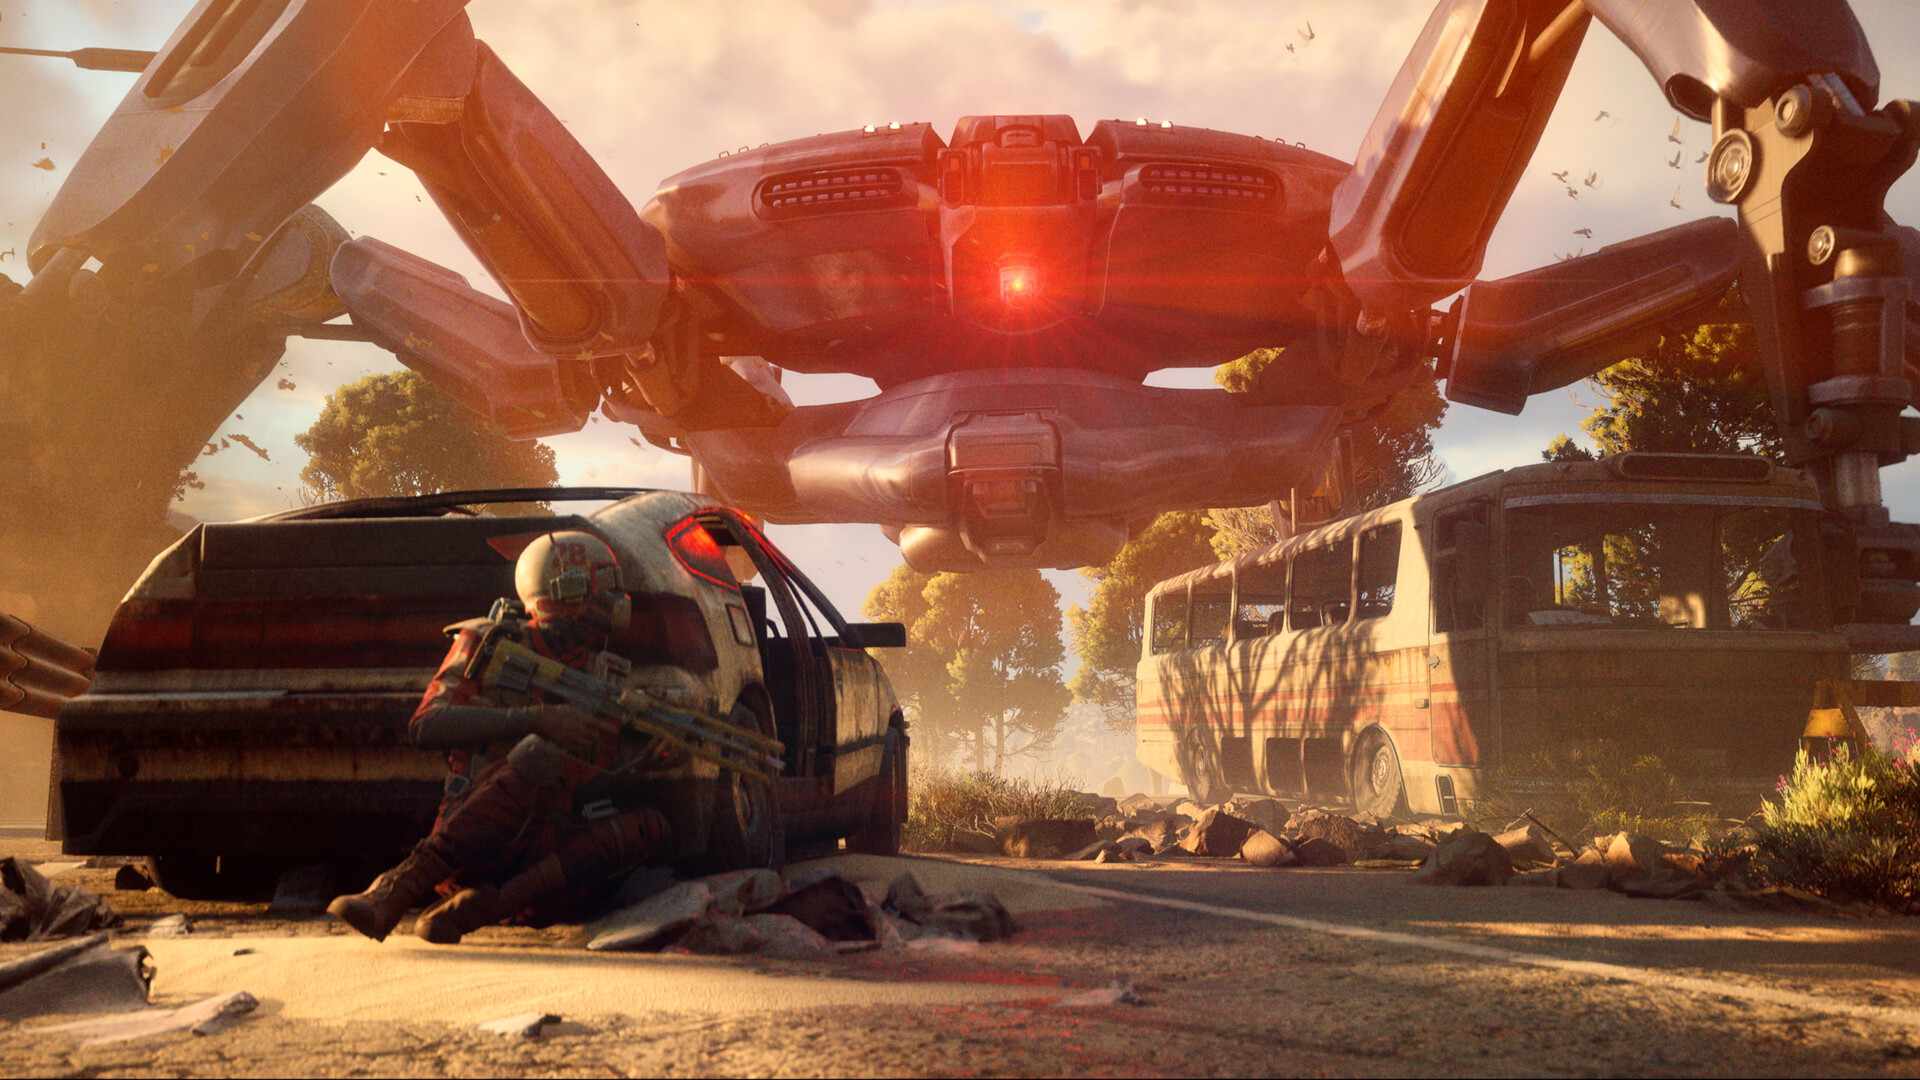
You can't optimize a route without knowing the patrols. Here's an actionable summary of the five ARC units you'll encounter most often around POIs.
- Wasp — Fragile, with its 4 thrusters as a weak point. One rifle burst or three Anvil shots are enough. Common at Red Lakes, Spaceport Outskirts, Blue Gate Village.
- Rocketeer — A large Hornet capable of one-shotting shields and health. Take cover, break the plating on its thruster, then aim for the exposed metal. A Wolfpack finishes it off if isolated. Active at Marano Park, The Dam, Launch Towers.
- Bombardier — Guided mortar, escorted by Spotters. Take down the drones first, then hit the yellow knee plates and rear cylinder. Lurks in southern Buried City and Stella Montis.
- Leaper — Mechanical spider that leaps and unleashes shockwaves. Afraid of fire: a Blaze Grenade or a Fireball Burner neutralizes it. Take shelter in a narrow building to expose its legs. Common at Stella Montis and Riven Tides.
- Sentinel & Turret — Fixed or semi-mobile, they protect key POIs (Control Tower, The Dam, Cultural Archives). A flanking approach is essential.
Extractions: choosing your exit wisely
Not all extractions are equal, and they trigger differently. Here's a quick comparison:
| Type | Duration | Noise | Key required | Maps concerned |
|---|---|---|---|---|
| Cargo Elevator | ~90 s | Siren audible across the zone | No | Spaceport, Dam, Stella Montis |
| Metro Station | ~90 s | Intense alarm | Master Key | Buried City only |
| Airshaft | 60-70 s | Dropship engine noise | No | Blue Gate, Stella Montis |
| Raider Hatch | 15 s window | Silent | Raider Hatch Key (single use) | All maps |
Golden rule: identify two extractions before you start looting, and always keep a Raider Hatch Key for a silent emergency exit. In a trio, calling the Cargo Elevator at raid zero triggers valuable overtime; solo, the Airshaft remains the best speed/stealth compromise.
Solo, Duo, Trio: Matching the POI to Your Fill
Each composition has its own rules. Here's how to cross-reference maps, POIs, and fill.
| Fill | Priority Target POI | Recommended Extraction |
|---|---|---|
| Solo | Grandioso Apts, Formicai Hills, Village, Port Authority | Raider Hatch as priority, otherwise Airshaft |
| Duo | Reinforced Reception, Victory Ridge, Launch Tower South, Stacking Yard | Airshaft or Cargo Dock |
| Trio | Control Tower, Medical Research, Hotel Panorama, Hospital | Cargo Elevator (overtime) with cover |
Solo, the rule is simple: never hit two HIGH POIs in a row. You won't survive either the PvP or the Rocketeers. In duo, split the roles: one overwatch, one looter, never the reverse. In trio, you can finally consider Control Tower or Medical Research, but always prepare a split extraction with at least one backup hatch.
2026 Recap: The Priority Map
| Map | Flagship POI | Difficulty | Dominant Loot |
|---|---|---|---|
| Buried City | Hospital, Space Travel | HIGH | Meds, blueprints, tech |
| Dam Battlegrounds | The Dam, Victory Ridge | MID-HIGH | Weapon parts, Raider Caches |
| Spaceport | Launch Towers, Control Tower | HIGH | Tech, grenades, weapons |
| Blue Gate | Reinforced Reception, Checkpoint | MID-HIGH | Augments, blueprints |
| Stella Montis | Assembly Workshops, Medical Research | HIGH endgame | Rare components, epic meds |
| Riven Tides | Hotel Panorama, Port Authority | HIGH | Keycards, IL Toro, blueprints |
Conclusion: Prepare the Raid, Not Just the Loadout
The real secret of ARC Raiders in 2026 comes down to three reflexes: read the map before engaging, choose a POI compatible with your fill, and always plan two extractions. The meta evolves fast (patch 1.26.0, the Avian Alarm event, the Aphelion and Bettina weapon families), but this framework holds up no matter the update. Open your compass, note your hatches, and remember: leaving with a half-full backpack always beats a failed raid on Northern Metro. Good hunting, Raider.
Share this article
On a raid, do you prefer the quick in-and-out approach or the dense but risky center farm?
Frequently asked questions
Why do POI names stay in English even though the game has French voice acting?
Embark Studios kept the original names in the official interface—much like Fortnite with its Battle Pass—so you can cross-reference info with your client, compass, and quest markers without any mismatch.
What's the best POI for a solo player early on?
Grandioso Apartments on Buried City offers the best risk/reward ratio: sellable items, Pops and Fireballs inside, and an easy extraction via Eastern Station, which remains the least camped.
How do you unlock Blue Gate's hidden loot?
The Headhouse grants access to the premium underground Checkpoint where the map's best loot is concentrated—many players overlook this area and miss out on an entire section of Blue Gate.
Is Stella Montis worth visiting before level 25?
No, it's an endgame map recommended from level 25 onward: the smallest in the game but the densest in value per square meter, with extractions often locked by electromagnetic storms.
Which POI farms endgame materials most efficiently?
Assembly Workshops on Stella Montis is the best farm for rare weapon components for the endgame, but accessing it as a trio in the center remains risky when zones are locked.
Key takeaways
- Buried City rewards verticality: Hospital and Space Travel are the best farms, but Hospital attracts PvP near the North station.
- Dam Battlegrounds traps solos in the center—Formicai Hills offers a better risk/reward ratio for gearing up.
- Spaceport requires a fuel cell to unlock the Launch Towers, where the dense loot lies: the Launch Tower Loot raid condition multiplies drops.
- Blue Gate hides puzzles solved at night that grant access to the best loot via the underground Checkpoint through the Headhouse.
- Stella Montis is pure endgame content starting at level 25: maximum value density, but extractions are regularly locked by electromagnetic storms.
Comments
No comments yet. Be the first to react!
Leave a comment
Similar guides
Latest articles








Your opinion counts
Rate ARC Raiders
Click a star to rate