



 Fabian Lainé
Full Guide
Windrose: The Advanced Naval Combat Guide — Cannons, Wind Maneuvers, Broadsides and Boarding (2026)
In brief
Windrose demands far more than simple aiming: mastering wind positioning, timing your broadsides, and switching to boarding turns every encounter into a tactical victory. This guide covers the real techniques that separate drowned captains from true predators of the seas.
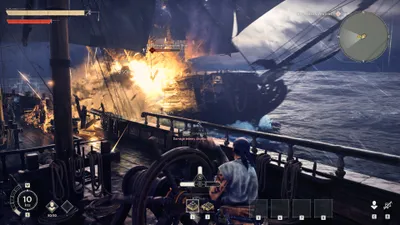
In Windrose, the early access pirate survival game from Kraken Express (released April 14, 2026), the sea isn't just scenery: it's the main battlefield. Gathering resources and building your fort are pointless if your hull ends up at the bottom after the first cannon exchange. Most guides already published cover the best ships, the builds for the four archetypes, or the economy of Piastres and Guineas; here, we're getting straight into the subject most poorly mastered by new captains: advanced naval combat. Wind positioning, broadside timing, transitioning to boarding, and managing your crew on deck — here's how to turn every encounter at sea into a war prize rather than a shipwreck.
The Ketch, Brig, and Frigate triangle: read the enemy's silhouette first
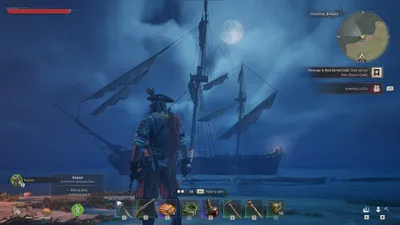
Windrose offers three playable ship classes, from lightest to heaviest: the Ketch, agile and fast; the Brig, versatile and balanced; and the Frigate, a true floating fortress capable of mounting the greatest number of cannons. Even before firing, learn to recognize your opponent's class at a glance, because it dictates your entire approach.
- Against a Ketch: don't try to outrun it, you won't succeed. Slow down, force it to close in, and punish it with a heavy broadside as soon as it enters your firing arc.
- Against a Brig: this is the most balanced duel. Victory hinges on reload speed and maneuvering discipline, not raw firepower.
- Against a Frigate: never stay broadside to broadside. A Frigate at full broadside will sink you in a few volleys; stay behind it or in its blind spots, where its cannons can't pivot.
Preparing your hull and supplies before engaging
The best pilot in the world loses the battle if they go in poorly prepared. Before setting course for a target, make it a habit to run a systematic check, because once the first volley is exchanged, it's too late to turn back toward a shipyard or a trading post. First, check the state of your hull: a hull already cracked by a storm or a previous exchange will give way much faster under enemy cannonballs. Repair beforehand, even if it costs you a few precious minutes.
Next, check your ammunition reserves and crew numbers. Nothing is more frustrating than seeing your cannons fall silent in the middle of a tight duel for lack of powder. Also spread out your valuable resources: never carry the entirety of the loot you hard-earned during a risky expedition, since a shipwreck would make you lose it all at once. Finally, mentally map out a retreat route toward the nearest friendly island or port: knowing when to disengage in time is an integral part of the art of naval combat, and a wise captain would rather flee today to sink another day.
The wind, the true compass of combat
The game's name is no accident: the windrose is the compass rose. In a confrontation, your position relative to the wind matters as much as the number of cannons. A ship sailing upwind loses speed and becomes an easy target; a ship running downwind moves fast but struggles to line up its broadsides. The golden rule: keep the weather gauge, meaning position yourself so you can freely choose when to engage and when to break off combat.
In practice, before opening fire, always scout the situation: note the wind direction shown on screen, then maneuver so the enemy is forced to tack against the wind while you keep a free heading. A captain who controls the wind dictates the engagement distance — and in Windrose, whoever dictates the distance almost always wins the exchange.
Also watch out for changing weather conditions: a sudden gust or a rough sea can cut your speed at the worst possible moment and throw off your broadsides. Adapt your heading to the swell rather than stubbornly forcing your way against the elements. Seasoned captains learn to read the sky as much as the water's surface, anticipating gusts so as to turn them into a tactical advantage instead of suffering through them.
Timing your broadsides: cadence before firepower
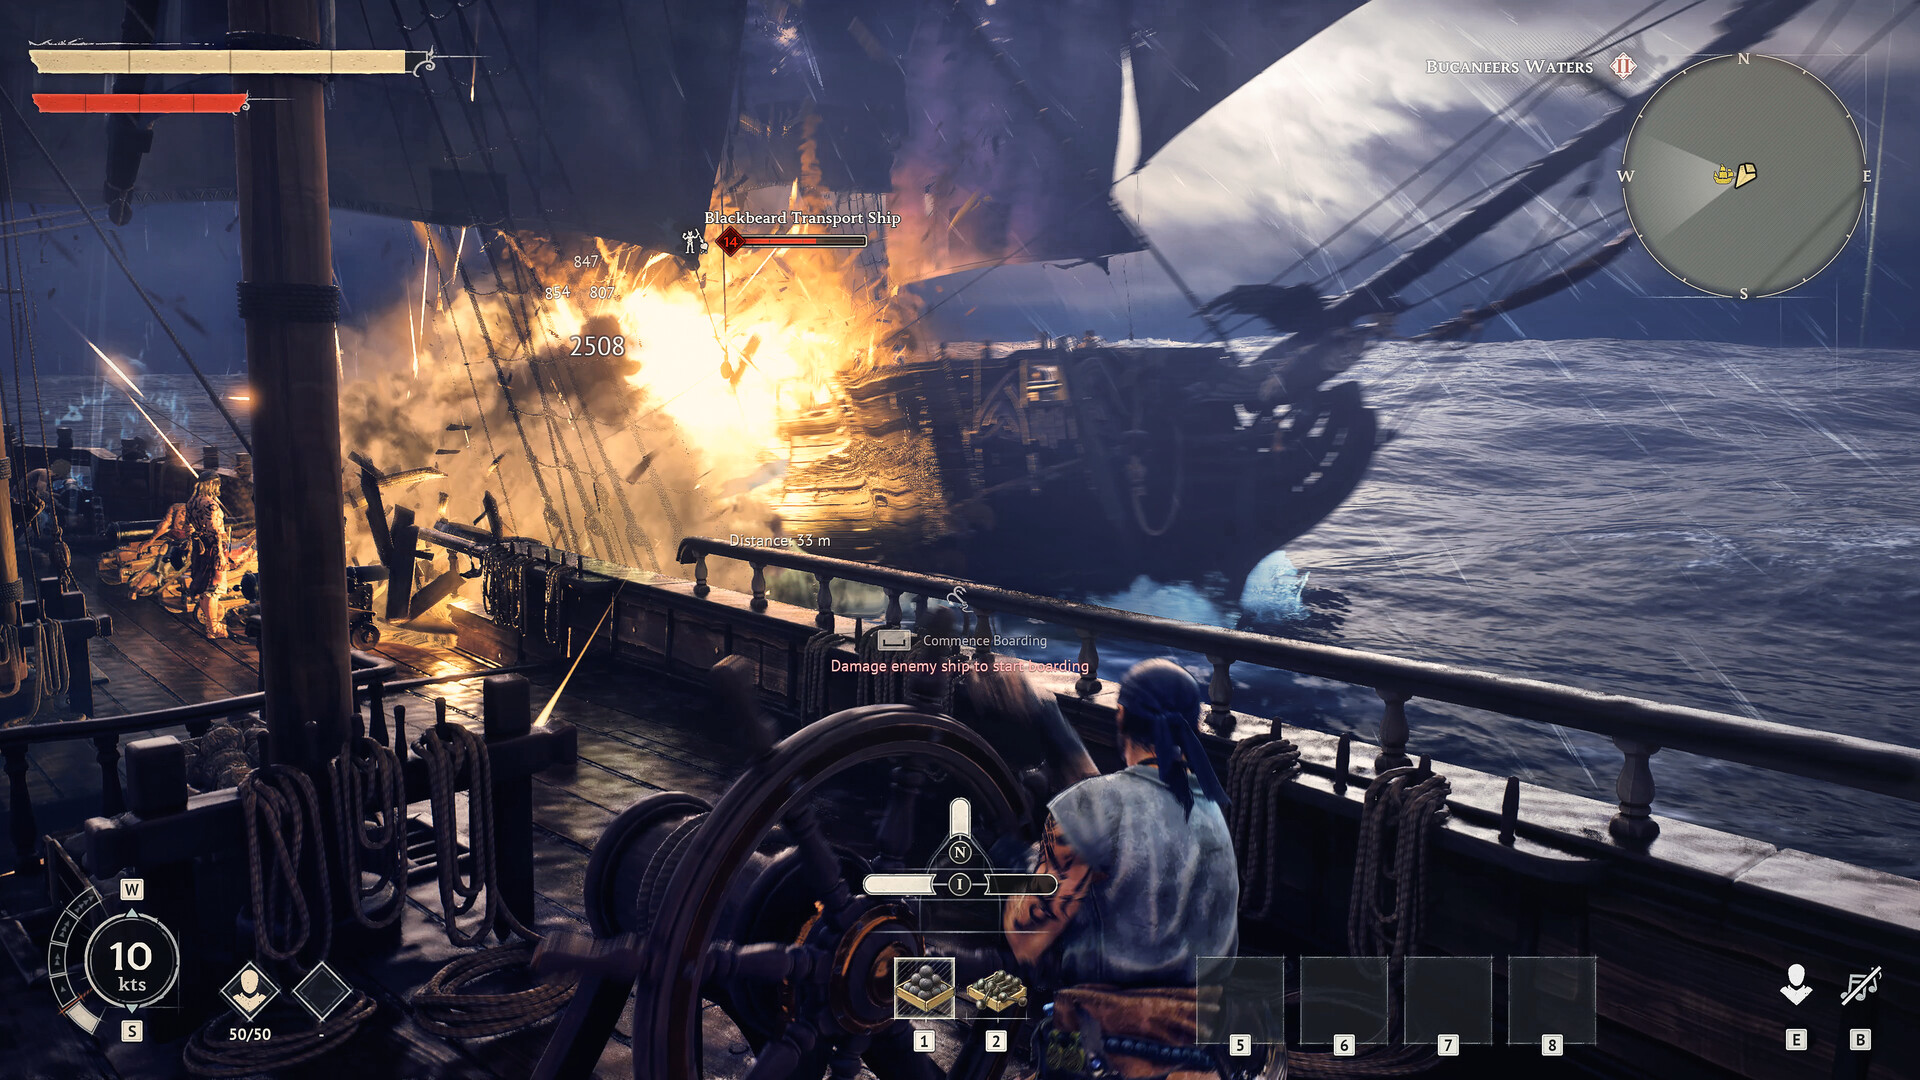
Windrose's cannons fire in a broadside: a grouped volley along an entire flank of the ship. The classic beginner's mistake is emptying the whole broadside as soon as the enemy appears, then sitting exposed for the entire reload time. Naval combat is won on tempo, not on the first salvo.
- Approach at an angle to present your flank at the right moment rather than too early.
- Fire at the closest point along your trajectory, when the enemy fills your firing arc — a broadside at close range hits far more than a speculative shot from afar.
- Break off immediately after the salvo: turn to present your opposite flank, already loaded, or move away while your gun crews reload.
- Chain alternating broadsides left/right to maintain continuous pressure without ever sitting idle.
On a Brig or a Frigate, this port/starboard rotation is the most efficient technique in the game: while one flank reloads, the other opens fire. Clean piloting doubles your effective firepower without a single extra cannon.
Targeting the hull or the deck: where to strike and why
Not all salvoes are equal, depending on your intent. Two game plans are available to you when facing an enemy ship.
- Sink the target: focus low fire on the hull to open up leaks and send the vessel to the bottom. This is the choice when the enemy outmatches you and the prize isn't worth the risk.
- Neutralize without destroying: if you covet the cargo or the crew, slow the enemy down instead of blowing it apart. A wrecked but still-floating ship is one you can board — and boarding is where the real loot lies.
Always keep this switch in mind: as soon as the enemy hull is smoking and its speed collapses, stop firing on the waterline and prepare to close in. Continuing to bombard risks sinking your own reward.
Boarding: when to close in and take the deck
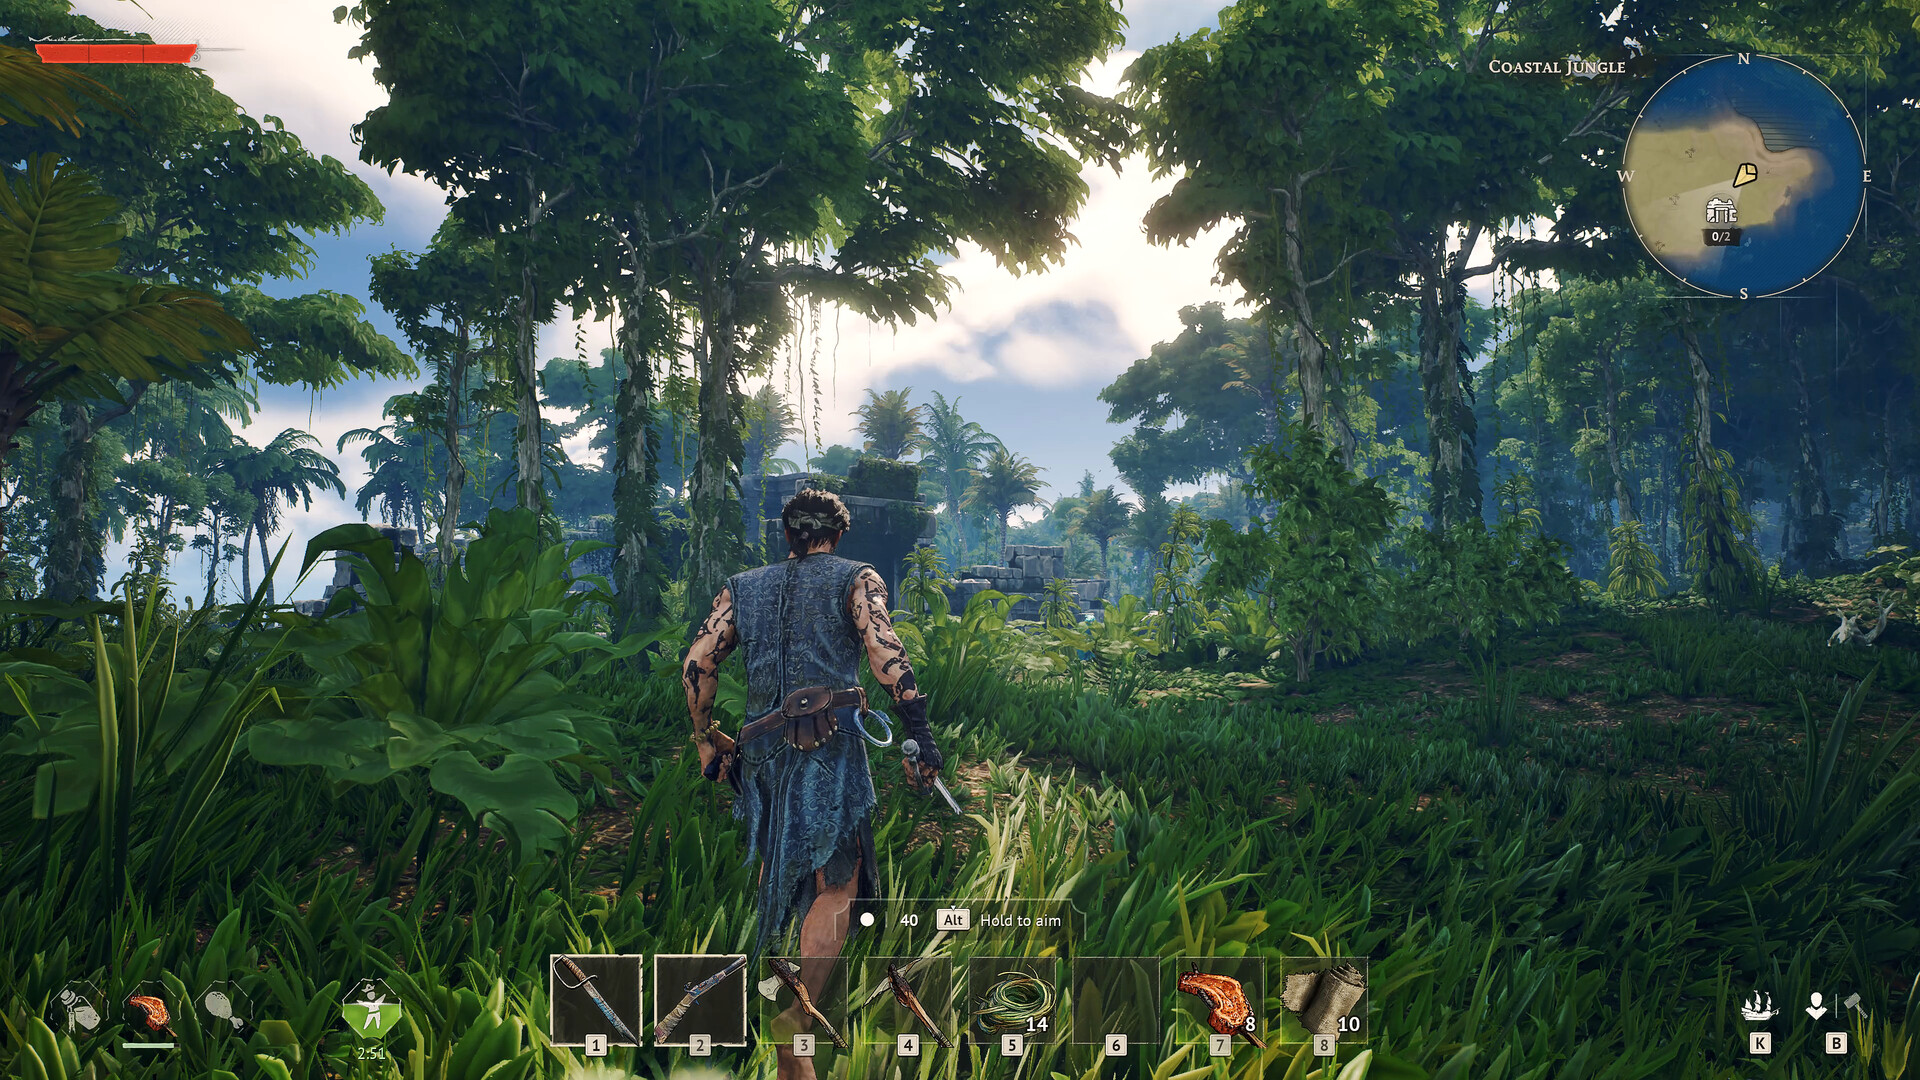
The boarding action is the most lucrative and most dangerous moment in Windrose. You don't board at random: you board a ship that's already broken, with a depleted crew and an exposed deck. Good timing comes down to three signals: the enemy has slowed down, its hull is damaged, and you still have enough fresh crew left to storm its deck.
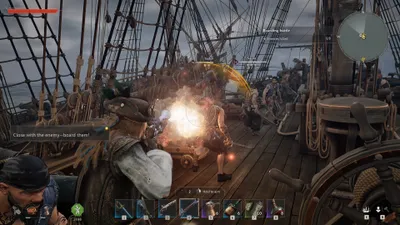
Pull up flank to flank, immobilize the target, and launch the boarding assault. From there, naval combat shifts into close-quarters combat: it's your personal melee and ranged weapons, along with your crew, that decide the outcome. A captain who boards without having planned their melee loadout sends his men to the slaughter.
A word of caution: never board if your own hull is sinking. Taking the enemy deck is pointless if your ship is going down beneath you during the melee. Secure your buoyancy first, then engage.
Melee and ranged weapons for the deck
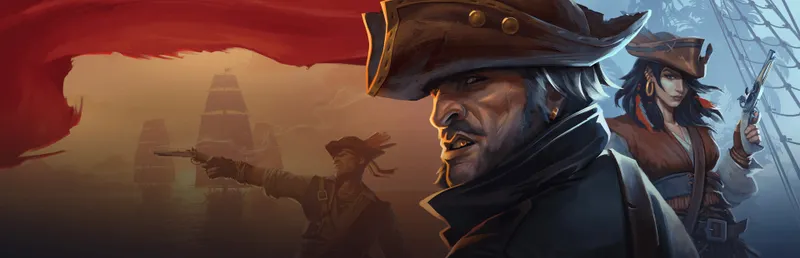
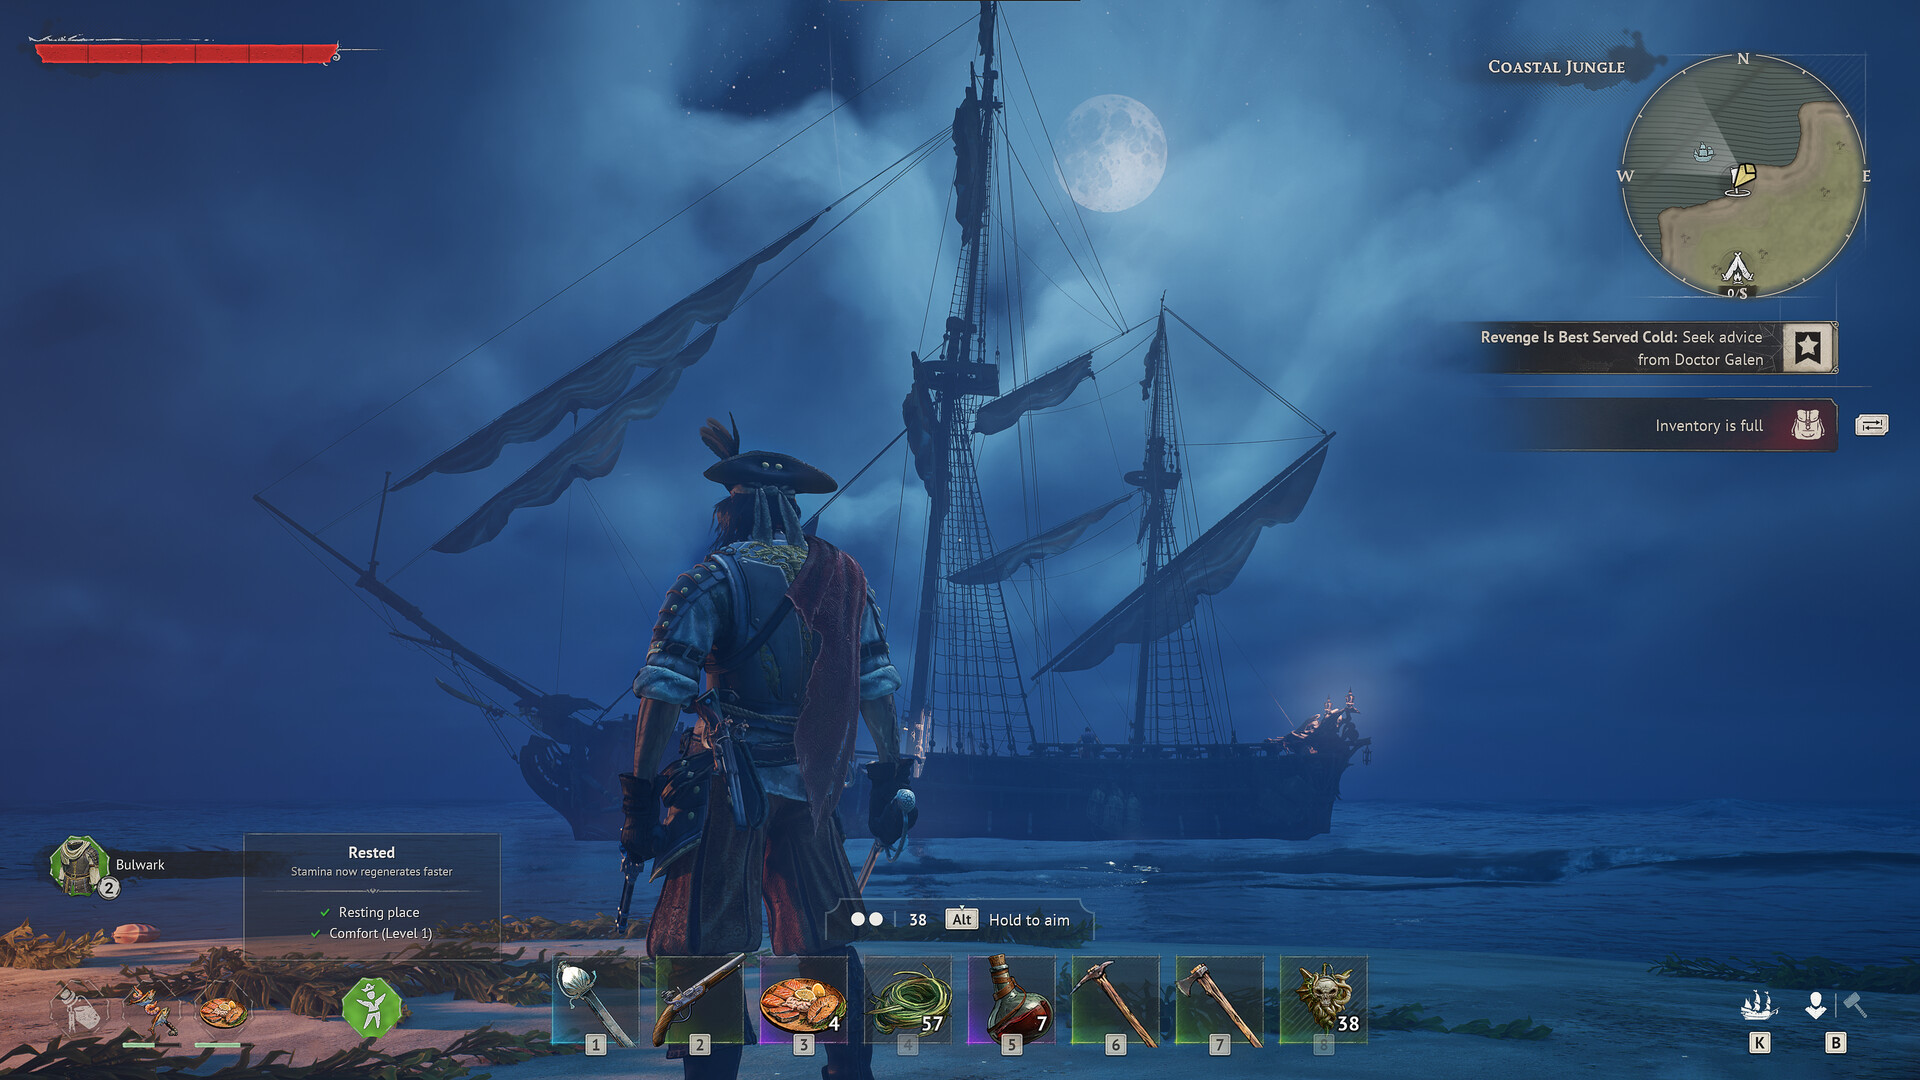
On the boarding deck, Windrose deploys its full arsenal: sabers, rapiers, halberds, greatswords for melee, pistols and muskets for ranged combat. Each family suits a specific style, and your four archetypes (Fencer, Crusher, Marksman, Toughguy) each find their use for them.
- Rapier and saber: fast, perfect for the mobile duelist who chains parries and ripostes on a crowded deck.
- Halberd and greatsword: reach and heavy damage to hold a chokepoint and strike multiple enemies at once.
- Pistol and musket: open the assault with a volley at range before contact, then draw the blade.
For elite loot, aim for the game's seven Epic weapons, true endgame relics: the Drake's Double-Barreled Pistol, the Executioner Halberd, the Rapier of a Thousand Cuts, the Rapier of Devastation, the Swamp Creature's Tooth, the Cutlass, and the Dueling Saber. On the crafting side, put the Weaponsmith to work with Tumbaga Ingot, the exotic material that grants critical hit and parry chances — a decisive edge when melee drags on across the enemy deck.
Recruiting and stationing your crew for combat
A ship is not a one-man show. Windrose lets you recruit NPCs to grow your colony, speed up gathering and production — but also to man the cannons and swell your ranks when boarding. A well-staffed flank reloads faster; a large crew overwhelms the enemy deck.
Also keep in mind the factions you trade with: the People of Tortuga, the Brethren of the Coast, the Rogue Buccaneers, and the Smugglers of Port Royal. Maintaining good relations with one of them opens access to better equipment and safe resupply points between battles. Before a risky expedition, always restock crew and ammunition at a friendly port.
Facing the Kraken and captains at sea
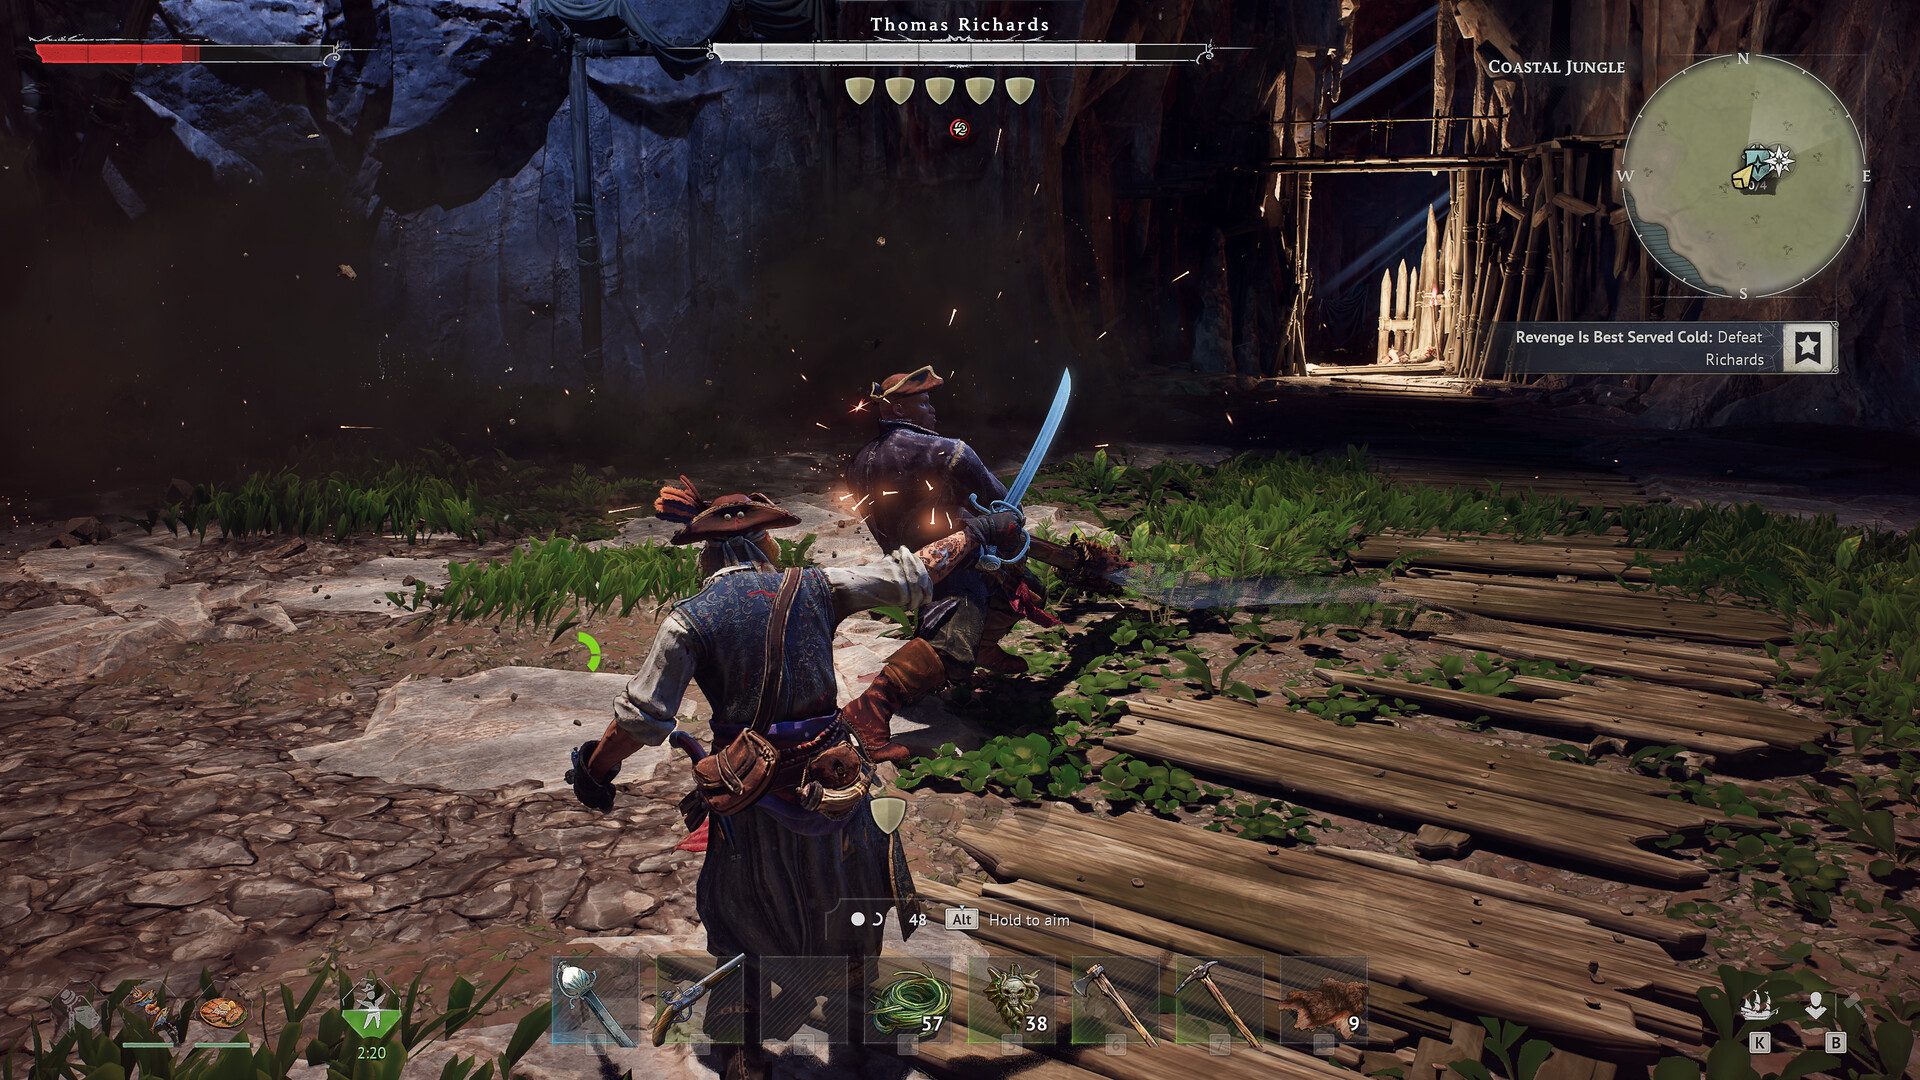
The pinnacle of naval combat lies in the great adversaries. Windrose pits the player against a gallery of formidable captains and monsters: Thomas Richards, Israel Hands — whose signature weapon is the famous Soul Eater —, the High Priestess, the Ghost Captain, the Bosun, and of course the Kraken, which lends its name to the studio.
Against these targets, everything you've learned becomes vital:
- The Kraken is fought with cannons: keep your mobility up, constantly circle around its tentacles, and chain alternating broadsides to never present a stationary flank.
- Ghost captains and human bosses often end in boarding: first reduce their ship with cannon fire, then take the deck to face them blade in hand.
Never go hunting a boss with only one flank operational or a thin crew: these fights drag on, and it's the pace over the long haul that wins, not the initial flashy move.
The mistakes that sink captains
Finally, here are the most common mistakes that turn a good plan into a wreck:
- Firing too early and staying exposed through the entire reload.
- Ignoring the wind and getting trapped against it, with no way to break off.
- Boarding a ship that should have been sunk, for lack of enough crew to hold the deck.
- Neglecting resupply: heading into battle without ammunition or reinforcements means losing by the second volley.
- Fighting broadside to broadside against a Frigate with a Ketch, instead of exploiting its blind spots.
In summary: Windrose's naval combat rewards patience and positioning far more than blind aggression. Keep the wind advantage, alternate your port/starboard broadsides to never stop firing, decide early whether you want to sink or board, and only engage a boss with a ship at full capacity and a fresh crew. Apply these principles on your next voyage, and you'll no longer see the horizon as a threat, but as a hunting ground. Mastery will come through repetition: every battle fought will teach you to better judge the ideal range, to sense the precise moment to switch to boarding, and to preserve your crew for the decisive fights that will shape your pirate legend.
Share this article
Which aspect of naval combat intimidates you the most in Windrose?
Frequently asked questions
How do you properly position your ship relative to the wind in Windrose?
Note the wind direction shown on screen, then maneuver so your opponent is forced to tack against the wind while you keep a free heading. Whoever controls the wind dictates the distance and almost always wins the exchange.
What's the best timing for switching to boarding?
Boarding should only be launched once the opponent has slowed down, their hull is damaged, and you still have a fresh crew to storm their deck. Boarding an intact ship, or doing so while your own hull is sinking, is a recipe for disaster.
Why are alternating port/starboard broadsides more effective?
While one side reloads, the other fires. This continuous rotation keeps constant pressure on the enemy without ever leaving you exposed, doubling your effective firepower without any extra cannons.
Should I always aim for the hull to sink an opponent?
No, it depends on your objective. If you're after the cargo or crew, slow down and damage the ship so you can board it. Fully sinking it only nets you destruction, not loot.
How can I quickly identify an enemy ship's class?
Learn to recognize the silhouette of the Ketch (light and fast), the Brig (balanced), and the Frigate (a floating fortress). Each class calls for a different tactical approach: never take on a Frigate broadside to broadside.
Key takeaways
- Wind advantage dictates the fight: whoever controls the direction freely chooses when to engage and when to disengage.
- Alternating port/starboard broadsides double your firepower by maintaining continuous pressure without ever exposing yourself to enemy fire.
- Boarding only succeeds against a ship that's already been slowed and damaged, not an intact fortress.
- Identifying the enemy class (Ketch, Brig, Frigate) at a glance shapes your entire tactic and adjusts your engagement distance.
- A damaged hull going into battle is already half your defeat: always check your hull condition and your reserves.
Comments
No comments yet. Be the first to react!
Leave a comment
Similar guides

Latest articles







Your opinion counts
Rate Windrose
Click a star to rate