



 Fabian Lainé


Full Guide
Windrose: The Comfort Guide — Rest Effect, Useful Decorations, and Camp Organization (2026)
In brief
Comfort in Windrose determines the Rest effect, which speeds up stamina regeneration. The classic mistake: stacking identical furniture gives you nothing. Only variety counts — one piece per category among the 31 that exist. This guide provides the complete list of the cheapest items to maximize your Comfort without wasting resources.
In Windrose, Comfort is the most cost-effective and most misunderstood camp stat. It's not just for decoration: it's what governs the Rested effect, the one that speeds up the regeneration of your stamina. In other words, your sprints, your dodges, your pickaxe swings, and your swims across the water.
The trap is simple: lining up ten benches around the Campfire gets you nothing. Every piece of furniture belongs to a category, and the game only counts one item per category. The tooltip is explicit: "Comfort bonuses from this category do not stack." What matters is variety, never quantity.
Here are the 31 Comfort categories as they exist in version 0.10.0 (latest patch 0.10.0.8, released on July 8, 2026), the cheapest item in each one, and how to lay out your camp so everything actually counts.
What Comfort actually does
The Rested effect shows up in the bottom left of the screen, with two conditions to check off: a resting spot and a Comfort level. The higher that level climbs, the longer the bonus lasts once you've left camp. The community estimates the gain at around one minute of duration per point of Comfort; the studio has never published the exact formula, so take that figure as a rough estimate rather than official data.
The Campfire is the foundation of the whole system. Its in-game description leaves no room for doubt: "This is the heart of your camp. Without it, most workbenches and crafting stations won't work. This is where you can rest and gain the Rested effect, which improves your Stamina Recovery Rate." It costs 5 wood, it's indestructible, and it grants +1 Comfort on its own.
A crucial point, and the source of most disappointments: nearly all decorations carry the note "Only works within range of the Campfire." A magnificent dresser placed twenty meters too far away is worth strictly nothing. Before decorating, mentally mark out the fire's radius and build inside it.
Rule number one: one item per category
Decorations are split into 24 families in the building menu: Cabinets, Awnings, Banners, Chandeliers, Fireplaces, Pier Decorations, Shell Decorations, Miscellaneous, Lighting, Shelves, Garden, Books, Ship Models, Military, Paintings, Dishes, Food Displays, Provisions, Curtains, Seating, Statues, Tables, Rugs, and Trophies. On top of that there's the Beds category and the fire source category.
Watch out for that last one in particular: the Campfire, the Cooking Fire, and the Distress Fire all share the same category. Their tooltip states "Comfort bonuses from fire sources do not stack": all three together only grant a single point. Fireplaces, on the other hand, form a category of their own, and it's the only decorative family worth +2.
The cheapest item in each category
The table below lists, for each category, the most economical piece that gives the maximum possible Comfort in that family. Placing these twenty-four items is enough to reach most of the cap, without ever touching the luxury versions.
| Category | Comfort | Cheapest item | Cost |
|---|---|---|---|
| Fireplaces | +2 | Wood Rack | Wood x5 |
| Fire sources | +1 | Campfire | Wood x5 |
| Seats | +1 | Bench | Plant Fiber x5 |
| Provisions | +1 | Stack of Plates | Plant Fiber x5 |
| Tables | +1 | Round Table | Plant Fiber x10 |
| Shelves | +1 | Small Shelf | Plant Fiber x10 |
| Cabinets | +1 | Small Cabinet | Plant Fiber x10 |
| Rugs | +1 | Woven Rug | Plant Fiber x10 |
| Lighting | +1 | Wall Torch | Wood x2 |
| Books | +1 | Book | Wood x3 |
| Awnings | +1 | Awning | Wood x2 + Coarse Cloth x2 |
| Miscellaneous | +1 | Fishing Barrel | Wood x4 + Rope x2 |
| Paintings | +1 | Landscape | Wood x1 + Coarse Cloth x5 |
| Banners | +1 | Simple Black Flagpole | Wood x5 + Rope x2 + Coarse Cloth x2 |
| Pier decorations | +1 | Coil of Rope | Rope x1 |
| Dishes | +1 | Clay Jug | Clay x2 |
| Chandeliers | +1 | Hanging Lamp | Clay x3 + Animal Fat x3 |
| Garden | +1 | Small Fountain | Stone x10 |
| Curtains | +1 | Curtain Rods | Copper Ingot x1 |
| Military | +1 | Ornamental Sabers | Copper Ingot x5 + Wood x5 |
| Ship models | +1 | Cutter on Display Stand | Hardwood x5 + Linen Cloth x2 |
| Food displays | +1 | Cup of Grog | Foothills Iron Ingot x1 + Bottle of Rum x1 |
| Shell decorations | +1 | Shell Decorations | Triton's Horn x5 |
| Statues | +2 | Sculpture of the Jolly Crocodile | Crocodile Head x1 + Crocodile Hide Piece x5 + Crocodile Tail x1 + Hardwood x5 |
Three lessons stand out immediately. First, the Wood Rack at 5 wood is by far the best Comfort-to-resource ratio in the game: two points for the price of a torch. Second, a good half of the cap is reachable with plant fiber, wood, and stone alone, meaning right from the first evening of a playthrough. Finally, the "elegant" or "luxurious" items cost hardwood and linen without granting a single extra point over their basic equivalent: they're built for style, not for the stat.
Trophies: one category per species
This is the trick most players miss. Unlike furniture, trophies don't share a single category: each species counts on its own. There are seven distinct sources.
- Boar Trophy — Wood x5 + Boar Head x1
- Dodo Trophy — Wood x5 + Dodo Head x1
- Crab Trophy — Wood x5 + Crab Shell x1 + Crab Meat x2
- Wolf Trophy — Hardwood x5 + Wolf Head x1 + Nails x4
- Great Goat Trophy — Hardwood x5 + Head of a Mountain Goat Chief x1 + Nails x4
- Crocodile Trophy — Crocodile Head x1 + Hardwood x5 + Nails x4
- Senkamati Blades Trophy — three Ritual Knives
One nuance worth knowing: the Crocodile Trophy shares its category with the Crocodile Sculptures (the Joyful Crocodile Sculpture and the Wise Crocodile Sculpture). Since the latter are worth +2 versus +1 for the trophy, there's no point placing both. Save the crocodile head for the sculpture.
The Bed, the Only Truly Early +2 Furniture
The Simple Bed (Plant Fiber x5 + Wood x3) only gives +1. Three models go up to +2: the Hunting Bed, the Elegant Bed, and the Grand Luxurious Bed. The first is by far the most accessible (Plant Fiber x10, Hardwood x10, Mountain Goat Horn x2); the other two require large amounts of linen and feathers for exactly the same bonus.
Three quirks to remember: beds require a roof, they set your respawn point, and — unlike most constructions — they don't degrade over time. A bed placed in a decent shelter therefore stays put indefinitely.
Recipe Scrolls, Where the Furniture Hides
Many decorations aren't obtained by finding resources but through Recipe Scrolls, listed in the Misc tab of the inventory. Their name always starts with "Decoration:" — "Decoration: Hunter's Bed", "Decoration: Luxurious Fireplace", "Decoration: Cannons and Cannonballs", "Decoration: Fountains and Planters", "Decoration: Wrought Iron Chest"… Each belongs to a themed building set; the Hunter's Bed one is part of the Ancient World set.
These scrolls drop from chests at points of interest, with very low rates: the Hunter's Bed blueprint, for instance, has a 1% drop rate from Ancient Chests in the Ruins with a flower bed. No need to farm them specifically — just pick them up as you explore, they stack in 20s and cost nothing to carry around.
Laying out the camp so everything counts
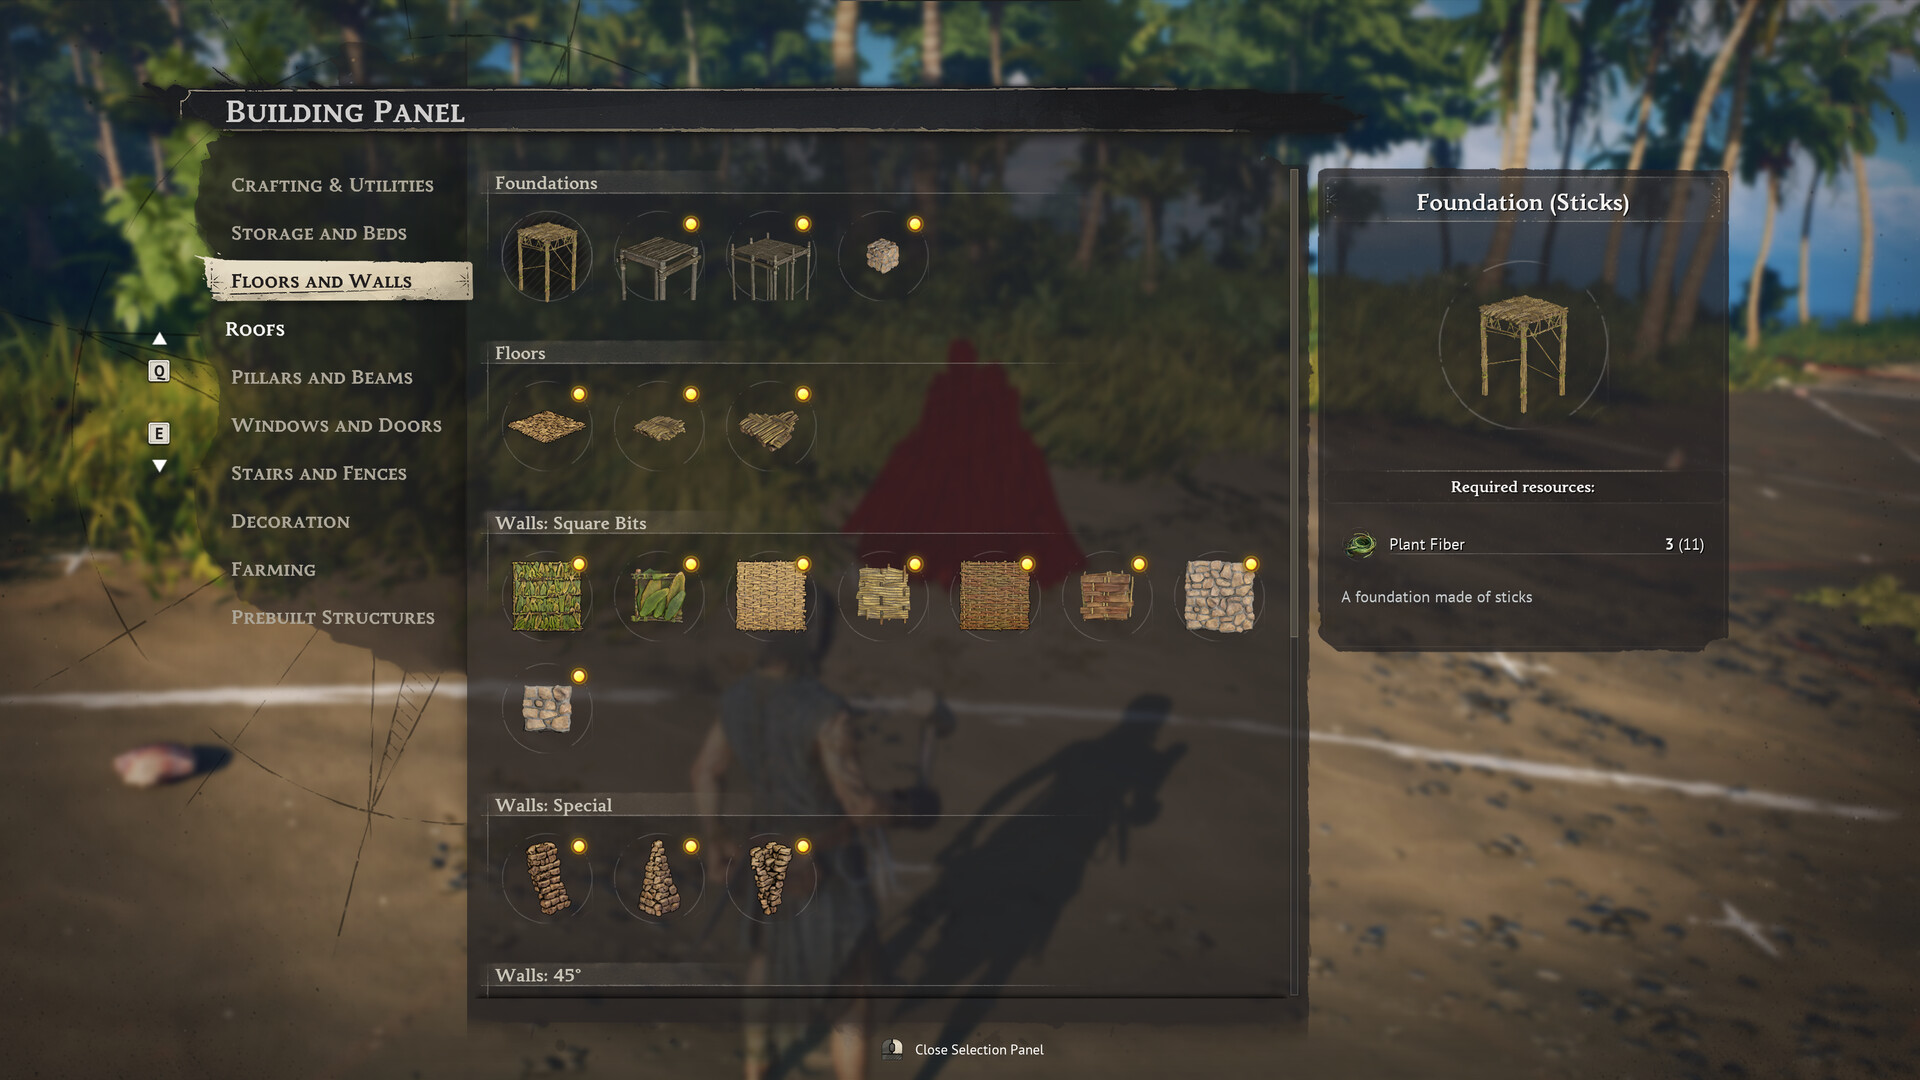
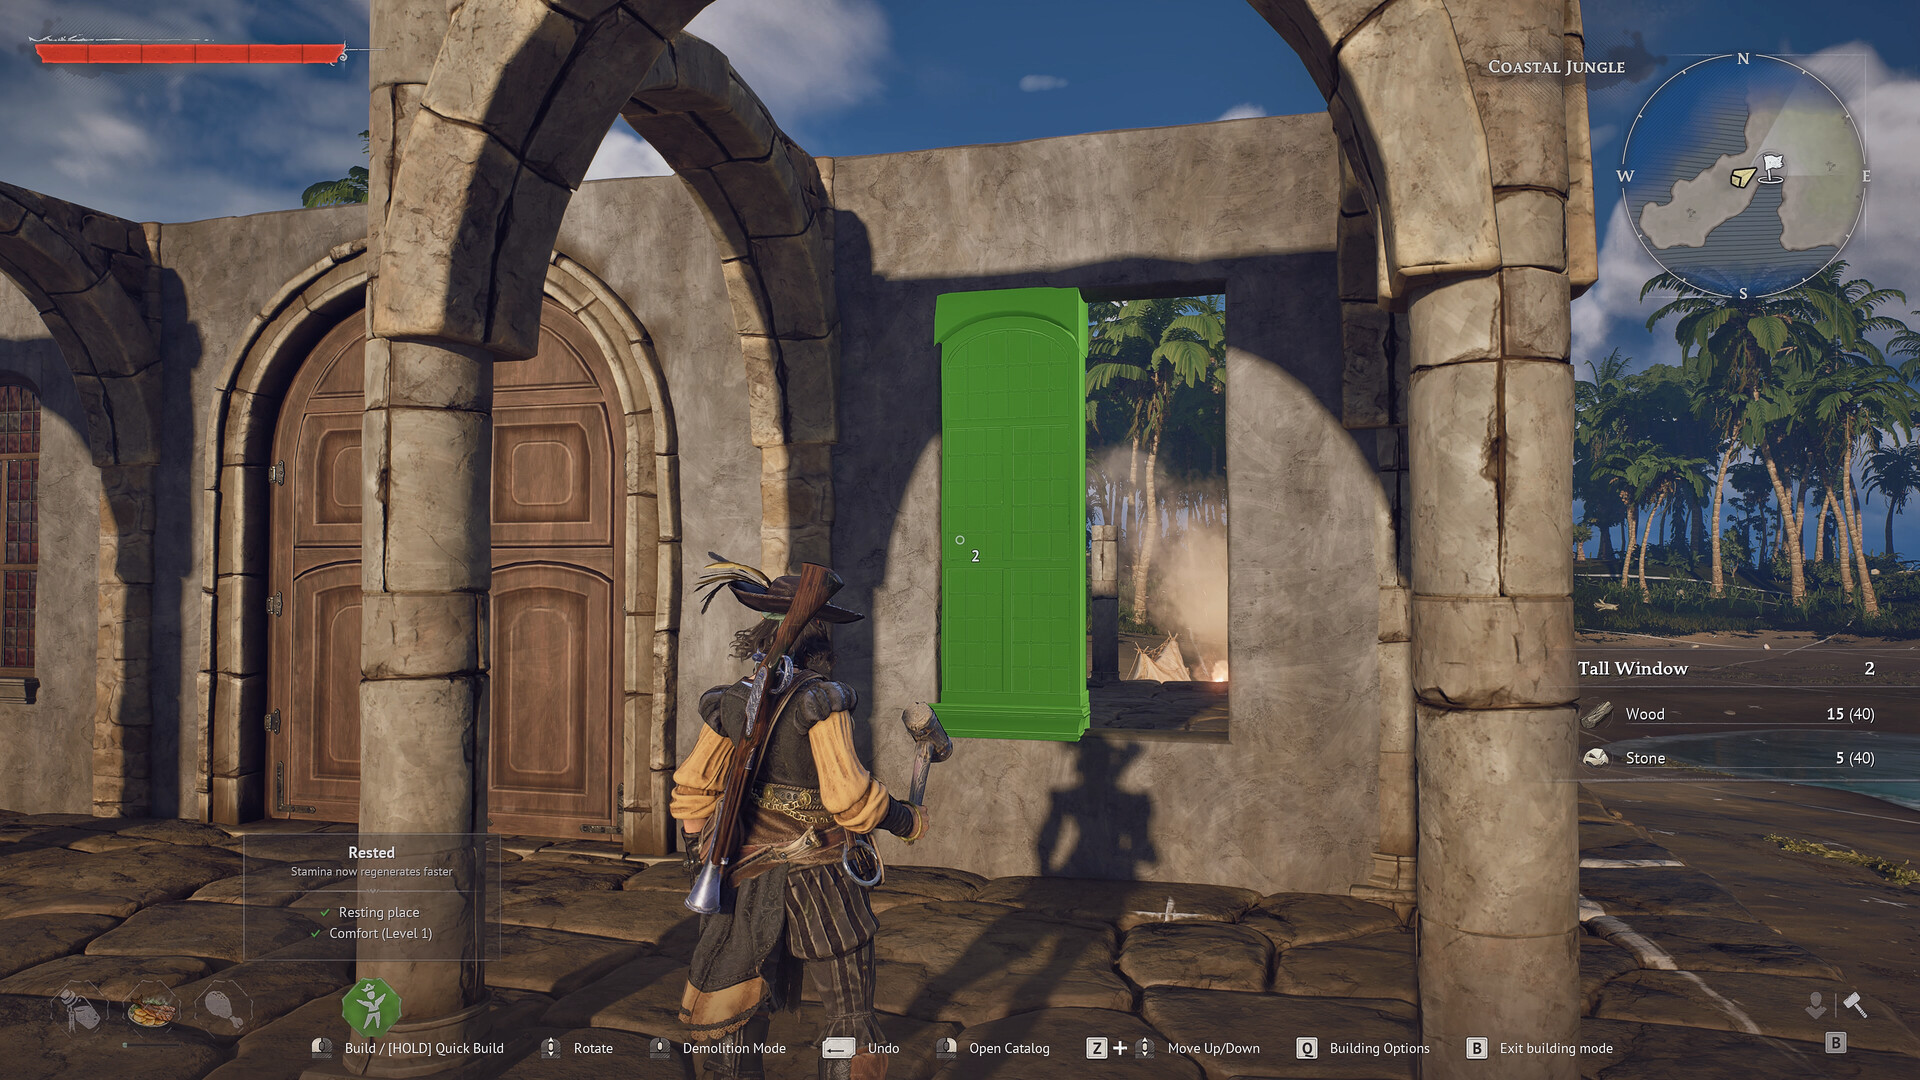
Build mode opens with the B key and offers a demolition mode, an undo function, a full catalog, piece rotation, and vertical movement. The panel's tabs match exactly the families from the database: Crafting and Utility, Storage and Bed, Floors and Walls, Roofs, Pillars and Beams, Windows and Doors, Stairs and Fences, Decoration, Farming, and Pre-built Structures.
To get a roof up right away, go through the Prefab Structures: the Hut Structure costs only 52 plant fiber, the complete Hut costs 242, and the Large Dock costs 16 wood. It's the fastest shortcut to the crafting stations that require a roof, namely the Armor and Clothing Workshop, the Weaponsmith's Forge, the Alchemy Table, and the Jewelry Table.
Also keep in mind station upgrades, which work through simple proximity and only within the Campfire's radius: the Workbench is improved by the Tool Shelf, the Sawhorse, and the Toolbox; the Weaponsmith's Forge by the Anvil and the Bellows; the Armor and Clothing Workshop by the Cobbler's Bench and the Gear Rack; the Alchemy Table by the Still, the Pot and Pan, and the Reagent Table; the Jewelry Table by the Jeweler's Bench. Only the Workbench's basic items remain craftable far from the hearth.
The last, widely underrated organizational building block: wood or cloth Labels, at 1 wood each, which are placed above chests. Ten labels exist — Ore, Wood, Cooked Food, Food Ingredients, Alchemy, Weapons, Clothing, Ship, Trade, Treasure — and a Wood Chest offers 28 slots for 10 wood and 5 nails. Finally, note the two hard limits set by the game: three Distress Beacons and ten Fast Travel Points maximum in a world.
Where to start tonight
If you're starting from a bare camp, the most efficient order fits into a quarter of an hour: Campfire, Wood Rack, Wall Torch, Book, Bench, Stack of Plates, Round Table, Small Shelf, Small Furniture, Woven Rug, Coil of Rope, Clay Jug. Twelve pieces, almost entirely wood and plant fiber, and already a good ten Comfort points permanently secured.
The rest will come naturally: trophies from hunting, scrolls from searching ruins, Fireplaces as soon as you gather stone. And the project will remain worthwhile, since in its July 1, 2026 development diary devoted to the Ashlands update, Kraken Express announced "a plethora of new decorations" as well as the expansion of existing building sets, with no release window communicated to date. The categories you're filling today won't be lost: there will simply be more of them.
Share this article
Which Comfort trap did you discover first?
Frequently asked questions
Why doesn't lining up ten benches around the hearth change my Comfort at all?
Because seats form a single category. The game only counts the first piece of furniture placed and ignores the rest from the same family. Instead, vary things: a bench for seats, a table for tables, a dresser for cabinets, and so on.
How many seconds does Comfort actually add to the Rest effect?
The community estimates roughly one minute per point of Comfort, but Pocketpair has never confirmed the exact formula. Treat this figure as a rough order of magnitude: the higher your Comfort climbs, the longer you benefit from stamina regeneration after leaving camp.
Are the luxury linen and hardwood furniture pieces really worth it?
No, they cost much more for exactly the same bonus as a basic version. Only place them if you like the aesthetic — for the stat itself, wood and plant fiber are more than enough.
How much Comfort can I realistically reach on the first night?
Easily a dozen points: the Campfire gives +1, the Wood Rack +2, then benches, tables, small shelves, and wall torches made of fiber or wood push you up to +10-12 without any effort. That's plenty to get started.
Can crocodile trophies and crocodile sculptures coexist?
No, they share the same category. Since sculptures are worth +2 versus +1 for the trophy, save the crocodile head for the sculpture — the trophy alone wastes the potential of this rare resource.
Key takeaways
- Comfort works by category: only one piece per family grants points, never more.
- The Wood Rack costs 5 wood and is worth +2 Comfort: it's the best value in the game, and should be built immediately.
- Animal trophies each count as a separate category — seven different sources to climb even higher.
- Any decoration must be within range of the Campfire to work, no matter how beautiful it is.
- The Hunting Bed reaches +2 Comfort much earlier than luxury versions: an absolute priority for camp organization.
Comments
No comments yet. Be the first to react!
Leave a comment
Similar guides





Latest articles








Your opinion counts
Rate Windrose
Click a star to rate