



 Fabian Lainé
Build
Subnautica 2: which Biomods to combine after the 1.1 update — passive slots and bioscans
In brief
Since update 1.1, Subnautica 2's Biomods unlock via passive slots indexed to your bioscans instead of being obtained one by one. This guide details the fifteen playable Biomods, the actual progression thresholds, and four winning setups depending on your session goal.
Since the Early Access update 1.1 “Adaptive Measures,” rolled out on July 8, 2026, Biomods in Subnautica 2 are no longer chosen one at a time. Unknown Worlds has opened up additional passive slots, indexed to the number of creatures you've scanned with the Bioscanner, and has increased the number of Biomods retrievable from the Biolabs scattered across the map from four to six. The real question now isn't "which one to pick," but "which one to pair with what."
As of August 6, 2026, this is still the state of the game: the last patch released is Hotfix 4 from July 14, 2026, and update 1.2 — the one meant to bring proximity chat — hasn't shipped yet. This guide therefore takes stock of the fifteen playable Biomods, the actual pace of slot unlocks, and four builds that hold up depending on what you're setting out to do.
One clarification before we dive in: Biomods are not Adaptations. The latter — pressure tolerance, digestive incompatibility, heat resistance, Axum vision — are obtained by healing Angel Combs and gate access to certain zones or local food sources. Biomods, on the other hand, are equipped and swapped freely at the Biolab. Two separate systems, two separate progressions.
What 1.1 actually changed about the Biomod system
The official 1.1 patch notes are explicit on five points that, taken together, change how the system plays out:
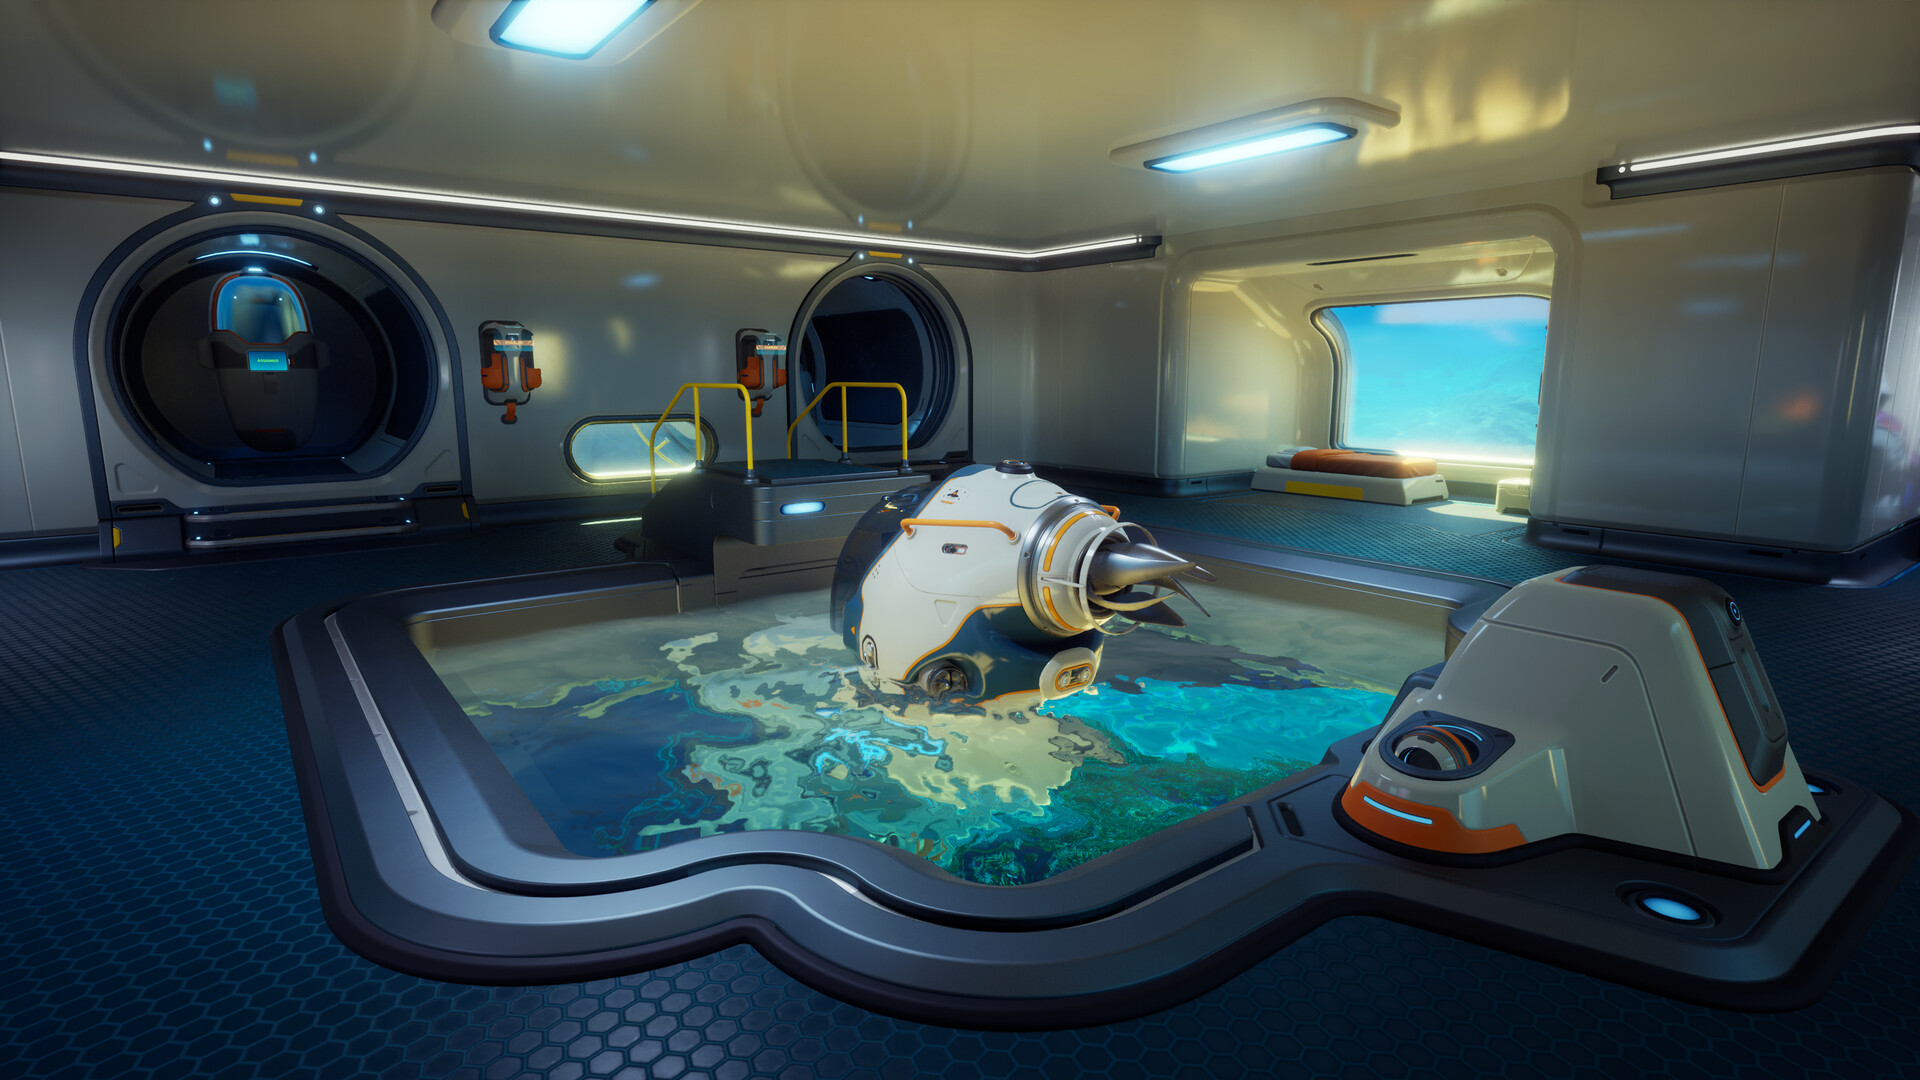
- Two additional Biolabs have been added, one at Coral Gardens, the other in the ruins of Axum.
- You can now unlock six Biomods total via the Biolabs scattered across the world, up from four before.
- The additional passive slots unlock by scanning creatures with the Bioscanner.
- The interface finally shows the number of scans required for each slot as well as your total bioscan count — before 1.1, you were progressing blind.
- The studio also smoothed out Biomod progression across the entire first part of the game, and added unlock badges in the Biolab.
Two fixes are worth flagging. Camouflage wasn't working properly when standing still at the surface or clinging to the Seatruck's Tadpole module: that's fixed now. And the July 14 Hotfix 4 fixed Angel Combs that refused to open for some players, which was blocking progression. If you abandoned a save on that wall before mid-July, it's playable again.
One last point: Creative mode now unlocks all Biomods by default. It's the best testing ground for understanding what each effect does before going out to chase scans in Survival.
Bioscan thresholds: the real progression engine
You start with one active slot and one passive slot. Everything else is earned via the Bioscanner, and only there. The thresholds tracked by the community wiki since 1.1 break down as follows:
| Passive slot | Bioscans required |
|---|---|
| 1st | 0 (unlocked by default) |
| 2nd | 10 |
| 3rd | 20 |
| 4th | 40 |
| 5th | 80 |
The curve gets brutal toward the end: going from 40 to 80 scans represents as much work as everything before it combined. Three practical consequences:
- Craft the Bioscanner as early as possible. Without it, half the catalog stays locked and your bioscan counter won't budge an inch. It's the real mid-game progression bottleneck, more so than any vehicle blueprint.
- Scan everything, including flora. The most convenient passive Biomods unlock from plants and small, harmless critters — Needler Mango, Nibbler Mango, Hoverthorn, Water Slug — not from leviathans.
- Head back to the Biolab after every milestone. A slot earned but left empty does nothing, and the game won't equip anything for you. The badges added in 1.1 are there for exactly this.
The fifteen playable Biomods as of August 6, 2026
The catalog includes five active Biomods, triggered manually, and ten passive Biomods that run permanently. The French client localizes the labels, but Unknown Worlds' patch notes are only released in English — so we're giving both.
The five active Biomods (one slot only)
| FR Name (EN) | Effect | Unlock |
|---|---|---|
| Foncer (Dash) | Dash in any direction to avoid a predator or danger | Available from the start |
| Éclaireur (Pathfinder) | Leaves a trail of pheromones behind you to follow to find your way back | Available from the start |
| Écho sonique (Sonic Echo) | Sonar pulse that highlights nearby resources | Scan the Collector Leviathan |
| Décharge électrique (Electric Discharge) | 800-volt discharge to deter medium and large predators | Scan the Electric Geordie |
| Nuage d'amorce (Chum Cloud) | Releases a bait cloud that draws predators' attention away | Scan the Toxic Sponge or the Houndgar |
The ten passive Biomods
| FR Name (EN) | Effect | Unlock |
|---|---|---|
| Nage en rase-motte (Sea Skimmer) | Faster swimming close to underwater surfaces and the seafloor | Available from the start |
| Contrôle de l'oxygène (Oxygen Control) | Greatly slows oxygen consumption while stationary | Available from the start |
| Bioluminescence | Your body emits light | Scan the Sandspear or the Electric Geordie |
| Camouflage | Invisible to predators as long as you stay still | Scan the Bullethead |
| Rétention d'eau (Water Retention) | Recovers more hydration from all sources | Scan the Coral Crab |
| Détection d'habitat (Homing Sense) | Signals powered bases nearby | Scan the Surge Jelly or the Hammerhead |
| Détection des menaces (Threat Sense) | Detects nearby threats via specialized hair cells | Scan the Hoverthorn |
| Jardin dermique (Dermal Garden) | Slowly grows nutritious algae on your skin | Scan the Needler Mango |
| Métabolisme lent (Slow Metabolism) | More efficient microbiome, hunger drops more slowly | Scan the Nibbler Mango |
| Sécrétion d'eau (Water Secretion) | Slowly fills a water pouch by filtering seawater | Scan the Water Slug |
Four builds to set up depending on the outing
Long dives and wreck exploration
Active: Foncer (Dash). Passives, in order of priority: Contrôle de l'oxygène (Oxygen Control), Nage en rase-motte (Sea Skimmer), Détection des menaces (Threat Sense), Bioluminescence.
Oxygen Control is the only Biomod that literally changes the length of your dives, because wreck exploration is mostly about staying put: reading an audio log, scanning a fragment, opening a locker. The 1.1 update also enriched wreck interiors with additional traversal and oxygen puzzles, which makes this passive even more worthwhile than in May. Skim Diving works well too, since you're almost always hugging a wall. Dash remains the default active as long as you have no reason to change it: it's the only instant emergency exit in the game.
Full autonomy and long-term farming
Active: Sonic Echo. Passives: Water Secretion, Slow Metabolism, Dermal Garden, Water Retention.
This is the setup that makes the base optional. Water Secretion and Dermal Garden produce continuously, Slow Metabolism slows consumption, Water Retention maximizes every sip found out in the field. Once this quartet is equipped, you no longer need to head back to eat or drink, only to recharge. On the other hand, Sonic Echo turns every stop into a chance to scout deposits — the exact complement to a resource-gathering session, especially since 1.1 increased the density of silver at Coral Gardens and added a PDA line that alerts you when you're approaching a silver-rich zone.
Crossing hostile zones
Active: Electric Discharge or Decoy Cloud. Passives: Camouflage, Threat Detection, Skim Diving.
Here, 1.1 changed the rules beyond just the Biomods. Most creatures struck with the survival multi-tool now flee and no longer retaliate, except in self-defense for a short period of time. The sonic resonator, meanwhile, causes a brief stun state with the same non-retaliation effect. In other words: you now have three complementary deterrent tools — the tool, the resonator, and the active Biomod — and there's no longer any reason to use them randomly in sequence. The formula that works: Threat Detection warns you, you hold still to let something pass under Camouflage if the trajectory allows it, and you only spend Electric Discharge on whatever charges at you regardless. Decoy Cloud is preferable when you need to cross a corridor occupied by several predators: you pull the entire group away instead of just repelling one.
Four-player co-op
Only one active slot per player, so it's better to split roles rather than have four players equip Dash. The clearest distribution: one player on Sonic Echo for scouting, one on Electric Discharge for escort duty, one on Decoy Cloud for breaking away when things go wrong, and one on Dash for logistics and back-and-forth trips. On the passive side, only one team member needs Habitat Detection to bring everyone back; the others can invest their slots in survival and speed.
The trade-offs that make the difference
- Bioluminescence versus flashlight. The passive takes up a slot for a service your flashlight already provides. Save it for deep caves, when saving a battery matters more than a slot.
- Habitat Detection is only worth it once you have two powered bases. Solo with a single outpost, the slot is better invested elsewhere.
- Sonic Echo or Electric Discharge: you have to choose. With only one active slot, it comes down to "am I exploring or am I traveling." Get in the habit of swinging back by the Biolab before every expedition — it's free and instant.
- Don't neglect flora scans. They're what push the counter toward the 40 and 80 thresholds, and they carry no risk.
What comes next
Update 1.2 is the next announced milestone. Unknown Worlds revised its privacy policy in the 1.1 patch notes specifically to cover the handling of voice data for the proximity chat planned for that update — this is currently the only 1.2 feature the studio has confirmed in writing. The Biomods system is also still on the roadmap: treat the slot thresholds as values that could change with the next patch.
For now, the order of operations is simple: craft the Bioscanner before anything else, systematically scan every new species you come across along the way rather than scheduling dedicated sessions, visit all six Biolabs — including the two new ones at Coral Gardens and the Axum ruins — and never head out on an expedition without updating your passives first. The game doesn't punish you for changing your mind: it's the only build system in Subnautica 2 that's fully reversible.
Share this article
What blocks you the most in the mid-game: finding the Bioscanner, going from 40 to 80 bioscans, or equipping the right Biomods together?
Frequently asked questions
Are Biomods the same as Adaptations?
No. Adaptations (pressure tolerance, Axum vision) are obtained by healing Angel Combs and gate access to certain areas. Biomods are equipped and freely swapped at the Biolab. Two separate systems.
How many bioscans do I need to unlock the third passive slot?
20 bioscans. The thresholds are 0, 10, 20, 40, 80. The jump from 40 to 80 is brutal — expect as much work as for the first three slots combined.
Which active Biomod should I prioritize for wrecks?
Dash. It's the only instant emergency exit in the game and perfectly complements a passive-heavy exploration session. Sonic Echo is the best complement for total self-sufficiency while farming.
Can the total self-sufficiency setup (water + hunger + garden) really let me skip the base?
Almost: you'll only go back to recharge batteries, not to eat or drink. Water Secretion + Dermal Garden produce continuously, Slow Metabolism reduces consumption, and Water Retention maximizes every source you find.
Was Camouflage fixed in 1.1?
Yes. There was a bug where it didn't work while standing still at the surface or attached to the Tadpole — that's been fixed. Hotfix 4 on July 14 also freed stuck Angel Combs that were blocking progression.
Key takeaways
- The Bioscanner is the real mid-game progression lock — craft it as early as possible or you'll stay stuck.
- Scan everything, including harmless flora: the most comfortable passive Biomods unlock from plants and small critters, not leviathans.
- Passive slots are earned through brutal thresholds (0, 10, 20, 40, 80 bioscans) — the jump from 40 to 80 represents as much work as everything else combined.
- Oxygen Control + Low Profile Swimming dominate wreck exploration, while the water-hunger-gardening quartet makes the base optional.
- Active Biomods (Dash, Sonic Echo, Electric Discharge) completely change your tactics against predators as of update 1.1.
Comments
No comments yet. Be the first to react!
Leave a comment
Similar guides
Latest articles








Your opinion counts
Rate Subnautica 2
Click a star to rate