



 Fabian Lainé
Recipes
Subnautica 2: The Complete Food and Water Guide — Recipes, Salt, and the Growbed (2026)
In brief
Subnautica 2 starves its divers — water drops every 15 seconds, food every 21. This guide details how to unlock the digestion adaptation, secure water and salt, farm at the Growbed, and master the best Fabricator recipes to turn survival into an invisible routine.
Three months after its early access launch, Subnautica 2 remains merciless toward absent-minded divers: in Survival mode, the water gauge loses a point every 15 seconds and the food gauge a point every 21 seconds. Between two expeditions to the Root Canyon or Karakorum, it's food logistics that decides whether you make it back to base or respawn empty-handed.
The good news is that Unknown Worlds' game has considerably enriched cooking compared to the first installment: prepared dishes, salt curing, the Growbed garden, not to mention four biomods dedicated to survival. The bad news is that at the start of the game, your stomach simply refuses local food.
This guide covers the whole pantry: lifting the digestive incompatibility, securing water, farming salt, unlocking all Fabricator recipes, and setting up a farm that runs on its own. Item names are given in English where no official French label has been published, in line with the game client.
Unlocking the digestion adaptation: step zero
Upon arriving on the planet, your character suffers from Digestive Incompatibility: unable to digest local fauna and flora. Your only reliable food sources at that point are Nutrient Blocks recovered from supply crates scattered across the early biomes. Don't waste them: each is worth +40 food.
The definitive solution is called the Angel Comb, a large pink organism impossible to miss, located about 150 meters north of the survival pod. Approach its central bulb and interact with it: you get the digestion adaptation, which finally lets you eat what you catch. It's one of the very first trips to make, even before thinking about building anything.
Water: from Water Slugs to Isotonic Water
Drinking seawater is out of the question — the game's database bluntly reminds you of this, the local ocean being even saltier than Earth's. From the start of the game, the Water recipe is available at the Fabricator: a Water Slug picked up from the seabed converts into drinkable water that restores +40 hydration. These aquatic slugs are abundant around the starting area, so make it a habit to pocket two or three on every outing.
Two alternatives round out the setup. At the Processor, three fibrous pulps produce water in thirty seconds — useful if your crops are overflowing, but not very efficient. And later in the game, Isotonic Water combines a Flash Slug and a salt for +55 hydration, the best drink in the game. Once your base is powered, the Water Filtration Machine takes over to automate production.
Salt, the pivotal ingredient of all cooking
Almost all advanced recipes require salt. It's found as nodules that can be broken by hand or with a tool, and as larger deposits that require the sonic resonator. Three areas are rich in it: the Graveyard (the dead coral graveyard), the Sparse Plains, and the Root Canyon. A valuable quirk: the Graveyard's salt nodules respawn over time, making it the only renewable farming spot on the map — mark its location with a beacon.
Salt is also used to craft Sugar of Saturn, the game's sweetener: one lead and one salt yield two units at the Fabricator. The nod is deliberate — "sugar of Saturn" historically referred to lead acetate, used as a sweetener before its toxicity was understood. Here, it goes into the game's best recipes, including the Pavlova.
All Fabricator recipes
Cooking is done through the Food tab of the Fabricator. Cooking a fish increases its nutritional value and removes the hydration penalty of the raw version (most raw fish give +15 to +20 food but cost 5 water). Salt-curing, on the other hand, stabilizes the fish's nutritional value: jerky doesn't lose anything over time, making it the ideal expedition ration.
| Recipe | Ingredients | Effects |
|---|---|---|
| Cooked Halfmoon | 1 Halfmoon | +25 food |
| Cooked Bluemoon | 1 Bluemoon | +25 food, +5 water |
| Cooked Harvestmoon | 1 Harvestmoon | +30 food |
| Cooked Geordie | 1 Geordie | +30 food |
| Cooked Pneuma | 1 Pneuma | +40 food |
| Oily Salad | 2 fibrous pulps | +20 food |
| Nutrient Block | 1 Biofuel Block + 1 salt | +40 food |
| Halfmoon Jerky | 2 Halfmoon + 1 salt | +40 food |
| Hoverthorn Souvlaki | 3 Hoverthorn + 1 salt | +40 food |
| Cherimoya Chutney | 2 Cherimoya Rotsac + 1 Sugar of Saturn | +40 food |
| Coral Mash | 3 Coral Shavings + 1 Sugar of Saturn | +65 food |
| Threemoon Temaki (x3) | 1 Halfmoon + 1 Harvestmoon + 1 Bluemoon + 1 fibrous pulp | +60 food per temaki |
| Pavlova | 1 Deepwing Egg Clump + 1 Sugar of Saturn + 1 Cherimoya Rotsac | +80 food, +70 water, +10 health |
| Sugar of Saturn (x2) | 1 lead + 1 salt | +10 food (mainly used as an ingredient) |
| Water | 1 Water Slug | +40 water |
| Isotonic Water | 1 Flash Slug + 1 salt | +55 water |
Three lessons to take away from this. First, the Threemoon Temaki offers the best weight-to-nutrition ratio for exploration: a single batch yields three temaki at +60 each. Second, the Pavlova is the ultimate dish — food, water, and health all at once — but it depends on a Deepwing Egg Clump, an egg clutch you pick up in the wild that can actually be eaten raw with great results (+40 food and +40 water with no preparation at all). Finally, the Coral Mash at +65 remains the most nourishing "basic" dish once you're stocking up on Coral Shavings.
The Growbed: your underwater vegetable patch
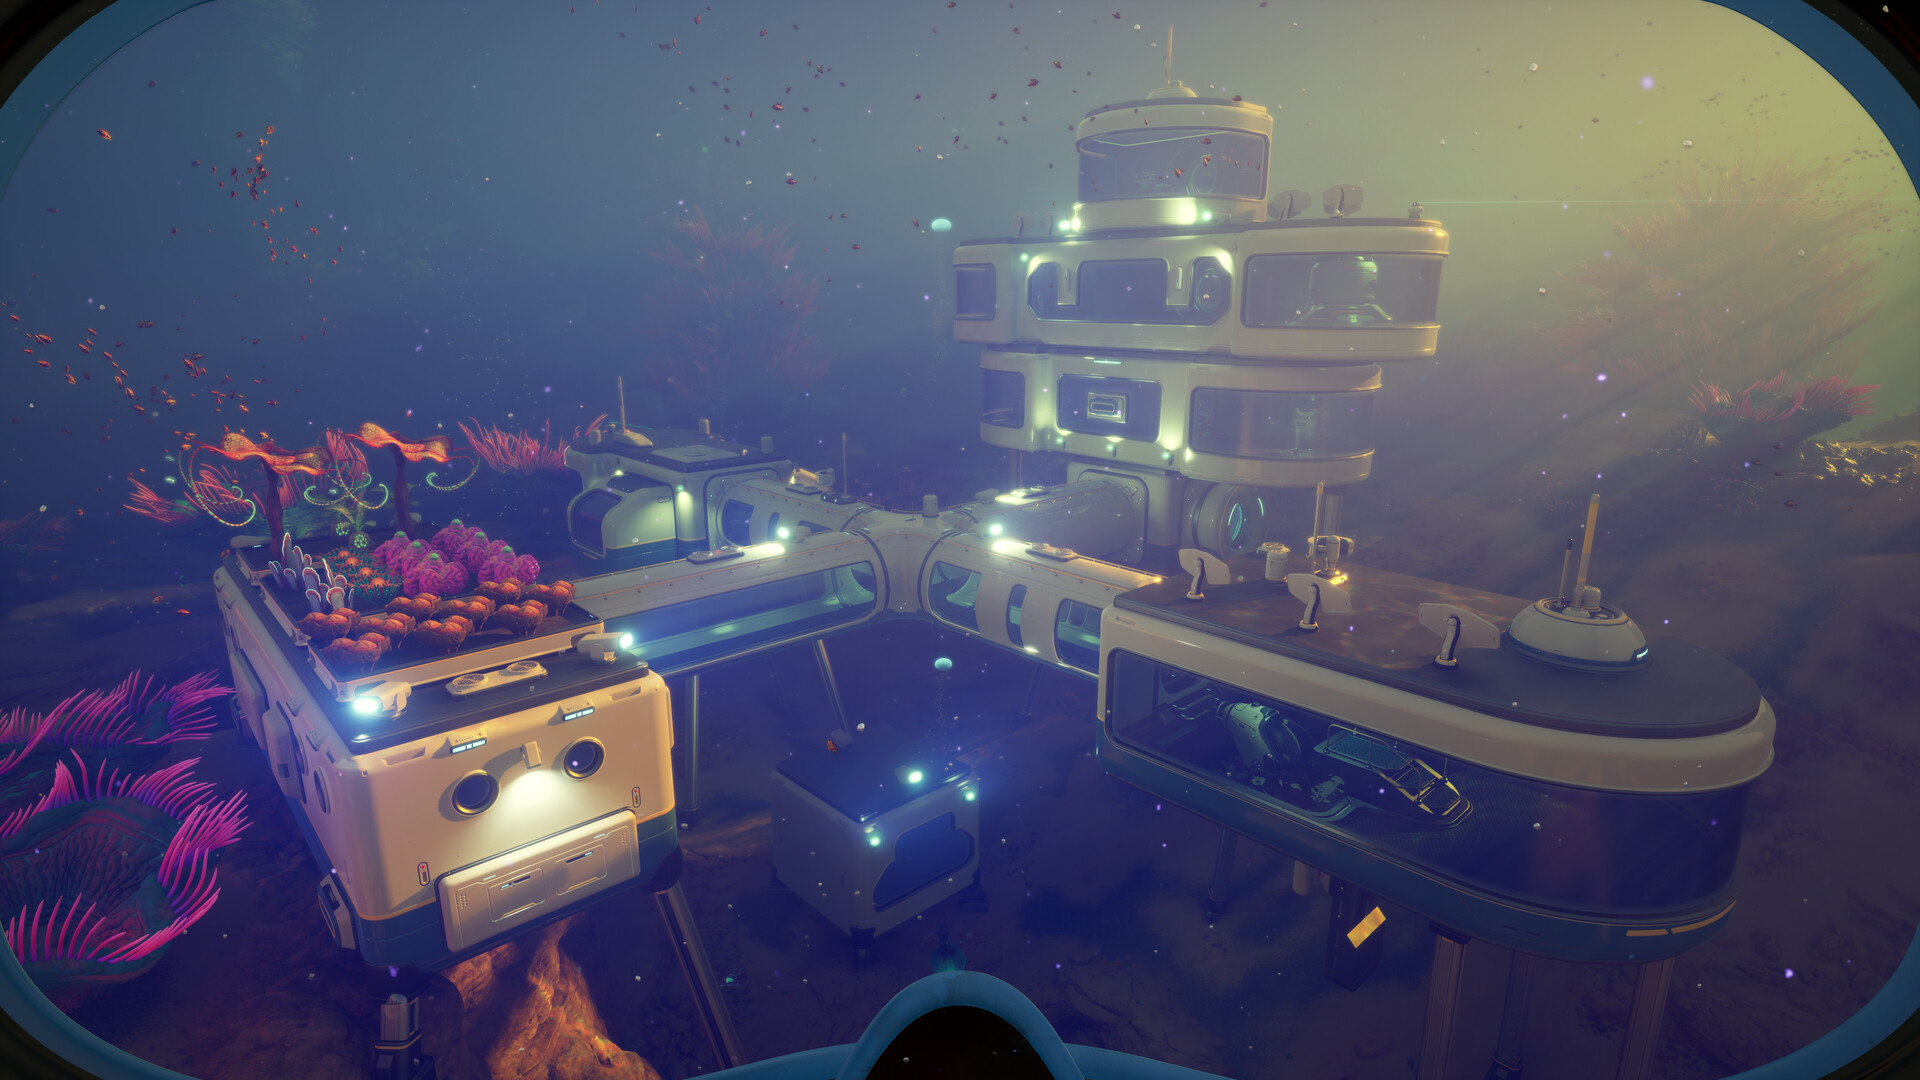
The Growbed is the key to food self-sufficiency. Its blueprint is unlocked by scanning two fragments at the Research Outpost, the research wreck located around 135-140 meters deep: one on the roof of the habitat, the other on the ground behind the building. Building it then only costs one titanium with the Habitat Builder, and the bed can be placed both inside and outside the base.
Nine plants can be grown. The most useful ones for cooking and base needs:
- Cherimoya Rotsac: the priority crop. It fuels Cherimoya Chutney and, above all, Pavlova on a continuous basis.
- Pent: three minutes of growth for three units harvested — the best fuel for the Bioreactor, by far.
- Necrolei Cysts: to produce strong acid without a dedicated expedition.
- Macaron Sponge, Acid Raion, Cradle Shootroot, Freesia Flower: ingredients, backup resources, and basic greenery.
- Mimic Pylon: thirty minutes of growth, no harvest — purely decorative, best reserved for finished bases.
A pair of Growbeds — one dedicated to Cherimoya Rotsac, one to Pent — is enough to cover both high-end cooking and the power supply of a mid-game base.
The four biomods that ease survival
Since the July 8 1.1 "Adaptive Measures" update, additional passive slots are obtained by scanning creatures with the Bioscanner, which makes these four biomods even more worth equipping:
- Slow Metabolism: the food gauge drops more slowly — bioscan the Nibbler Mango.
- Water Retention: same principle for the water gauge — bioscan the Coral Crab.
- Water Secretion: generates a water pocket (+5) every 150 seconds — bioscan the Water Slug.
- Dermal Garden: grows an algae block (+5 food, stackable up to +30) every 210 seconds — bioscan the Needler Mango.
Equipped together, Slow Metabolism and Water Retention literally transform the game's pace: the gauges stop being a constant, moment-to-moment constraint and become a simple checkpoint between dives.
The routine that eliminates the problem
In practice, here's the roadmap that makes hunger and thirst a non-issue. Hour 1: head to the Angel Comb for the digestion adaptation, then systematically gather Water Slugs and cook the first Halfmoons. First few days: build up a salt reserve at the Graveyard, switch to jerky and souvlaki before every long expedition. Mid-game: scan the Research Outpost fragments, plant Cherimoya Rotsac and Pent, then aim for the four survival biomods. From there, a Pavlova before heading out and an Isotonic Water in your bag will cover any dive into the depths — and you'll never think about your gauges again except when heading back to base.
Share this article
Which approach appeals to you most for food survival?
Frequently asked questions
How do I get rid of the digestive incompatibility early on?
Swim about 150 meters north of your pod to find the Angel Comb, that big pink organism you can't miss. Interact with its central bulb and you unlock the digestion adaptation instantly. Do this before building anything else.
Where can I farm salt in bulk without depleting the resource?
The Graveyard (the dead coral cemetery) is the only renewable farming spot on the map — salt nodules respawn there over time. Mark the spot with a beacon and return regularly instead of stripping the Sparse Plains or the Root Canyon.
Which dish lets me go on long exploration trips without carrying too much weight?
The Threemoon Temaki: one batch yields three temaki at +60 food each, giving the best weight-to-nutrition ratio. For water and health at the same time, the Pavlova is the ultimate choice (food +80, water +70, health +10), but it depends on Deepwing Egg Clump.
Do Growbeds consume a lot of energy?
No, they don't consume any energy at all — they grow naturally both indoors and outdoors. Two Growbeds are enough: one for Cherimoya Rotsac (high-end cooking) and one for Pent (Bioreactor fuel).
Which survival biomod should I equip first?
Slow Metabolism and Water Retention together are a game-changer — food and water meters become a non-issue instead of a constant strain. Combine them with Water Secretion if you have room for total self-sufficiency.
Key takeaways
- The Angel Comb gives you the digestion adaptation, the key to finally eating local wildlife without poisoning yourself.
- A single Growbed dedicated to Cherimoya Rotsac and Pent is enough to cover high-end cooking and power supply.
- The Threemoon Temaki is the best weight-to-nutrition trade-off for exploration: three temaki at +60 per batch.
- The four survival biomods (Slow Metabolism, Water Retention, Water Secretion, Dermal Garden) turn the meters into a non-issue.
- The Graveyard is your renewable salt farm — nodules respawn there over time, so mark the location.
Comments
No comments yet. Be the first to react!
Leave a comment
Similar guides
Latest articles








Your opinion counts
Rate Subnautica 2
Click a star to rate