



 Fabian Lainé

Full Guide
Subnautica 2: expanding your inventory — the 7 Biohacking Chambers and their locations
In brief
Subnautica 2 hides seven Biohacking Chambers that grant +15 inventory slots and +2 quick-slot hotbar spaces, permanently and without any resource cost. None exceeds 88 m in depth, four are within 240 m of the pod, and a Scanner Station turns this hunt into a marked route rather than an exploratory ordeal.
Five of Subnautica 2's seven Biohacking Chambers add three inventory slots each, the other two add a hotbar slot. In total: +15 slots and +2 hotbar slots, acquired permanently, without spending a single resource. None of these seven machines is found beyond 88 m depth, and four of them are less than 240 m from the pod.
It's the best time-invested-to-permanent-gain ratio in the entire Early Access. It's also the most poorly explained system in the game: no quest leads to it, no signal shows up on the HUD, and most English-language guides list coordinates that the game never displays anywhere — Subnautica 2's console commands exist in the files, but remain inaccessible without a mod.
Nothing has changed on this front since hotfix 4 on July 14, 2026, the last patch released to date: the July 8 update 1.1 "Adaptive Measures" touched neither the chambers nor the bunkers that house them. Everything below is valid for the live version as of August 10, 2026.
What a Biohacking Chamber exactly does
A Biohacking Chamber is a variant of the Biobed, the bunk that normally serves as a respawn point. Colonists repurposed seven of them to enhance the body instead of reprinting it: their reprinting function was disabled for license violation, leaving only the "enhancement" part. You lie down, the chamber activates, and the bonus is acquired for the entire playthrough.
Two types of bonus, not stackable on the same machine:
- Endurance — three additional inventory slots. Five out of seven chambers deliver this bonus.
- Dexterity — one additional hotbar slot. Only two chambers.
Each chamber is single-use: you can't use it again for a second bonus. However, in multiplayer, each player can use each chamber once. So an organized run with four players makes the trip worthwhile for everyone.
The seven locations, from closest to farthest
Six chambers are locked inside colonist bunkers, those private cave-dug habitats not to be confused with Alterra outposts. The seventh is stuck in a Cicada wreck.
| Site | Biome | Depth | Bonus | Landmark from the pod |
|---|---|---|---|---|
| Anita's Garden | Shallows | 38 m | Endurance | ~165 m east-northeast |
| Quaker's Meetinghouse | Dolerite Spires | 42 m | Endurance | ~215 m southeast |
| Sophie's Retreat | Plateaus | 65 m | Endurance | ~390 m north, beneath the Old Habitat |
| Empty Hold (wreck) | Graveyard | 77 m | Endurance | ~480 m east |
| Salvage | Plateaus | 86 m | Dexterity | ~190 m north |
| Unauthorized NoA Modification | Dolerite Spires | 88 m | Endurance | ~235 m southwest |
| Nahema's Lab | Graveyard | 88 m | Dexterity | ~345 m east-southeast |
Beware of the depths circulating out there: the wiki's tables contradict each other for Sophie's Retreat (60, 62, or 65 m) and the Empty Hold (60, 77, or 80 m). The values above are recalculated from the third coordinate of each reading, which gives the altitude in centimeters.
The starting trio: Anita's Garden, Quaker's Meetinghouse, Salvage
Anita's Garden is done first, with no special equipment: a Shallows cave about 165 m east-northeast of the pod, chamber at 38 m, plus the fragments for the Biobed and basic furniture.
Quaker's Meetinghouse is hidden in a cave in the Dolerite Spires, roughly 215 m to the southeast, chamber at 42 m. It's the most cost-effective bunker of the early game: fragments of the Bioreactor, the Repair Tool, and the Floor Locker (30 slots), plus a Basic Battery right there. Chap's black box lies just outside, at the same depth: it's the most reliable audio landmark for finding the entrance.
Salvage is the first of the two Dexterity chambers. It's a little under 200 m north of the pod, but 86 m deep, at the very end of a cave network whose entrance opens up beneath the Crab Tower, roughly 120 m to the north. Plan your oxygen supply accordingly: the descent is long and there's no air pocket. The bunker also contains fragments of the Habitat Builder and the Repair Tool.
Unauthorized NoA Modification: the bunker not to miss
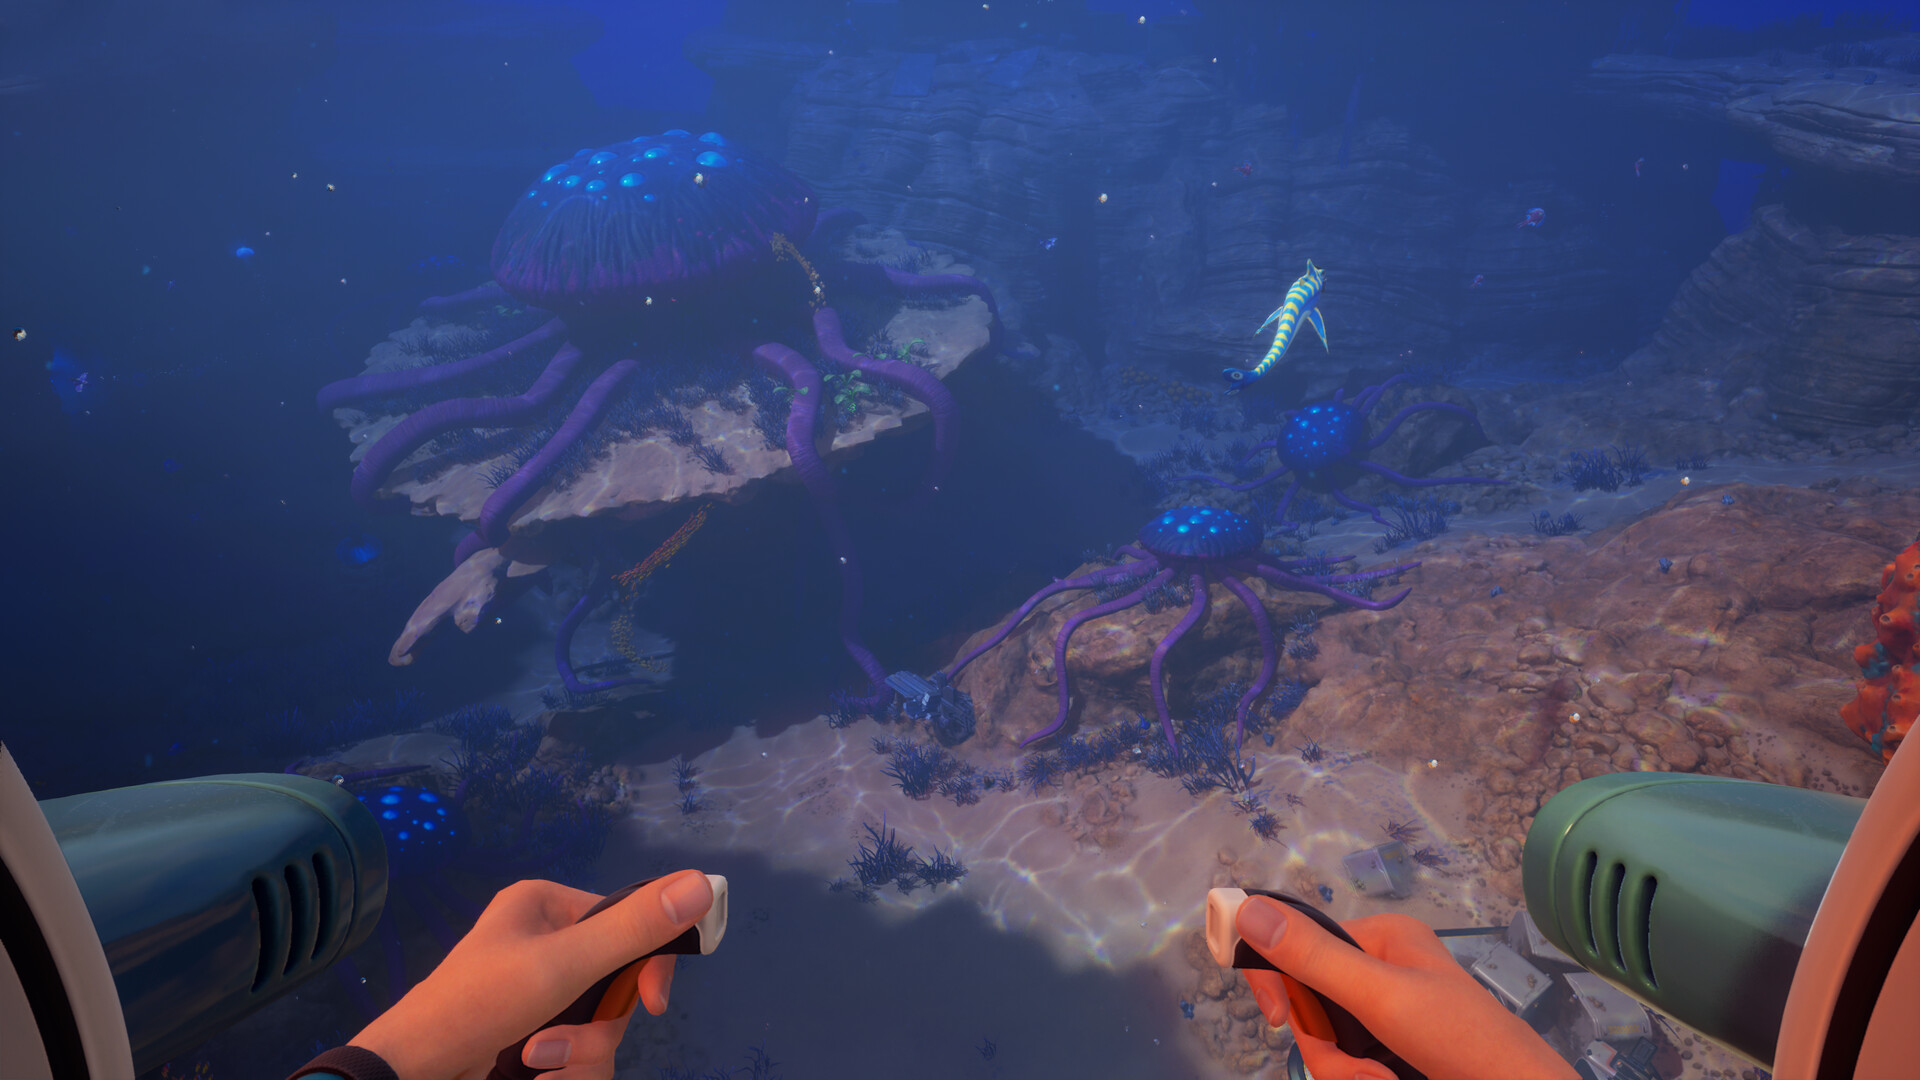
This one is worth the detour even without counting the inventory bonus. It's located in the Dolerite Spires, roughly 235 m southwest of the pod, just west of the large chasm that cuts through the biome, chamber at 88 m. Its fragment list is the richest of the seven sites: Rebreather, Tadpole, Floor Locker, Power Storage, Lab Chair, S Shelf, and Wall Light Small, plus an Advanced Wiring Kit and Copper Wire to pick up. A player who hasn't unlocked the Rebreather yet should really visit here before diving below 100 m elsewhere.
Sophie's Retreat, beneath the Old Habitat
The bunker is buried in a cave in the Plateaus, about fifty meters east of the Old Habitat, or roughly 390 m north of the pod; the chamber is at 65 m. Head for the Old Habitat, which stays marked on the compass once discovered, then look for the opening below. Fragments of the Floor Locker, the flashlight, and the Lab Chair are on site.
The Graveyard: Nahema's Lab and the Empty Hold
The last two sites take place in the Graveyard (the coral graveyard), beyond the starting area. Use the Tailings Village as your anchor point: it's spottable from afar and both chambers are less than 200 m from there.
Nahema's Lab is a cave roughly 190 m west of the Tailings Village, chamber at 88 m. It's the second and final Dexterity chamber in the game: beyond this point, the quick-slot bar won't grow any further. The bunker also holds the Nook's Recipe Data Card and the Power Cell Terminal fragments.
The Empty Hold isn't a bunker but a piece of the Cicada, pressed against a huge thermal vent roughly 175 m north of the Tailings Village. The chamber is at 77 m. The wreck also contains a second Rebreather to scan, the Half Round Room's Recipe Data Card, and the Spotlight.
The Scanner Station, the only truly reliable method
Searching for these caves by sight costs hours. The right method is to place a Scanner Station — the scanning console that gets installed inside a base room, not a hull module — and select the filter dedicated to Biohacking Chambers. It sweeps a 300 m sphere around itself, consumes 10 units of energy per second while running, and only displays a filter if a matching target actually exists within range. Selecting a point creates a permanent signal on the HUD, which guides you to the entrance.
Its blueprint is obtained by scanning the Scanner Stations at Camp One and the Old Habitat; crafting it requires 1 System Chip, 3 titanium and 1 Wiring Kit.
By cross-referencing the coordinates listed on the official wiki with this 300 m radius, three stations are enough to cover all seven chambers:
- A station near the pod: it catches Anita's Garden, Quaker's Meetinghouse, Salvage and Unauthorized NoA Modification — four chambers, meaning +9 slots and +1 shortcut, from a single point.
- A station near the Old Habitat: Sophie's Retreat is about fifty meters away.
- A station at Tailings Village: it covers both Nahema's Lab and the Empty Hold.
A small room with a Bioreactor is enough to power the console during the scan: there's no need to build an actual base. Then place a Beacon on each cave entrance you find, since the Scanner Station's signals disappear once the target is consumed.
The order that saves the most time
Do the three sites in the starting area before anything else: Anita's Garden, Quaker's Meetinghouse, then Salvage. You'll come out with +6 slots, +1 shortcut, the Bioreactor, the repair tool, the Habitat Builder and the Floor Locker — in other words, enough to build the base you'll then use to scan the rest.
Follow up with Unauthorized NoA Modification, which gives you the Rebreather and the Seatruck, then Sophie's Retreat. Save the Graveyard for last: the last two sites are the deepest, but also the simplest once oxygen is secured. Good news besides, all seven chambers stay above the 100 m mark past which oxygen consumption triples.
Fifteen slots won't be enough: logistics matter just as much
Even at full capacity, inventory space stays tight as soon as you start bringing back ore. Two mechanics avoid back-and-forth trips and are massively underused:
- Base storage feeds machines directly. The Fabricator, the Transformer and the Habitat Builder automatically draw from the base's containers: just emptying your pockets when you get back is enough. The Wall Locker (20 slots, 2 titanium) is unlocked by default with the Habitat Builder; the Floor Locker (30 slots, 3 titanium + 1 quartz) can notably be scanned at Quaker's Meetinghouse and Sophie's Retreat.
- The Portable Locker (15 slots, 4 titanium, unlocked with the Habitat Builder) can be placed anywhere, moved even while full, also feeds nearby fabricators, and attaches to docking points — notably on the back of the Seatruck or on a diving elevator. It's the real cure for mining expeditions.
One exception worth knowing: the Storage Cache (20 slots, 1 titanium), this container added by 1.1 whose patch notes specify that it "does not contribute to nearby fabrication systems." Handy for isolating rare components in co-op, an absolute trap if you store your titanium there and the Fabricator then refuses your recipes.
To do on your next session
If you only have time for one thing, head to Quaker's Meetinghouse: three inventory slots, the Bioreactor, the repair tool and the Floor Locker in a single dive at 42 m, a quarter of an hour from the pod. And if you're playing in a group, whatever you do, don't split up: the seven chambers recharge for each player, a single trip with four people equips everyone. Until the next content drop, these seven machines remain the only way to expand your bag.
Share this article
Will you hunt down the seven chambers as a priority or find them along the way at random?
Frequently asked questions
Can you use the same Biohacking Chamber more than once?
No, each chamber is single-use per player. In multiplayer, however, each player can use it once, which makes group trips worthwhile.
How much total bonus do the seven chambers provide?
Fifteen additional inventory slots and two hotbar slots, gained permanently without spending a single resource.
Is the Scanner Station really necessary to find them?
Technically no, but honestly yes. Hunting for these caves by sight costs hours. A station creates permanent signals on the HUD and scans 300 m around it — three stations are enough to cover all seven chambers.
What's the optimal order to visit them in?
Start with the opening trio (Anita's Garden, Quaker's Meetinghouse, Salvage) before anything else. They're the three closest and require no equipment prerequisites.
Is Unauthorized NoA Modification worth the trip even without the inventory bonus?
Yes, it's the richest bunker in fragments: Rebreather, Seaglide, Power Storage, Lab Chair, and more. It's a mandatory stop before descending past 100 m.
Key takeaways
- Five chambers give three inventory slots each, two give a hotbar slot — it's the best time/permanent-gain ROI in the game during early access.
- Four of the seven are within 240 m of the pod: Anita's Garden, Quaker's Meetinghouse, Salvage, and Unauthorized NoA Modification.
- A Scanner Station that scans 300 m is enough to turn a random hunt into a marked expedition with permanent points on the HUD.
- The starting trio (Anita's Garden, Quaker's Meetinghouse, Salvage) can be chained together without any special equipment and yields +7 slots plus a dexterity boost.
- Unauthorized NoA Modification is worth the detour even without the bonus: it's where you scan the Rebreather and other fragments before descending past 100 m.
Comments
No comments yet. Be the first to react!
Leave a comment
Similar guides
Latest articles








Your opinion counts
Rate Subnautica 2
Click a star to rate