



 Fabian Lainé

Full Guide
Genshin 6.7: the complete guide to Sandrone, Cryo star of Luna VIII
In brief
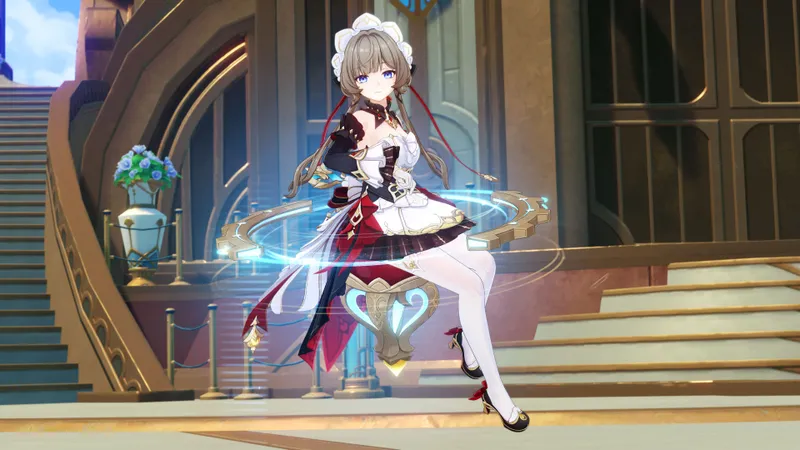
Sandrone, the Sixth of the Fatui Harbingers, arrives in 6.7 as a new Cryo sword DPS playing at mid-range with her automaton, Fagio. She revolutionizes the meta by creating Astroconduction, a Cryo-Electro reaction that amplifies damage by 25-45% and revives forgotten characters like Qiqi and Beidou.
Anticipated ever since the first 6.0 leaks, she's finally here: Sandrone, the Sixth of the Fatui Harbingers, arrives as the headliner of the Luna VIII update for Genshin Impact, available since July 1, 2026. A new 5★ Cryo claymore user, mother of the automaton Fagio and inventor of a brand-new elemental reaction, Astroconduction, she reshuffles the deck of the Cryo-Electro meta. This guide reviews her full kit, her passives, her ascension materials, her best artifacts and weapons, her top teams, and her optimal rotation to help you decide: should you spend your Primogems on her "What the Puppeteer Tells the Mirror" banner, or wait for Phase 2?
Sandrone in brief: profile, weapon, and team role
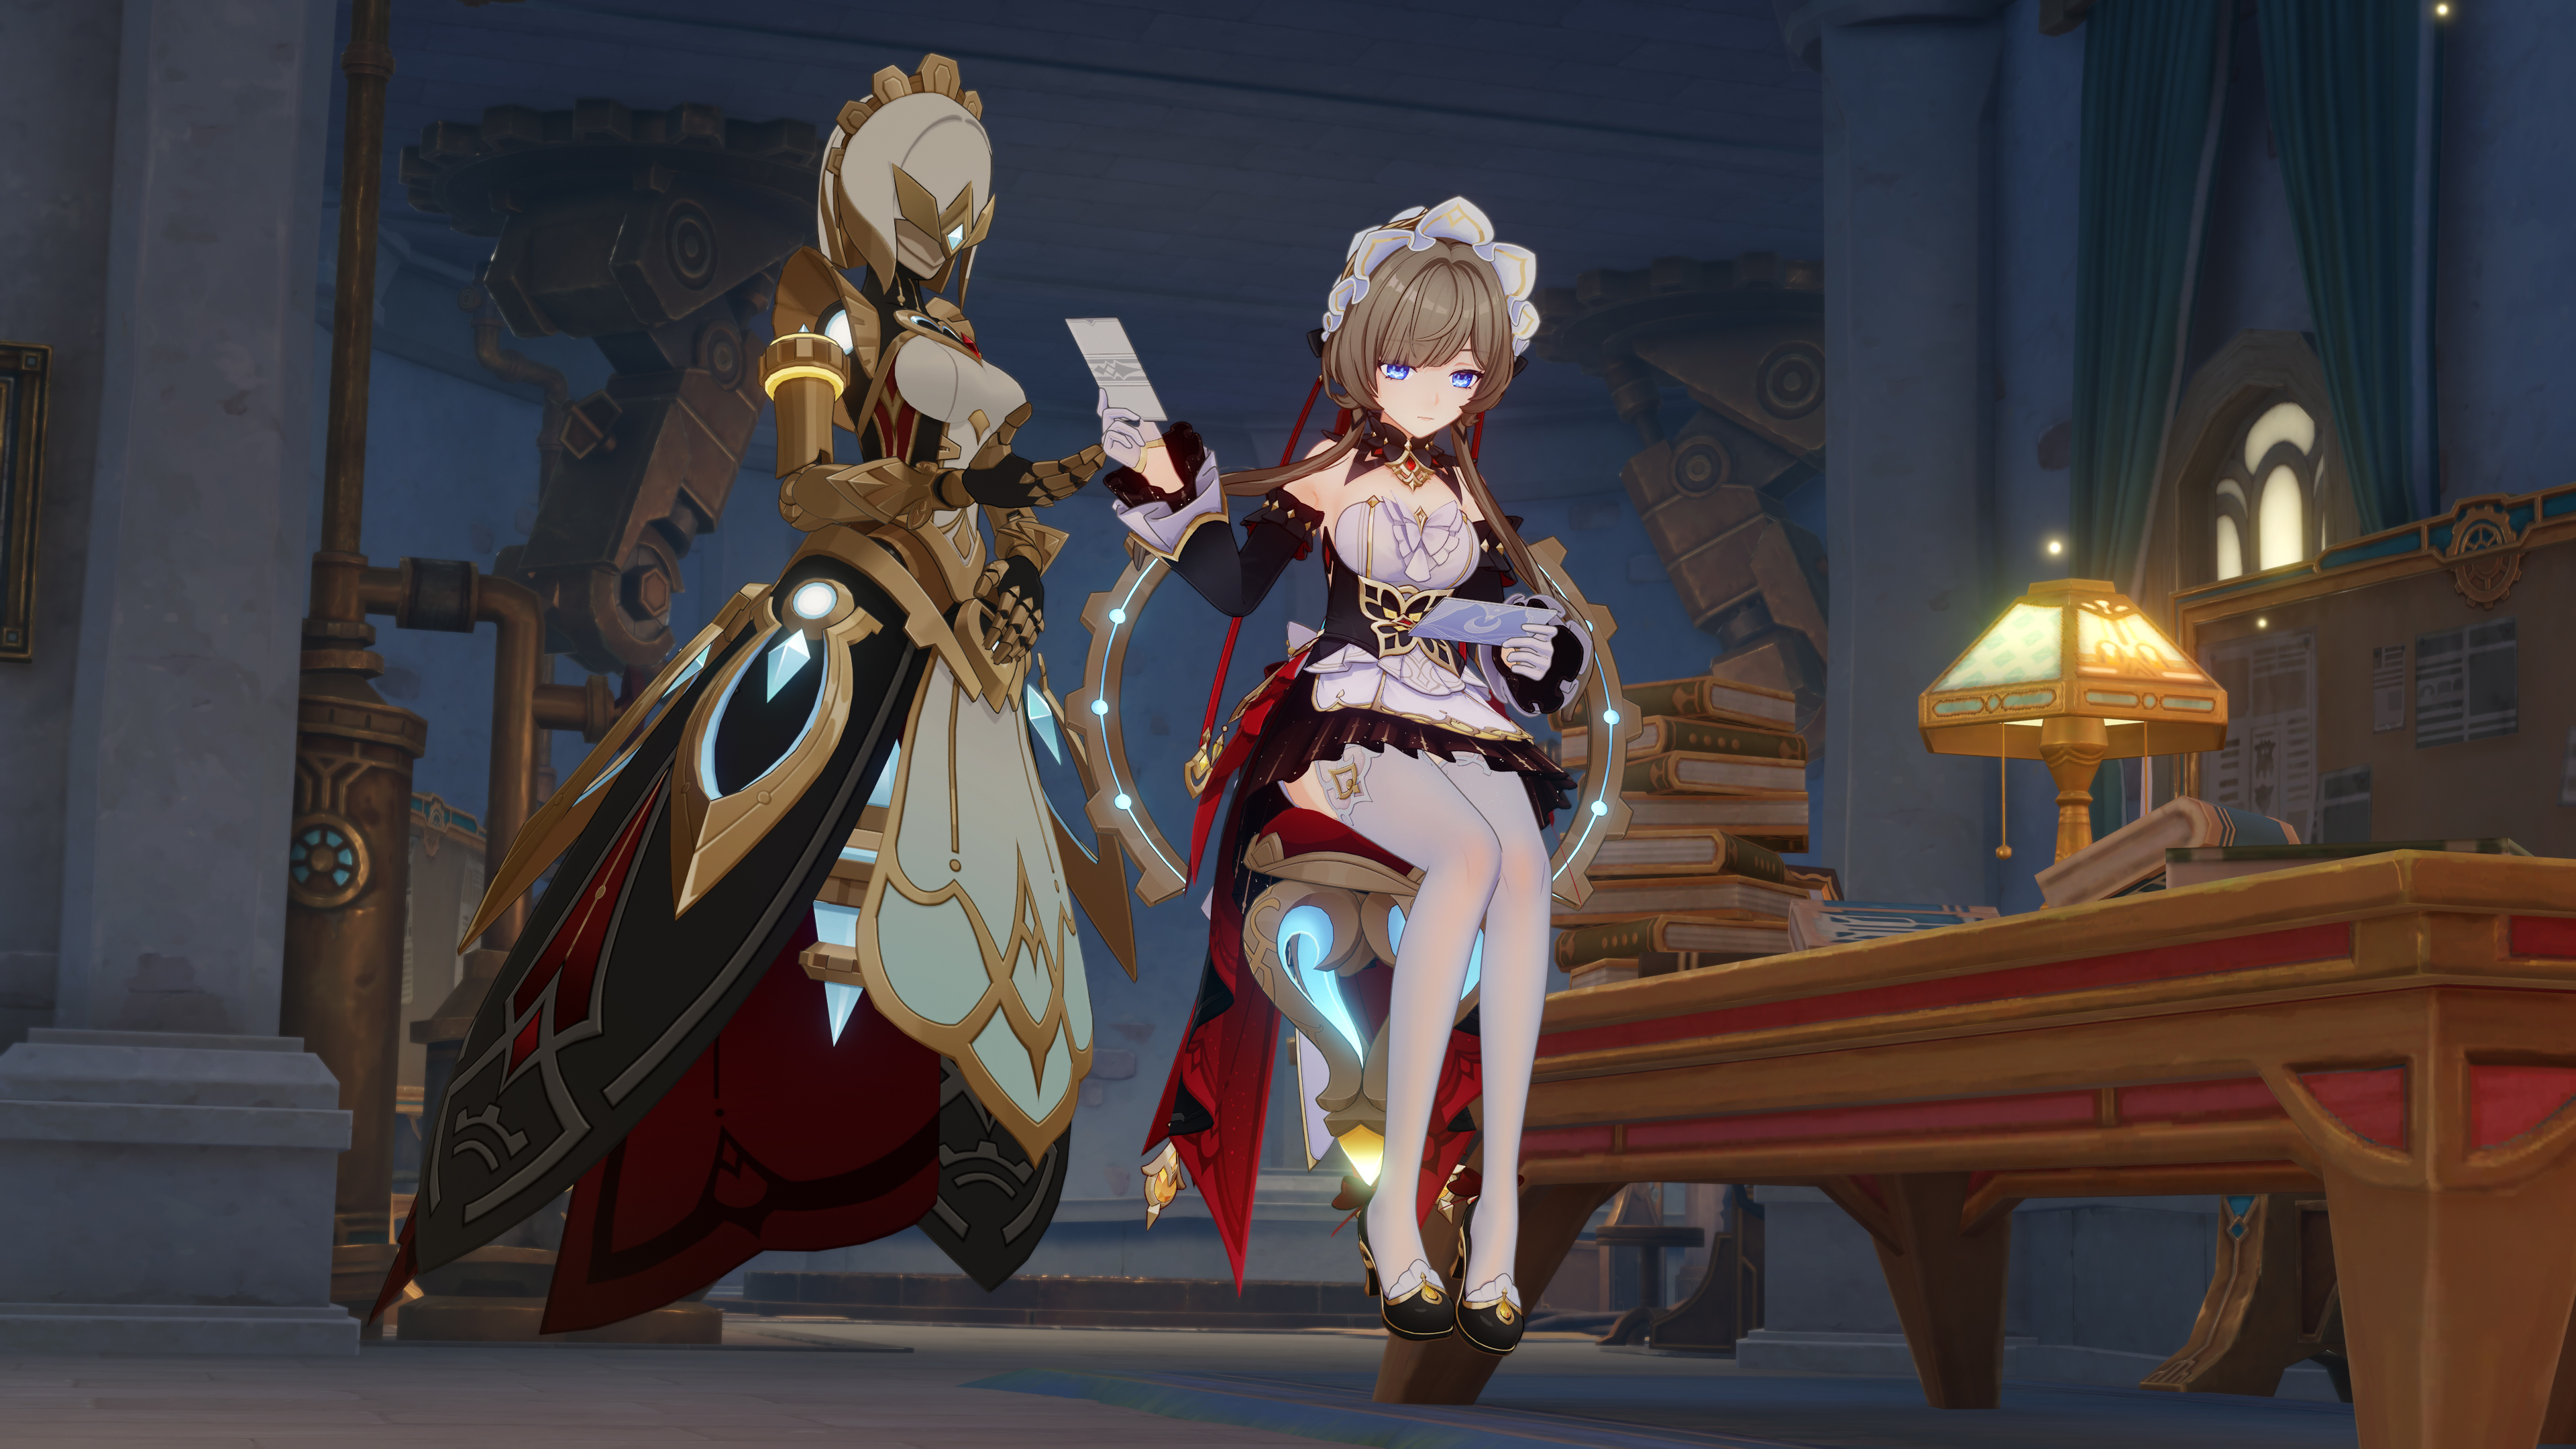
Sixth of the Fatui Harbingers, the Puppeteer has so far played the role of a mysterious figure pulling the strings of several plotlines, notably around Katherine and the manufacturing of Anemo Cores. After her clash with the Heretic, her consciousness was transferred into a new mechanical body, while her old automaton Pulcinella was replaced by Fagio, a sleeker chassis resembling a steel bird. On the field, this translates to:
- Element: Cryo
- Weapon: Claymore
- Rarity: 5★ Limited
- Region: Snezhnaya
- Role: Main DPS on charged attacks, Astroconduction enabler
- Banner: "What the Puppeteer Tells the Mirror" (Phase 1 of 6.7, from July 1 to 21, 2026)
Unlike Arlecchino or Columbina, who remain classic melee characters, Sandrone plays at mid-range: she plants her sword into the ground, summons Fagio behind her, and alternates heavy normal attacks with ranged barrages generated by her companion. She doesn't reinvent the Cryo DPS archetype: she creates a whole new one.
Detailed kit: normal attacks, elemental skill, and burst
Sandrone's defining trait is a unique gauge called "Decryption Power", which fills up with every charged attack. Once it's full, Fagio overheats: attack speed and damage drop sharply. The whole subtlety of her rotation lies in draining this gauge at the right moment via her elemental skill.
Normal attack — Requiem of Analysis
Three standard claymore hits, but the charged attack is the core of her gameplay: Sandrone plants her weapon into the ground and summons Fagio, who fires a persistent Cryo beam at the targeted area. These beams deal repeated Cryo damage and fill up Decryption Power with every tick.
Elemental skill — Puppeteer's Flight
Sandrone mounts her hovermech (similarly to Yumemizuki Mizuki) and gains increased mobility. For the duration of the skill, she fires Cryo homing missiles and, more importantly, sharply reduces the accumulated Decryption Power. This is your "reset button," to be timed roughly every 12-15 seconds depending on your build.
Burst — Chorus of the False Mirror
She deploys several mechanical cannons that saturate an area with AoE Cryo projectiles. If the burst is triggered inside an Astral Field (created by the Astroconduction reaction), all hits count as Astroconduction damage: buffs apply, enemies' physical resistance melts away, and her DPS contribution skyrockets.
Passives to know
- Ascension 1 — Cybernetic Manuscript: every charged attack in Overheat mode restores energy and extends the duration of the next Puppeteer's Flight.
- Ascension 4 — Fine Calibration: converts a portion (up to 40%) of Sandrone's ATK into Elemental Mastery. This passive radically changes the stat priority and allows you to drop pure Elemental Mastery in favor of ATK%.
- Utility: reduces Snezhnaya expedition cooldown times by 25%.
Astroconduction, the new Cryo + Electro reaction
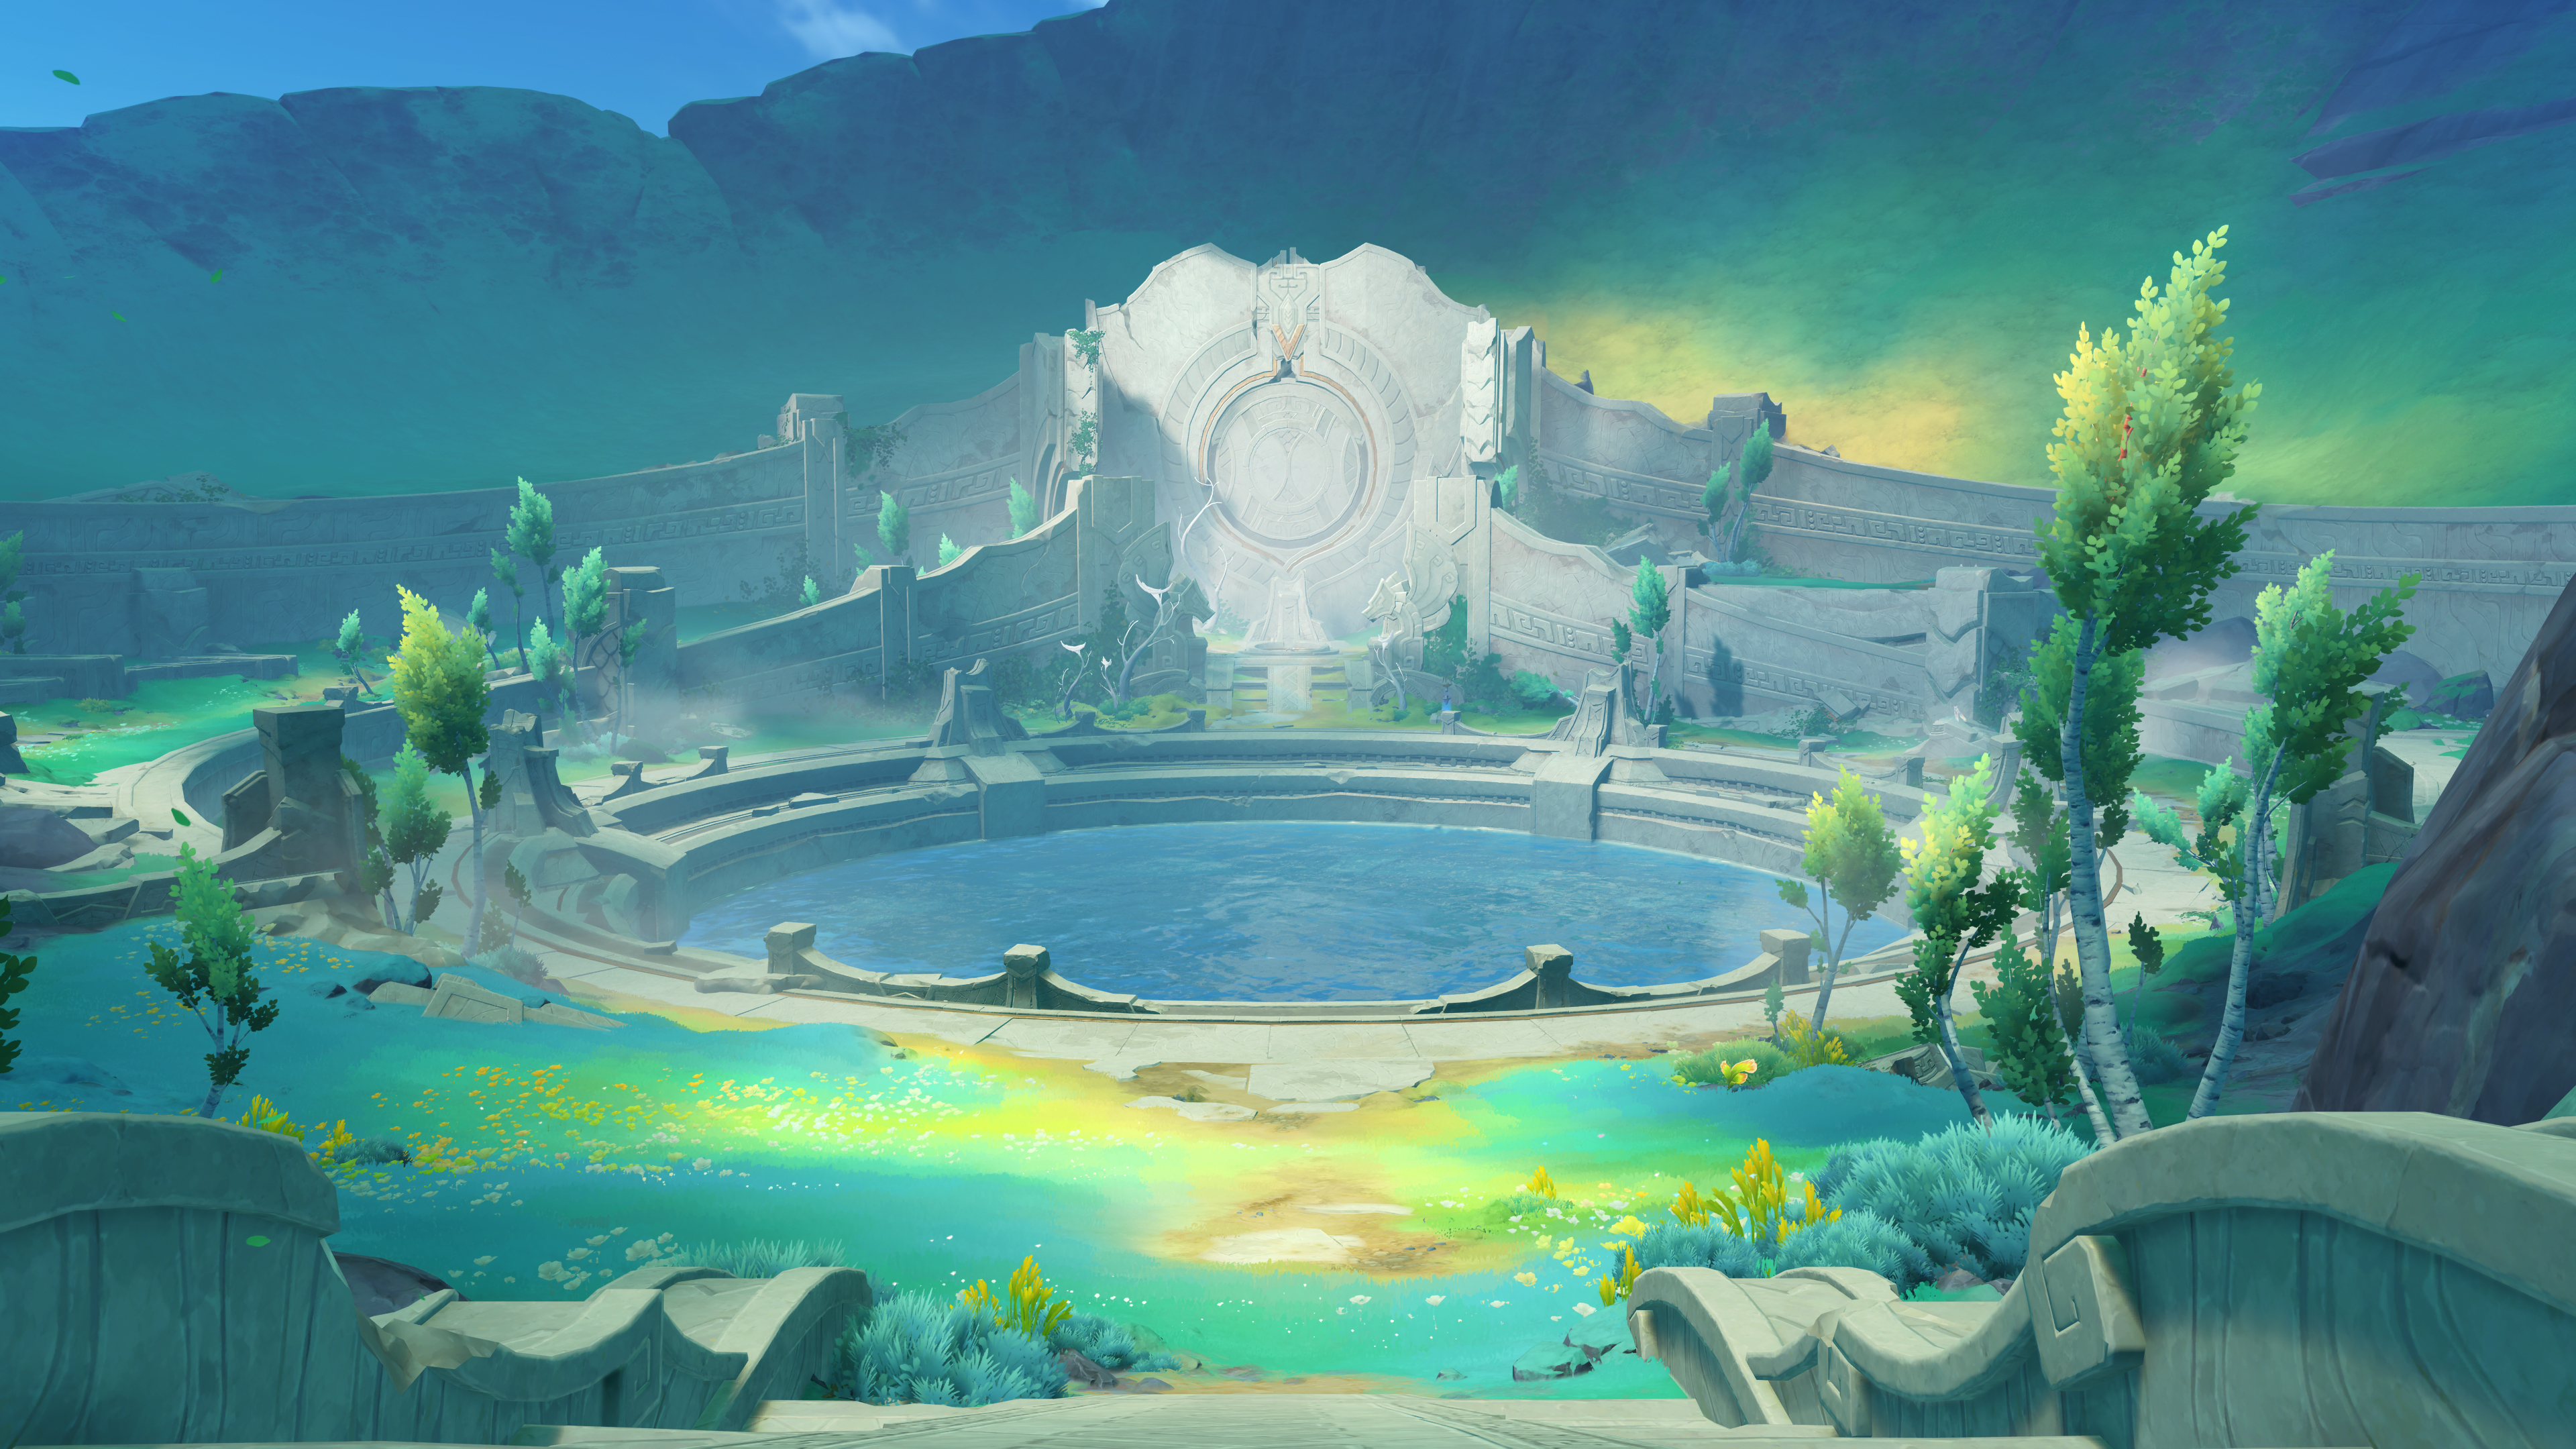
This is the real revolution of 6.7. Astroconduction (Stellar-Conduct in English) is a transformative evolution of Superconduct: it still requires Cryo + Electro application, but additionally generates a Stellar Field on the ground for about 8 seconds. Within this field:
- Allies' Cryo and Electro damage is amplified by 25% to 45% depending on the reaction level.
- Enemies' physical resistance drops by 40%.
- Coordinated attack bursts benefit from an additional multiplier.
At level 90 with talents at level 8, an Astroconduction triggered by Sandrone hits 2.5 to 3 times harder than a classic Superconduct. In other words: the Superconduct reaction, often snubbed by the community, finally becomes meta. Immediate corollary: Qiqi, Beidou, and Yae Miko, long forgotten, become relevant picks again in 2026.
Ascension materials: the farming roadmap
Like all Snezhnaya characters released in previous 6.x updates, Sandrone levels up on a mix of mechanical mob drops, a brand-new weekly boss, and a local specialty tied to the lunar region. Here's the rundown for taking a Sandrone from level 1 to level 90:
| Type | Material | Total quantity | Where to find it |
|---|---|---|---|
| Elemental gem | Shard / Fragment / Chunk / Polar Amethyst | 1 / 9 / 9 / 6 | Cryo bosses (Cryo Hypostasis, Cryo Regisvine, Cicin from Beyond) |
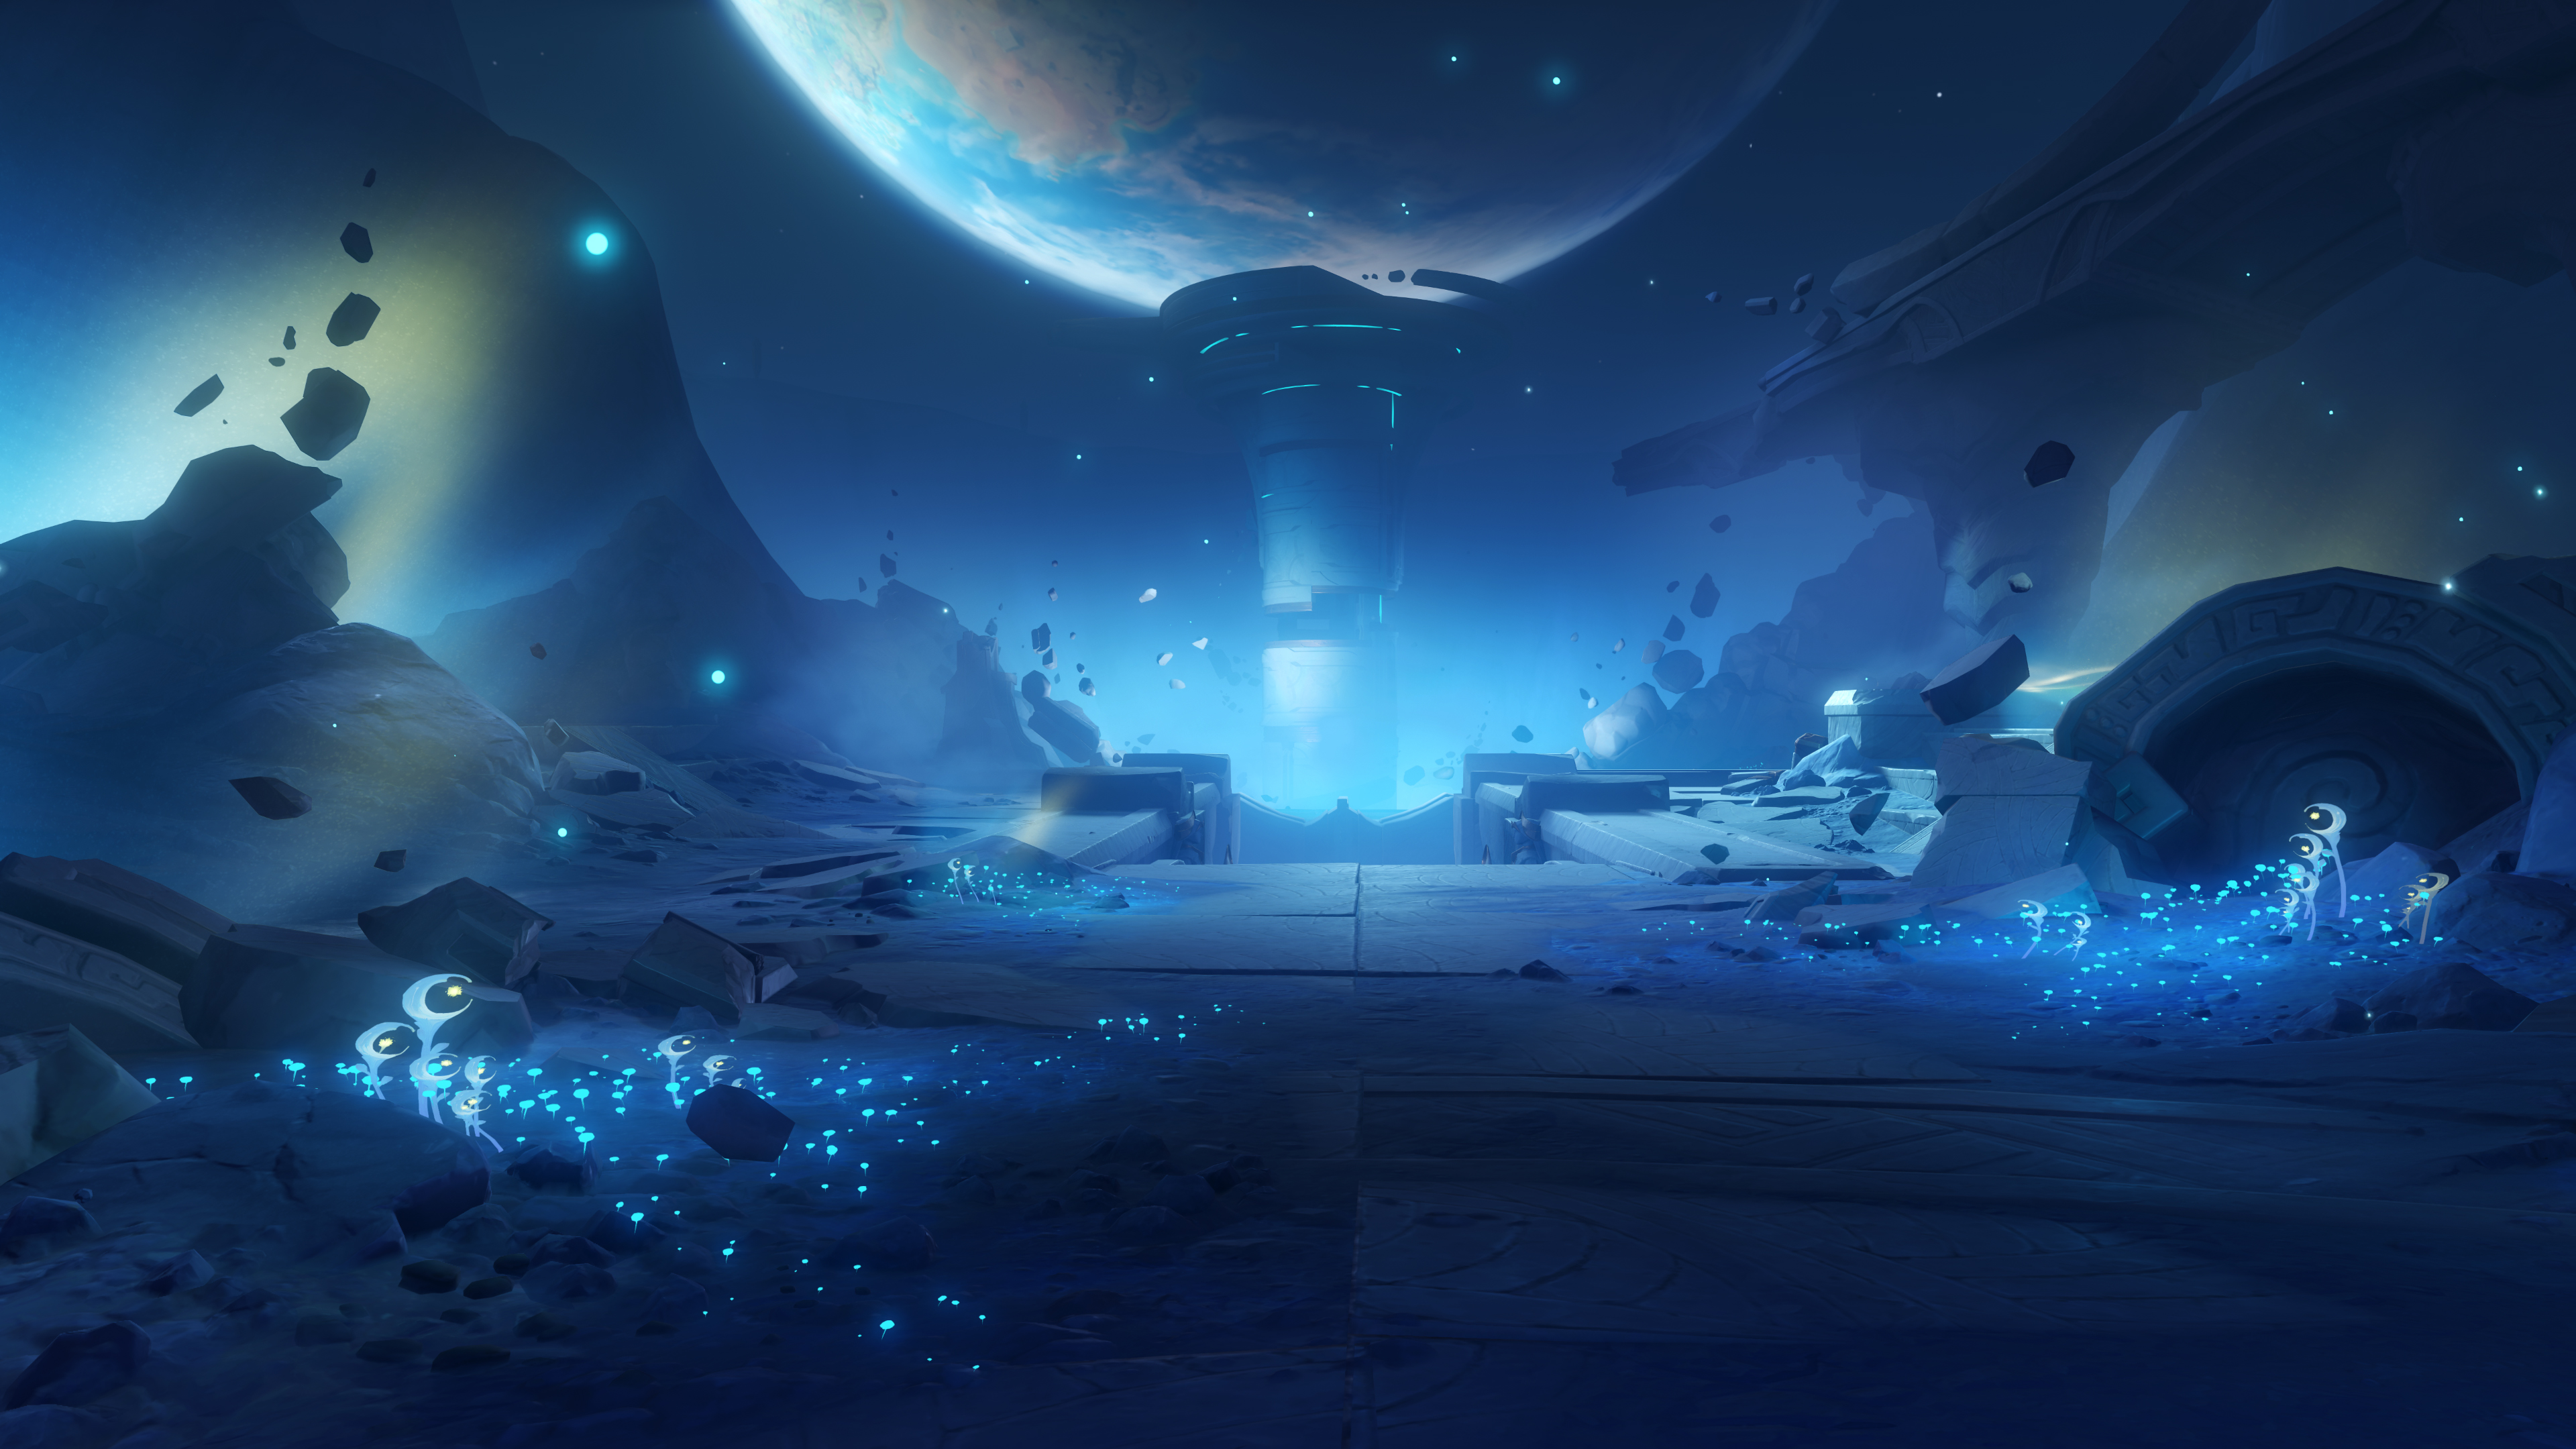
| Local specialty | Selene's Dew (new lunar plant) | 168 | Permanent lunar zone added in 6.7 |
| Mob drop | Harvester's Insignia (Recruit / Sergeant / Officer) | 18 / 30 / 36 | Fatui Skirmishers across Teyvat |
| Weekly boss drop | Feather of the Fallen Watcher | 46 | New weekly trial tied to Sandrone |
| Talent book | Teachings / Guide / Philosophies of Entertainment | 9 / 63 / 114 | "Feverish Fluidity" Domain (Fontaine, Thursday / Sunday) |
| Crown | Crown of Insight | 3 | Seasonal events and Statue of the Seven |
Budget around 420 Original Resin to complete the gem and talent farming, and 18 weeks for the 46 Feathers of the Fallen Watcher if your drop rate isn't above average. In other words: rushing to level 90 requires a stockpile of at least 60 Fragile Ambrosia before launch, along with advance preparation for the talent Domain.
Best artifacts: the new 6.7 set
With version 6.7, HoYoverse introduced a new artifact set specifically dedicated to Electro-Charged: “Disquisition of Deep Shadows.” It is by far the best choice on Sandrone.
- 2-piece: +18% Cryo DMG.
- 4-piece: after triggering Electro-Charged, gain 20% CRIT Rate and 40% Electro-Charged DMG for 10s. The effect can be refreshed with no cap.
Failing that, there are two solid fallbacks, both farmable without waiting for the new domain to release:
- Golden Dream (4-piece): +80 Elemental Mastery and +14% conditional ATK, very relevant thanks to the A4 passive that converts ATK into Elemental Mastery.
- Blizzard Strayer (4-piece): +15% Cryo DMG and up to +40% CRIT Rate against enemies affected by Cryo — an old best-in-slot that remains very solid for solo Cryo.
As for main stats, the recommended priority is:
- Sands: ATK% (preferred over Energy Recharge if you have a second source of Cryo particles)
- Goblet: Cryo DMG Bonus
- Circlet: CRIT DMG (or CRIT Rate if you're stuck below 60% in stats)
Final targets: 2,000+ ATK, 60% CRIT Rate, 180%+ CRIT DMG, 130% Energy Recharge, and around 200 Elemental Mastery derived from the A4 passive.
Best weapons: signature vs. alternatives
The Epitomized Path weapon banner accompanying Sandrone highlights her signature greatsword: Transcendent Coffee Spoon. Unsurprisingly, it's her best option, but several 5★ and 4★ alternatives hold up well.
| Weapon | Rarity | Main stat | Key passive |
|---|---|---|---|
| Transcendent Coffee Spoon | 5★ | 44.1% CRIT DMG | +28% ATK + 16% Electro-Charged DMG per stack (3 max) |
| A Thousand Blazing Suns | 5★ | 66.2% CRIT DMG | CRIT DMG and ATK buff on each skill cast |
| Redhorn Stonethresher | 5★ | 88.2% CRIT DMG | Excellent if you're running Sandrone in the physical variant |
| Cranial Flower | 4★ event | 55.1% ATK | Stacks Elemental Mastery and ATK after a skill, F2P best-in-slot |
| Tidal Shadow | 4★ event | 55.1% ATK | +20% normal attack DMG, a viable alternative |
| Sacrificial Sword | 4★ banner | 55.1% Energy Recharge | R5 solution to make up for Energy Recharge |
Verdict: R1 on the Transcendent Coffee Spoon is worth about 22 to 28% more damage compared to an R5 Cranial Flower, a gap larger than that of Arlecchino, for instance. If you're aiming for the maximum score in the Abyss, the signature weapon takes priority over any constellation beyond C1.
Team synergies: four compositions that leverage Electro-Charged
A good team built around Sandrone rests on three pillars: a reliable Electro applicator to maintain Electro-Charged, a second Cryo unit for resonance and particle generation, and an ATK buffer or a shield to sustain Fagio's stationary form.
Premium team — Electro-Charged meta
Sandrone / Yae Miko C1 / Qiqi / Escoffier. Yae provides off-field Electro application and a dedicated Electro-Charged buff for C1. Qiqi heals, applies Cryo continuously, and provides resonance. Escoffier boosts Cryo damage for the entire team. This is the highest theoretical combo at Abyss clear level.
Premium team — Furina variant
Sandrone / Furina / Fischl / Diona. Furina buffs overall damage and applies Hydro for the occasional mini-Frozen. Fischl triggers Electro-Charged with Oz. Diona provides shielding and Cryo Resonance. Ideal if you want to stack Electro-Charged and Furina's Fanfare on a stationary boss like Consecrated Beast.
F2P team — no additional 5-star required
Sandrone / Beidou C6 / Diona / Sucrose. Beidou provides off-field Electro and becomes a damage pillar thanks to her free constellations. Sucrose groups enemies in the Astral Field and spreads Cryo. Diona provides shielding and Cryo Resonance. This composition clears Abyss floor 12 without any trouble.
Alternative team — Melt hybrid
Sandrone / Xiangling / Bennett / Fischl. Here we sacrifice pure Electro-Charged in favor of a Melt / Superconduct combination in rotation. Sandrone remains the carry, but benefits from Bennett's ATK buff and a massive Melt multiplier on charged attacks. Devastatingly effective in Imaginarium Theater against a single enemy.
Warning: do not play Sandrone with Neuvillette or Wriothesley as an alternative carry. Their Hydro application too often converts your Cryo into Frozen and cuts off Electro-Charged. Furina remains fine since her Hydro is more occasional.
Constellations: which ones are worth investing in?
- C1 — Perpetual Motion: +30% Electro-Charged DMG for the entire team and -50% Decryption Power accumulation. Excellent ratio, immediate boost.
- C2 — Locked Symphony: up to +100% CRIT DMG on consecutive charged attacks. This is Sandrone's BIG power spike.
- C3: +3 levels to Elemental Skill.
- C4 — Echo of the Fake Mirror: adds an instance of Electro-Charged damage every 4s. Stable boost but less spectacular than C2.
- C6: reserved for whales. Multiplies the Burst's cannons and adds a global DEF buff.
Recommended priority order: R1 (signature) → C1 → C2. Beyond that, the value curve drops off and it's better to save your Primogems for 7.0 (Ineffa's rerun has been announced).
Optimal rotation: how to chain without overheating
Here's a typical 20-second rotation, validated in a Yae / Qiqi / Escoffier setup:
- Escoffier's Burst (Cryo buff).
- Qiqi's Elemental Skill (Cryo application and healing).
- Yae Miko's Elemental Skill (three Electro totems).
- Sandrone's Elemental Skill (aerial mode, Cryo missiles, Decryption Power drain).
- Return to ground, two charged attacks on the main target → triggers Electro-Charged.
- Sandrone's Burst within the Astral Field.
- Three to four additional charged attacks during the buffed window.
- Reuse the skill as soon as it's available to drain Decryption Power.
Key thing to watch out for: never stay in charged attack mode for more than 6 seconds without using your skill. Overheating nearly halves your damage output and makes the rotation pointless.

Should you pull for Sandrone? Verdict
Sandrone is an excellent investment for three types of players: those who don't yet have an endgame Cryo DPS, those who have an old C6 Beidou or a Yae Miko gathering dust, and those who love breaking metas with unexpected combinations. However, it's not an obvious choice if you're already playing Neuvillette or Wriothesley as your main carry: Electro-Charged doesn't pair well with a Hydro-based core, and you might prefer to wait for Ineffa in 7.0. In any case, budget around 140 pulls to be guaranteed to get Sandrone (hard pity), plus 80 additional pulls if you want to try for the Coffee Spoon on the Epitomized Path weapon banner. Phase 2 (starting July 21, 2026) will bring back Columbina and Raiden Shogun: keep that in mind if you need to prioritize your Primogems. Happy pulling, Traveler.
Share this article
Are you rolling for Sandrone in Phase 1, or waiting for more information in Phase 2?
Frequently asked questions
Should you really pull for Sandrone, or wait for Phase 2?
If you already have a solid Cryo DPS and little interest in Superconduct, you can wait. But if you're running Beidou, Fischl, or Electro supports, Sandrone creates a genuinely competitive and credible new Cryo-Electro archetype. It really comes down to the state of your rosters.
What's the main farming material to prepare before her release?
The Fallen Feather of the Watcher from the weekly trial. The 46 copies needed represent 18 weeks of farming, so you really need to start right at launch or accept an under-leveled Sandrone in terms of talents for months.
Can Sandrone perform in a solo Cryo team without Electro, or is Astroconduction mandatory?
She works in a solo Cryo setup with Blizzard Strayer and Cryo supports (Shenhe, Ayaka), but that wastes her potential. Astroconduction amplifies her damage so exponentially that playing without an Electro support means giving up 30-40% of her theoretical DPS.
How should you chain her Elemental Skill to maximize the rotation?
You need to time the Marionette's Doff every 12-15 seconds to empty the Decryption Power right before overheating. With enough Energy Recharge (130%+), you can reset continuously without any dead time. The exact timing depends on your Energy Recharge stat and the number of Cryo particle sources on the team.
What team should you build around Sandrone?
Typically: Sandrone / an Electro application support (Fischl, Beidou, Yae Miko) / a Cryo support (Shenhe or Kokomi for healing) / a flex slot (Kazuha, Nahida, or another buffer). Astroconduction requires consistent Cryo-Electro application, so the team composition needs to cover both elements without neglecting support.
Key takeaways
- Sandrone plays around a "Decryption Power" system that must be regularly drained via her Elemental Skill to avoid overheating.
- Astroconduction turns Superconduct into a meta reaction: 2.5 to 3 times more powerful, with damage amplification and physical resistance reduction.
- The "Unfinished Reverie" set is the best choice in 6.7, but Golden Troupe and Blizzard Strayer remain viable fallback options.
- Expect to spend 420 Original Resin on gear farming and roughly 18 weeks for the weekly boss drops.
- Her A4 passive converts ATK into Elemental Mastery, radically changing stat priority compared to classic Cryo DPS characters.
Comments
No comments yet. Be the first to react!
Leave a comment
Similar guides





Latest articles








Your opinion counts
Rate Genshin Impact
Click a star to rate