



 Fabian Lainé
Full Guide
Escape The Backrooms: the walkthrough guide for Levels 4 to 11 (Terror Hotel, Lights Out, Thalasso, The City…) in 2026
In brief
From Terror Hotel to Run For Your Life, this guide covers the eight most demanding levels of Escape The Backrooms in four-player co-op. Codes to memorize, entities to avoid, roles to assign: everything you need to avoid wiping and finish in 2026 without shooting each other.
Once Level 3 (Electrical Station) is cleared, Escape The Backrooms shifts into its true core: eight dense chapters packed with environmental puzzles and tense sequences, where the slightest noise gives you away to an entity. This detailed guide walks through every stage of the campaign, from Terror Hotel to the infernal sprint of Run For Your Life, and also covers the bonus Level 37 added with the Hotel update. Level names remain in English (the American developers at Fancy Games do not translate them in the French version of the client), but all the tips, codes, and co-op strategies are given in French, in the exact order you'll encounter them as a group of four. Keep the basic triptych in mind from the start: inventory prepared, roles assigned, voice communication calibrated.
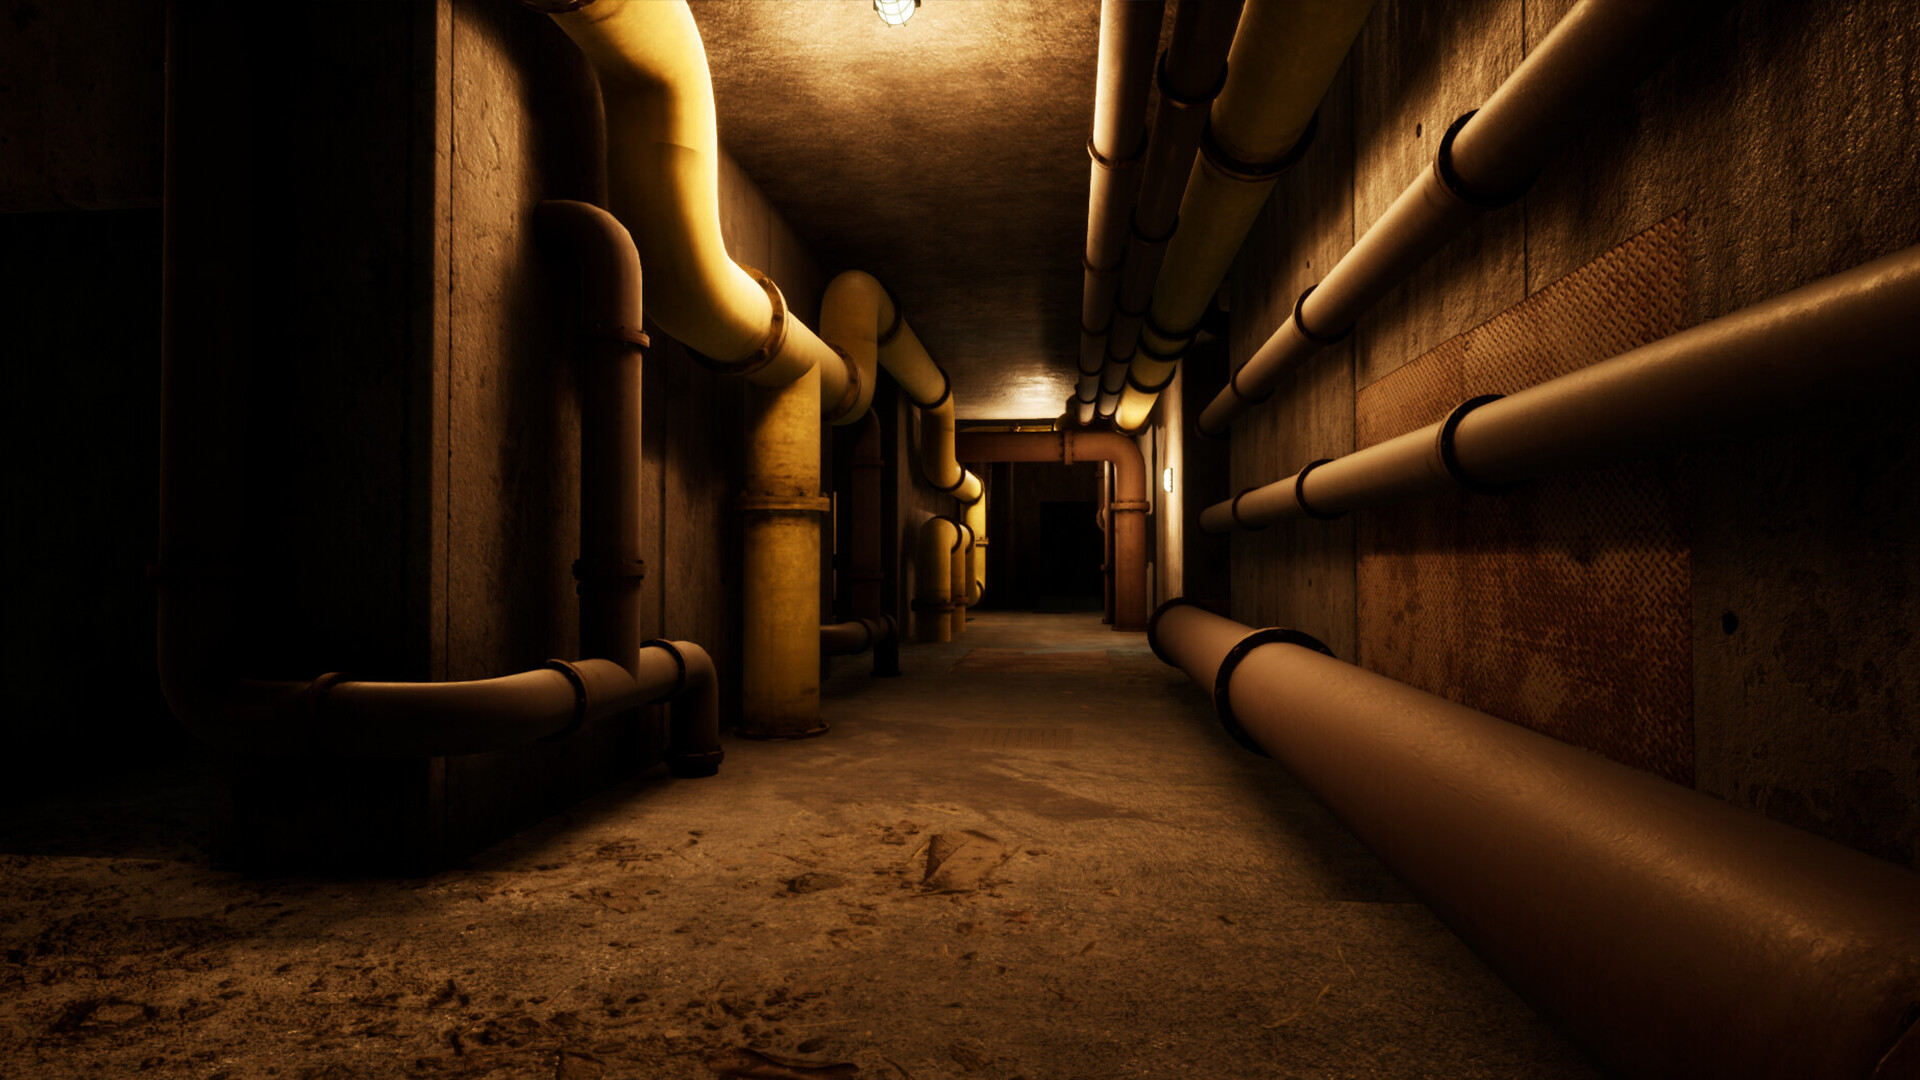
Levels 0 to 3 served as a tutorial — yellow carpet, boiler room, electrical station. Starting at Level 4, the loop changes register entirely: each zone now has its own entities, its own precise puzzles to memorize, and above all, "no return" passages that make any backtracking impossible. Systematically check your inventory before opening the final door: Almond Water, lighter, flashlight, and medication each serve a purpose depending on the stage. Since the Hotel patch, the game enforces a checkpoint-based save system per level, which allows you to resume at the last lobby in case of a wipe, but never to go back once you've passed through the portal to the next stage. Linear progression to respect: Terror Hotel → Lights Out → Thalasso → Caverns → Suburbs → Field of Wheat → The City → Run For Your Life.
Level 4 — Terror Hotel: the 235 code and the Deathmoths
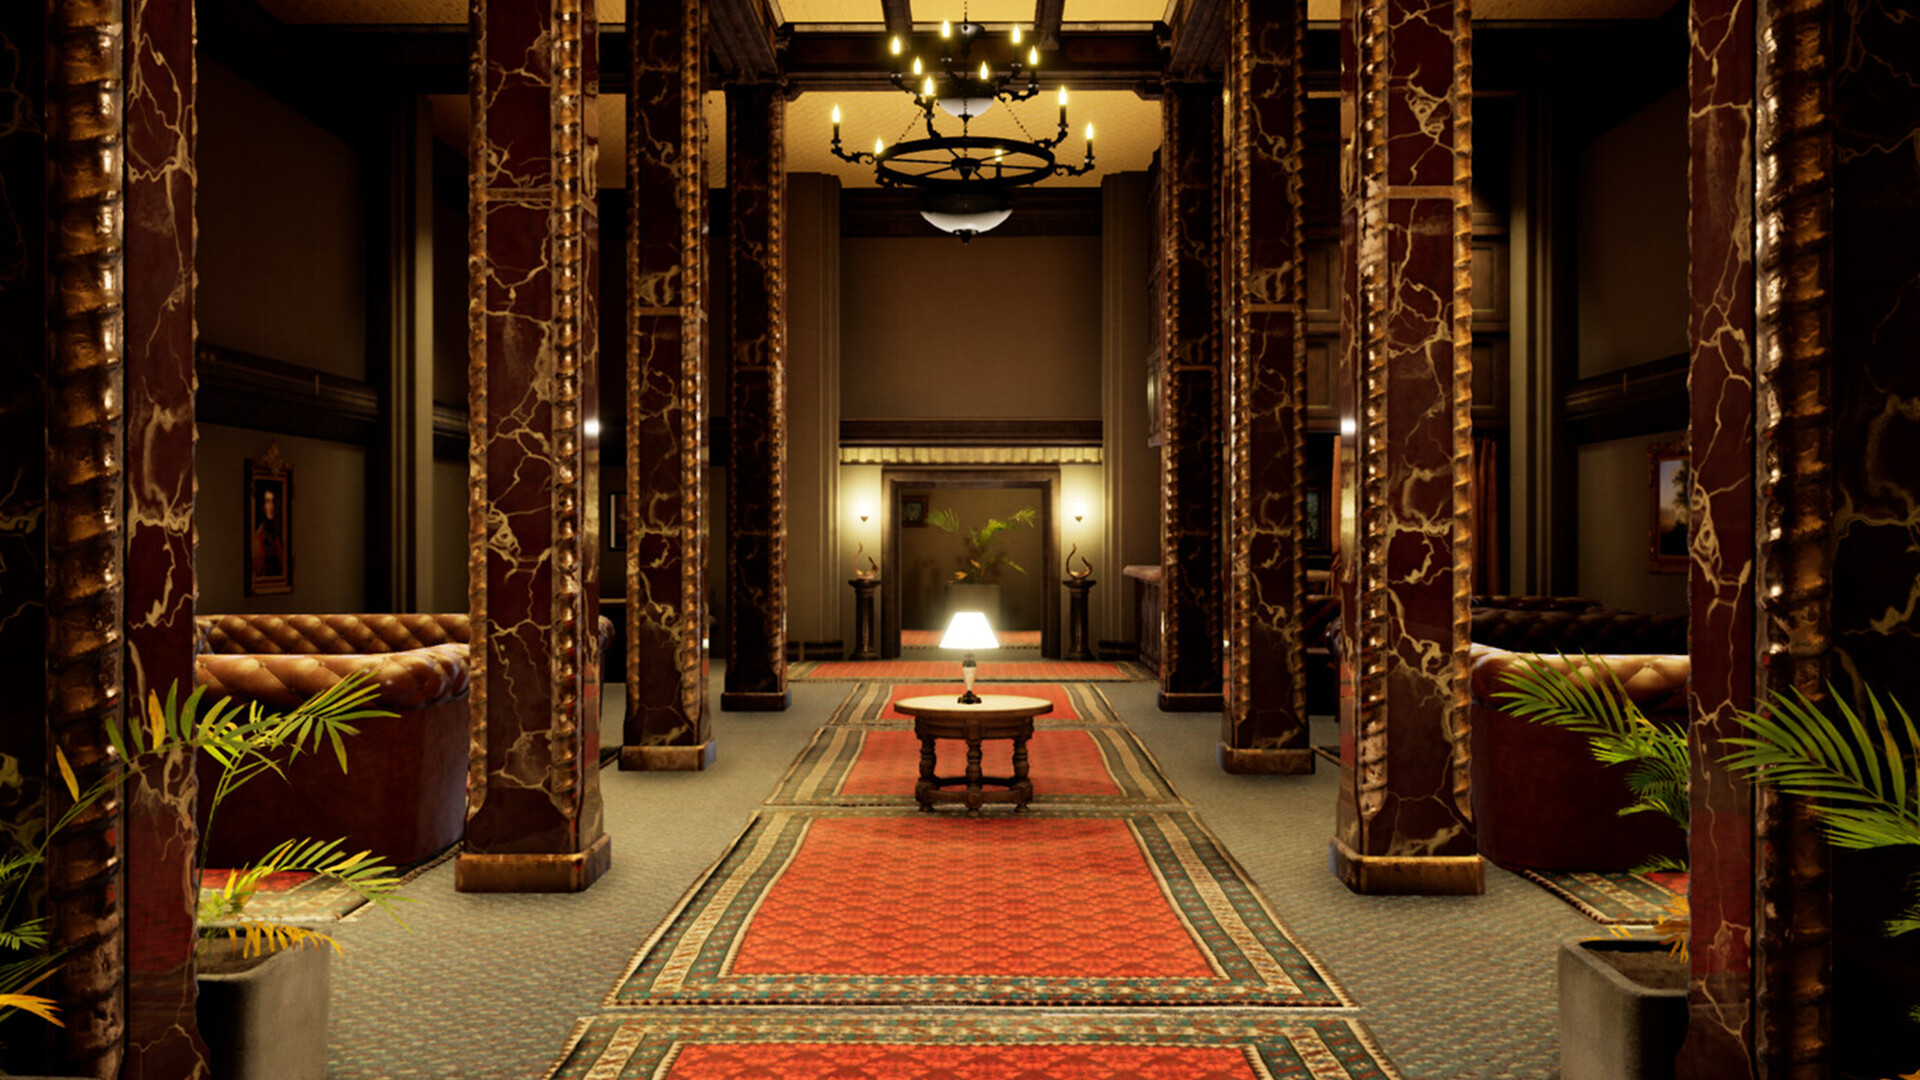
Terror Hotel is the first "real" test. You land in a dilapidated art deco lobby, complete with a reception desk and a floor map. The golden rule: never run in the hallways, the Deathmoths (giant moths) detect sprinting. Walk, keep your flashlight pointed at the ground, and above all, listen for the sound of wingbeats.
To progress, you need to collect three keys from the numbered rooms and reach the final door. The mandatory step that stumps most groups on their first run is the desk in the vault room: the code to enter on the keypad is 235. It corresponds to the room number written on the guest card found in front of a corpse on the first floor. Write it down on physical paper — short-term memory quickly betrays you in co-op.
- Rooms to visit: 202 (battery), 214 (Almond Water), 235 (guest card with the code).
- Classic trap: the fake door 237 triggers a pointless jumpscare that attracts the Deathmoths — leave it closed.
- Co-op: two players stay at reception to open the curtains, the other two go find the keys.
Level 5 — Lights Out: dealing with absolute darkness
After the Terror Hotel lobby, you plunge into Lights Out, a maze devoid of any ambient light. This is the level where your flashlight literally becomes a matter of life and death: keep the batteries charged and avoid turning on multiple light sources at once, so as not to give away your position to the Smilers entities.
The central puzzle involves finding an electrical panel hidden behind a wooden pallet, then restoring power to three breakers scattered around the area. Each breaker lights up a portion of the maze: follow the glow, never cut through the darkness. A player can also throw a Glowstick on the ground to create a marker and scare off a Smiler for a few seconds.

Level 6 — Thalassa: the sunken city
Thalassa (also called "Lost City") is a semi-flooded labyrinth resembling flooded ancient baths. The water slows you down, reduces your torch's range, and attracts an aquatic Smiler. Objective: find the drainage valve to partially drain the central room, then pass through the grate at the back.
The valve is hidden behind a cracked pillar to the west; you can break the crack with a rock picked up in the first corridor. Once the water level drops, an additional corridor opens up: it's the only path to the next portal. Two rules:
- No jumping into deep water: your stamina drains and you'll sink.
- Drinking the Almond Water temporarily reduces the camera shake caused by the humidity.
- Co-op: one player stays at the valve while another triggers the airlock opening — the door closes again if no one holds the lever.
Level 7 — Caverns: caving without a rope
The Caverns form the first truly vertical segment. You descend into limestone caves, with real branching choices. The correct path is marked by symbols painted in white on the walls — the others lead to dead ends where Wretches lurk, entities that are blind but very fast to react to sound.
Two passages trip everyone up: the narrow crevice (crouch, don't sprint) and the underground river where you have to jump from rock to rock. Always count your teammates before entering the narrow tunnel that follows: the door closes automatically after ten seconds. Bring at least one Face Mask per player to withstand the mushroom spores present in the last room before the exit.
Level 8 — Suburbs: the deceptive calm
After the dampness of the caves, Suburbs plunges you back under a synthetic blue sky, in an empty housing development. It's the most peaceful area… on the surface. A Skin Stealer is hiding in one of the gardens and mimics your teammates: a player calling you by a slightly altered nickname, a voice repeating the same phrase, a friend "frozen" on the porch — three warning signs.
The exit is a cellar hatch in house number 12, but you can't open it without the keyring hidden under the doormat of house 4. The most efficient shortcut: two players go fetch the keys, while two others mow the virtual lawn on repeat near house 12 to lure out the Skin Stealer and visually confirm it before it infiltrates the group. Once the hatch is open, go down together: the house collapses after the last player enters.
Level 9 — Field of Wheat: staying grouped in the wheat
Field of Wheat is cosmetically stunning — a golden field stretching as far as the eye can see under a setting sun — and diabolically treacherous. Visibility at ground level drops to a few meters, stamina drains fast while sprinting, and a Partygoer (a smiling humanoid silhouette) runs in the same direction as you, silently. The strategy that works every time: keep a human chain, one player up front spotting the bell tower, the others behind with a hand on their back (via the V proximity chat key).
The bell tower is your beacon: it gives the absolute direction to the exit. You need to circle around it, collect three Wheat Bundles that fill a wheelbarrow at the base of the tower, then climb into the trapdoor that opens. One trap: the wheelbarrow empties itself after a minute — sync your harvesting so one player pushes the wheelbarrow while the others drop off bundles.
Level 10 — The City: nightmarish urbanism
The City is the largest map in the game: a maze of nighttime streets, broken neon signs, and windowless facades. Three entities patrol here: the Skin Stealers return, the Wretches lurk in the subways, and a boss called The Watchman tracks you from the rooftops. Voice cooperation really comes into its own here.
Progression follows three mandatory checkpoints:
- The central square with a fountain — grab the map of the underground network on the north bench.
- The subway station: go down and follow the rails to the generator room (watch out for Wretches).
- The skyscraper rooftop: accessible via the fire escape of the building marked with a red "OPEN" neon sign. Once at the top, a ghostly helicopter serves as a portal to Level 11.
Never stay still for more than ten seconds under a burnt-out lamppost: it's the Watchman's favorite spot to swoop down on you.
Level 11 — Run For Your Life: the final sprint
Run For Your Life is Escape The Backrooms' showpiece sequence. One rule only: never stop moving. A massive Chaser pursues you down an endless corridor of shifting zones (yellow carpet, piping, library, computer room), and a player left behind is lost for good. Set your FOV to maximum, disable head-bob in the options, and empty your inventory of heavy items beforehand.
The level strings together four arenas — you just need to hold on, jump over obstacles, slide under bars, and avoid holes. At the end, a narrower tunnel drops you in front of the real final boss, with very tight timing to put on a Face Mask and endure the gas. Once you get past it, the "true ending" credits roll. A quick co-op tip: if a player falls, never go back for them — they lose their run, but the team carries on.

The Level 37 bonus: the Terror Hotel's secret trigger
Level 37 ("The Poolrooms clone") is a bonus level added with the Hotel update. It can be reached without going through the other levels: from Level 4, enter room 218, flip the painting hanging on the wall, then press the bathroom switch three times. A door appears in the service corridor, leading to the famous white tiled pools.
Level 37 is purely contemplative: no entity, no strict puzzle, but trapped passages that send you back to Level 0 if you fall into a bottomless pool. It's the best place to test co-op in "tourist exploration" mode and unlock several Steam achievements, notably the one for synchronized swimming with four players.
Toolbox, co-op tips and pre-Level 4 checklist
Even before stepping through the door of the Terror Hotel, prepare your inventory and your team. Here are the priority items to grab in Level 3, with their main use and the key level where they'll make the difference:
| Item | Main use | Key level |
|---|---|---|
| Electric torch + spare batteries | Lighting, dodging the Smilers | Levels 5, 7, 10 |
| Almond Water | Restores sanity, reduces camera shake | Levels 4, 6, 9 |
| Face Mask (respirator mask) | Filters fungal spores and toxic gases | Levels 7, 11 |
| Glowsticks | Ground light marker, keeps the Smilers away | Level 5 |
| Notebook or shared memory | Note down the 235 code and The City's map | Levels 4, 10 |
On the organization side, a few rules avoid most co-op wipes between Level 4 and Level 11:
- Proximity voice chat: favor in-game voice, disable Discord during critical sound segments (Lights Out, Field of Wheat) since spatial audio rendering is essential.
- Ping system: mark useful items on the ground with the default key Q, everyone sees the marker immediately.
- Stable host: launch the game from the most powerful machine, enable "dedicated server" if you're four players — latency drops noticeably and entities stop teleporting.
- Clean saves: never quit via Alt+F4, as it resets your level progress. Always use "Return to Lobby" from the pause menu.
Escape The Backrooms really becomes demanding starting from Level 4: at every stage, a lack of anticipation costs the whole team a game over. Keep this guide handy to find the 235 code, the Thalasso valve or the hidden trigger in room 218. The rest of the campaign (Levels 94, Fun, End) and the five alternate endings are covered in our other French guides; combined with this Levels 4 to 11 walkthrough, they let you discover the true canonical ending of the game in a single evening with four players — without ever having to look for an English-language tutorial between two terrifying sequences.
Share this article
Who is your sworn enemy among Lights Out, Terror Hotel, and Suburbs?
Frequently asked questions
Where do you find the 235 code at Terror Hotel?
On the guest card lying in front of a corpse on the first floor, near the front desk of the vault room. The room number written on this card corresponds to the code to enter on the keypad to open the vaults and progress.
Why should you never sprint in the early levels?
Deathmoths (Level 4) and Smilers (Level 5) detect fast movements and running noises. Walking quietly with your flashlight pointed at the ground remains your best cover.
What is the most common trap at Suburbs (Level 8)?
The Skin Stealer that imitates your teammates — a slightly distorted username, a voice repeating the same phrase, a frozen friend. The strategy: draw the entity out before it infiltrates by keeping two players near house 12.
What must you absolutely do at Field of Wheat?
Keep a human chain with a hand on the back of the player in front (V key). The bell tower is your only beacon in the field — without this formation, you'll go in circles and your stamina will run out.
Can you go back once you've crossed the portal?
No. The game enforces strict linear progression since the Hotel patch: no backtracking is possible after leaving a level. Always check your inventory before the portal.
Key takeaways
- The 235 code at Terror Hotel (Level 4) remains the first real barrier — write it down on paper, don't rely on short-term memory in co-op.
- Walk, never sprint through Terror Hotel and Lights Out: Deathmoths and Smilers detect the sound of running footsteps.
- Two players handle the levers/valves, two others move forward: this division of tasks saves every hydraulic puzzle.
- The human chain at Field of Wheat (Level 9) isn't optional — it's what separates a clear from a wipe.
- Check your inventory before the next portal: Almond Water, lighter, flashlight, and masks are finite resources.
Comments
No comments yet. Be the first to react!
Leave a comment
Similar guides
Latest articles








Your opinion counts
Rate Escape The Backrooms
Click a star to rate