



 Fabian Lainé


Full Guide
Dead by Daylight: how to counter Jason Voorhees, from Omnipresent Evil to hook spikes
In brief
Jason Voorhees has dominated Dead by Daylight since June 2026, but he hides exploitable weaknesses. His power relies on three distinct phases: invisibility with Omnipresent Evil (where crouching makes you completely undetectable), the offensive teleportation of Fear Surge (which leaves 12 seconds of respite), and ranged hook spikes. Mastering these three mechanics and choosing the right perks turns an oppressive Jason into a regular killer.
Since its arrival on June 16, 2026 with Chapter 40, Jason Voorhees has been sitting at the top of every killer tier list, ours included. Yet the other half of the picture is still missing: how to actually survive against him. His power rests on three very readable building blocks, each with its own quantified blind spots — and one rule that flat-out cancels his detection.
The official French sheet calls him le Mort-vivant (the French-speaking wiki, for its part, keeps le Slasher). His power, Mal omniprésent, blends an ultra-fast invisibility phase, an offensive teleport onto obstacles, and a ranged projectile. As of August 10, 2026, he hasn't received a single balance pass since release: his changelog is limited to patch 10.0.0, his launch patch. What follows therefore remains valid at least until Chapter 41, expected on August 25.
And the least-known point boils down to one sentence: during Mal omniprésent, a crouching survivor cannot be detected by any means whatsoever.
What Jason sees — and above all what he doesn't
When he activates Mal omniprésent, Jason turns invisible, gains Undetectable, and moves at 8 m/s, twice your running speed. The terrain gets covered in fog. In exchange, he loses a great deal: he no longer sees survivors or scratch marks. His vision is limited to two clues, both capped at 16 meters:
- fog clouds, which give away a stationary survivor;
- footprints, which trace the path of a survivor who is walking or running.
Standing still on a generator won't save you, then, and neither will walking. The only truly invisible position is crouching. The price to pay is well known: 1.13 m/s while crouched, versus 2.26 m/s walking and 4 m/s running. In practical terms, as soon as you hear the shift into Mal omniprésent and suspect he's within range, let go of the generator and crouch behind the nearest obstacle for two or three seconds. On open maps, this pause is worth more than fleeing in a straight line: you'd leave a perfectly readable trail of footprints.
A detail few players know: when activating his power, Jason leaves behind a stationary decoy capable of striking within a 1-meter radius, after a 0.35-second delay. Standing right next to him the moment he vanishes isn't free, then. Step back before crouching.
Sursaut de peur: the 12 seconds that decide the chase
Sursaut de peur is his teleport. From Mal omniprésent, he targets a pallet, a breakable wall, or a window within a 16-meter radius (12 meters on the vertical axis) and reappears on it. The consequences depend on the target:
- already-dropped pallet or breakable wall: the obstacle is destroyed;
- standing pallet: it is blocked by the Entity for 4 seconds;
- window: he vaults through it, and it is blocked for 4 seconds.
Upon reappearing, he gains 4.5454% Haste for 25 seconds. That figure may look trivial, but it isn't: Jason is a 110% killer (4.4 m/s), so slower than average, and this Haste brings him back up to 4.6 m/s, the speed of a standard killer. The entire read on the chase hinges on this. Without the bonus, you hold the loops; with it, you lose them.
Second effect: any survivor detected within 16 meters is revealed by Killer Instinct for 4 seconds and screams. Again, crouching excludes you from detection, and therefore from being revealed.
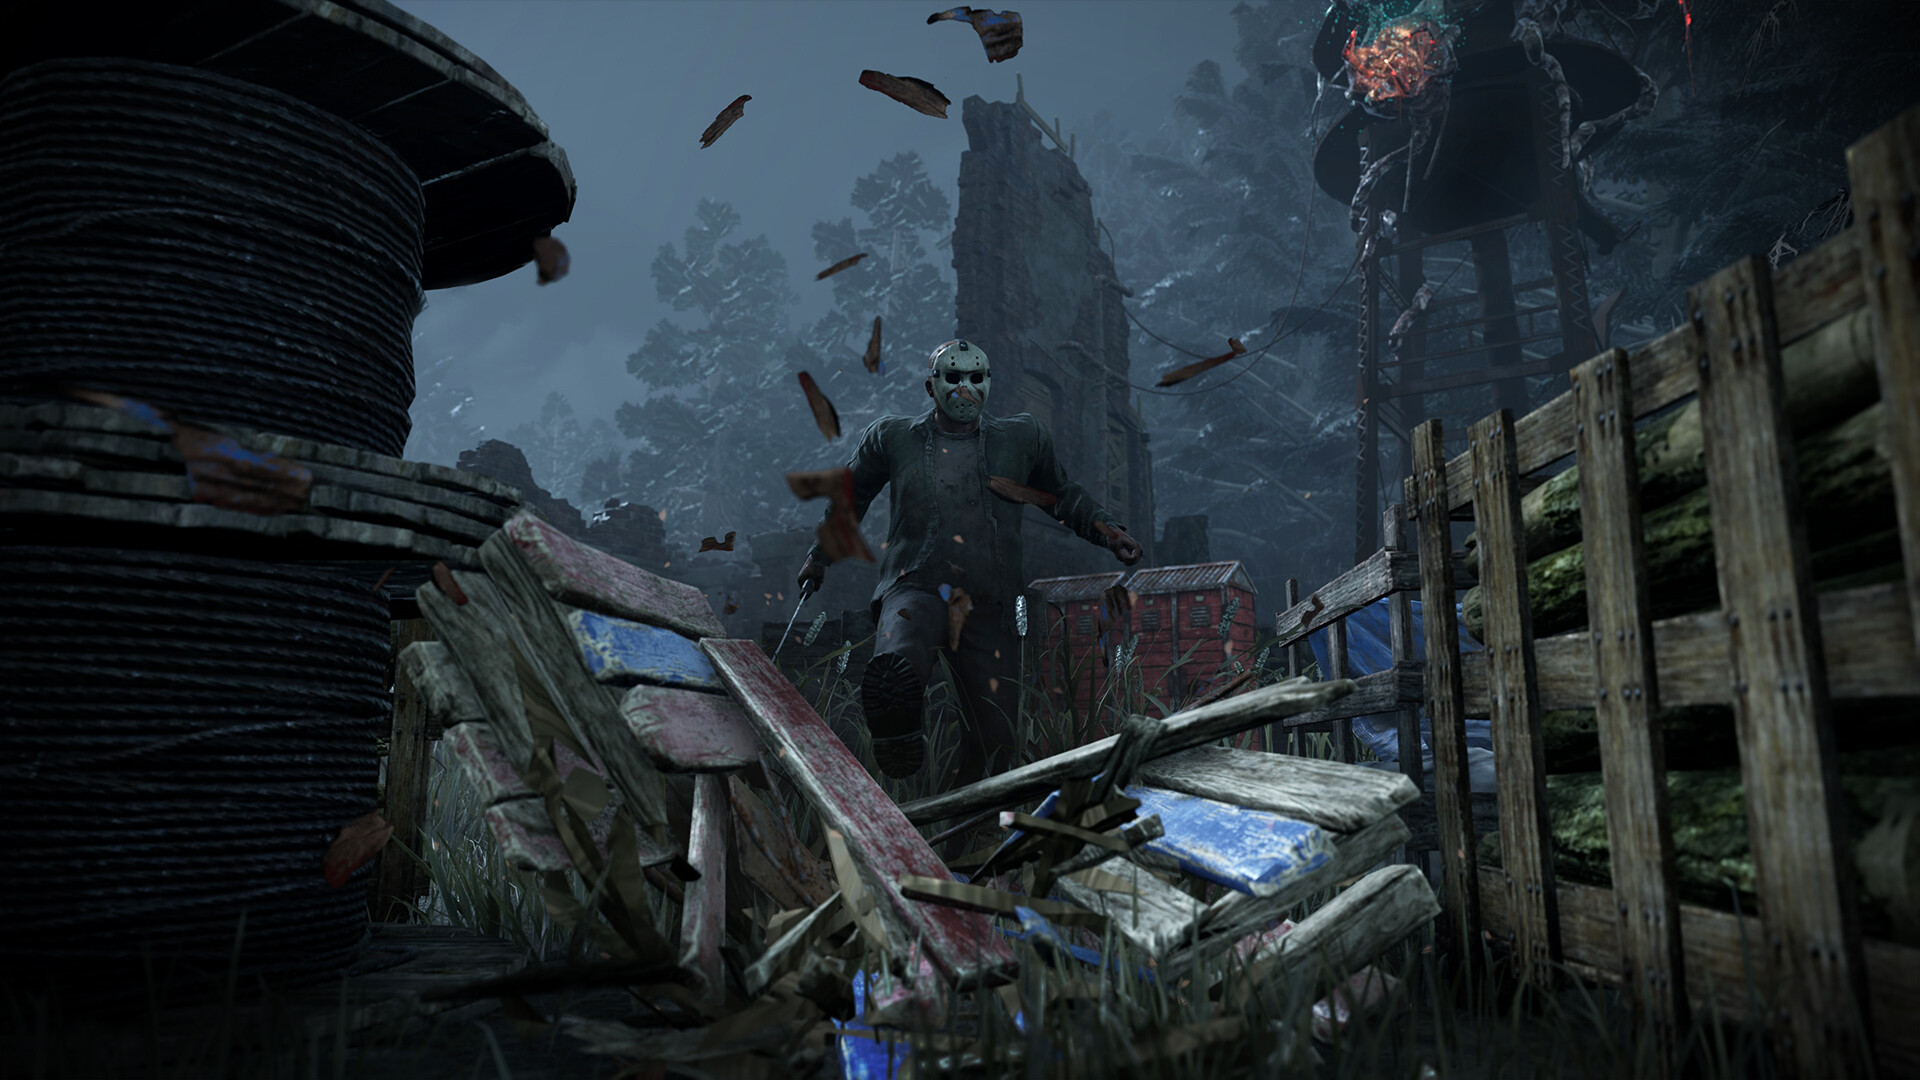
The good news is the pace. A Fear Surge puts Unrelenting Evil on cooldown for 12 seconds. These twelve seconds are your real window: it's the moment to head for a strong tile, not to loop around the obstacle he's just broken. Add to that the execution time — a 2-second activation delay, a 0.5-second lock, a 1.5-second reappearance, then 1 second before he can hit or interact — and you get a small breather upon landing. Don't waste it by standing frozen to "see what he does".
A design consequence worth remembering during a chase: never pre-drop your pallets. A dropped pallet is a teleport point he destroys for free; a standing pallet only gives him a 4-second stun. The same goes for tile windows: chaining vaults near a Jason who has his power available basically hands him your destination.
One last point, decisive for saves: within 16 meters of a hooked survivor, the Fear Surge's reappearance time is tripled to 4.5 seconds. Hook camping is therefore mechanically punished. Get close, force him to teleport, and take the unhook while he's materializing.
Throwing spikes: his real source of ranged damage
Jason starts the Trial with a hook spike. He then picks up more from the 10 scrap piles scattered around the map, or directly from a hook — which temporarily destroys it, until he reactivates Unrelenting Evil. Hooking a survivor also gives him back a hook spike.
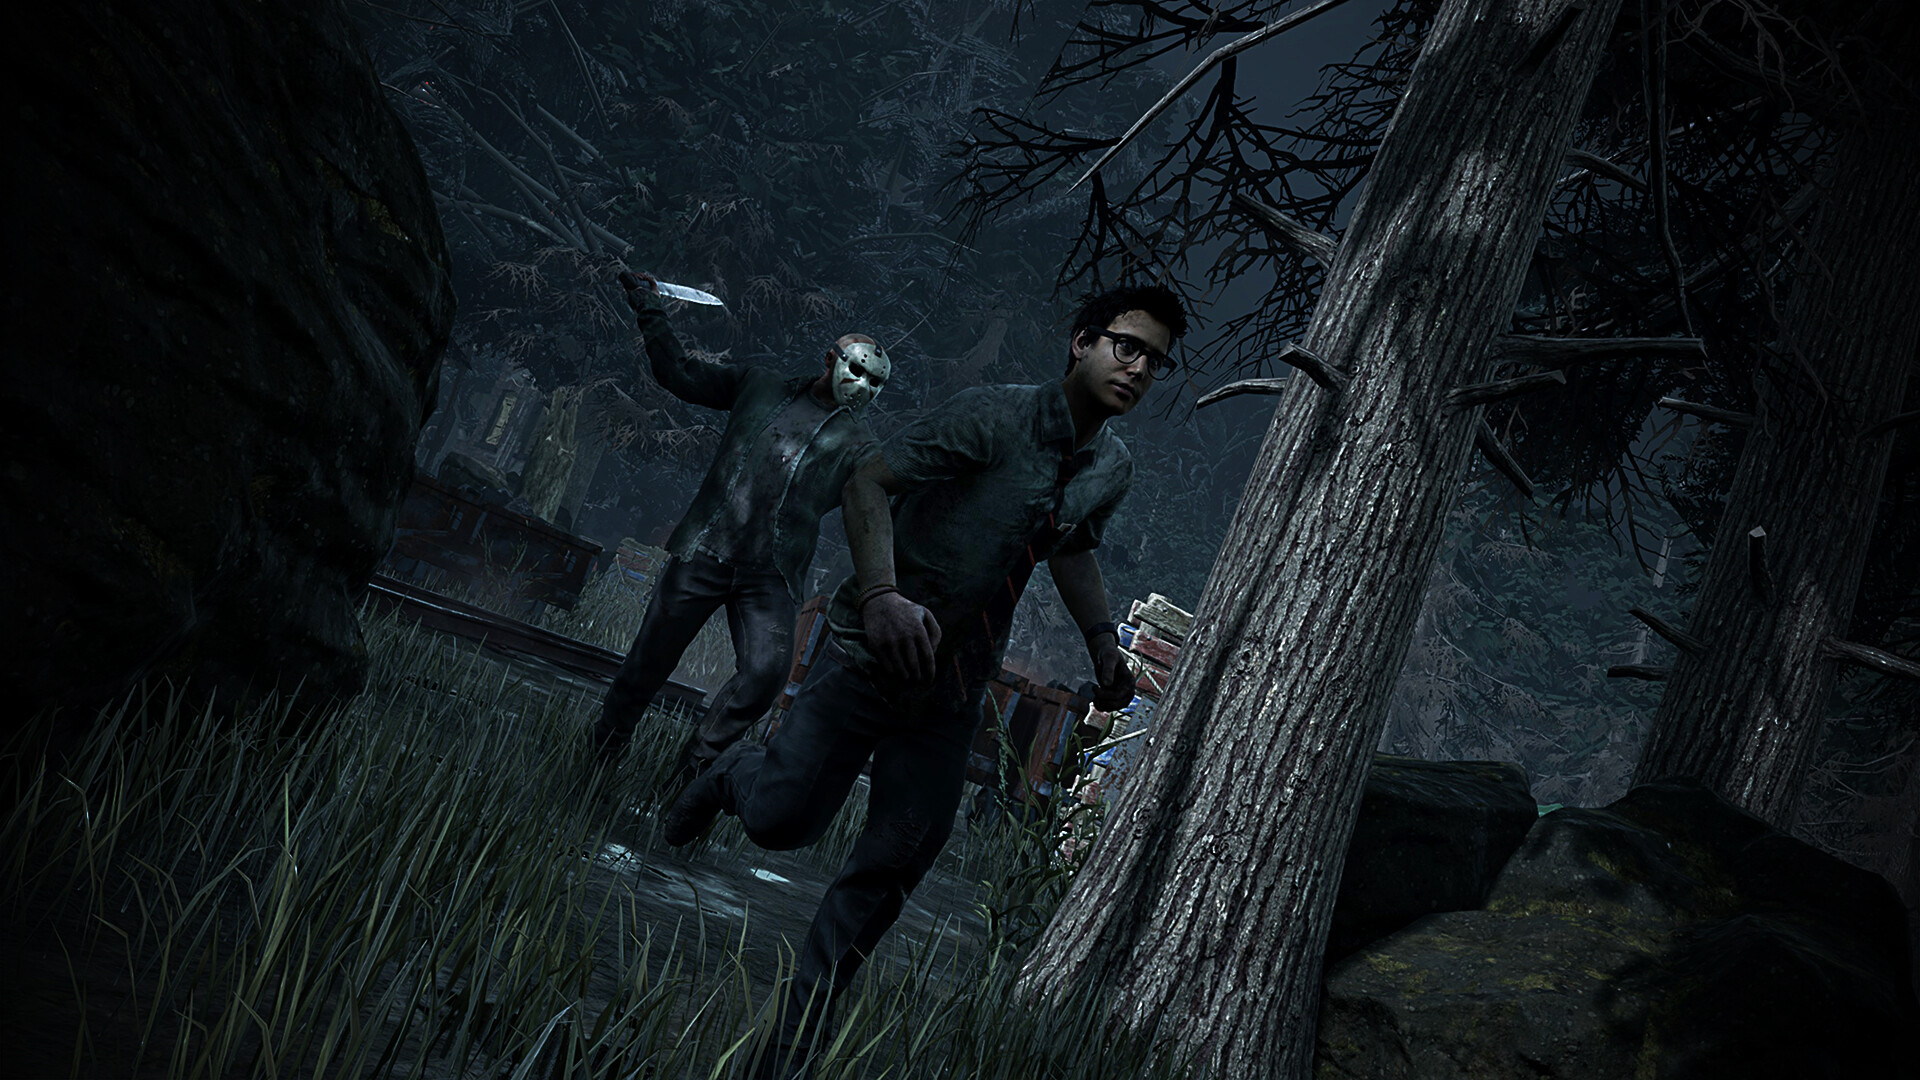
The projectile travels at 42 m/s, but wielding it slows him down significantly: 3.2 m/s while aiming, 2.8 m/s if he cancels, 2 m/s at the moment of throwing. It's the same logic as against a Huntress: at a tile, force him to aim, then cut the angle. A Jason who's aiming is a Jason slower than you.
The effects are brutal and worth knowing before you experience them:
- any spike causes the loss of one health state and launches the target forward;
- a survivor hit by the launched body is injured if they were healthy, or suffers Deep Wound if they were already injured — stop running in a pack;
- a hook spike lodged in a healthy survivor impales them and inflicts Broken until it's removed, which prevents any healing;
- if the launch pins a downed survivor against a wall, they are pinned and completely immobilized.
Three reflexes follow from this. First, a planted spike is removed in 5 seconds and the animation plays out while walking, at 90% speed: don't stand still for it, move toward cover instead. Second, he can see the aura of a planted spike up to 26 meters away — you're a beacon as long as you haven't pulled it out, so extraction takes priority over the generator. Finally, a pinned teammate frees themselves in 8 seconds (15 s if Mini-Mori conditions are met), and since patch 10.0.0 this rescue is no longer considered healing: no healing perk speeds it up.
When you're injured, stay away from walls and rocks. It's the collision that turns a simple down into a full pin — and, at the final hook stage, into a Mini-Mori.
The perks that really bother him (and the false friend)
The names below are those from the French client.
- Vigil: the killer's aura is revealed to you for 3/4/5 seconds with every destructive action. Since Fearmonger destroys dropped pallets and breakable walls, the perk triggers repeatedly against him. It's the best free detector right now.
- Off the Record: the Endurance granted after unhooking lets you absorb a spike, even from range.
- Iron Will: since he loses sight of survivors under Omnipresent Evil, your grunts of pain become his most reliable clue. Suppressing them is worth its weight in gold.
- Lucky Break: spotting the next strong tile at a glance keeps you from locking yourself into an area he's just leveled.
- Second Wind: the 0.5 seconds of Endurance can absorb a spike, but against a projectile traveling at 42 m/s the timing is unforgiving. Best reserved for experienced players.
The false friend here is Calm Spirit. The perk does suppress the scream triggered by Fearmonger, but not the reveal from Killer Instinct: your position still gets exposed. Similarly, Fixated increases walking speed by 10 to 20% — yet walking is precisely what gives you away, since it's your footprints that get you detected. Against Jason, walking speed isn't the useful stat.
What's changing on August 25
The PTB 10.1.0, opened on August 4, touches a rule that directly concerns you as an unhooked survivor: base protections would go from 15 to 10 seconds (Endurance and 10% Haste), with a new 10-second Elusive status added on top, which becomes inactive once all generators are repaired. These are test values, subject to change before Chapter 41 releases on August 25. If they go live as they are, the window to absorb a spike right after a rescue will shrink by a third: you'll need to unhook closer to cover.
The hierarchy of reflexes
Against Jason, the order of priorities is stable: crouch as soon as you suspect him in Omnipresent Evil, keep your pallets standing, take advantage of the 12-second cooldown after each Fear Surge, immediately remove a hook stab, and never hug a wall when injured. The first four points cost nothing in perk slots — they only require discipline. The rest of the time, remember that he runs at 4.4 m/s: on a decent tile, without Speed, you're the one with the advantage.
Share this article
Against Jason, would you rather slowly farm while crouched or risk fleeing in a straight line?
Frequently asked questions
How do I avoid being seen by Jason during Omnipresent Evil?
The only truly invisible position is crouching. Footprints and fog clouds give you away, but a crouched survivor emits neither. As soon as you hear it activate, drop what you're doing and crouch behind the nearest good obstacle.
Why shouldn't I pre-drop my pallets against Jason?
A dropped pallet is an easy target for his Fear Surge: he destroys it for free and it's gone. A standing pallet only forces him to spend 4 seconds breaking it. Save your resources for real chase moments.
What should I do during the 12 seconds while Omnipresent Evil recharges after his Surge?
That's your real window. Instead of staying near the obstacle he just destroyed, run to reach a strong tile. Jason comes out of his respawn with a slight Haste that fades after 25 seconds, so those first 12 seconds are your only edge.
What should I do if a hook spike is stuck in me?
Pull it out while walking (5 seconds) rather than standing still. Jason sees your aura up to 26 meters away, so generating it recharges afterward, not during. And if you're near a wall, move away: the collision can fully immobilize you or trigger his Mini-Mori on the last hook.
Which perk should I pick to really annoy him?
Vigil is currently the best free detector: it triggers repeatedly with every Surge destruction. Bite the Bullet and Iron Will also play their part, but Vigil is by far the most useful against him.
Key takeaways
- Crouching during Omnipresent Evil makes you invisible to Jason, who only sees footprints and fog clouds from moving survivors.
- Every Fear Surge leaves a 12-second cooldown: that's your window to reach a real tile instead of circling the obstacle he's destroying.
- Never pre-drop pallets against him, since a dropped pallet simply becomes a free teleport point that he demolishes.
- A planted spike marks you at 26 meters, so pull it out while walking toward cover rather than staying on your generator.
- Vigil is your best free detector: it triggers repeatedly with every Fear Surge destruction.
Comments
No comments yet. Be the first to react!
Leave a comment
Similar guides





Latest articles








Your opinion counts
Rate Dead by Daylight
Click a star to rate