



 Alexandre Jollier

Quarantine Zone: The Last Check - The tools and how they work
In brief
Quarantine Zone: The Last Check puts you in the role of an inspector tasked with diagnosing the infected at Checkpoint Alpha. Discover the game's eight progressive diagnostic tools, from the thermopulsometer to the matioscope, and the essential strategies for mastering survivor inspection and containing the zombie virus outbreak.
In Quarantine Zone: The Last Check, as you play an inspector at Checkpoint Alpha, you play a crucial role in the fight to contain the progression of the zombie virus. Every choice you make can therefore have virulent repercussions on the epidemic, and the mission you'll have to carry out is built around mastering the diagnostic tools that will gradually be entrusted to you.
The diagnostic tools and how to use them
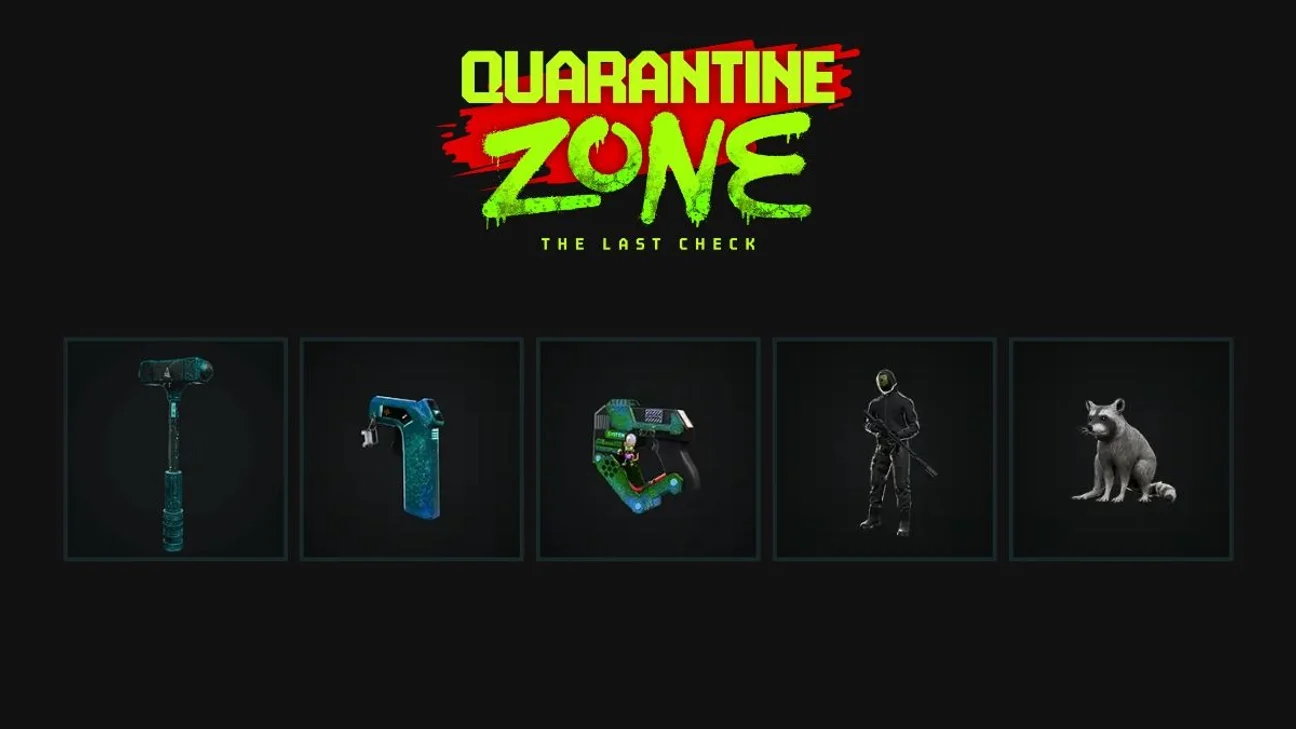
The game offers you eight main tools in the equipment wheel ("Q" key). Each tool will appear on a given day as the campaign progresses, while Endless mode gives you access to all the tools from the start.
The Thermopulsometer (Day 2): This device measures the survivors' vital signs. Values above 41 degrees (temperature) or 180 beats (pulse) may signal a possible zombie virus contagion. It's also worth noting that reflex sneezing or hiccups can occur when temperature or pulse are too high.
The Reflex Hammer (Day 4): Only use it on the arms or legs to try to find the muscle's response. When testing reflexes, slowness or even a weakened response points to the virus. A small precaution: striking the survivor on the head or chest causes damage. A notably low jaw indicates potential muscular reflex problems.
The Scanner (Day 6): some symptoms can be hidden under clothing. The scanner examines our survivors without you needing to undress them (a shame in some cases, perhaps?!). The first tool to check for the absence of bruises, bite marks, scars, and all indicators of a possible infection.
The Stethoscope (Day 9): the virus can cause respiratory problems. As such, the stethoscope allows you to monitor breathing and detect irregularities. Broad waves are telling. Spotted lungs, potential illness and probable infection.
The Syringe (Day 11): This analyzer extracts fluid samples to check for infection. If the fluid turns orange, the survivor is infected. Syringes are single-use and available in limited quantities (but you can obtain more syringes by sending survivors during an evacuation).
The Firearm (Day 13): It must be used against zombies turning in the Survivors' Block or in Quarantine, otherwise you won't be able to stop them from attacking.
Note
Careful, shooting other staff members means game over!
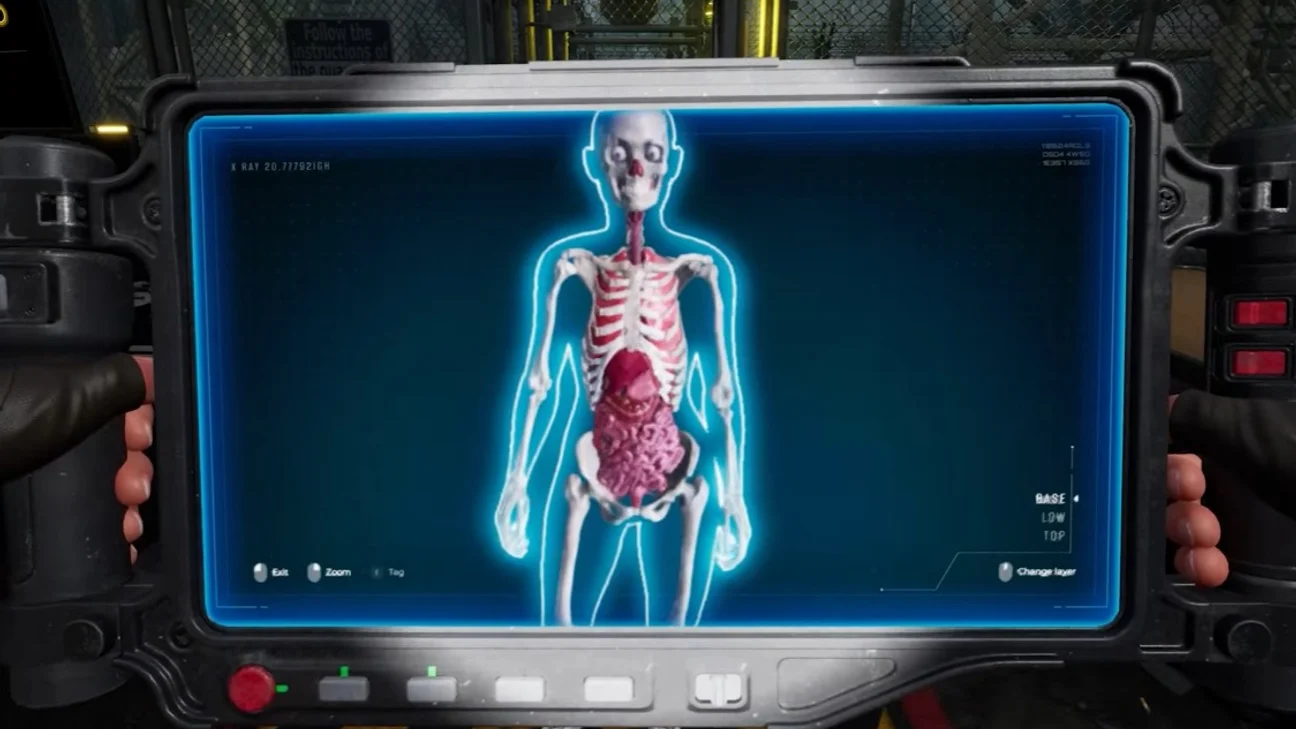
The X-Ray (Day 13): Examine survivors' internal organs to detect any signs of infection. As the virus evolves, some symptoms don't show on the surface. Look for lesions, dark spots and abnormal discoloration of the organs.
The Matioscope (Day 16): it allows you to spot the virus. Zoom in and scan the survivor's retina to detect the presence of eye parasites and anomalies that could confirm infection. When the eyelids droop, the matioscope can confirm the diagnosis.
Effective inspection strategies
Diagnoses become progressively harder. Obvious signs like bloodshot eyes or spotted lungs are no longer enough to declare a survivor's elimination. From one patient to the next, these multiple symptoms, whether known or not, must be uncovered by confirming infected cases at the Laboratory.
In case of doubt, Quarantine is there to check the survivor's symptoms and possibly discover new ones. Any sign of infection should lead to Quarantine. Confirmed cases of infection imply elimination or transfer to the Laboratory to enrich your diagnostic knowledge.
You shouldn't overlook the Internal Smuggling feature, accessible through Charlie on Day 15. Several patients attempt to smuggle in contraband items, and dealing with it involves security risks for the Block's survivors. You must be wary both of infection and of smugglers' activity!
Share this article
Which aspect of Quarantine Zone: The Last Check appeals to you the most?
Frequently asked questions
What are the first tools available in the game?
The thermopulsometer arrives on day 2 to measure vital signs, followed by the reflex hammer on day 4, which tests muscle reflexes. Endless Mode, meanwhile, grants immediate access to all tools from the very start.
How can you tell if a survivor is infected using the thermopulsometer?
A temperature above 41 degrees or a pulse exceeding 180 beats indicates possible contagion with the zombie virus. Symptoms such as sneezing or hiccups may also appear alongside these elevated readings.
What sets the scanner and the X-ray apart?
The scanner examines the surface of the body to detect bruises, bite marks, and scars without needing to undress the survivor. The X-ray, on the other hand, reveals infections of internal organs that are otherwise invisible, such as lesions and abnormal discoloration.
Why is quarantine important?
Quarantine allows you to verify the symptoms of a suspect survivor and uncover new signs of infection. Any doubt about a patient's condition justifies placing them in quarantine before liquidation or transfer to the lab.
What are the risks associated with syringes?
Syringes are single-use and available in limited quantities, but you can obtain more by sending survivors away during an evacuation. They remain essential for analyzing fluids and confirming infection through their color shift to orange.
Key takeaways
- Eight diagnostic tools are progressively unlocked throughout the campaign, each revealing new symptoms of infection.
- The thermopulsometer detects possible contagion above 41°C temperature or 180 pulse beats.
- Mastering the scanner and X-ray is crucial for identifying bite marks and internal lesions invisible to the naked eye.
- Quarantine should always be used in case of doubt to confirm or discover new symptoms of infection.
- Be careful not to confuse threats: vigilance is required against both the virus infection and internal smuggler activity.
Comments
No comments yet. Be the first to react!
Leave a comment
Similar guides
Latest articles







Your opinion counts
Rate Quarantine Zone: The Last Check
Click a star to rate