



 Fabian Lainé


Full Guide
Path of Exile Curse of the Allflame: the Kinetic Blast Necromancer starter build guide — passive tree, ascendancy, and endgame rush (3.29, 2026)
In brief
The KB Necromancer is the go-to starter for Curse of the Allflame thanks to its ultra-smooth leveling curve through the campaign and its massive scalability via Corpse Pact. This guide covers the entire endgame rush: a passive tree commented step by step, priority ascendancy, gems and supports for every slot, minimal gear, and the chaos transition as early as the first week.
Launched on August 1, 2026, the Curse of the Allflame league (patch 3.29) of Path of Exile 1 puts the spotlight back on hybrid projectile / summoner builds. Among the five starters selected by Maxroll for this league launch, one comes out on top of every tier list: the Kinetic Blast Necromancer, commonly known as KB Necro. It combines the clear power of the Kinetic Blast of Clustering wand with the massive attack speed scalability of the Necromancer ascendancy via Corpse Pact. The result: a very smooth leveling curve through the campaign, an endgame rush achievable in roughly thirty hours, and a solid ceiling once switched to Chaos Inoculation. Here's the complete guide to laying out your 123 passive tree points, choosing your active gems and support gems, and clearing Voidstones as early as the first week.
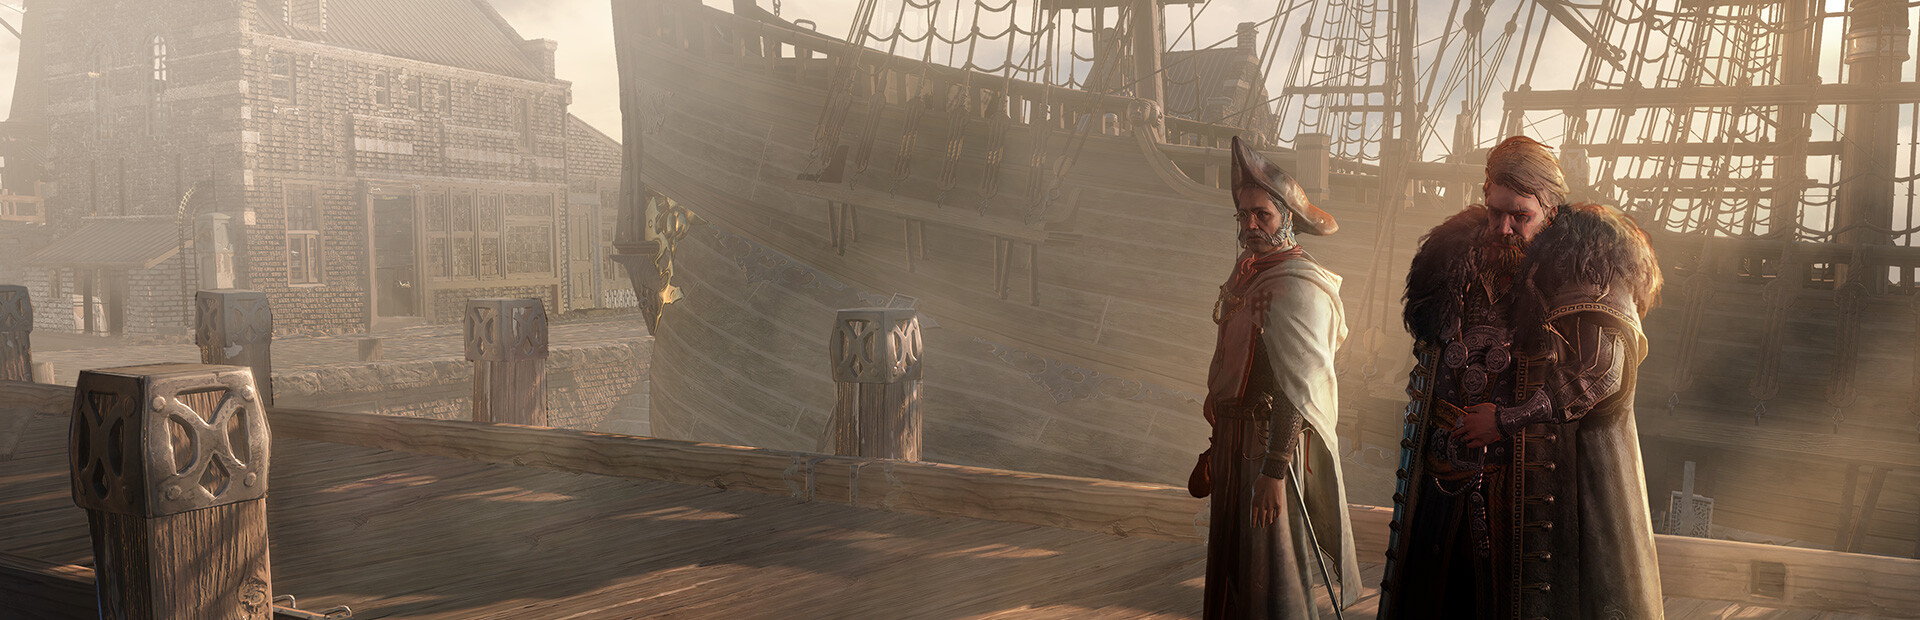
The concept: Kinetic Blast + Necromancer, cast on hit chain
Kinetic Blast is a skill exclusive to wands (ranged mage staves): each shot triggers AoE explosions around the point of impact. Its alternate variant Kinetic Blast of Clustering, obtained via Divine Font, replaces the random spread with a tight pattern around the projectile — perfect for improved single target and clean mapping.
The KB Necro build's bet rests on three pillars:
- Corpse Pact (ascendancy): each recently consumed corpse grants 4% increased Attack and Cast Speed, which stacks up to 200% attack speed during packs.
- Spellslinger + Desecrate + Volatile Dead: the setup auto-generates and consumes corpses on every KB shot, keeping Corpse Pact looping without mana pressure thanks to Spellslinger.
- Overwhelming Malice (medium cluster jewel): converts part of the physical damage into chaos via Unholy Might and applies Wither, shifting the build toward an extremely profitable chaos scaling endgame.
This trio explains why Maxroll and much of r/pathofexile point to KB Necro as the best Witch starter this league: zero uniques required for the campaign rush, a chaos pivot as soon as a medium cluster is obtained for ~100 chaos, and a CI (Chaos Inoculation) transition accessible as early as the second week.
The Necromancer ascendancy: the 4 priority nodes to pick
The four ascendancy points are taken in a strict order, based on Labyrinth runs:
- Commander of Darkness (Normal Lab): an aura that grants +30% all resistances and increased damage. Cap your resistances immediately, which frees up several affixes on your campaign gear.
- Corpse Pact (Cruel Lab): the signature node. 4% increased attack and cast speed per recently consumed corpse, plus shock/chill application around created corpses. This is mandatory.
- Plaguebringer (Merciless Lab): increased AoE after consuming a corpse and reduced damage taken for mobs near a corpse — a free defensive layer for mapping.
- Flexible point 4 (Uber Lab): Essence Glutton for ES and mana regen if you're going toward CI, Huntleader for a permanent Farrul buff if you're running Headhunter, or Mistress of Sacrifice if you're increasing Bone Offering's frequency.
On the pantheon side: Soul of the Brine King as major for chained stun/freeze immunity, and Soul of Aberrath as minor for burning ground immunity (essential from red maps onward with the Volatile mod).
Phase 1 passive tree (level 1-40): the first 100 points
The pathing starts on the Witch side and heads down toward the wand clusters through Templar. Goal: reach Act 10 with ~85 points, capped resists, 1,500 Life, and a first 5-link.
- Wandslinger and Fusillade (Templar / Duelist side): the two fundamental wand clusters, to be taken by the end of Act 2. They provide attack speed, added lightning damage, and projectile damage.
- Heart and Soul and Discipline and Training (Witch start): your first big block of Life and mana, essential during the campaign.
- Elemental Overload keystone: to allocate around level 30 for a 40% more elemental damage buff without investing in crit.
- Blood Siphon and life clusters around Marauder: your route down toward the second half of the tree.
By the end of the campaign, you should aim for 4,500 Life, 200% increased attack speed globally, and 75% all resistances. If you don't have these numbers, farm one or two Act 7-8 runs to finish your gear before moving on to maps.

Phase 2 passive tree (level 40-90): cluster jewels and final jewels
From level 68 onward (entering maps), priority shifts to two areas: block cap and cluster jewels.
The first goal is to cap attack block and spell block at 75%. This is achieved through the Testudo and Aegis nodes on the Witch/Scion side, combined with a rare shield with a 40%+ block suffix. This cap cuts your exposure to one-shots by a third, which compensates for a relatively modest Life pool before the CI pivot.
The second goal is to slot in three cluster jewel sockets:
- An Overwhelming Malice medium cluster (base crit strike): the key item that triggers chaos conversion and Wither application. Watch for it at ~100 chaos in the first few days.
- An Assert Dominance medium cluster for density farms (Legion, Delirium).
- Two small cluster jewels with Enduring Composure (endurance charges on block) for a layer of physical mitigation.
The last 10 points remain flexible: Heart of Darkness if you're already on chaos scaling, Deep Thoughts for more mana in preparation for CI, or the Melding mastery for suppression bonuses.
Active gems and support gems: full setups by slot
Here are the 6 links to build, in order:
- Main hand (6L body armour): Kinetic Blast of Clustering + Physical to Lightning + Lightning Penetration + Faster Attacks + Elemental Damage with Attacks + Inspiration. After obtaining Overwhelming Malice, replace Physical to Lightning and Lightning Penetration with Void Manipulation and Sacred Wisps — unless you're running Headhunter (Void Manipulation degrades HH explosions).
- Wand (3L): Herald of Thunder + Herald of Ice + Precision level 21 for crit and AoE clear.
- Helmet (4L): Spellslinger + Desecrate (level 1) + Volatile Dead (level 1) + Spell Cascade. The combo that keeps Corpse Pact up automatically on every shot.
- Boots (4L): Spellslinger + Flame Wall + Tornado + Hydrosphere. Boss proc setup to multiply your hits.
- Gloves (4L): Bone Offering + Sigil of Power + Frost Shield + Assassin's Mark. Bone Offering gives you a layer of block, Sigil and Frost Shield are your boss buttons.
- Shield (3L): Blood Rage + Withering Step + Shield Charge (movement).
Two rules to remember: keep Desecrate and Volatile Dead at level 1 so Spellslinger costs next to no mana, and don't forget Blood Rage post-Kitava — frenzy charges are worth 4% attack speed each.
Base league start gear: weapons, armour, jewellery, flasks
The priorities are simple: the wand accounts for 60% of your DPS, the shield accounts for 60% of your defence, and everything else balances resistances and Life.
- Wand: base Kinetic Wand (fastest attack speed), craft with Deafening Essence of Zeal on ilvl 74+ for T1 local attack speed and flat lightning. Target: 380+ pDPS after essence.
- Shield: base Titanium Spirit Shield, craft Deafening Essence of Loathing for T1 block. Target: 40%+ block, 90+ Life, resistances.
- Body armour: hybrid Evasion/ES (Sanguine Raiment), T2+ Life, resistances, spell damage as a luxury. Six-link for ~200 chaos in the first week via SSF bench crafting or trade.
- Helmet: Crown of the Inward Eye (mid-game unique) then a rare hybrid ES/EV with an elevated suffix for a helmet mod.
- Rings: two Foulborn Kikazaru at the CI transition. Before that, two rares with Life + resist + flat elemental damage to attacks.
- Amulet: Whispers of Infinity anointed with Aggressive Bastion (endurance charge on stun) as long as block isn't capped, then Force of Darkness once you move into chaos scaling.
- Belt: Prismweave early, Bated Breath or Foulborn Auxium pre-CI, Mageblood or Headhunter at the ceiling.
- Flasks: Quicksilver + Silver (movement), Topaz of Warding, Life flask anti-bleed, Life flask anti-freeze. With Mageblood, replace the Life flask with a Ruby and a Sapphire.

The endgame rush: Atlas → Voidstones → Ubers in 30 hours
Here's the optimal plan for speedrunning your Atlas progression in the first week:
- Hours 0-10: campaign 1 → 10 (Kitava). Cap resist at Act 5, take Precision and Herald of Thunder as early as Act 4, and trade almost nothing — your drops will be enough.
- Hours 10-15: white maps + Cruel Lab. Goal: open up the entire central Atlas to unlock the Legion, Betrayal and Delirium mechanics.
- Hours 15-20: yellow maps + Merciless Lab. Prioritize the Kirac missions and Scouting Reports branch of the Atlas tree for targeted farming.
- Hours 20-25: red maps + Uber Lab + first Overwhelming Malice cluster. You need to kill Sirus and The Maven for your first two Voidstones.
- Hours 25-30: Elder + Shaper for the two remaining Voidstones. Full T17 Atlas unlocked. First Uber attempt (Sirus Uber or Maven Uber as priority to make the most of Awakened Sextants).
For Uber bosses, build up to at least ~7,000 ES, add Melding of the Flesh with a Topaz Flask for a pool equivalent to 90% lightning resist, and keep Sigil of Power + Frost Shield as manual buttons.
The mid-game upgrade: Mageblood? Headhunter? Watcher's Eye?
Once you've got your first Voidstones, the question becomes: where should you put your first 100 Divine Orbs?
- Watcher's Eye Clarity (10% mana as ES) at 20-50 Divine: it's the best ES-per-slot ratio in the build, to be picked up first, even before thinking about the belt.
- Mageblood at 80-120 Divine: total flask flexibility, shock/freeze/ignite immunity via suffixes, plus an extra layer of attack speed via Silver. The safest pick if you're playing a mix of bossing and mapping.
- Headhunter at 100+ Divine: the pure mapping pick, exceptional in Delirium and Legion where rares pour in. Watch out: incompatible with Void Manipulation (HH explosions are physical). Only pick this if you're farming Wandering Path, Legion, or Blight-Ravaged.
On a medium budget (30-50 Divine), an Ashes of the Stars anointed with Force of Darkness rivals Whispers of Infinity and unlocks +2 gem level, which is huge on a Spellslinger setup.
Conclusion: when to pivot to an endgame build after KB Necro
KB Necro holds up perfectly well for the first league and covers 95% of the content — Uber Sirus, Uber Maven, Uber Elder, Simulacrum wave 30, Delve depth 600, Feared, Formed. However, it hits a ceiling in three very specific ecosystems: Uber Uber Elder (5-way with Cortex), T17 farming with Shaper of Storms mods, and Simulacrum wave 30 HC SSF grinding — in these contexts, a higher-ceiling build such as a Hierophant Kinetic Fusillade Ballista, a Miner, or an LS Slayer becomes more efficient.
The good rule of thumb: pivot once you hit 8,000 ES + Mageblood + Watcher's Eye and you're already farming Divines by the hour. Below that, every Divine invested in KB Necro pays off more than a reroll would. Good league, Exiles.
Share this article
Are you playing KB Necro this league or trying out another starter?
Frequently asked questions
Why KB Necro and not another projectile build?
Because Corpse Pact + Spellslinger creates an automatic loop that fattens your attack speed at no mana cost. Other projectiles (Arc, Galvanic Arrow) don't benefit from this synergistic effect — KB is plug-and-play for the campaign, and scalable in the endgame.
When should I farm for Overwhelming Malice?
As soon as you enter red maps (week 2-3). The cluster costs about 100 chaos early league and doubles your chaos DPS. It's the pivot point: before it, you farm with the elemental setup (Physical to Lightning + Lightning Penetration); after it, you become a true chaos scaler.
How much Life before CI and how do I transition?
Aim for 6,000-7,000 Life in a hybrid evasion/ES setup during white and yellow maps. Once you've hit the block cap (75% attack and spell block) and the clusters are in place, you craft CI onto a jewel or an item: you'll lose 30% Life, but you'll gain passive ES and chaos immunity.
How much mana does the Spellslinger setup really cost?
With Desecrate and Volatile Dead at level 1 on Spellslinger, about 30-40 mana per cast. At 150-200% attack speed, that comes out to roughly 6,000-8,000 mana/sec: comfortably covered by a level 12 Clarity + level 21 Precision + regen on gear.
Key takeaways
- Corpse Pact (Cruel Lab) is the fundamental node: each corpse consumed = 4% attack speed, up to 200% during packs.
- The Spellslinger + Desecrate + Volatile Dead combo automatically maintains Corpse Pact without costing mana, freeing up your resources for KB.
- Overwhelming Malice (medium cluster) converts physical into chaos for as little as 100 chaos: this pivot transforms your endgame and justifies the build's scalability.
- The tree is split into two phases: campaign (Life + basic attack speed up to 4,500 HP) then maps (75% block cap + cluster jewels for chaos scaling).
- Zero uniques required to finish the campaign, first week transition to Chaos Inoculation possible with roughly 1,200 chaos invested in total.
Comments
No comments yet. Be the first to react!
Leave a comment
Similar guides




Latest articles








Your opinion counts
Rate Path of Exile
Click a star to rate