



 Fabian Lainé


Tips
Lifmunk Statues and Statue of Power in Palworld 1.0: our guide
In brief
Lifmunk Statues and the Statue of Power form the heart of your early progression on Palpagos. The first system boosts your capture rate, the second strengthens your Pals through Pal Souls — two distinct but complementary mechanics that this guide demystifies for new trainers.
On Palpagos, two progression systems coexist and often confuse new Palworld trainers. On one side, the Lifmunk Statues, those small green idols scattered by the hundreds across the forests and ruins of the archipelago. On the other, the Statue of Power, a stone altar you either build yourself or discover deep inside the old abandoned churches of the PIDF Cult. These two mechanics don't serve the same purpose, but they share the same offering point and together form the backbone of your power progression over the first fifty hours of play.
This guide is aimed at players starting out in version 1.0, released yesterday on Steam. It details the mechanic, the locations, the costs and the investment priorities to avoid wasting precious resources.
Two mechanics, one altar
First, let's clear up a point that trips up many new players: the Lifmunk Statues and the Statue of Power are two completely different objects. The former are collectible consumables found on the map, small figurines resembling the grass-type Pal Lifmunk (sometimes called Ticureuil in certain French translations). The latter is a structure you must stand in front of to spend your offerings.
In practice, you first collect your Lifmunk Statues during your explorations, then return to a Statue of Power to offer them. This same statue also serves a second purpose: strengthening your Pals' stats using Pal Souls. One altar, two separate menus.

Lifmunk Statues: boosting your capture rate
When you throw a Pal Sphere at a wild creature, the game calculates a success percentage based on the target's remaining health, the quality of your Sphere, and a personal modifier called Capture Power. It's precisely this last parameter that Lifmunk Statues boost.
Each offering raises your Capture Power rank, up to a maximum of rank 14 according to 1.0 data. In concrete terms, reaching the cap requires offering roughly 353 cumulative Lifmunk Statues, with the cost per tier climbing as you progress: the first ranks only cost one or two statues, but the last ones demand dozens of offerings at once.
Tip: don't spend your first Lifmunk Statues carelessly. Wait until you've built or found your first Statue of Power, then climb straight to rank 3 or 4: these tiers cost little and already significantly increase your capture chances on weaker Pals.
Where to find Lifmunk Statues on Palpagos
The 1.0 map contains several hundred Lifmunk Statues, more than enough to reach the maximum rank without needing to collect them all. They have the great advantage of being easy to spot: they're small green idols that emit a greenish glow visible from afar, especially at night.
The areas with the highest density of Lifmunk Statues are as follows:
- The ruins and ancient temples scattered across Azure Hill and Windswept Hills;
- The beaches and cliffs around the starting point, often tucked between two rocks;
- The interior and surroundings of the abandoned PIDF Cult churches, each housing several figurines;
- The high ground of the island, where climbing with a flying Pal lets you spot several at a glance.
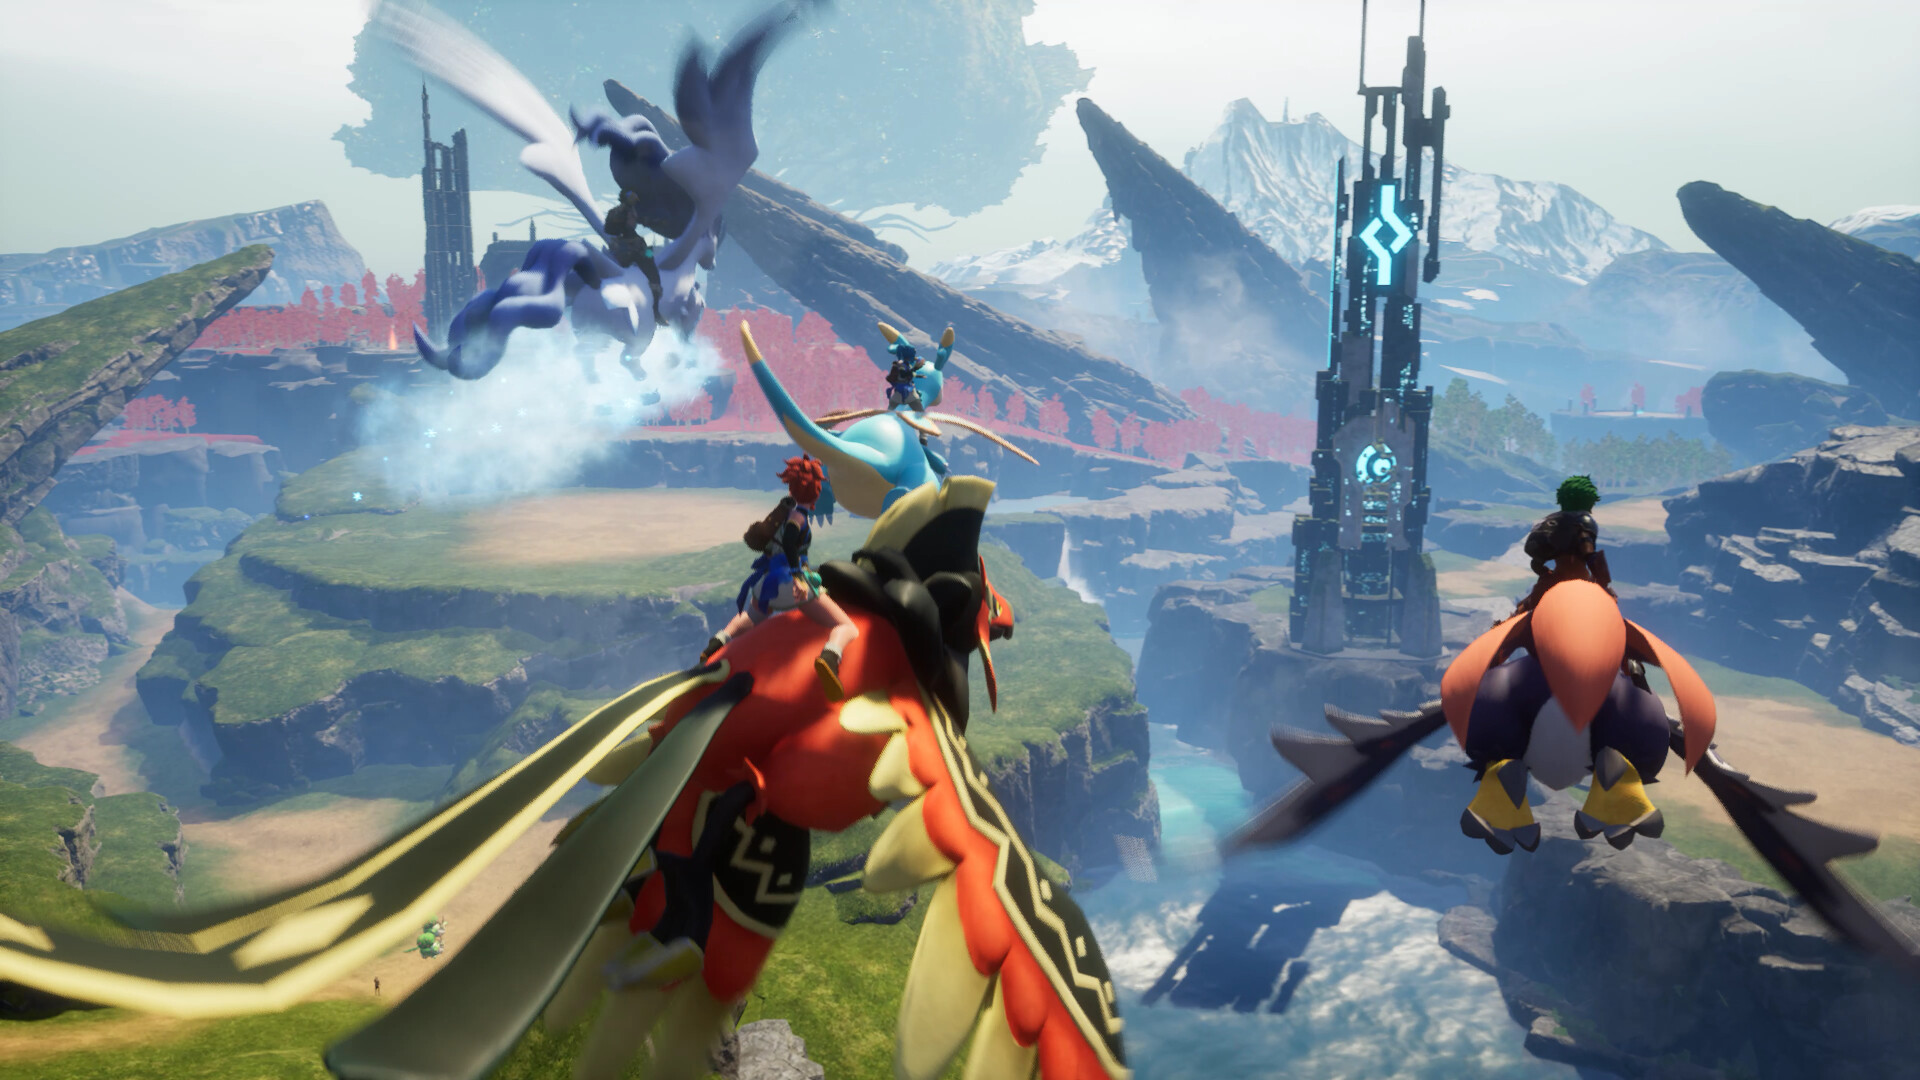
Consider playing at night to maximize visibility, and gain some altitude with a winged mount Pal to sweep an area in a matter of seconds.
Building and using the Statue of Power
You have two options for placing your offerings. The first is to build your own Statue of Power at your base: the blueprint unlocks at level 6 for two technology points, and the structure then costs 20 Stone and 10 Paldium Fragments. It's trivial to produce and saves you back-and-forth trips.
The second is to use the Statues of Power already present in the abandoned PIDF Cult churches. There are four major ones scattered across the archipelago, notably in the church ruins of Forgotten Island northeast of Azure Hill, in those of Sea Breeze Island southeast of Small Settlement, in the Deserted Church east of Rayne Syndicate Tower, and in the ruins of Marsh Island to the northwest.
Note: Statues of Power are interchangeable. The Capture Power rank you build up is tied to your character, not to a particular statue. So you can make offerings at any of them.
In front of the statue, a menu opens with two options: Enhance player's capture power (via Lifmunk Statues) and Enhance Pals (via Pal Souls). Neither option costs gold coins, contrary to a persistent rumor in the French-speaking community.
Pal Souls: strengthening your companions
The second function of the Statue of Power lets you improve four stats on any of your captured Pals:
- Max HP — the health bar;
- Attack — damage dealt in combat;
- Defense — resistance to damage;
- Work Speed — efficiency at your base's production stations.
Each stat tier consumes Pal Souls, a resource classified by rarity and color:
- Small Pal Soul (green, uncommon);
- Medium Pal Soul (blue, rare);
- Large Pal Soul (yellow, epic);
- Ultimate Pal Soul (gold, legendary), reserved for the very last tiers.
The game allows you to merge several small souls into a bigger one via a dedicated menu, which remains very useful early on, when small souls pile up faster than large ones.

Where to farm Pal Souls
Pal Souls are obtained by defeating or capturing certain creatures, mainly Dark-type or nocturnal Pals. Here are the best targets for a beginner:
- Small souls: Daedream, Nox, Cawgnito, Maraith, Tombat, Felbat. You'll encounter them in numbers at night in the central plains and around caves;
- Medium souls: Helzephyr, a nocturnal flying Pal that lurks in the highlands of the northern part of the map;
- Large souls: Anubis, Necromus and Blazamut, the most rewarding late-game Alpha Pals;
- Reliable bonus: the dungeons scattered across the map nearly all offer Pal Souls as chest rewards, in addition to the final boss loot.
Alpha Pals — those giant versions marked by a crown-shaped icon on the map — remain the most profitable source once you're properly equipped, since a single fight often yields several souls at once.
Tip: always hunt for small souls with a team, including a Pal with a loot rarity boost such as Chikipi or Mau. The soul drop rate is notably more generous with this kind of active passive skill.
Investment priorities for getting started
With two parallel systems, the question becomes: where should you put your first resources? Here's the recommended order for a new player:
- Capture Power ranks 1 to 4 using Lifmunk Statues. The cost/benefit ratio is unbeatable during the first ten hours;
- Max HP and Attack on your main combat Pal, up to around tier 3. This radically transforms fights against Alpha Pals;
- Work Speed on your two or three most-used base workers, to speed up your entire production chain;
- Rank 5 and beyond of Capture Power, once you're regularly hunting rare Pals;
- Defense last: it's useful but less critical as long as you're not tackling the toughest Syndicate Towers.
Ultimate Pal Souls should be kept preciously for your late-game Pals. Never waste them on a Cattiva or a Lamball you'll replace three hours later.
To go further on Palworld
Now that your Capture Power is boosted and your combat Pals strengthened, it's time to face the tougher challenges of Palpagos. Check out our other guides on playnews.gg to round out your progress: our 15-hour starter guide to lay the groundwork, our Pal tier list to choose your workers and fighters, our optimal base and worker Pals guide to industrialize your camp, our guide to the 5 Syndicate Towers to prepare for the major confrontations, and our Alpha Pal hunting guide to efficiently farm your future large Souls. Happy hunting on Palpagos.
Share this article
When you started Palworld, which of these two systems confused you the most?
Frequently asked questions
What's the difference between Lifmunk Statues and the Statue of Power?
Lifmunk Statues are collectible items scattered across the map that boost your Capture Power when offered. The Statue of Power is a structure you stand in front of to do two things: offer your Lifmunk Statues or upgrade your Pals with Pal Souls. It's the same altar, two different menus.
How many Lifmunk Statues do you need to collect to reach the max rank?
You need around 353 cumulative Lifmunk Statues to reach rank 14. Fortunately, the map contains several hundred green figurines, more than enough to reach the cap without collecting them all.
Where can you find Lifmunk Statues the fastest?
The densest areas are the ruins of the Azure Hills and the Windswept Hills, the beaches around the starting point, the abandoned PIDF Cult churches, and the island's highlands. Fly up at night with a flying Pal to spot them via their greenish glow and sweep up several at once.
What order should I follow to upgrade my Pals early on?
Start with Max HP and Attack on your main combat Pal, then Work Speed for your base workers. Leave Defense for later, it's less critical than the other stats early on.
Are ultimate Pal Souls rare?
Yes, very. Save them exclusively for your endgame Pals and never spend them on temporary creatures you'll quickly replace.
Key takeaways
- Lifmunk Statues increase your Capture Power up to rank 14, which improves your chances of catching any Pal.
- A single Statue of Power is enough to progress: build your own at your base or use the ones found in the abandoned PIDF Cult churches.
- Absolute early-game priority: get to Capture Power ranks 3-4 first, it's cheap and changes everything.
- Pal Souls are farmed from nocturnal creatures and Alpha Pals: start by boosting Max HP and Attack on your combat Pal.
- Save your ultimate Souls for your endgame Pals, never waste them on creatures you'll quickly replace.
Comments
No comments yet. Be the first to react!
Leave a comment
Similar guides




Latest articles







Your opinion counts
Rate Palworld
Click a star to rate