



 Alexandre Jollier


Equipment
Palworld 1.0 Ancient Ruins: locations of the best items
In brief
Palworld 1.0's Ancient Ruins are 114 towers scattered across the Palpagos archipelago, each holding a unique fixed reward accessible via a hacking terminal. To optimize your farming, you need to know which zones are the most generous, particularly Feybreak and the Astral Mountains, and prioritize elemental staves, resistance rings and applied skills that genuinely speed up late-game progression.
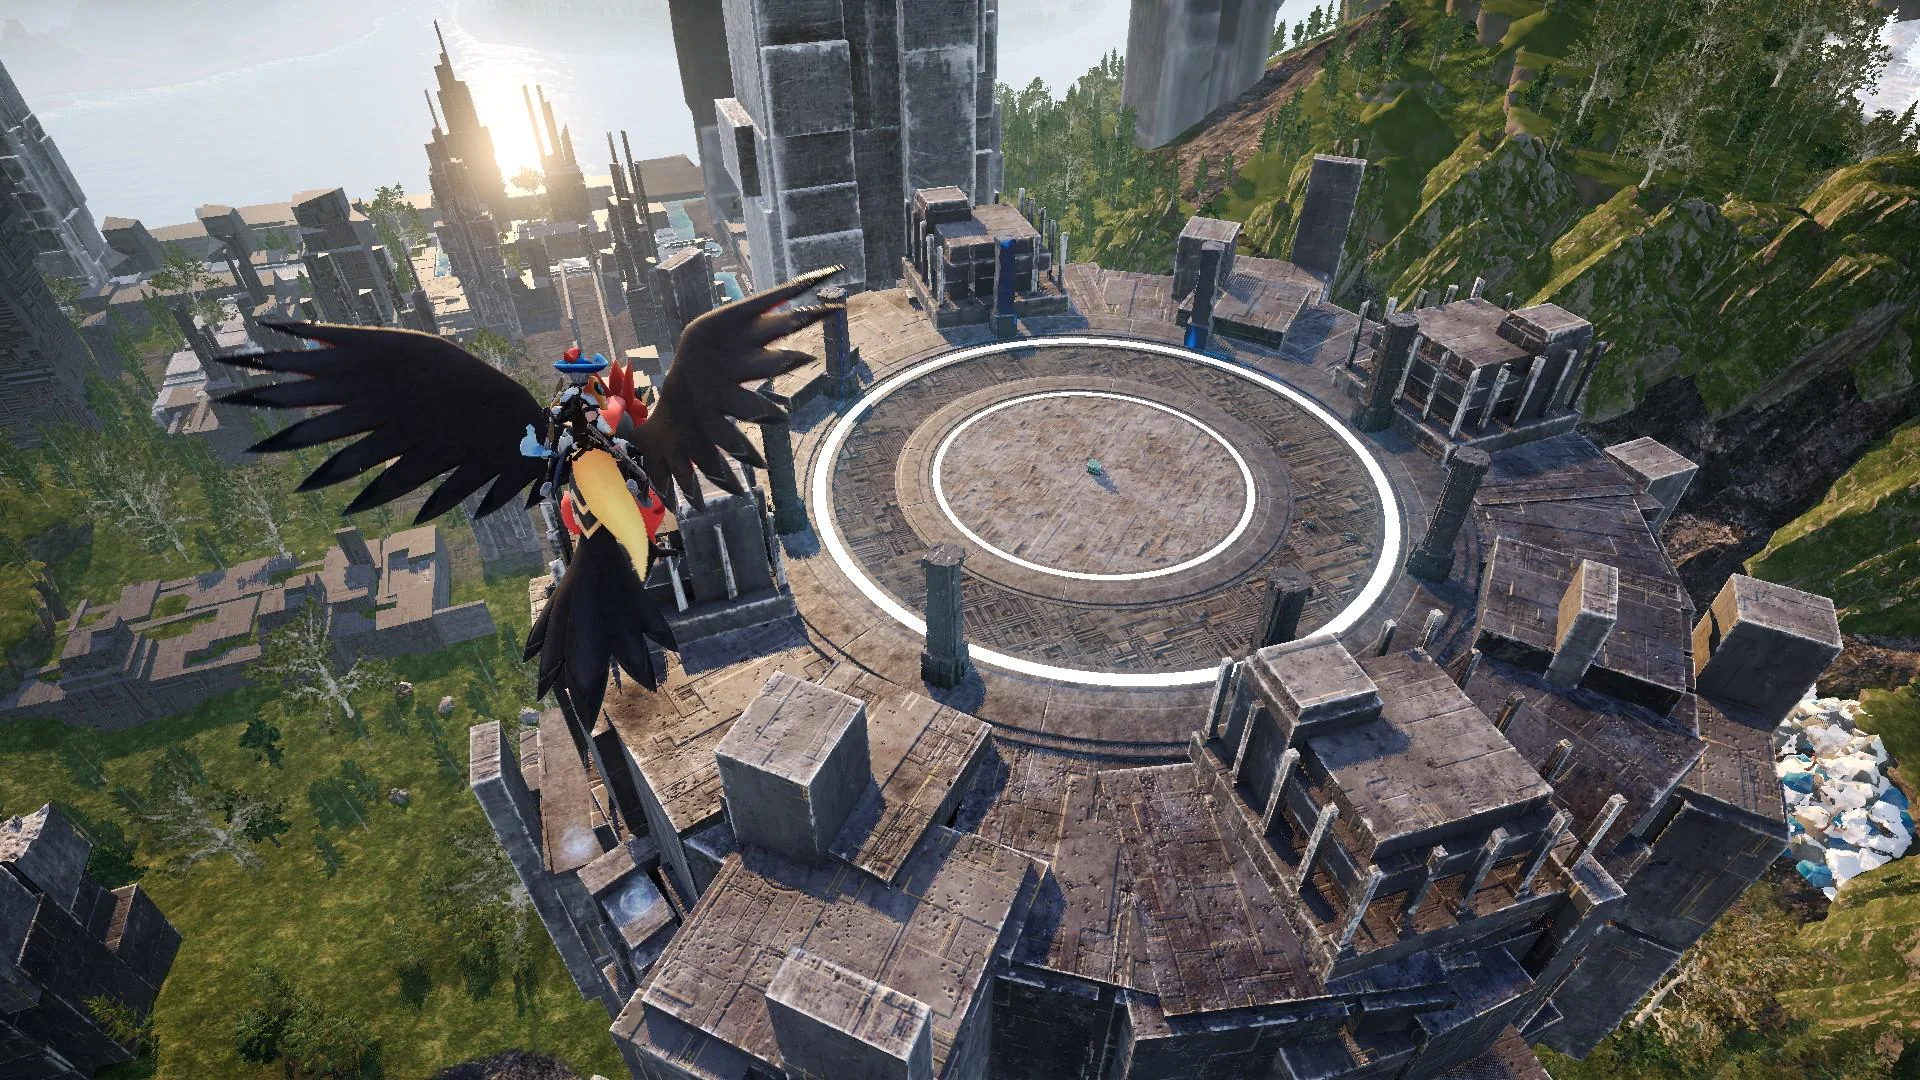
Introduced with Palworld's 1.0 update, the Ancient Ruins are small towers scattered across the Palpagos Archipelago. Each one houses a hacking terminal protected by a puzzle: solve it, and you'll walk away with a unique reward - most often a valuable schematic or accessory. There are no fewer than 114 sites in total. Here's how these ruins work, what kinds of loot they contain, and where to find the most interesting ones.
How the Ancient Ruins work
The principle is simple: spot a tower, go in, then solve the hacking terminal puzzle. Each terminal can only be hacked once and delivers one fixed reward specific to that site - don't expect a random drop. In other words, if you're after a specific item, you'll need to head to the right tower, at the right coordinates.
Some ruins are out in the open, others are tucked away in caves: the latter often hold the most sought-after rewards, such as the Silvegis Emblem on Feybreak Island.
Types of rewards
The 114 ruins cover nine major loot categories:
- accessories: pendants, rings and belts with various effects (attack, defense, weather resistances...);
- applied techniques: they teach or boost a work skill (Cooling, Mining, Watering, Electricity Generation...);
- staves: powerful elemental weapons, such as the Ice Emperor's Staff or the Divine Dragon's Staff;
- elemental rings, tied to a specific Pal (Cryolinx Ring, Faleris Ring, Katress Ring...);
- resistance rings: one per element (fire, ice, water, lightning, grass, earth, dragon, dark, neutral);
- unique implants, which grant a passive skill - for example Runner;
- schematics: blueprints for upgraded weapons and armor (assault rifles, refined metal armor...);
- talismans, associated with a legendary Pal (Jetragon Talisman, Anubis Talisman, Orserk Talisman...);
- support whistles, one per element and per stat.
Where to look: the richest areas
Loot is concentrated in the endgame regions. Feybreak Island is by far the most generous: it's home to the majority of elemental staves and several talismans. The Astral Mountains (Astral Mountains and Sunreach areas) are packed with accessories and applied techniques, while the desert Dunes, Mount Obsidian and Sakurajima mainly offer equipment schematics.
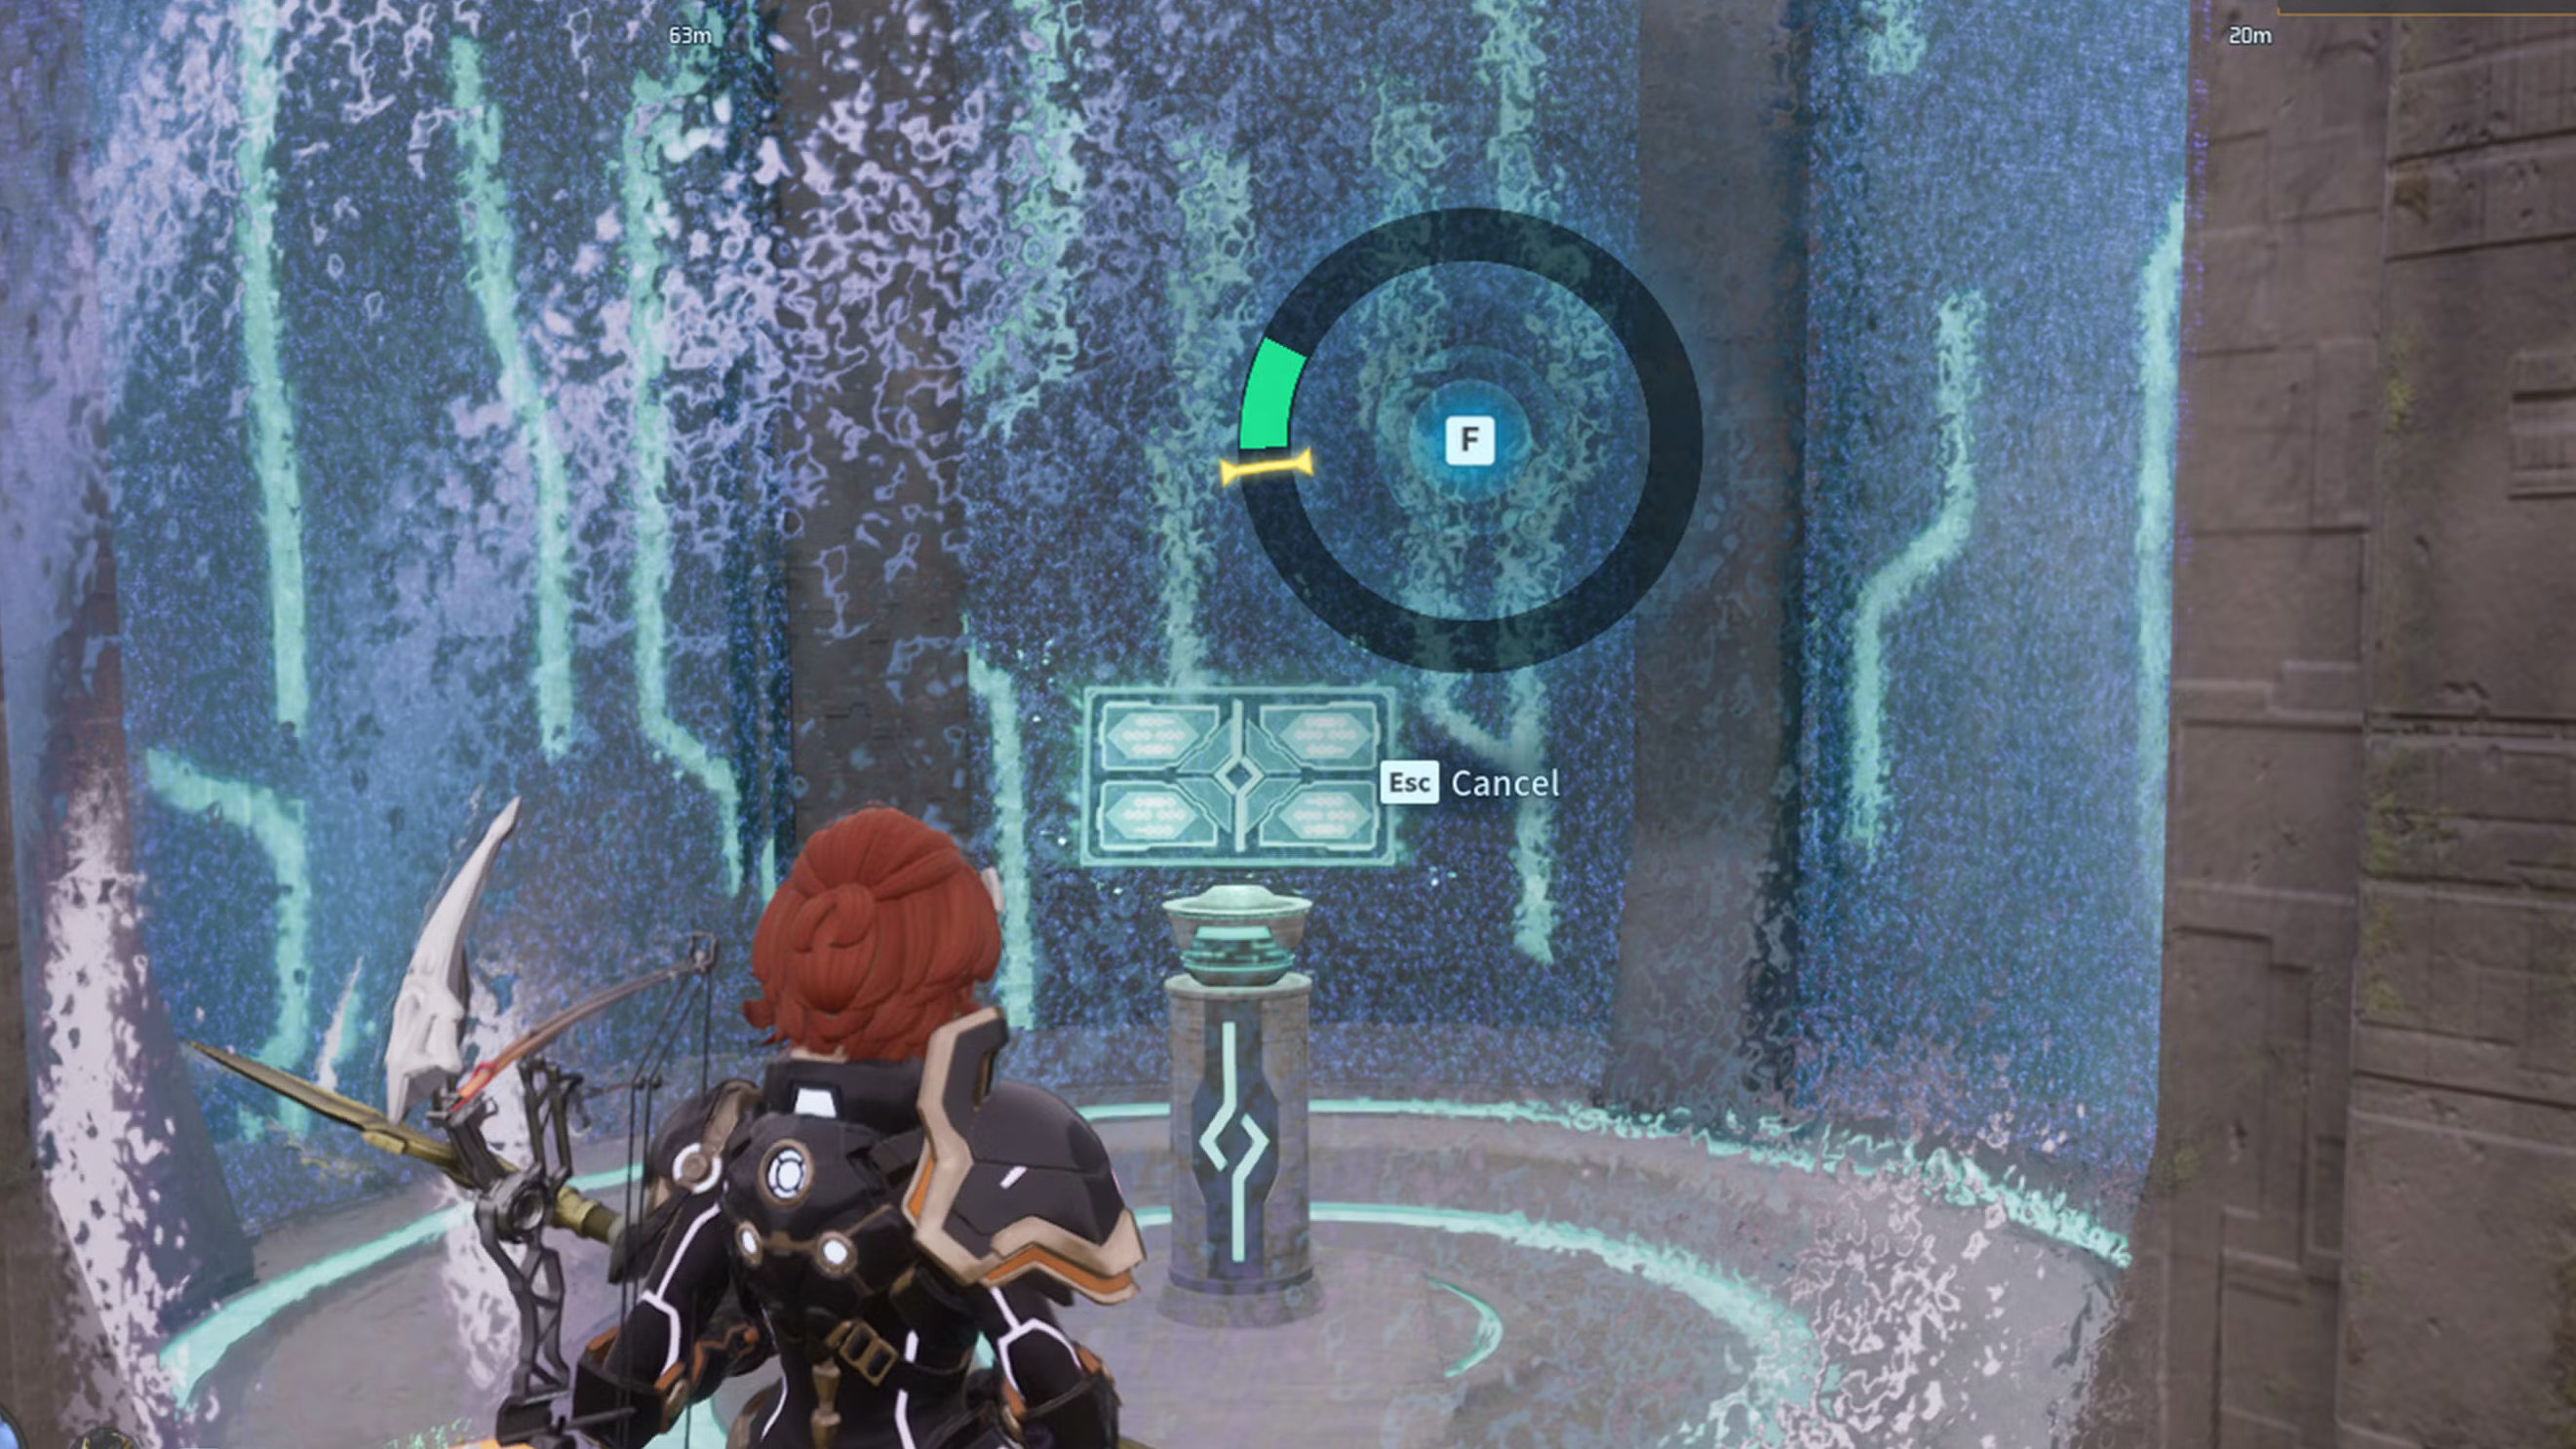
Here's a selection of notable rewards and their coordinates:
| Reward | Type | Region | Coordinates |
|---|---|---|---|
| Silvegis Emblem | Accessory | Feybreak (cave) | -1036, -1146 |
| Air Walker EX | Accessory | Sunreach | -299, -1366 |
| Divine Dragon's Staff | Staff | Feybreak | -1306, -1496 |
| Ice Emperor's Staff | Staff | Feybreak | -960, -1035 |
| Unique Implant: Runner | Implant | Sunreach | -554, -1432 |
| Fire Resistance Ring | Resistance Ring | Mount Obsidian (cave) | -611, -429 |
| Ice Resistance Ring | Resistance Ring | Frostbound Mountain | 239, 114 |
| Jetragon Talisman | Talisman | Feybreak | -1186, -828 |
| Applied Mining Technique | Applied Technique | Sunreach | -462, -1458 |
| Fire Support Whistle | Whistle | Mount Obsidian (cave) | -441, -558 |
Tips for efficient farming
Prepare according to the region: bring cold-resistant gear for the Astral Mountains and Feybreak, and heat-resistant gear for Mount Obsidian and the Dunes. A flying mount is nearly essential for chaining towers together quickly.
Since each reward is fixed, the most efficient approach is to note down in advance the coordinates of the items you're missing, then plan a route region by region. There's no need to loot all 114 ruins at once: target first the elemental staves, the resistance rings and the applied techniques, which genuinely change your endgame progression.
Share this article
Which family of rewards appeals to you most in the Ancient Ruins?
Frequently asked questions
Can I farm the same ruin several times to get the same reward multiple times?
No, each terminal can only be hacked once and delivers its fixed, unique reward. Once the puzzle is solved, that's it for that tower.
Which region holds the best rewards?
Feybreak is by far the most generous: it's where you'll find most elemental staves, several talismans and the Silvegis Emblem. The Astral Mountains excel for accessories and applied skills.
Do I really need to visit all 114 ruins, or can I skip some?
You can largely skip the minor rewards. Prioritize elemental staves, resistance rings and applied skills, which genuinely impact your late-game progression.
Do you need special gear to explore the Ancient Ruins?
Not for the puzzles themselves, but you'll want cold-resistant gear for Feybreak and the Astral Mountains, heat-resistant gear for Mount Obsidian, and above all a flying mount to chain towers quickly without wasting time.
Key takeaways
- Each ruin delivers a fixed reward only once: you need to know exactly where to look for the item you want
- Feybreak concentrates the best loot: elemental staves, talismans and rare emblems, especially in caves
- Prepare thermally according to the region and use a flying mount to chain towers without wasting time
- Nine families of rewards exist: accessories, skills, staves, elemental and resistance rings, implants, schematics, talismans and whistles
- Don't try to farm everything at once: target first the staves, rings and skills that truly transform your strength in the late game
Comments
No comments yet. Be the first to react!
Leave a comment
Similar guides





Latest articles








Your opinion counts
Rate Palworld
Click a star to rate