



 Fabian Lainé

Full Guide
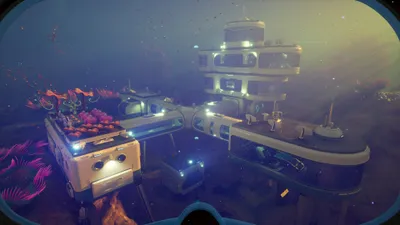
Subnautica 2: Building Your Perfect First Base — 2026 Guide
In brief
Your first base in Subnautica 2 needs to serve two progression zones, not just one. This guide covers the ideal location (Scattered Plains or the Cicada border), the essential structural modules, hull integrity management, and above all the power choice that determines your survival up to hour thirty.
Since Subnautica 2 arrived in Early Access on Steam, Epic Games Store, and Xbox Series X|S in May 2026, one thing hasn't changed from the first game: your base is your life. Except this time, Unknown Worlds has overhauled almost the entire building mechanic, added four-player co-op, and replaced the trusty Seamoth with the Tadpole. As a result, veteran habits are no longer enough. This guide covers the ideal location, the essential modules, the three viable power sources, hull integrity management, and the optimal expansion order to hold out until the deeper depths. The goal: making sure your first base is still useful at hour thirty, not a pile of titanium waiting to be dismantled.
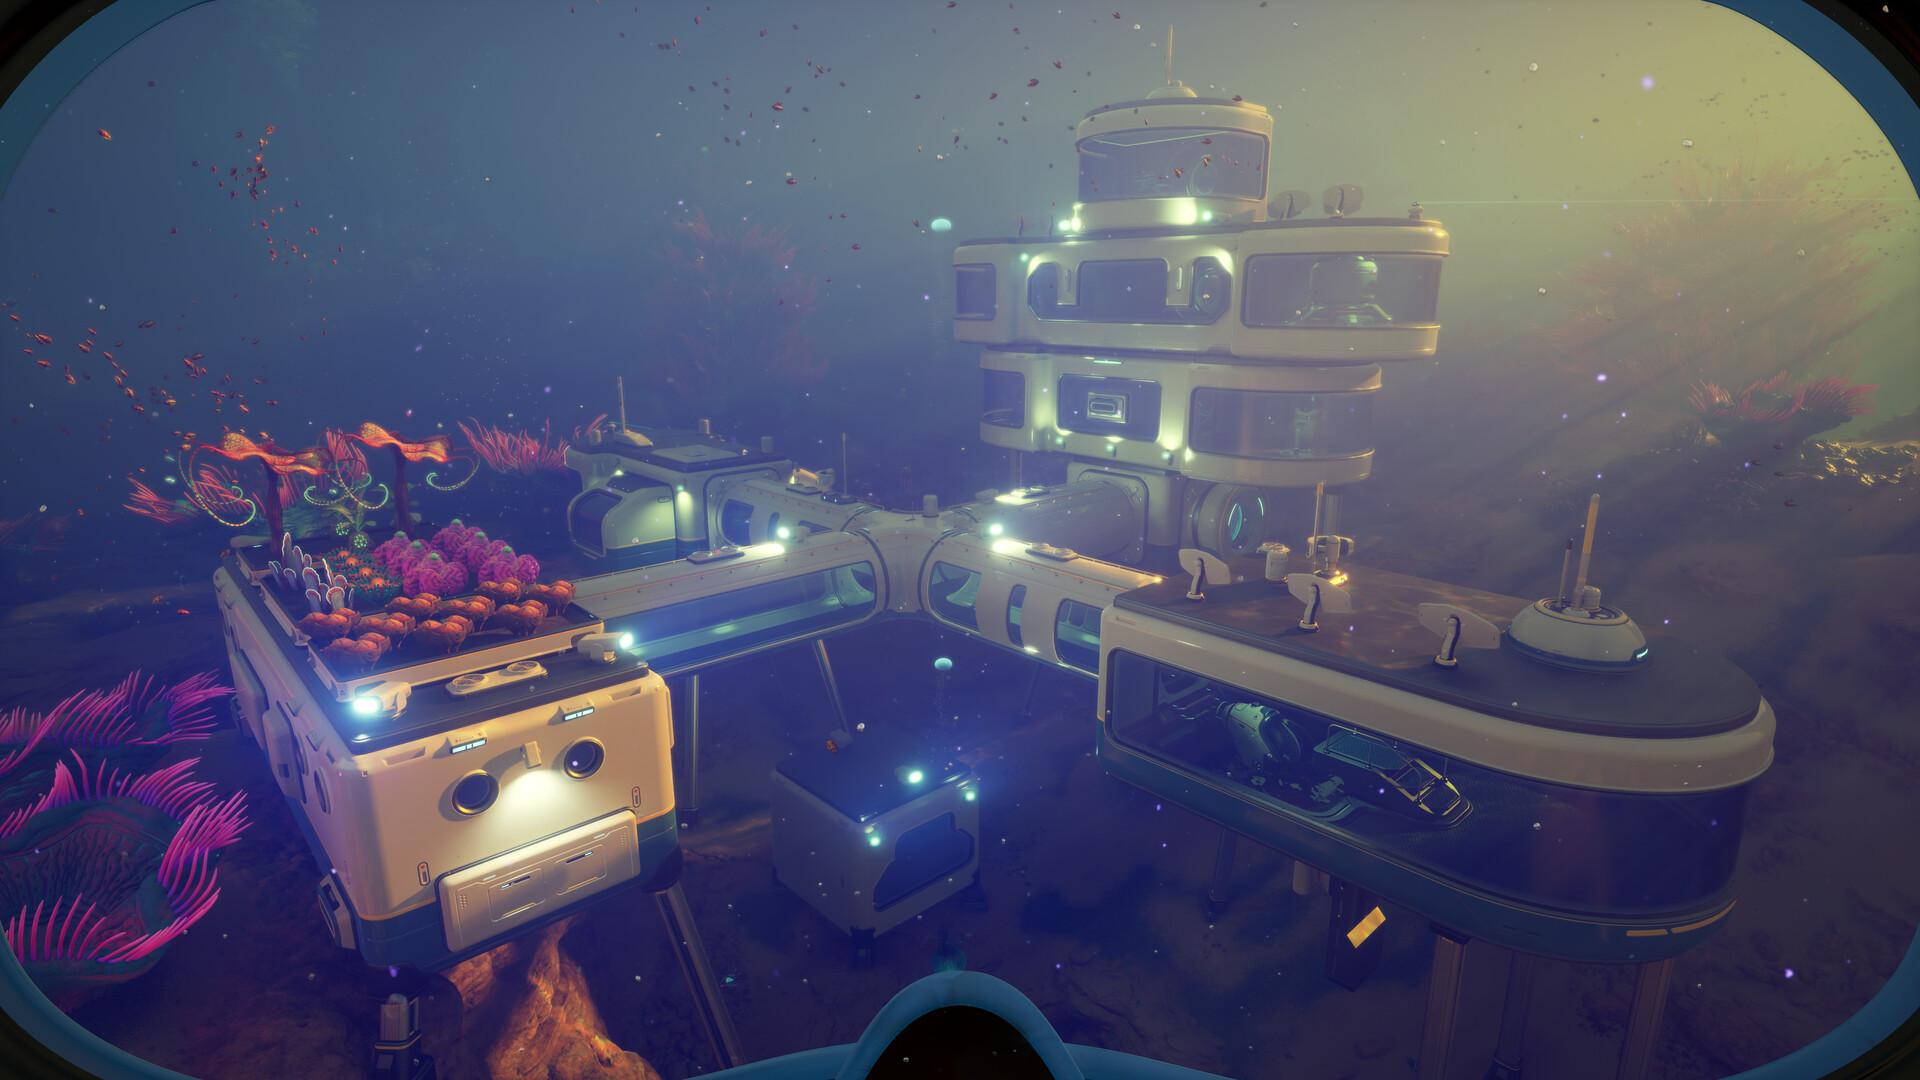
Unlock the Habitat Builder before anything else
Nothing can be placed until you've crafted the Habitat Builder. Unlike the first Subnautica, the blueprint isn't handed to you at the start: you need to scan two fragments in the wrecks near the survival pod, notably the Cicada wreck 400 meters northeast of your spawn point. Bring a Scanner, two full Oxygen Tanks, and look for the glowing yellow fragments inside or around the wreck's perimeter. The recipe then requires one titanium ingot, one copper ingot, and a computer chip, all craftable at the pod's fabricator.
Once you have the tool in hand, resist the temptation to drop a Compartment right next to the pod and settle there permanently. A good base is one that serves two progression zones, not just one.
The best biome for your first base
This is the question that has divided the community the most since May. Three locations stand out for a solid first outpost:
- The Shallows, 0 to 50 m: completely safe, rich in titanium, copper, quartz, and kelp, naturally lit, so perfect for Solar Panels. Ideal for surviving the first five hours, but too far from deep resources to last.
- The Sparse Plains, 80 to 180 m: the compromise. Low threat density, flat terrain that forgives alignment mistakes, clear corridors toward mid-game biomes. My default choice if you're playing solo.
- The edge of the Cicada Wreck, around 100 m: the best resource-to-time ratio. A constant current runs alongside the wreck, which lets you hook up a Hydroelectric Turbine that runs 24/7. Lead, copper, quartz, and titanium within easy reach. Slight risk of aggressive Peepers to watch out for.
Avoid heading west: the Early Access zone stops about 300 m west of the pod, and the game hits you with a Return to Play Area warning message that kills any exploration. The Eastern Mountain and its Thermal Vents will be your target for base number two, not the first one.
The essential structural modules
The Habitat Builder currently offers 79 distinct pieces in the current Early Access build, spread across eight categories. For a first functional outpost, we'll focus on six structural modules:
| Module | Role | Main cost | Priority |
|---|---|---|---|
| Compartment (I-tube) | Basic building block, serves as corridor | 2 titanium | Immediate |
| T / X Compartment | Junctions for expansion | 3 titanium | High |
| Multipurpose Room | Large space for heavy equipment | 6 titanium | High |
| Hatch | Watertight entry / exit | 1 titanium + 1 quartz | Immediate |
| Glass Compartment | Observation, crew morale | 2 titanium + 2 quartz | Comfort |
| Reinforcement Module | Adds hull integrity | 3 titanium + 2 diamonds | Critical at depth |
My rule: one Hatch per useful facade (never just one, otherwise underwater back-and-forth trips become a hassle with two players), at least one Multipurpose Room to eventually house the vehicle fabricator, and I-shaped Compartments rather than X-shaped ones to save titanium while integrity is still tight.
Hull integrity, the mechanic everyone forgets
Every piece you place changes your hull integrity, a cumulative value displayed in the Habitat Builder. A Compartment at 20m depth adds integrity, a Multipurpose Room at 150m removes it, and a Glass Compartment even more so. If the total drops below zero, the base starts leaking: dripping sounds, falling oxygen, generators shutting down. Three habits to make sure you never get there:
- Pin integrity to your HUD from your very first placement. It's a simple shortcut in the context menu, but 90% of players forget about it.
- Add Reinforcement Modules BEFORE expanding, never after. Place them at corridor junctions and along the sides of multipurpose rooms: that's where the structure costs the most in integrity.
- Glass Compartments last. They have the lowest pressure resistance in the game; save them for an observation room at 50m, not your annex at 200m.
Energy: the choice that changes everything
Three generators are available in the current early access build. Each one defines a base playstyle.
- Solar Panel: cheap to produce (2 quartz, 1 titanium, 1 copper wire), but zero output at night and below 200m. Build at least five if it's your only source, and pair it with an Energy Capacitor to absorb the nightly outage.
- Hydroelectric Turbine: the best surprise of early access. Placed in a sea current (Cicada, Anemone Hills, northern corridors), it produces 24/7 with no consumable. Two turbines are enough to power a ten-room base. The ideal compromise for most players.
- Bioreactor: consumes organic matter (fish, plants, eggs) and works anywhere, including at full depth. Cost-effective if you have an Indoor Greenhouse producing a steady loop of Marbelon or Lantern Tree. Placed in a multipurpose room, a fully stocked bioreactor lasts about 45 minutes of gameplay.
The Thermal Power Plant arrives as soon as you scan its fragments near the Thermal Vents of East Mountain. It's the key to base number two: placed next to a heat source, it produces infinite energy with no dependence on currents or sunlight. More on that below.
Don't forget the Power Transmitters: every external generator must be linked to the hull by a chain of transmitters, with a maximum of 15 m between two relays. Plan out the network before placing anything, or you'll end up redoing everything.
The Moonpool and the Tadpole
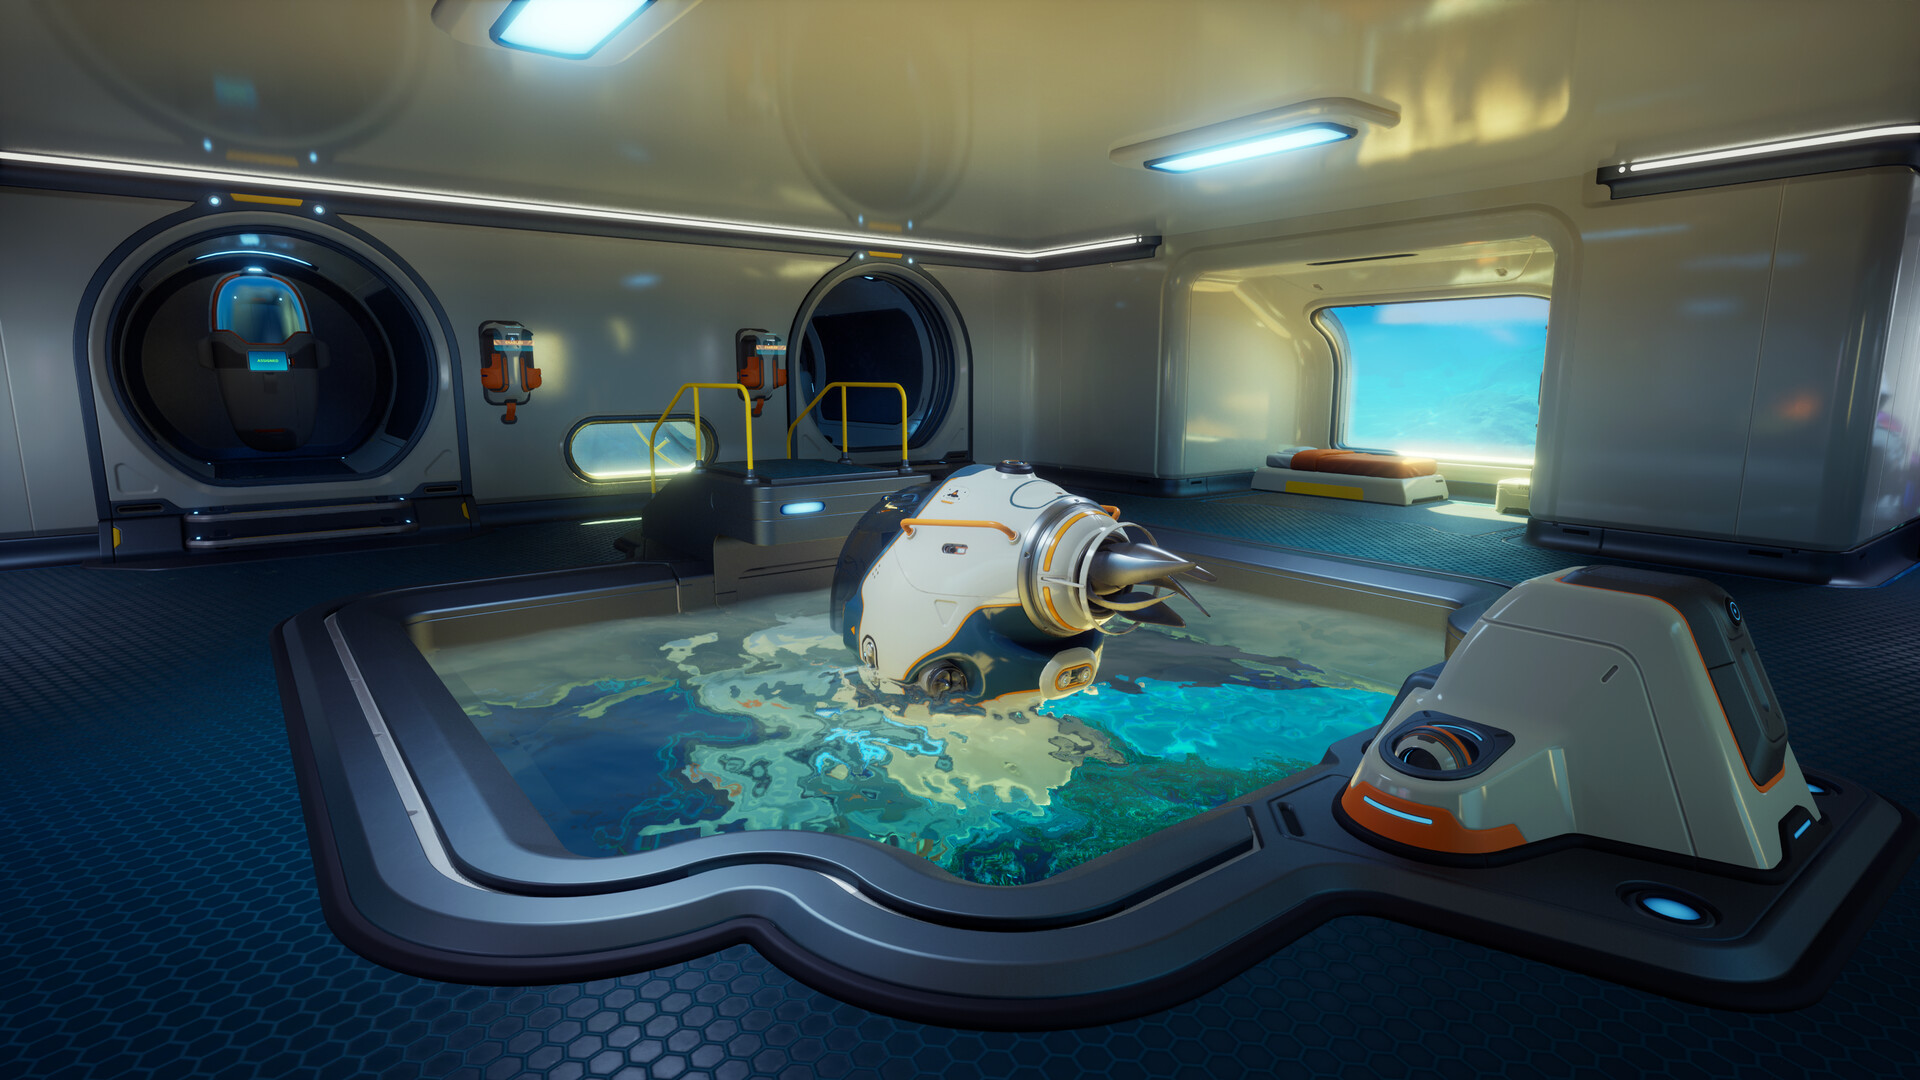
The Moonpool (the series' historic module) is the most cost-effective module in the game. It serves as an oxygen-free entry/exit point, a recharge station, and above all a platform for docking your Tadpole. The blueprint drops by scanning two fragments at the Tailings Village, the Tadpole Pens, or in the Canteen.
To actually build a Tadpole, you need the following combination:
- A Moonpool attached to your base.
- A Vehicle Fabricator placed on the side of that module (2 titanium ingots, 1 copper ingot, 2 glass ingots).
- A Tadpole Dock attached to the module, which serves as a recharge and anchoring point.
Count the Moonpool as taking up three Compartments worth of space: place it at the end of your main structure, never in the center, so as not to block lateral expansion.
The Scanner Room, the run's accelerator
The Scanner Room (the direct heir to the Scanner Room from Subnautica) automatically detects resources and fragments within a 300 m radius, and controls two camera drones to explore risk-free. Recipe: 3 titanium, 1 wiring kit, 1 computer chip. It consumes roughly 10 units of energy per second, so plan your budget accordingly.
Two upgrades to craft as soon as possible from the built-in fabricator:
- The Scanner Room Range Upgrade, which extends the radius to 500 m.
- The Scanner Room Speed Upgrade, which speeds up scanning. Stack up to four modules of the same type in the dedicated slots.
It's the only way to find the fragments for the Thermal Power Plant, the Nuclear Reactor, and the Vehicle Fabricator without wandering for three hours through wrecks. Make it your absolute priority as soon as you have titanium.
Fabricator, water filter, medical bay: useful comforts
A base technically holds together with a simple Compartment and a Hatch, but it truly becomes livable with four interior modules:
- The wall-mounted Fabricator (the one moved from your capsule, or a new one): essential for crafting without heading back to the surface.
- The Water Filtration Machine, which turns salt water into Filtered Water and Salt. Slow but infinite output: start it up before every session and you'll always have something to drink.
- The Medical Station, which regenerates 50 HP roughly every 15 minutes. Place it near the hatch, since you never think of it at the right moment.
- The Lockers and Shelves for organizing your resources by category. In co-op, agree on a convention (one room = one type of material), otherwise nobody can find anything anymore.
Add an Interior Growbed as soon as possible: three Marbelon plants cover a solo player's hunger, and power a Bioreactor right next to it.
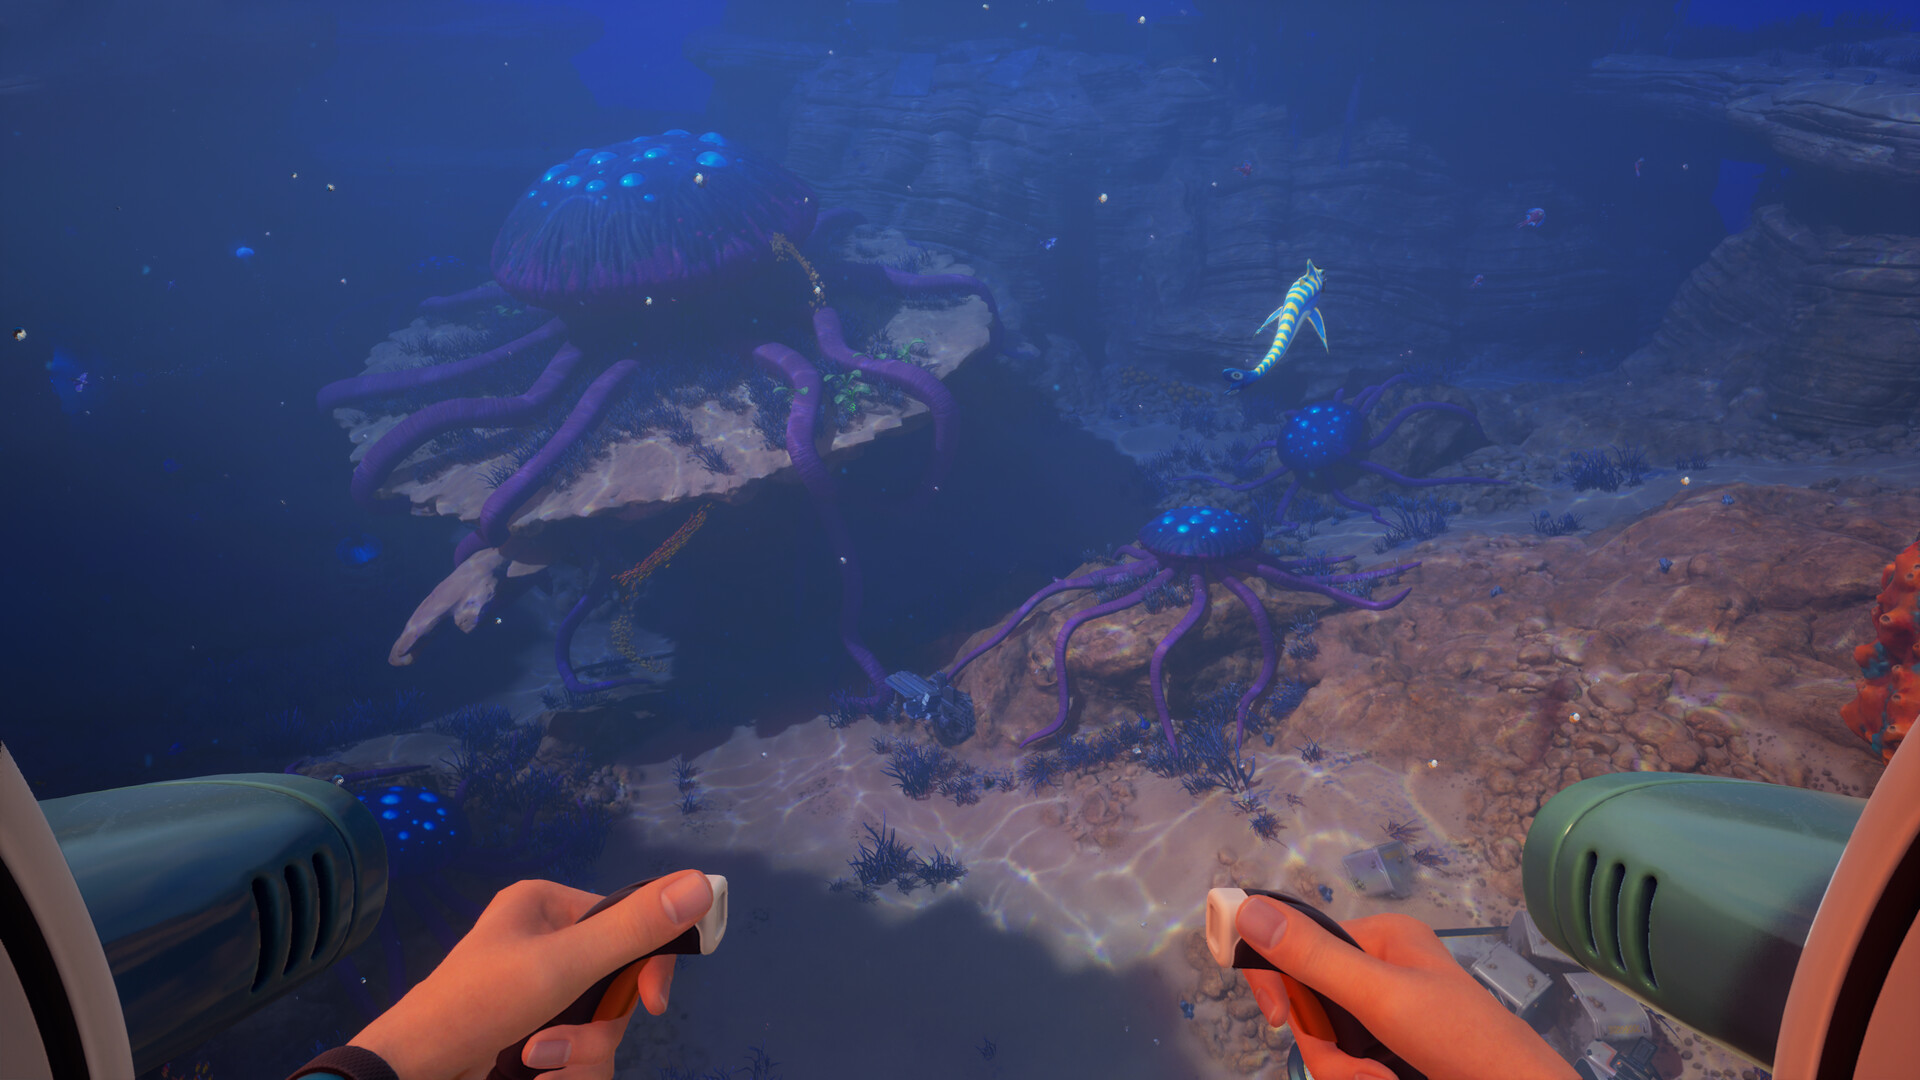
The right expansion workflow: base 1, outpost 2, thermal base
The most common mistake is expanding the same base indefinitely. Horizontal travel costs play time, and at some point it becomes more efficient to drop a second outpost than to add another room. The pace I recommend, tested across three different early access runs:
- Base 1 (Shallows or Scattered Plains, 30-100 m): main hub, Immersion Chamber, Scanner Room, solar or hydro power. This is where you sleep, cook, and scan.
- Outpost 2 (edge of the Alien Highway, 150-250 m): a single multi-purpose room, a Bioreactor, a Hatch, a few lockers. Serves as a relay station for expeditions heading east.
- Thermal base (East Mountain, 250-400 m): a Thermal Plant set on a Thermal Vent, a Vehicle Fabricator, a second Immersion Chamber. This base becomes your new center of gravity by the end of early access.
This trio covers the current map without ever exceeding 40 cumulative modules, which remains manageable in terms of hull integrity and reasonable in resource cost.
Pitfalls to avoid in co-op
Four-player co-op mode changes two fundamental things:
- Any crew member can place pieces with their own Habitat Builder. Appoint an architect at the start of the game, or you'll end up with an unreadable zig-zag base.
- Storage is shared. Agree on one room per category (metals, crystals, food, kits) before scattering titanium across eighteen different lockers.
Another subtlety: generators drain faster with four active players (simultaneous crafting, extended lighting). Double the solo-planned output as soon as you hit the third hour of play.
In summary: the checklist for your first base
In concrete terms, if you start an early access playthrough this afternoon, here's the order to follow to hold steady without gaps: scan two Habitat Builder fragments in the Cicada, choose the Scattered Plains or the edge of the Cicada as your spot, place three I-shaped Compartments plus one Hatch, add a Multipurpose Room, hook up a Hydroelectric Turbine plus a Solar Panel for the night, install a Fabricator, a Water Filtration Machine, the Scanner Room, then the Moonpool once you've retrieved the blueprint. Pin your integrity, already plan out the outpost on the Alien Highway, and keep some titanium in reserve for the Reinforcement Modules. Do that and your base will hold up until the Thermal Vents without a single teardown.
Share this article
Where do you plan to build your first base?
Frequently asked questions
Do you really need to scan two fragments to get the Habitat Builder?
Yes, unlike the original Subnautica. The blueprint isn't provided at the start. Head to the Cicada wreck 400 m to the northeast, bring a Scanner and two full Oxygen Tanks, then craft the capsule at the fabricator with a titanium ingot, a copper ingot, and a computer chip.
Which location should I choose to avoid rebuilding my base by hour ten?
The Scattered Plains (80–180 m) for solo play, or the Cicada Wreck border for the permanent current that will power your Hydroelectric Turbine 24/7. Avoid the Shallows if you're aiming for durability: it's a beginner trap.
How do I keep my base from leaking once I go deeper?
Pin hull integrity to your HUD immediately. Add Reinforcement Modules at the junctions before expanding, never after. Glass Compartments should wait until a max depth of 50 m.
Bioreactor or Hydroelectric Turbine for my first base?
Hydroelectric Turbine, no question. It produces power for free 24/7 if a sea current passes near your base. The Bioreactor requires a Greenhouse, which needlessly complicates the early game.
Where should I place my Moonpool without blocking expansion?
At the end of your main structure, never at the center. It takes up the space of three Compartments, so think of it as an endpoint where you'll dock your Seamoth, not as a central room.
Key takeaways
- Unlock the Habitat Builder by scanning two Cicada fragments before placing anything.
- The Cicada Wreck border is the best compromise: permanent current for the Hydroelectric Turbine, nearby resources, zero stress.
- Hull integrity is a mechanic that kills: pin it to your HUD and add Reinforcement Modules before expanding.
- Two Hydroelectric Turbines are enough to power ten rooms without relying on sunlight or resources.
- The Moonpool with Vehicle Fabricator becomes your main anchor point: place it at the end of your build, never at the center.
Comments
No comments yet. Be the first to react!
Leave a comment
Similar guides

Latest articles








Your opinion counts
Rate Subnautica 2
Click a star to rate