



 Fabian Lainé

Full Guide
Subnautica 2: The Oxygen and Deep Diving Guide — Descending into the Void Without Drowning (2026)
In brief
The oxygen gauge is Subnautica 2's real killer, far more than the leviathans. This guide covers the two-thirds rule for dives, choosing tanks based on your progression, mobile and fixed air relays, and how to plan a long descent into the Void without ever panicking.
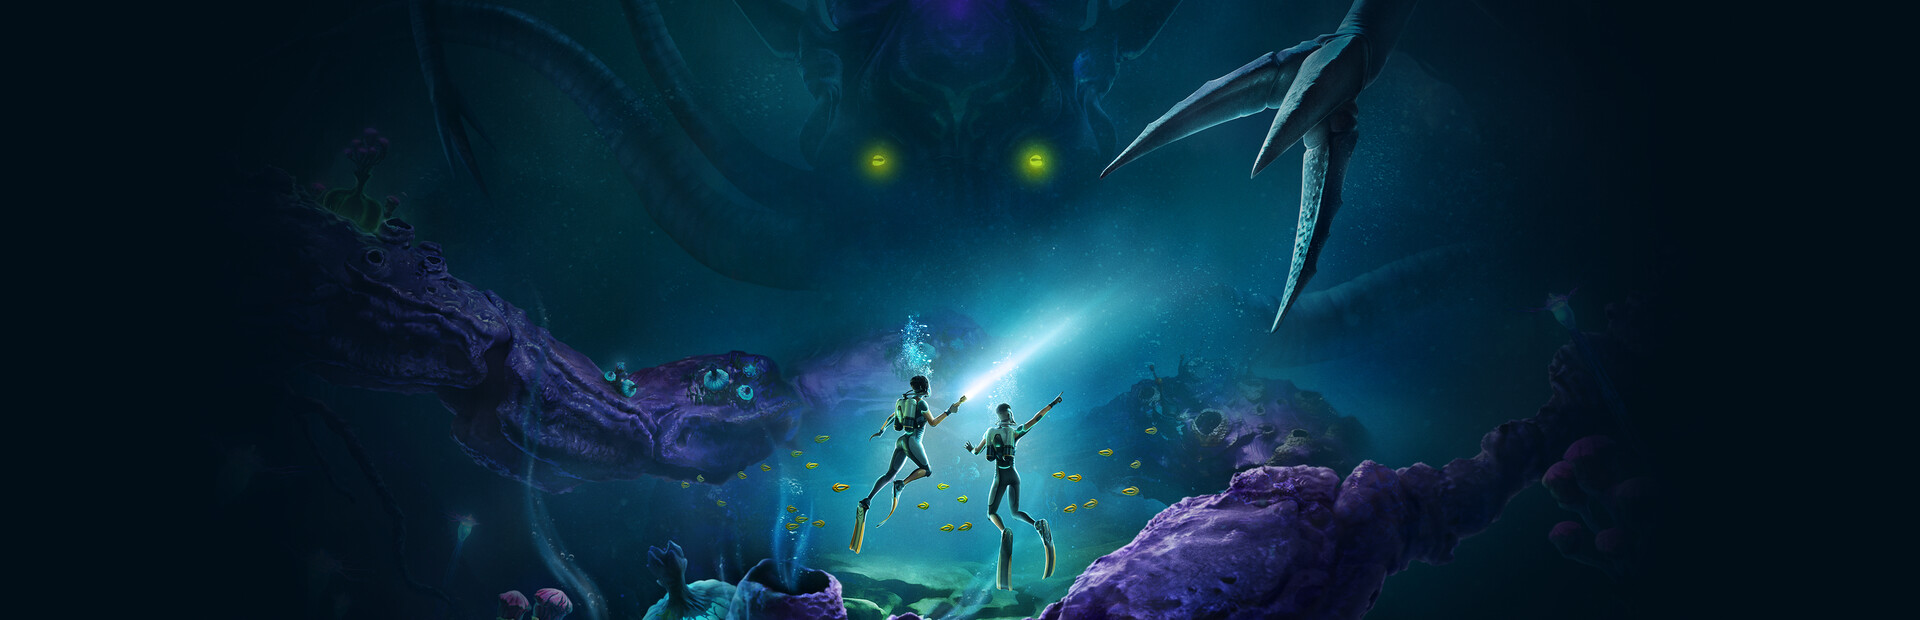
In Subnautica 2, death almost never comes from a leviathan: it comes from an oxygen gauge hitting zero thirty meters below the ceiling, in the dark, when you thought you "still had time." Deep diving is the true core of survival in the game, and descending into remote biomes like the Root Canyon or the Void without pinpoint air management is signing your own death warrant. This guide covers everything about oxygen in early access (2026): the gauge and its golden rule, the tank setup to prioritize, your mobile air pockets, and the method for planning a long descent without ever panicking. A quick reminder: since the game is in early access, some item names may still change from one patch to the next.
The oxygen gauge: the two-thirds rule
Everything rests on an obvious fact that's too often forgotten: your air supply must cover both the descent and the ascent. The depth of your lungs is symmetrical. If you reach the bottom of a rift having used up half your oxygen, you're already dead, because getting back up costs at least as much as going down — and stress makes you breathe faster. The basic discipline is therefore to never cross the point of no return: as soon as the gauge drops to its last third, you begin the ascent, no exceptions and no "just one last deposit."
In practice, break down each dive into three mental portions:
- First third: the descent toward the objective, fins forward, no detours.
- Second third: the useful work on site — scanning, gathering, searching a wreck.
- Last third: the ascent, or better yet, heading to an intermediate air pocket.
This two-thirds rule applies to free swimming. As soon as you bring along a vehicle or lay down air relays along the route, the equation changes radically — that's where serious deep exploration comes into play.
Properly upgrading your oxygen tanks
Diving gear progression follows a well-known franchise logic, carried over into Subnautica 2: you start with a standard tank, then unlock models with greater capacity. The classic beginner trap is rushing for the biggest available tank without considering the trade-off: the bulkier a tank is, the more it slows you down while swimming, which increases the time spent underwater and cancels out part of the gain in autonomy.
Here's how to weigh your options depending on your stage of the game:
| Tank | Recommended use | Trade-off |
|---|---|---|
| Standard | Early hours, shallow waters | Short autonomy, no penalty |
| High capacity | Intermediate exploration while swimming | Slight slowdown |
| Light (lightweight high capacity) | The best all-around trade-off for the mid-game | Slightly less reserve than the ultra |
| Ultra-high capacity | Short outings out of vehicle in deep zones | Marked slowdown |
The lesson: beyond the first biomes, oxygen is no longer gained by upgrading your tank capacity, but by bringing air sources closer to your work zone. The light tank often remains the best permanent choice, since swimming speed is itself a factor in endurance. Another useful habit is to keep a spare tank in your inventory or in a vehicle locker: on a long expedition, swapping an empty tank for a full one halfway through is like giving yourself a second underwater life without surfacing. Also remember to refill your tanks whenever you pass through a pressurized room — a full tank costs nothing, while a half-empty tank you forgot about can sometimes cost you the game.

Your mobile air pockets: the Tadpole leads the way
The biggest revolution for your endurance is the Tadpole, the heavy late-game submarine (the equivalent of the Cyclops from the original game). Each vehicle carries its own air supply: getting in instantly refills your lungs. The Tadpole thus becomes a mobile base that you park as close as possible to an area you want to explore, before swimming out on short trips, scanning, and then coming back to breathe. Its interchangeable hulls — Explorer, Cargo, and Predator — don't affect oxygen directly, but the Explorer, being faster and stealthier, limits detours and therefore nervous consumption.
Key points for using it as an air relay:
- Park it above your objective rather than right on the seafloor, so you can quickly head back to it when surfacing.
- Leave the headlights on: in deep biomes, finding your submarine in the dark costs precious seconds of air.
- Equip the sonar module to map out a trench without getting lost in it — getting lost means drowning.
The Moonpool and relay bases
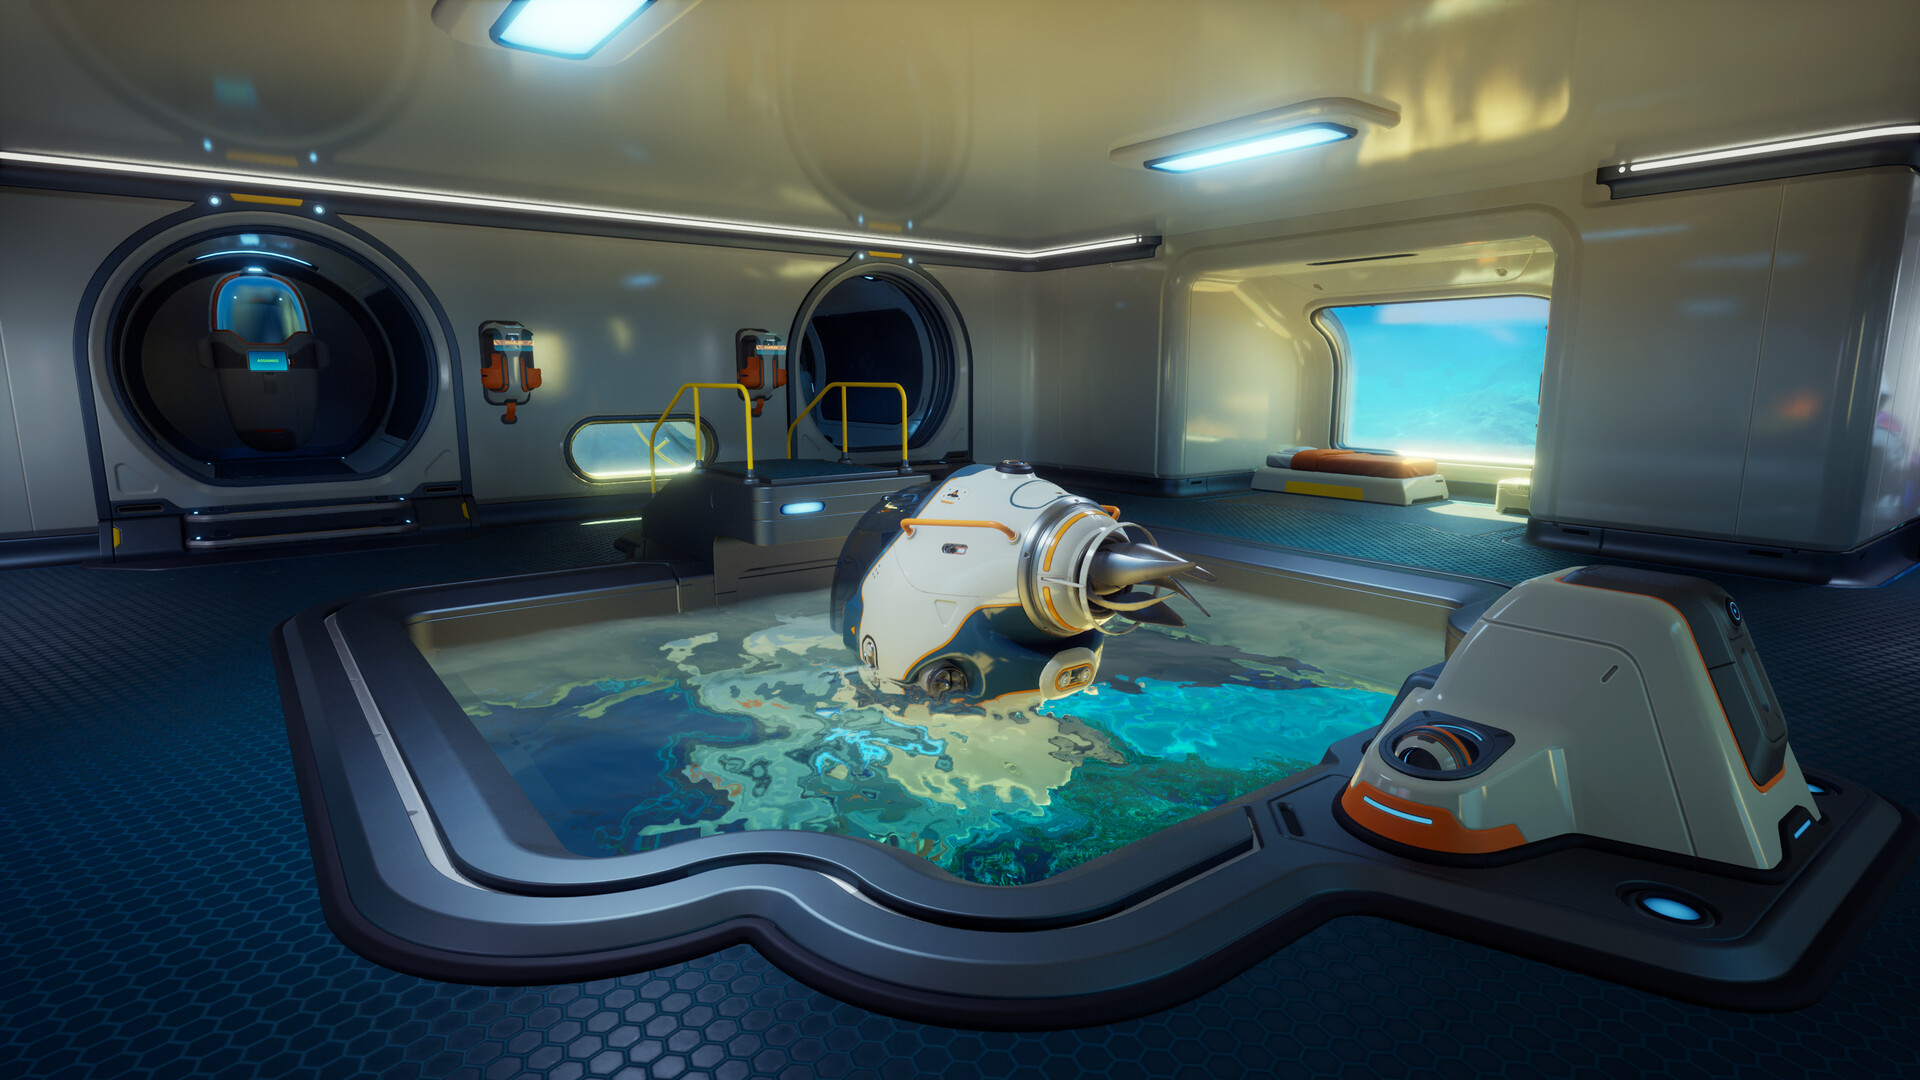
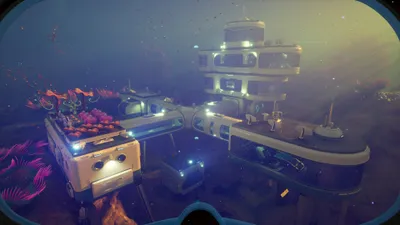
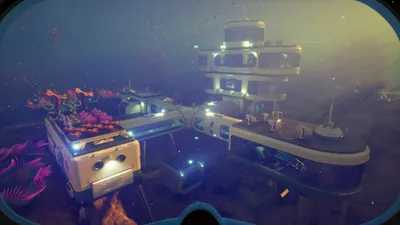
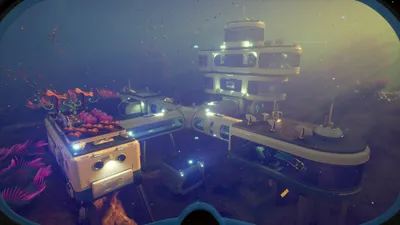
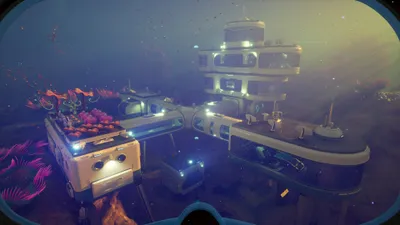
On solid underwater ground, your best air reserve is still your base. The Moonpool lets you enter and exit dry, and any pressurized room refills your oxygen. The deep-exploration strategy is to scatter small relay bases along the slope leading to the depths: a simple Compartment fitted with a hatch is enough to create a life-saving breathing point halfway there.
To last over time without returning to the surface, chain together three elements:
- A support base powered by a Bioreactor or Thermal Plant near thermal vents, where solar power no longer reaches.
- A Water Filtration Machine so you never have to surface to fetch drinking water.
- A Tadpole Dock to connect the submarine, recharge it, and turn the whole setup into a self-sufficient deep outpost.
Power Transmitters let you link these relay bases to a shared power source, avoiding the need to multiply fragile generators in hostile zones.
The Seaglide and the air bladder: the gadgets that save your life
Two tools change the survival equation. The Seaglide propels you at a speed your fins can't match: for the same air supply, you cover much more distance, so you reach your objective with a bigger oxygen margin left. Its built-in mini-map also works as a compass so you don't get lost. Be careful though: it uses energy, so always keep enough for the return trip.
The air bladder, meanwhile, is the diver's life insurance: when inflated, it shoots you straight up to the surface when the gauge starts flashing. On vertical descents into a fissure, this is what turns a thirty-second panicked ascent into a lightning-fast return. The habit to build: deploy it before the alarm, not after.
Planning a descent to Karakorum, the Rootcanal, and the Void
The deep biomes aren't places you visit on a whim. Each step down toward Karakorum, the Rootcanal, and then the Void demands an increasingly long logistical chain. The method that works is progressing in stages: never try to reach the bottom in one go, but build up infrastructure step by step.
The typical outline of a deep expedition:
- Scouting: descend by vehicle to the comfortable limit, and map out the topography and fissure entrances.
- Relay: set up a relay base or park the Prawn Suit at the last safe point before the black zone.
- Useful sprint: head out for a short swim with the Seaglide and air bladder, do your work using only a third of your oxygen, then head back.
- Repeat: refill air at the vehicle or base, then launch a deeper sprint.
In the Void especially, the rule is never to stray from your air pocket without a clear return plan. It's an environment designed to punish carelessness, and oxygen is your only clock down there. One last tip on method: mentally note — or mark with a beacon — the direction of your relay before diving into a narrow fissure. Disorientation is the silent enemy of deep diving, because an ascent that goes the wrong way instantly doubles the distance to cover, and therefore the air needed. A cautious expedition that brings back three scans is better than an ambitious dive that ends with a corpse at the bottom of the Void and all the loot lost.
Cold, pressure, and hull integrity
Deep diving isn't just about air: depth crushes hulls that aren't properly prepared. Your vehicles have a crush depth that needs to be pushed back with reinforcement modules before reaching extreme zones — going beyond that limit without reinforcement means watching the hull give way and losing both the vehicle and your air supply at once. Always check the displayed crush depth before diving into a new layer.
The cold of the deep biomes also works against you: far from the light, rely on the Thermal Plant installed near thermal vents to power your relays, rather than solar panels that become useless. A base that runs out of power cuts off its oxygen recharge — the worst-case scenario in the deep zones.
The pipe network: from the air down to the depths… or almost
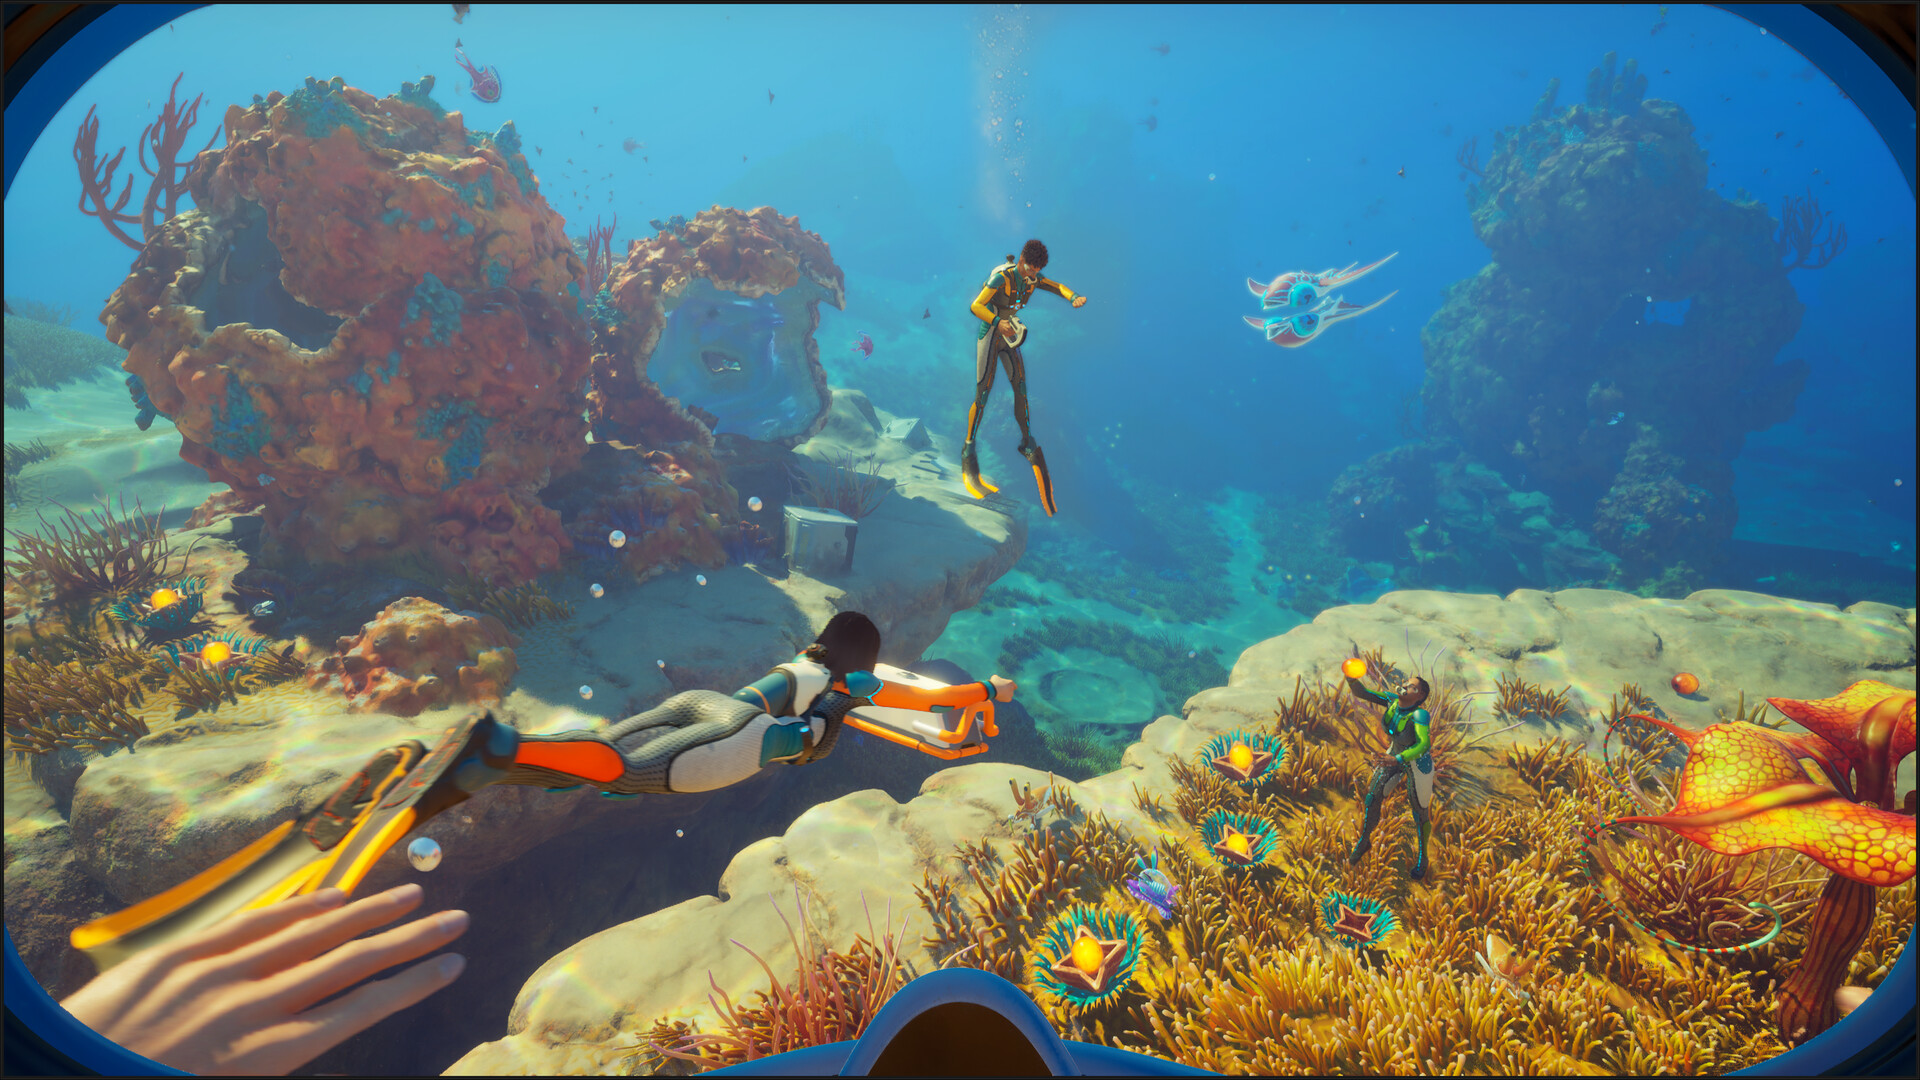
For the upper layers, a network of pipes fed by a floating air pump remains a valuable trick: the pump draws air from the surface and carries it through pipes to a nozzle where you can breathe. It's perfect for building an early base or thoroughly searching a wreck located at shallow depth, without ever having to surface. The limit is physical: this system doesn't reach down to the abyss, as pipe length and depth quickly make it impractical. Think of it as a tool for the upper strata, not a solution for the Void, where only vehicles and pressurized bases get the job done.
Summary table: which air supply for which depth
| Layer | Main air source | Complementary equipment |
|---|---|---|
| Shallow waters | Surface + pipes/air pump | Standard tank, Seaglide |
| Intermediate (Karakorum) | Relay base + vehicle | Lightweight tank, air bladder |
| Deep (Root Canyon) | Tadpole parked on an overhang | Sonar, hull reinforcement, air bladder |
| Abyss (the Void) | Tadpole + Tadpole Docking, thermal base | Max reinforcements, Seaglide, short sprints |
The oxygen mistakes that cost you a run
- The "one last node": pushing past the two-thirds mark for one more pickup. This is the number one cause of death.
- Always going for the biggest tank: more reserve but more slowness, so little net gain. The lightweight tank often beats the ultra one.
- Forgetting the crush depth: losing your vehicle means losing your air reserve all at once.
- Diving without lights or a landmark: in the dark, getting lost is as good as drowning.
- An unpowered relay base: no power means no oxygen recharge — always check your generators.
Deep diving in Subnautica 2 rewards method, not blind courage. Remember three habits and you won't drown again: surface once you're down to a third of your air, drop air pockets (Tadpole, relay bases, Diving Chamber) along any long route, and check the crush depth before entering each new layer. With the Seaglide for speed, the air bladder for emergencies, and a thermal relay near the vents, you'll be able to tackle the Root Canyon and then the Void with confidence. Prepare your air logistics tonight, and the next trench will just be one more objective to check off.
Share this article
What's your biggest fear when diving deep in Subnautica 2?
Frequently asked questions
I think I have enough oxygen to reach the bottom and come back. Why the two-thirds rule?
Because stress makes you breathe faster, and going back up costs at least as much as going down. You think you have "time," and suddenly you're thirty meters from the ceiling with zero oxygen left. The two-thirds rule saves you from that panic.
Which tank should I take to explore Karakorum?
Not necessarily the biggest one. The lightweight tank often remains the best choice since it doesn't slow you down while swimming. Beyond the early biomes, what matters is how close you are to your air sources — relay, vehicle, base — not the size of the tank.
I'm afraid of getting lost in a dark trench. How do I find my way back to my vehicle?
Park your Seamoth overlooking the area with lights on and sonar active to map things out without getting lost. Before diving, mentally note the direction of the relay. Explore in short bursts using only a third of your oxygen, then head back to breathe.
What's the air bladder actually for?
It's your life insurance: once inflated, it brings you back to the surface in seconds. Deploy it before the alarm sounds, and it turns a panicked ascent into a lightning-fast return that saves you from certain drowning.
Do I really need to set up relay bases, or can I just head out with the Seamoth directly?
For early exploration, the Seamoth is enough. But to explore the Void and beyond, staged relay bases create a logistics network that lets you make longer, useful sprints without having to return to the surface every time.
Key takeaways
- Apply the two-thirds rule: surface as soon as your oxygen drops to the remaining third, or you're dead before you reach the surface.
- A lightweight mid-game tank beats a massive tank that slows you down while swimming and cancels out the extra range.
- Park your Seamoth overlooking your objective to use it as a mobile air pocket, with lights on and sonar active.
- Set up relay bases along the deep slope with a Moonpool and Filtration Machine to explore without returning to the surface.
- The Prawn Suit and air bladder turn a panicked ascent into a controlled return — deploy the bladder before the alarm, never after.
Comments
No comments yet. Be the first to react!
Leave a comment
Similar guides
Latest articles








Your opinion counts
Rate Subnautica 2
Click a star to rate