



 Fabian Lainé

Boss
Palworld: Alpha Pals hunt, where to find and capture them
In brief
Alpha Pals are giant variants of ordinary Pals that populate Palpagos and serve as open-world sub-bosses. This guide teaches you how to identify them by their size, aura, and crown on the map, how to properly prepare before the fight, and above all how to capture them rather than kill them in order to obtain their superior stats and enhanced skills.
Since the release of Palworld version 1.0 on July 11, 2026, the Palpagos archipelago is teeming with creatures to collect, put to work, and ride. But among the thousands of Pals populating the map, some stand out for their oversized scale and menacing presence: Alpha Pals. These giant versions of classic Pals act as open-world sub-bosses and represent one of the first real challenges for a new trainer. This guide explains how to recognize them, where to find the most iconic ones, and above all how to capture them rather than kill them.
What is an Alpha Pal?
An Alpha Pal is a massive wild variant of an ordinary Pal, often two to three times bigger and sporting a colossal health bar. On the map, each Alpha is marked by a small crown-shaped icon at its spawn location. As you get closer, you'll hear a specific boss theme, and its silhouette rarely leaves any doubt.
They shouldn't be confused with the Syndicate Tower bosses like Zoe & Grizzbolt, Lily & Lyleen, or Victor & Shadowbeak: those are human trainers encountered inside locked arenas, with a timer and no way to capture the Pal accompanying them. Alphas, on the other hand, are entirely wild: you come across them while exploring, weaken them, and can throw a Sphere at them.
Tip: open your map often during your travels. Crown icons visible in the area you're traveling through let you spot an Alpha within the right level range before you've even encountered it.
Spotting an Alpha in three seconds
Three visual cues let you identify an Alpha at a glance:
- Size: an Alpha Chillet is three times the size of a wild Chillet and towers over the player's silhouette.
- Aura: a faint dark mist surrounds its feet, more visible at night.
- HP: once combat begins, the health bar is disproportionately huge compared to Pals in the area and has an orange outline.
Finally, an Alpha is generally 10 to 15 levels above the wild Pals surrounding it. If you're calmly farming level 5 Lamball and a level 22 Mammorest appears on the horizon, you know what you're dealing with.
Preparing before the assault
Attacking an Alpha unprepared is a guarantee that you'll leave your gear behind on the ground. Before every attempt, make sure you have:
- A team of five Pals already close to the target's level, with a type advantage.
- A stock of suitable Pal Spheres: Mega and Giga are enough up to level 30, but aim for Ultra or Legendary for any Alpha beyond level 40.
- A melee weapon and a ranged weapon: Alpha Pals regularly change behavior and will force you to switch between them.
- Armor suited to the zone: without cold resistance in the Land of Absolute Zero, your health drops before the fight even starts.
Note: remember to place a fast travel point right next to the targeted Alpha. Each Alpha Pal respawns after about 60 real-time minutes; chaining several attempts without walking for twenty minutes in between saves you a huge amount of patience.
Ten iconic Alpha Pals to track down
Here's a selection of ten Alphas representative of the game's progression, from the very early game to endgame content:
- Chillet (level 11) — Bamboo grove, east of the Rayne Syndicate Tower. Ice/Dragon type, weak to Fire. This is the first recommended Alpha to get your bearings.
- Sweepa (level 11) — snowy hills north of the starting area. Ice type, weak to Fire. Ideal for forming your first cooling worker.
- Gumoss (level 13) — temperate forest in the southwest. Grass/Ground type, weak to Fire. Valuable fiber loot.
- Kingpaca (level 25) — central hills of Marsh Island. Neutral type, weak to Dark. Excellent lumber carrier.
- Mammorest (level 22) — vast forest to the east. Grass type, weak to Fire. Its charge is devastating, keep your distance.
- Beakon (level 38) — Dessica Reef, rocky peaks. Electric type, weak to Ground. A remarkable flying mount.
- Warsect (level 45) — eastern desert. Grass/Ground type, weak to Fire. Formidable on defense.
- Anubis (level 47) — Desiccated Dunes desert. Ground type, weak to Grass. Its melee combos are among the fastest in the game.
- Astegon (level 48) — slopes of Mount Obsidian. Dark/Dragon type, weak to Dragon. A top-tier miner once captured.
- Blazamut (level 49) — volcanic craters of Mount Obsidian. Fire type, weak to Water. Huge, blazing, but a superb endgame mount.
The three legendaries: Frostallion, Jetragon, Necromus & Paladius
Once you pass level 50, a separate category awaits: the Legendary Alpha Pals. They follow the same rules as other Alphas, but with an insane HP pool and area attacks that punish the slightest positioning mistake.
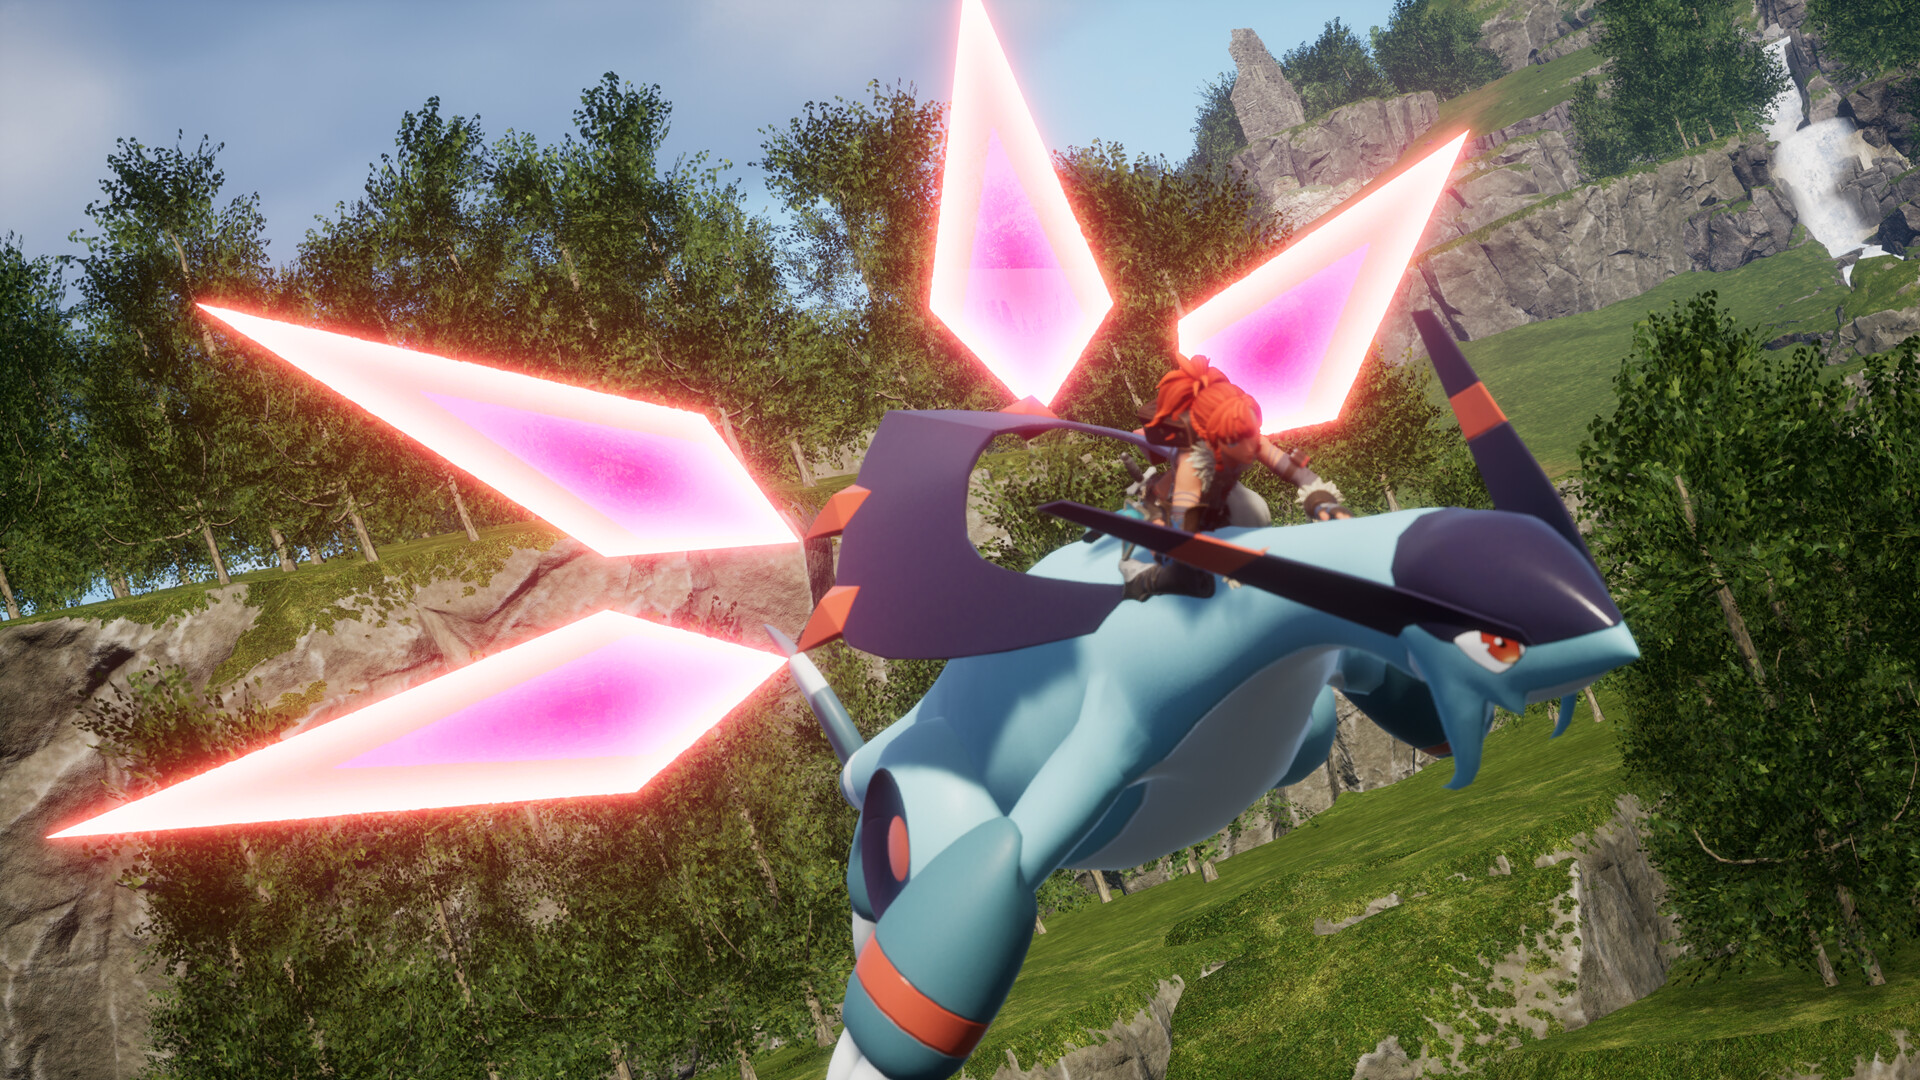
- Frostallion (level 50) — frozen lake in the Land of Absolute Zero, far northwest of the map. Ice type, weak to Fire. A jaw-dropping flying mount once tamed.
- Jetragon (level 50) — northwest of Mount Obsidian. Dragon type, weak to Ice. The fastest aerial mount in the game.
- Necromus & Paladius (level 50) — appear as a duo north of the Desiccated Dunes, around coordinates (447, 679). One is Dark, the other Neutral: focus fire on Paladius first, as it deals more raw damage.
Tip: for these four bosses, never head out without a stock of twenty Legendary Spheres and a spare fast mount. A failed capture can cost you a ten-minute round trip back to your base.
The universal combat strategy
Whatever the target, the loop that works best unfolds in five steps:
- Positioning: get up on high ground or behind a rock to break the line of sight and open hostilities from range.
- Rifle opener: empty an assault or sniper rifle magazine to start chipping away at the health bar risk-free.
- Sending in the counter-type Pal: send a secondary Pal first to draw aggro and burn through cooldowns, then bring in your main Pal.
- Health monitoring: as soon as the bar drops below 20%, recall your Pal to avoid an accidental kill.
- Sphere and wait: step back a few paces, aim for the head, and throw. Repeat until captured, or flee and try again after the respawn.
Don't forget the type charts: Fire beats Grass and Ice, Water beats Fire, Grass beats Ground and Water, Ground beats Electric and Fire, Dragon fights itself, and Dark is weak to Dragon. A Pal of the right type can cut the fight's duration in half.

Why capture rather than kill?
Defeating an Alpha yields a nice pile of experience points and sometimes Ancient Technology Fragments, but capturing it unlocks far more interesting benefits:
- Higher stats than a typical wild specimen of the same species (HP, attack, and defense multipliers).
- Better quality passives more frequently (Muscle Body, Brainy, Nimble…), perfect for targeted breeding.
- Improved work skills: an Alpha Anubis at your base alone handles the workload of three regular workers.
- Rare drops upon capture, particularly legendary item schematics for Frostallion, Jetragon, Necromus, and Paladius.
Note: if you kill an Alpha by mistake, no worries: it respawns after one in-game day (about sixty real minutes) in the same spot. Take the opportunity to adjust your gear.

To go further on playnews.gg
You now know how to recognize an Alpha Pal, weaken it without killing it, and spot the most interesting ones on the Palpagos map. To round out your trainer's toolkit, dive into our other Palworld guides: the first 15 hours starter guide to build a solid foundation, the Pal tier list to build your roster, the optimal base and worker Pals guide to turn your captures into a resource-generating machine, the breeding and hatching manual to recycle your Alphas' passives, the ranged weapons progression guide to boost your firepower, and finally our dedicated guides to the grappling hook, the Lifmunk and Statue of Power locations, and the famous 5 syndicate towers. Everything you need to turn every expedition across the archipelago into a success.
Share this article
When facing an Alpha Pal, what's your priority?
Frequently asked questions
How do you tell an Alpha Pal apart from a powerful regular Pal?
Three unmistakable visual cues: the oversized scale (two to three times larger), a dark mist around its feet, and a health bar with an orange outline during combat. An Alpha also towers over the player and is usually 10 to 15 levels above the surrounding wild Pals.
What type of Sphere should I use to capture a level 40+ Alpha?
Legendary Spheres are recommended for any Alpha beyond level 40. For Alphas below level 30, Mega and Giga Spheres are enough. Always keep a comfortable stock on hand: twenty Legendary Spheres for the four legendary bosses.
What happens if I accidentally kill an Alpha Pal?
No disaster: the Alpha respawns in the same spot after about 60 real-time minutes (one in-game day). Use that time to adjust your gear and prepare for your next attempt.
Why capture an Alpha instead of defeating it?
A captured Alpha offers multiplied stats (HP, attack, defense), rare passives like Musclehead or Brainiac, and drastically boosted work skills (an Alpha Anubis equals three normal workers). It's far more rewarding than the drops from a kill.
Which Alpha Pal is recommended to start with?
Chillet (level 11) at the Bamboo Grove east of the Rayne Syndicate Tower is perfect for getting the hang of it. It's the most accessible and least punishing Alpha for learning the mechanic.
Key takeaways
- An Alpha Pal can be spotted by a crown on the map, a size two to three times larger than a normal Pal, and a colossal orange-tinted health bar.
- Prepare a team at the target's level, suitable Spheres (Ultra or Legendary beyond level 40), and both melee and ranged weapons.
- Alphas respawn after 60 real-time minutes: place a fast travel point nearby to chain attempts without wasting time.
- Weaken the Alpha below 20% before throwing a Sphere; a Pal of the right elemental type cuts the fight duration in half.
- Capturing an Alpha unlocks superior stats, rare passives, and drastically boosted work skills, far more useful than the drops from a kill.
Comments
No comments yet. Be the first to react!
Leave a comment
Similar guides





Latest articles







Your opinion counts
Rate Palworld
Click a star to rate