



 Fabian Lainé


Ingredients & Materials
Palworld 1.0 Starry Night Sand: where to find it and how to farm it
In brief
Starsand is the key material for unlocking aerial mobility and high-tier weapons on Feybreak. Exclusive to the night island, it's gathered on the ground on beaches or by defeating four specific Pals. Here's how to farm it efficiently without losing your sanity.
Starry Night Sand is one of the most sought-after materials in Palworld's late game. Introduced with the Feybreak update and still on the menu since the official v1.0 release on July 11, 2026, it gates access to the game's entire aerial mobility set as well as several level 57+ weapons. Here's everything you need to know to gather enough of it without spending all your nights on it.
A note on terminology: the item's official title in the English version of the game is Starry Night Sand. This is the wording used by the Paldex and the community database paldb.cc. You may occasionally come across "Sand of the Starry Night" or "Nocturnal Starry Sand" in less polished guides, but it's the same item, internally referenced under the code NightStone.
What is Starry Night Sand?
Starry Night Sand is a common rarity material, rank 1, with a laconic in-game description: "Sand found in the desert after nightfall. Used as a material for certain accessories." It weighs 1 encumbrance point, sells for 1,000 gold coins, and stacks up to 9,999 units.
Don't be fooled by this modest entry: it's actually the key resource that unlocks the Anti-Gravity Belt, the Double Jump Shoes, the Metal Detector, and the Radiant Sword, among others. In other words, there's no smooth progression into Feybreak content without a steady stock of this sand.
Where to find Starry Night Sand on Feybreak Island?
Starry Night Sand is exclusive to Feybreak Island: you won't find it on the Palpagos continent, on Sakurajima, or in the Wild Sanctuaries. It appears as small blue-purple glowing patches lying right on the sand, very visible in the dark and impossible to confuse with other pickups.
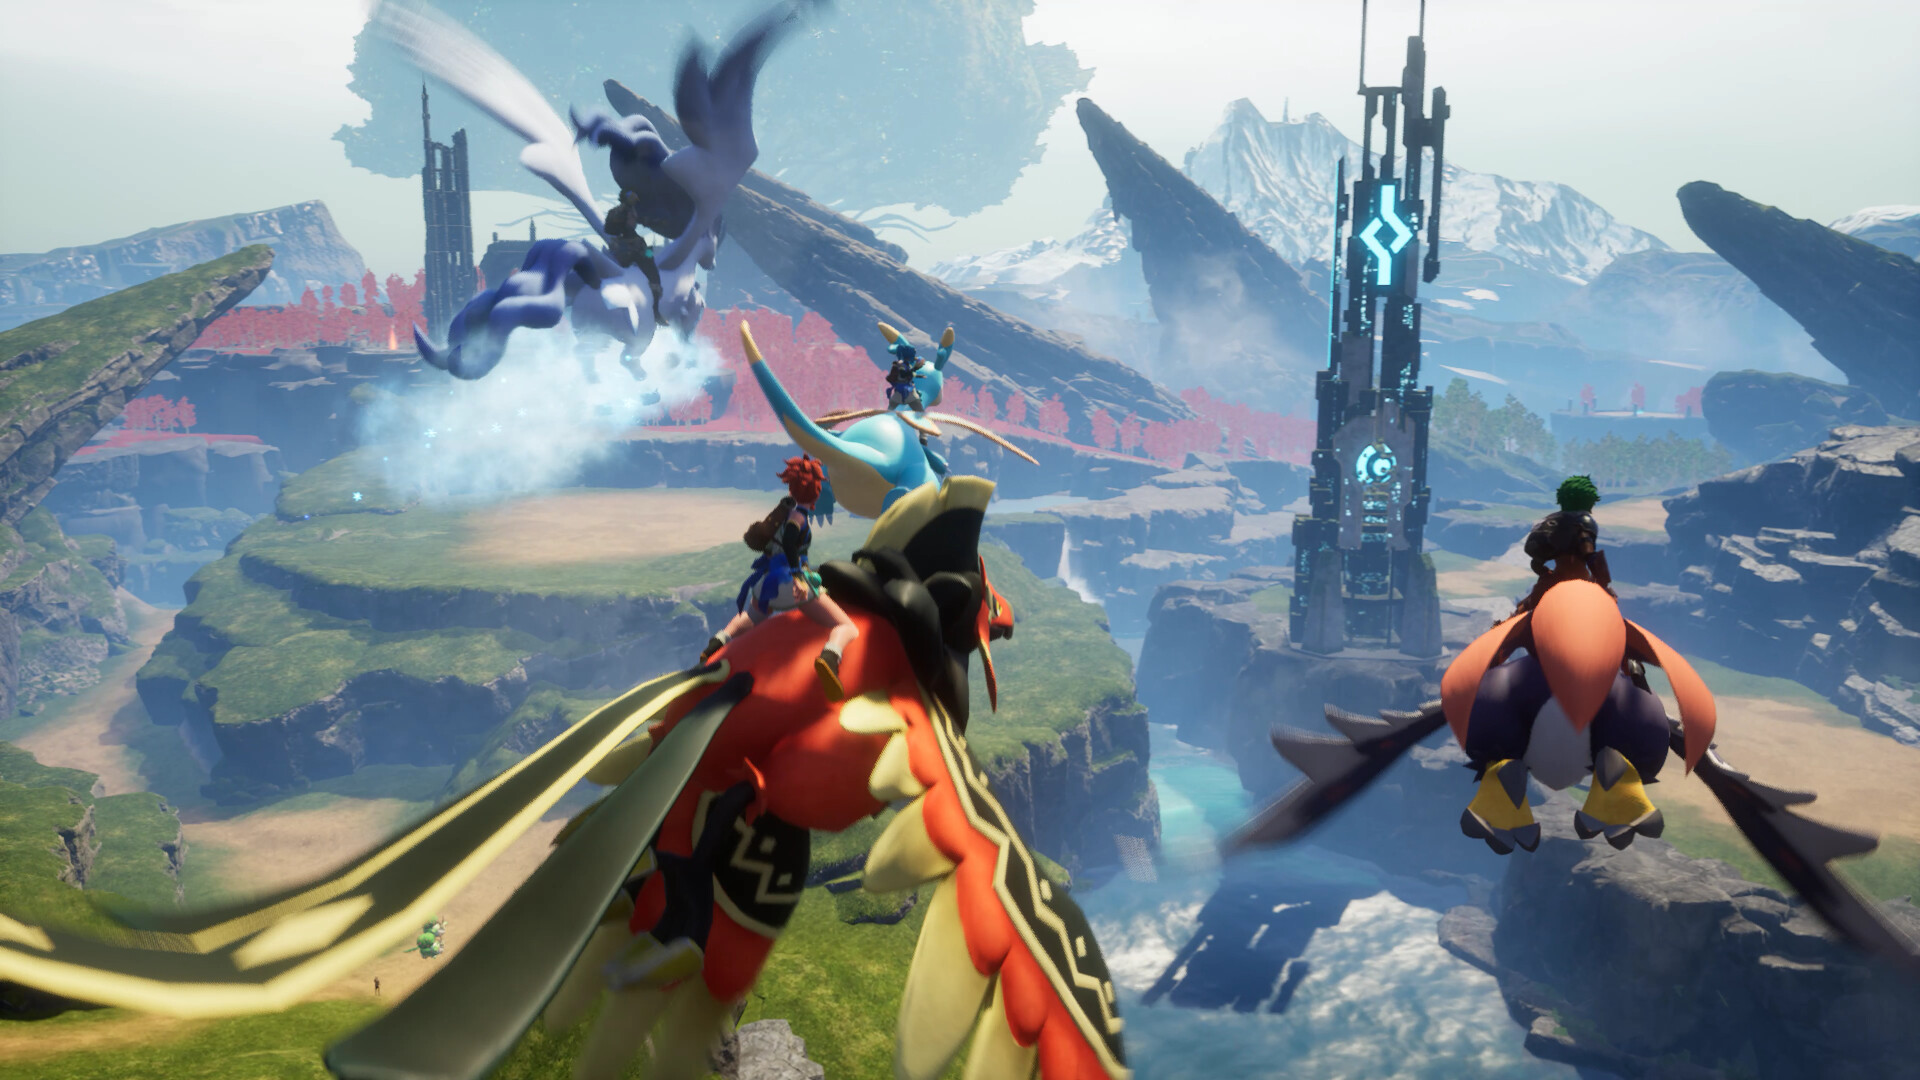
Three conditions must be met for the sand to be harvestable:
- Being in a desert or beach area of Feybreak.
- The in-game clock must show a nighttime phase, in practice between 8 p.m. and 5 a.m.
- The area must have respawned (see the farming section below).
No tool is required: a simple bare-handed interaction (default key E on PC) yields 1 to 3 units per glowing point.
The best farming spots
- Northern beaches of Feybreak, around the Scorched Ash fast travel point: this is the densest area, easily yielding 10 to 15 points per cycle.
- Frozen Coral Hill and Scorched Hill to the north: medium density but useful additions to a route.
- The eastern and western shores offer isolated points that you can pick up on the way back.
Tip: set up a base camp point near Scorched Ash. You'll be able to drop off your inventory between runs without using teleport items, and Pals assigned to production will keep working while you're away.
Which Pals drop Starry Night Sand?
Ground harvesting isn't the only source. Four Pals introduced with Feybreak drop Starry Night Sand upon defeat or capture, according to data from the Paldex relayed by paldb.cc:
- Starryon Primo — 1 to 2 units, 100% of the time.
- Wistella — 1 to 2 units, 100% of the time.
- Starryon Primo Silver Mane (variant) — 2 to 3 units, rarer drop rate.
- Wistella Bearer of the Night Sky (variant) — 2 to 3 units, rarer drop rate.
These Pals mainly appear on Scorched Hill and Frozen Coral Hill at night. The level 63 Alpha boss Starryon is planted northwest of the Wildlands Floodgate fast travel point, around coordinates -893; -1292: defeating it guarantees a nice batch of sand on top of the Paldex entry.
Note: Starryon and Wistella are both Dark type. Prepare a Dragon-oriented team to fight them efficiently, and keep an Ultra or Legendary Sphere handy to attempt capturing the rare variants.
What is Starry Night Sand used for?
The material is used in over 20 recipes in the tech tree. Here are the most strategic uses, ranked by usefulness:
Mobility gear
- Anti-Gravity Belt — level 29
- Air Dash Shoes — level 34
- Double Jump Shoes — level 39
- Double Air Dash Shoes — level 54
- Triple Jump Shoes — level 58
High-level weapons
- Advanced Bow — level 57, 20 to 40 units depending on the blueprint.
- Radiant Sword — level 57, 20 to 40 units depending on the blueprint.
Utility
- Metal Detector — level 56, essential for locating chromite and hexolite quartz deposits on Feybreak.
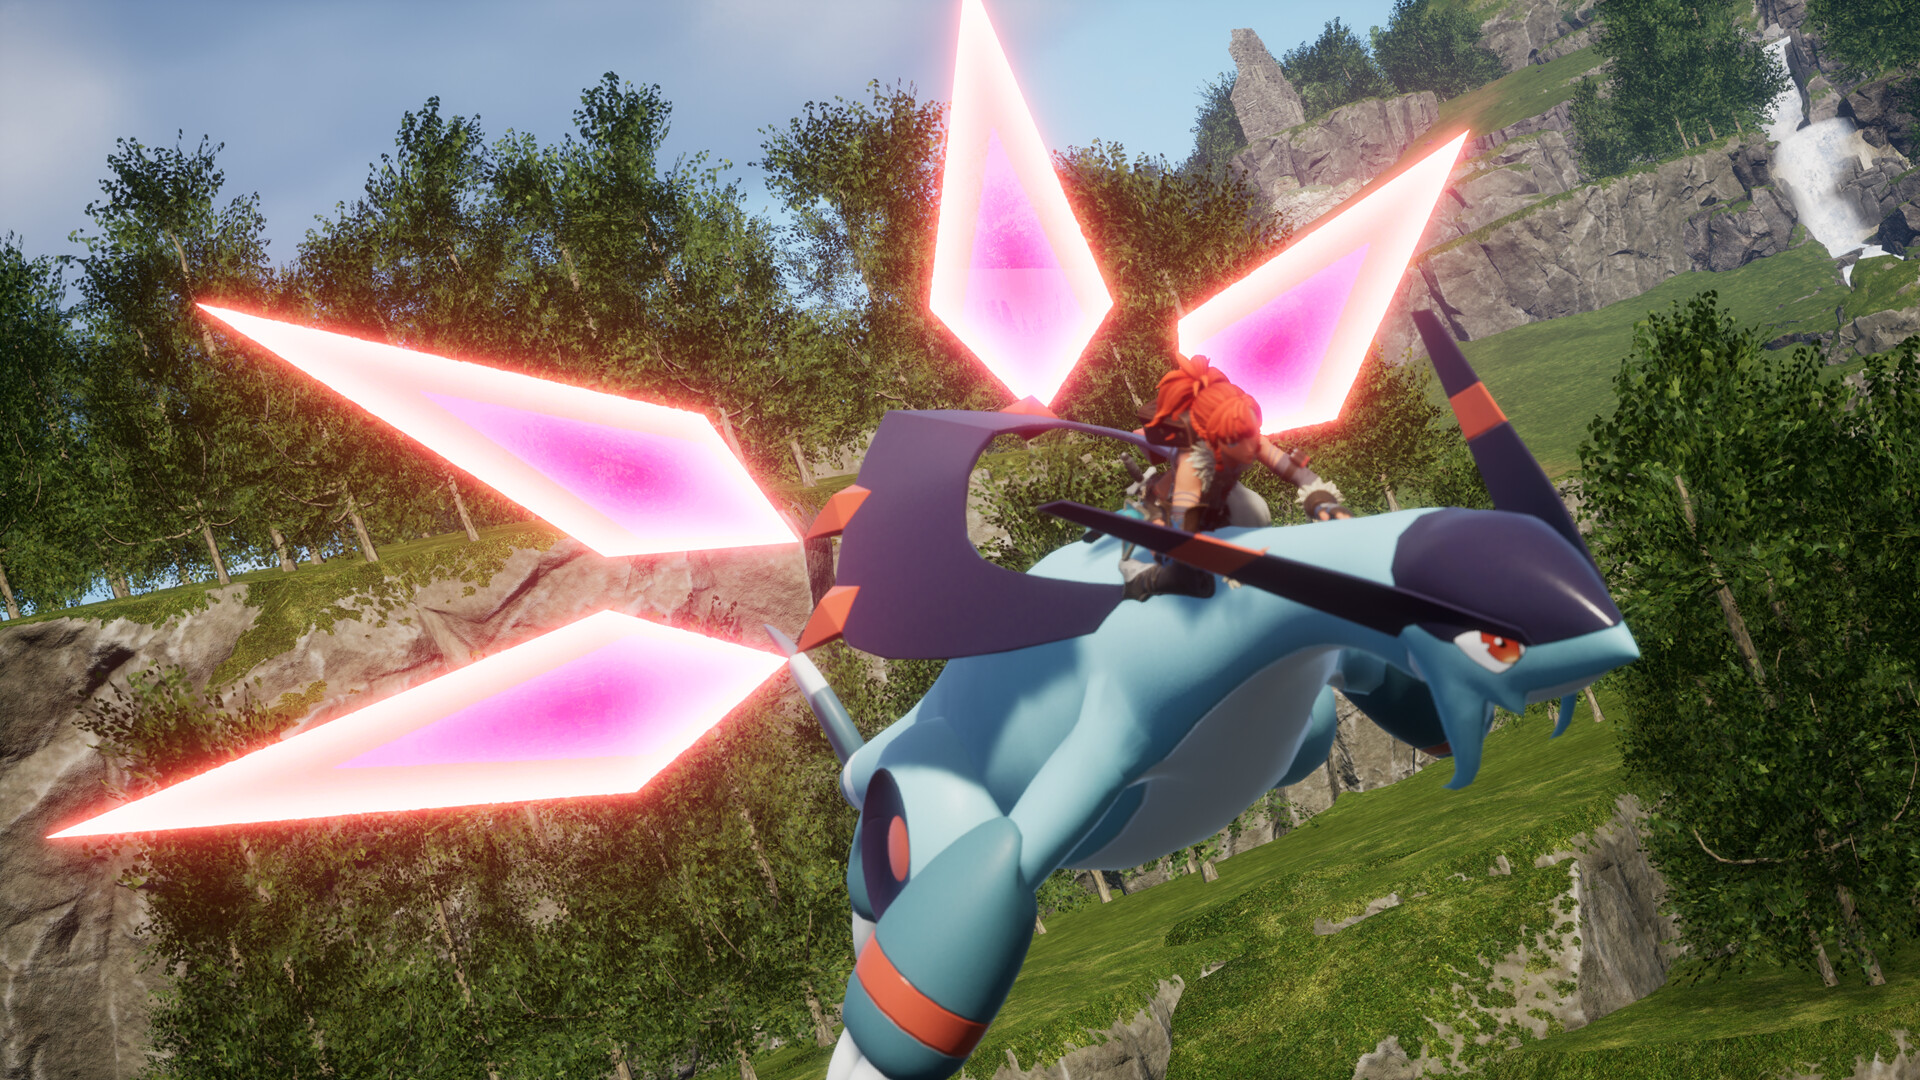
Tip: don't rush into the Triple Jump Shoes before building up a comfortable stock. The full mobility chain (belt + air dash + double jump + triple jump) consumes between 150 and 200 cumulative units, not counting successive blueprint upgrades.
How to farm Starry Night Sand efficiently
Here's the routine that makes your nights on Feybreak worthwhile without eating up too many real-life hours:
- Land at sunset. Ideally, arrive at Scorched Ash around 7:30 p.m. on the in-game clock, just before the glowing patches appear.
- Hop on a fast mount Pal. A Starryon — which you're already farming for its drop — or a Ragnahawk offers the best speed-to-handling ratio on sand. Notable bonus: Starryon's partner skill Night Dancer increases its mount speed at night, making it the ideal farming companion.
- Follow a fixed route. North beach (10-15 points) → Frozen Coral Hill (5-8 points) → east shore (3-5 points) → back to Scorched Ash. Expect 20 to 30 units per well-run loop.
- Empty your inventory into a base chest, sleep until daybreak, then wait for the next night cycle.
- Repeat every two day-night cycles: this is the minimum respawn rhythm observed by the community.
Tip: Pals with the Gathering trait don't speed up Starry Night Sand collection, which remains a manual interaction. However, a carrier Pal (Cattiva, refined Lifmunk) reduces your encumbrance and lets you stay out in the field longer before heading back to base.
One last crucial point: dying on Feybreak at night makes you lose all undeposited sand. The island is teeming with aggressive nocturnal Alphas, starting with Starryon itself. Prefer a one-minute detour over a risky fight, especially with a freshly harvested load.
Beginner mistakes to avoid
- Farming before level 40. Without the right shoes, crossing Feybreak is slow and dangerous. Prioritize the level 29 Anti-Gravity Belt as soon as possible and secure a fast travel point.
- Ignoring the Starryon and Wistella variants. Their drops are more generous and they appear in the same areas: might as well include them in the route rather than avoid them.
- Mixing up Feybreak and Sakurajima. The two updates each have their own exclusive materials. Not a single grain of Starry Night Sand will ever come from Sakurajima's beaches, even at night.

Going further on Palworld
Starry Night Sand is the cornerstone of the endgame gear set. Once you've built up your stock, head over to our other Palworld guides to get the most out of v1.0:
- The Radiant Sword guide to complete the recipe for the game's most devastating melee weapon.
- Our Pals tier list to build an optimal team for Feybreak.
- The breeding guide to target the Silver Mane and Bearer of the Night Sky variants.
- The Alpha Pals guide to take down Feybreak's nocturnal bosses without stress.
- The 15-hour starter guide and our optimal base guide if you're starting a fresh save around Feybreak content.
Happy farming on the starry beaches — and keep an eye on the sky: the best gathering spots often coincide with a wild Alpha fully determined to defend its sand.
Share this article
At what level do you start farming Starsand?
Frequently asked questions
Does Starsand exist anywhere other than Feybreak?
No, it's exclusive to Feybreak. You won't find it on Palpagos, Sakurajima, or in the Wild Sanctuaries. No regional variant, no exceptions.
I harvested sand last night, why is there less of it tonight?
According to community observations, sand regenerates every two day-night cycles at minimum. If you farm too tightly, you'll temporarily deplete the area. Leave at least one full day-night cycle between two runs on the same spot.
Which mount Pal is best for farming sand?
Starryon, without a doubt. Its Night Dancer partner skill boosts its mounted speed at night, and it's the same Pal you're farming for drops anyway. A Ragnahawk works too, but it's less efficient.
Do Pals with the Harvesting trait speed up sand collection?
No, Starsand remains a manual interaction. However, a carrier Pal (Cattiva, refined Lifmunk) reduces your carry weight and lets you stay out in the field longer.
How much Starsand do I actually need?
For a full end-game playstyle: aim for a minimum of 200 units. That's plenty for the mobility chain plus weapons plus metal detector, with margin left over for future weapon upgrades.
Key takeaways
- Starsand only appears on Feybreak between 8 PM and 5 AM, exclusively in desert and beach areas.
- The northern beaches around Scorched Ash offer the best ratio: 10 to 15 glowing points per night cycle.
- Four Pals drop it at a 100% rate: Starryon Primo and Wistella are your best targets, variants included.
- A full mobility chain (belt + air dash + double jump + triple jump) requires between 150 and 200 cumulative units.
- Farming before level 40 is a trap: secure the level 29 Anti-Gravity Belt first, then work on the boots progressively.
Comments
No comments yet. Be the first to react!
Leave a comment
Similar guides




Latest articles







Your opinion counts
Rate Palworld
Click a star to rate