



 Fabian Lainé


Full Guide
NTE 1.2: the Shinku build guide (Arcs, Cartridges, teams and rotation)
In brief
Shinku, the new S-class Cosmos DPS from NTE 1.2, requires a precise build to unleash her full potential. This guide covers her best Arcs, the essential Lost Radiance Cassette, optimal teams, and the exact burst rotation to dominate the board and the Nightmare zone.
Version 1.2 of NTE: Neverness to Everness arrived on PC, PlayStation 5, and mobile on July 8, 2026, alongside the Steam release. The star of this patch is Shinku, a main DPS Cosmos of S rank, available on the Before Dawn banner until July 29. Unlike other, more forgiving carries, Shinku rewards precise play: the wrong Arc, the wrong Cartridge, or a sloppy rotation, and you leave half her damage on the floor. Here's how to build her correctly, what team to put around her, and in what order to trigger her skills to maximize her burst windows in overworld content or in a Nightmare zone.

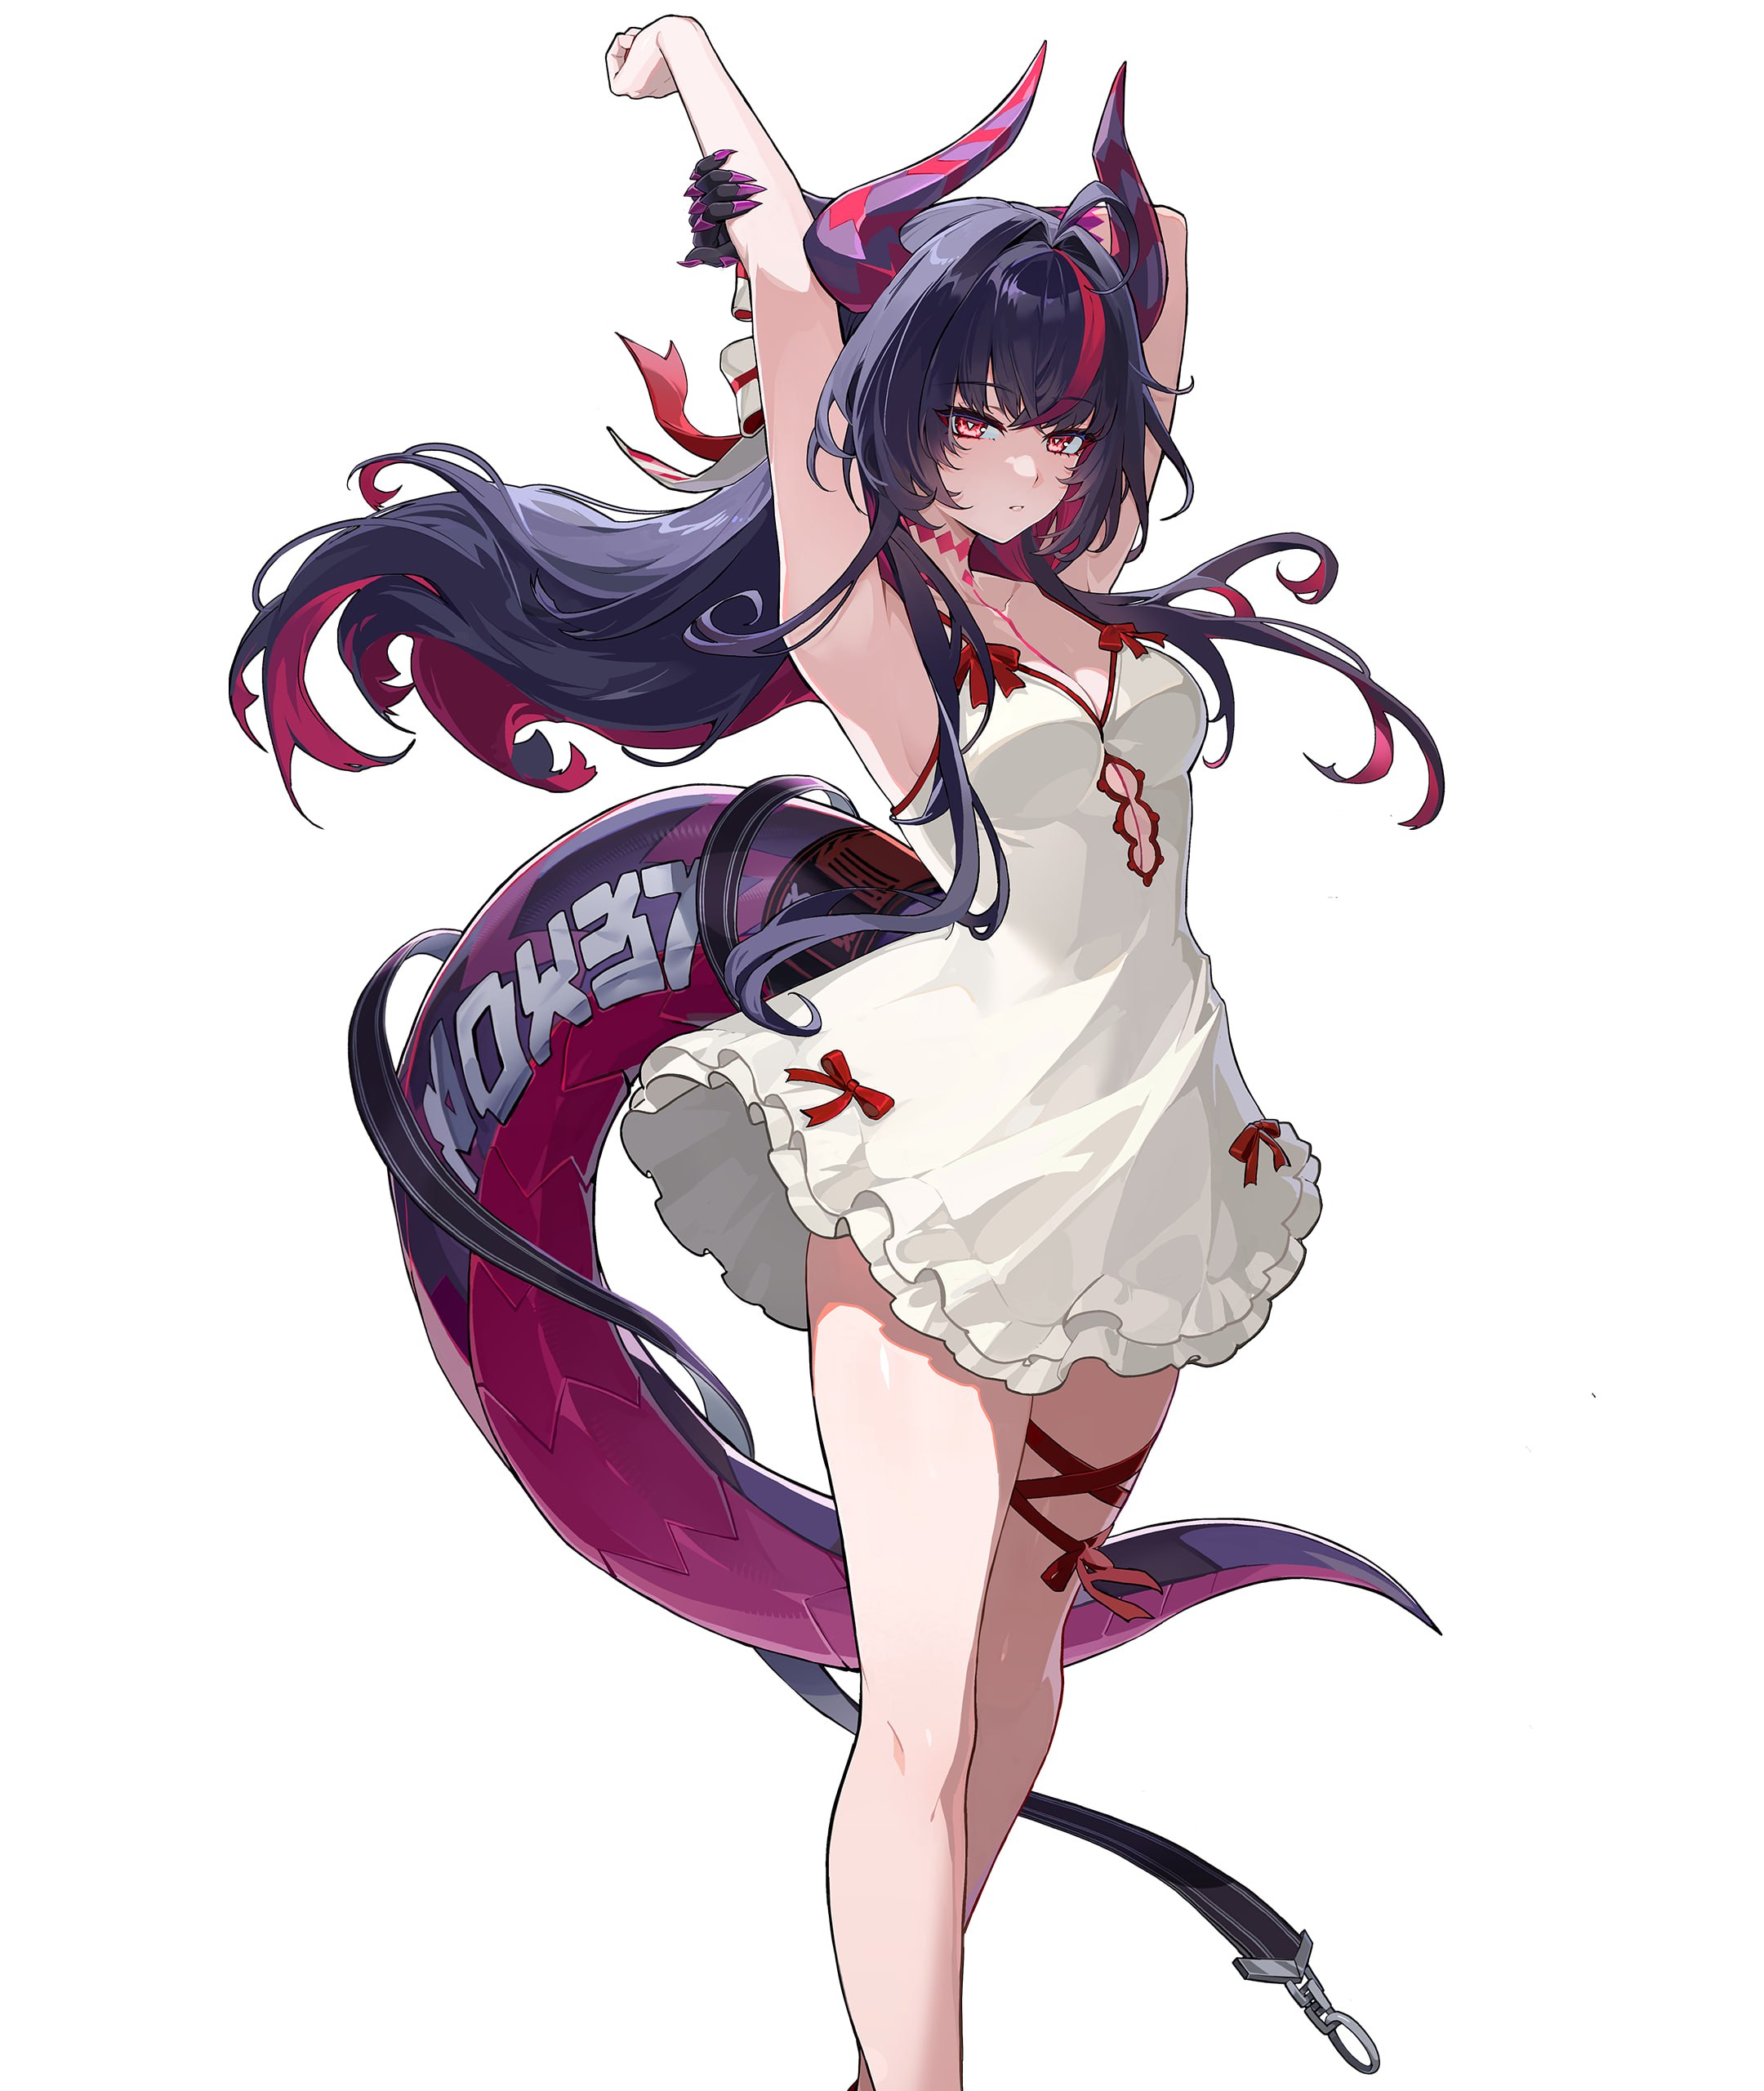
Who is Shinku, the new Limited Cosmos?
Shinku is a member of CSU-2, an intervention cell attached to Hethereau's Anomaly Control Bureau. In gameplay terms, she fills the role of main DPS Cosmos with a martial arts combat style: fast combos, punishing dodge counters, and a transformative ultimate. Her gameplan revolves around a proprietary gauge, Defiant Spirit, which she fills using her held basic attacks, her counters, her redirection skill, and her support skill. Once the gauge is charged, she shifts into an enhanced state that dramatically boosts her multipliers for thirteen seconds.
On paper, this is a fairly classic burst carry for a gacha of this type. In practice, she demands more discipline than Nanally or Hotori because her best damage windows are conditioned on precise Cosmos reactions. In other words, you don't just deploy her alone: you build an entire team around her.
Understanding the kit: Defiant Spirit, Crimson Fury, and Menacing Glare
Let's break down the kit in the order you'll use it in combat, with the official English labels from the client:
- Basic Attack — Special Combat Arts: up to five consecutive Cosmos hits. The 3rd and 5th strikes trigger enhanced variants and generate Defiant Spirit.
- Dodge Counter — Leaping Kick: after a perfect dodge, deals heavy Cosmos damage and starts chipping away at enemies' break gauge.
- Redirection Skill — High-Speed Breach: a multi-hit burst that significantly speeds up the charging of Defiant Spirit.
- Ultimate — Crimson Fury: consumes Defiant Spirit to shift into the Surging Crimson state for thirteen seconds. This is the burst window: every skill is transformed into a boosted version, with significantly higher multipliers.
- Passive — Menacing Glare: by staying on the field without attacking, Shinku builds up charges. A dodge counter in this state deals bonus damage and knocks the target back.
The tricky part of the kit is the passive. Many players mash combos without pausing and lose the added value of Menacing Glare. Best practice is to let Shinku passively charge for two to three seconds before opening a counter or skill window, rather than chaining all five hits without a break. This slightly hurts the pacing but boosts average DPS on a somewhat long boss fight.
The perfect Arc: Blushing Mirage and F2P alternatives
As is often the case with Limited units, the signature Arc remains the best option. The Blushing Mirage (S rank, Condensate type) provides 570 base ATK and 24% crit rate, with a passive effect that boosts ATK by 20% and adds 32% Cosmos damage plus 12% DEF ignore for twenty seconds after the ultimate. This DEF ignore stacks with the one from the Cartridge described below: that's where Shinku's burst spike comes from.
If you're free-to-play or prefer to save your Determination Keys for Iroi on July 29th, two alternatives hold up well:
- the Determination Special Program Arc (the equivalent of the battle pass), with 512 base ATK and 27.5% ATK as secondary stat, quite solid thanks to the crit main stat carried by the Cartridge;
- a 4-star Cosmos Arc failing that, aiming for the version with crit rate as secondary stat to balance your crit budget.
No need to invest in the Blushing Mirage at R2+ refinement for a first build: the room for improvement is small as long as the rest of the team isn't leveled up.
Lost Glow Cartridge: the only set that matters
On the Cartridge side (the game's module sets), the question is quickly settled. The Lost Glow Cartridge is the only one that really suits Shinku:
- 2 pieces: +10% Cosmos damage.
- 4 pieces: ignores 25% of enemy DEF for twenty seconds after the ultimate.
Combined with the Blushing Mirage's DEF ignore, Lost Glow lets Shinku literally pierce through the highest defenses in endgame content, including the bosses of the new Nightmare zone tied to version 1.2. Note: equip at least four Type III modules in total, two from the Lost Glow Cartridge and two free ones, in order to benefit from Shinku's passive bonus that grants 16% crit damage per equipped Type III module, for a total of 64%.
For main stats, the hierarchy is stable:
- Crit damage (absolute priority on the main slot);
- Crit rate;
- Cosmos damage bonus;
- ATK percentage.
Substats follow the same logic, with crit rate first to balance the ratio.
Target stats: the 70/150 ratio as a compass
The commonly accepted benchmark for Shinku is 70% crit rate and 150% crit damage. This is an achievable goal at level 70 with a well-rolled set of modules, without spending your life on rerolls. Two useful clarifications:
- If you're playing without the signature Arc, push crit rate a bit higher (around 75%) to compensate for the 24% offered by the Blushing Mirage.
- The Cosmos damage bonus never replaces a well-rolled crit damage module: always prefer a well-statted crit slot over an average Cosmos slot.
Don't forget the break bonus either: Shinku isn't a native poise breaker, but her counter triggers solid break damage, useful when fighting without a teammate dedicated to that task.
Recommended teams: the dream comp and an F2P version
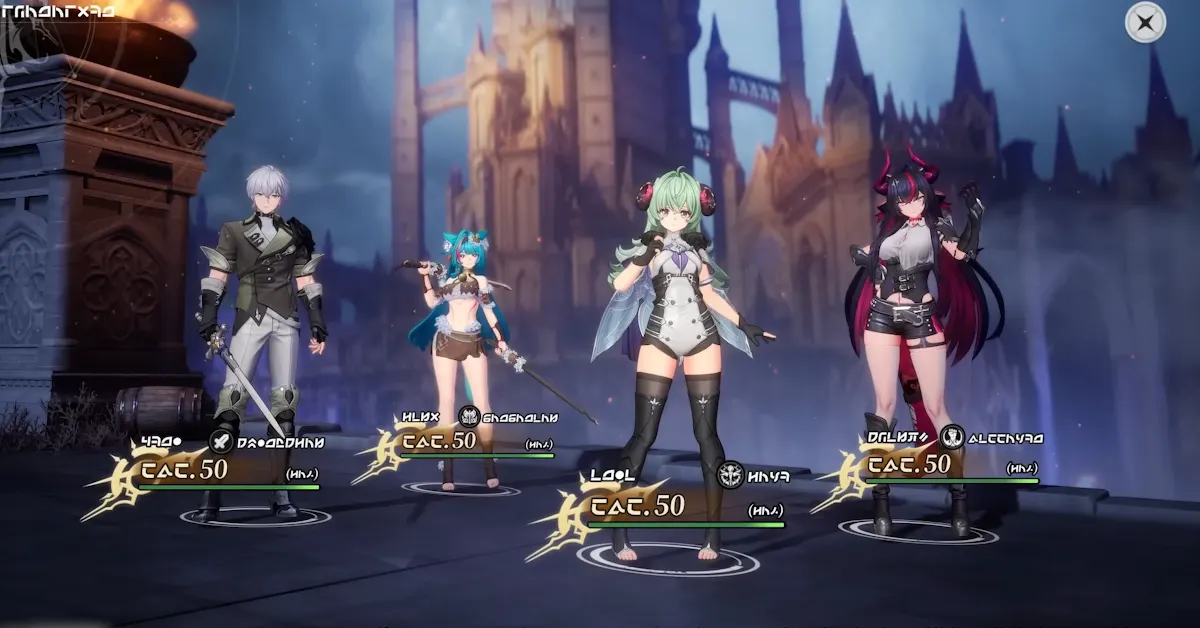
Shinku shines in a team that triggers two Cosmos reactions, Blossom (Anima + Cosmos) and Remora (Lakshana + Cosmos), to complete her charge cycle. The hyper-optimized format, the one seen in limited banner showcases and highlight runs, is as follows:
| Role | Character | Main function |
|---|---|---|
| Main DPS | Shinku | Carries the entire burst window in Surging Purple |
| Secondary DPS | Hathor | Extends the Remora debuff and chains off-field damage |
| Support | Esper Zero | Triggers fast Blossom cycles, speeds up the rotation |
| Anima DPS | Nanally | Charges Shinku via her Pistils, buffs the Blossom reaction |
If you don't have Nanally, the strongest F2P comp replaces her with Jiuyuan, an Anima DPS available in the standard pool, with a DPS loss of about 8 to 12% depending on the rotations. You can also run Sakiri as a Lakshana support to maintain Remora, especially if you don't have Hathor.
Worth noting: Iroi, releasing on July 29 in the second phase of version 1.2, looks like a very interesting piece for Shinku since she turns her healing into an offensive team buff. If you're on a tight pull budget, it's not unreasonable to save your Keys of Resolve for her banner.
Step-by-step rotation: placing the burst windows
Shinku's standard rotation unfolds in five stages. It takes a bit of practice due to the character swaps, but it becomes very mechanical after a few tries:
- Opening with Shinku: use the redirect skill, chain two combos up to the 3rd hit to fill the Defiant Spirit gauge, then swap.
- Hathor: ultimate, then skill, to apply and extend the Remora debuff on the target.
- Esper Zero: ultimate, then skill, to trigger an instant Blossom cycle.
- Nanally: skill, ultimate, six seconds of basic attacks to charge her Pistils and complete Shinku's charge cycle.
- Back to Shinku: immediately use Crimson Fury to enter Surging Purple, then alternate held basic attacks and the redirect skill until the thirteen seconds run out.
Quick video tip: as soon as you see the perfect dodge indicator appear during the Surging Purple phase, force the counter with the Jumping Kick. It gains a huge multiplier when triggered at that moment, and it's often what tips a timing in your favor on the weekly Nightmare zone boss.
Awakening priority: which levels to target first?
Shinku follows a very clear awakening curve. If you're lucky enough to get several copies, prioritize in this order:
- Awakening 1 (Knowledge, Balance): an additional 12% DEF ignore, the best copy in the kit outside of level 6.
- Awakening 2 (Information Becomes Blades): -8% Lumina resistance on the target, stackable with team debuffs.
- Awakening 4 (Strike to Kill): a significant buff to the Menacing Gaze passive, particularly worthwhile if you play the measured rotation described above.
Avoid pulling copies just for the sake of it: beyond Awakening 2, the returns drop off sharply relative to the resources invested. An R2 on Blushing Mirage is almost always more worthwhile than a random Awakening 3.
Materials, resources, and pull budget
To level Shinku up to level 80 and push all her skills to level 10, budget a substantial amount of Fons, Rift Crystals, and specific ascension materials. Two useful habits:
- Run your daily Annulith on the Cosmos materials domain before anything else, it's the fastest bottleneck to hit a wall on.
- The Tri-Keys obtained in the "999 Nights" mode are used to buy Crafted Dice in the event shop: keep 40 to 60 in reserve for the next Limited Banner if you're also aiming for Iroi.
On the pulls side, a player who opens the patch with 90 Standard Dice and 30 Crafted Dice is in a comfortable position to guarantee Shinku without breaking the bank, especially thanks to the Banner Modification that lets you secure the limited character at the end of the hard pity.
Mistakes to avoid and tips to progress quickly
Here are the mistakes that keep showing up in the damage screenshots posted on FR community servers since the patch release:
- Using the ultimate too early, before Remora or Blossom are active. Always check for both debuff/reaction icons before pressing Crimson Fury.
- Neglecting the Threatening Gaze passive by chaining the five hits without a breather. A short pause between two combos is often worth 8 to 10% DPS over the window.
- Relying on an "ATK% everywhere" module setup. Without a proper crit base, the Surging Purple multiplier doesn't come into play.
- Skipping the Nanally / Jiuyuan phase on the grounds that "the rotation is already long." Without that recharge, Defiant Spirit drops and Shinku can no longer loop her ultimate.
One last tip: take advantage of the "999 Nights" mode added in the same patch to test the rotation in a more forgiving environment. Characters there are preset and your Hethereau builds aren't imported, but the combat pacing stays very close to the open world, and it will help you build a lot of muscle memory before chasing the weekly scores in the Scarborough Fair.
Conclusion
Shinku is the most technical carry in the NTE roster so far, but also one of the most rewarding once you've mastered her rotation. To sum up the essentials: Blushing Mirage Bow, 4-piece Lost Radiance Cartridge set, at least four Type III modules, a 70% / 150% crit target, a comp built around Hathor, Esper Zero, and Nanally (or Jiuyuan for F2P), and a five-beat rotation ending on thirteen seconds of Surging Purple. Run it for two or three evenings in the Nightmare zone of version 1.2: you should quickly beat the scores you got with your old Nanally or Hotori teams. See you on July 29 for Iroi, who should raise this comp's damage ceiling even further.
Share this article
Which build would you use to fight Shinku first?
Frequently asked questions
Is Shinku playable as free-to-play?
Yes, but without the signature Arc. The Arc from the Special Program Determination or a 4-star Cosmos Arc with crit as a secondary stat is enough for solid damage, even though you lose the burst peak from Blushing Mirage and its DEF ignore.
Why let Shinku charge passively instead of chaining combos?
Her Menacing Gaze passive builds up charges while staying inactive, and a dodge counter triggered in that state deals bonus damage and knocks the target back. Ignoring this mechanic costs a significant portion of average DPS on long boss fights.
What if I don't have Nanally for the optimal team?
Replace her with Jiuyuan, an Anima DPS from the standard pool, with an estimated DPS drop of 8 to 12%. Sakiri as a Lakshana support also works if you're missing Hathor to maintain the Remora reaction.
Is it worth waiting for Iroi instead of building Shinku now?
Iroi turns Shinku's healing into an offensive team buff and releases on July 29, so if your Determination Key budget is tight, saving resources for her arrival isn't unreasonable—but Shinku remains formidable without her.
What crit ratio should I aim for without the signature Arc?
Push crit rate up to around 75% to compensate for the 24% offered by Blushing Mirage. The rest of the ratio (crit damage, ATK) follows the same priority order.
Key takeaways
- The signature Arc Blushing Mirage combined with the Lost Radiance Cassette forms the burst foundation, with a stacking DEF ignore that pierces endgame bosses.
- The target ratio of 70% crit rate and 150% crit damage is achievable without infinite rerolling and maximizes the Surging Purple window.
- Shinku requires a full team triggering Blossom and Remora: Hathor, Esper Zero, and Nanally form the hyper-optimized composition.
- The Menacing Gaze passive rewards two-to-three-second pauses before counters, penalizing players who chain combos without breathing room.
- The rotation unfolds across five distinct phases with character swaps: mastering the ultimate order is crucial to completing the charge cycle.
Comments
No comments yet. Be the first to react!
Leave a comment
Similar guides




Latest articles








Your opinion counts
Rate NTE: Neverness to Everness
Click a star to rate