



 Fabian Lainé
Full Guide
Moonlight Peaks: livestock guide — barn, fodder and the optimal 7-animal plan
In brief
Moonlight Peaks hides a complex breeding system where affinities between animals dictate everything: happiness, production, quality. This guide breaks down the optimal layout of nine animals across three barns, the complete fodder chain, and reveals why raw livestock farming earns you nothing — only processing (Moonshine, Cloth, Stone) justifies the 61,500-coin investment.
The barn is the last major farm system that Moonlight Peaks unlocks, and it's also the one the game explains the least. You buy a building for 4,000 coins, cram four random animals into it, and then six nights later wonder why they're sulking and why the milk comes out with no star rating. The answer boils down to one word: affinities. Each species has roommates it likes and others it can barely tolerate, and none of that shows up in the interface.
Here's the barn layout that gets all seven species up to five hearts, the full feed chain, and above all the math on what livestock actually earns you — because this isn't a coin machine, it's an ingredient factory.
Version note. As of August 9, 2026, the game is running 1.1.45 on Steam, 1.1.46 on Switch and Switch 2, and 1.1.51 on Google Play Games according to Marvelous. Patch 1.1.45 from July 21 fixes a bug that hits breeders directly: animals from Luna's shop could become permanently unavailable after a heart scene with Pumpkin Head. Update before buying anything. Lastly, Moonlight Peaks isn't localized into French: every name cited here comes from the English client.
Unlocking the barn: the Farm Animals for Sale quest
It all starts with Luna. Her quest Farm Animals for Sale invites you to her farm, in the Moonlit Pines, and boils down to three objectives: stop by Luna's Farm, buy a barn, wait for it to be built. This quest is what unlocks the purchase of the Barn at Ridge's, at the Howling Hammer.
The barn costs 4,000 coins and takes one night to build. It holds four animals and can't be upgraded: to go beyond four animals, you have to buy entire additional barns. That's the budget tipping point of the whole system, and we'll come back to it below.
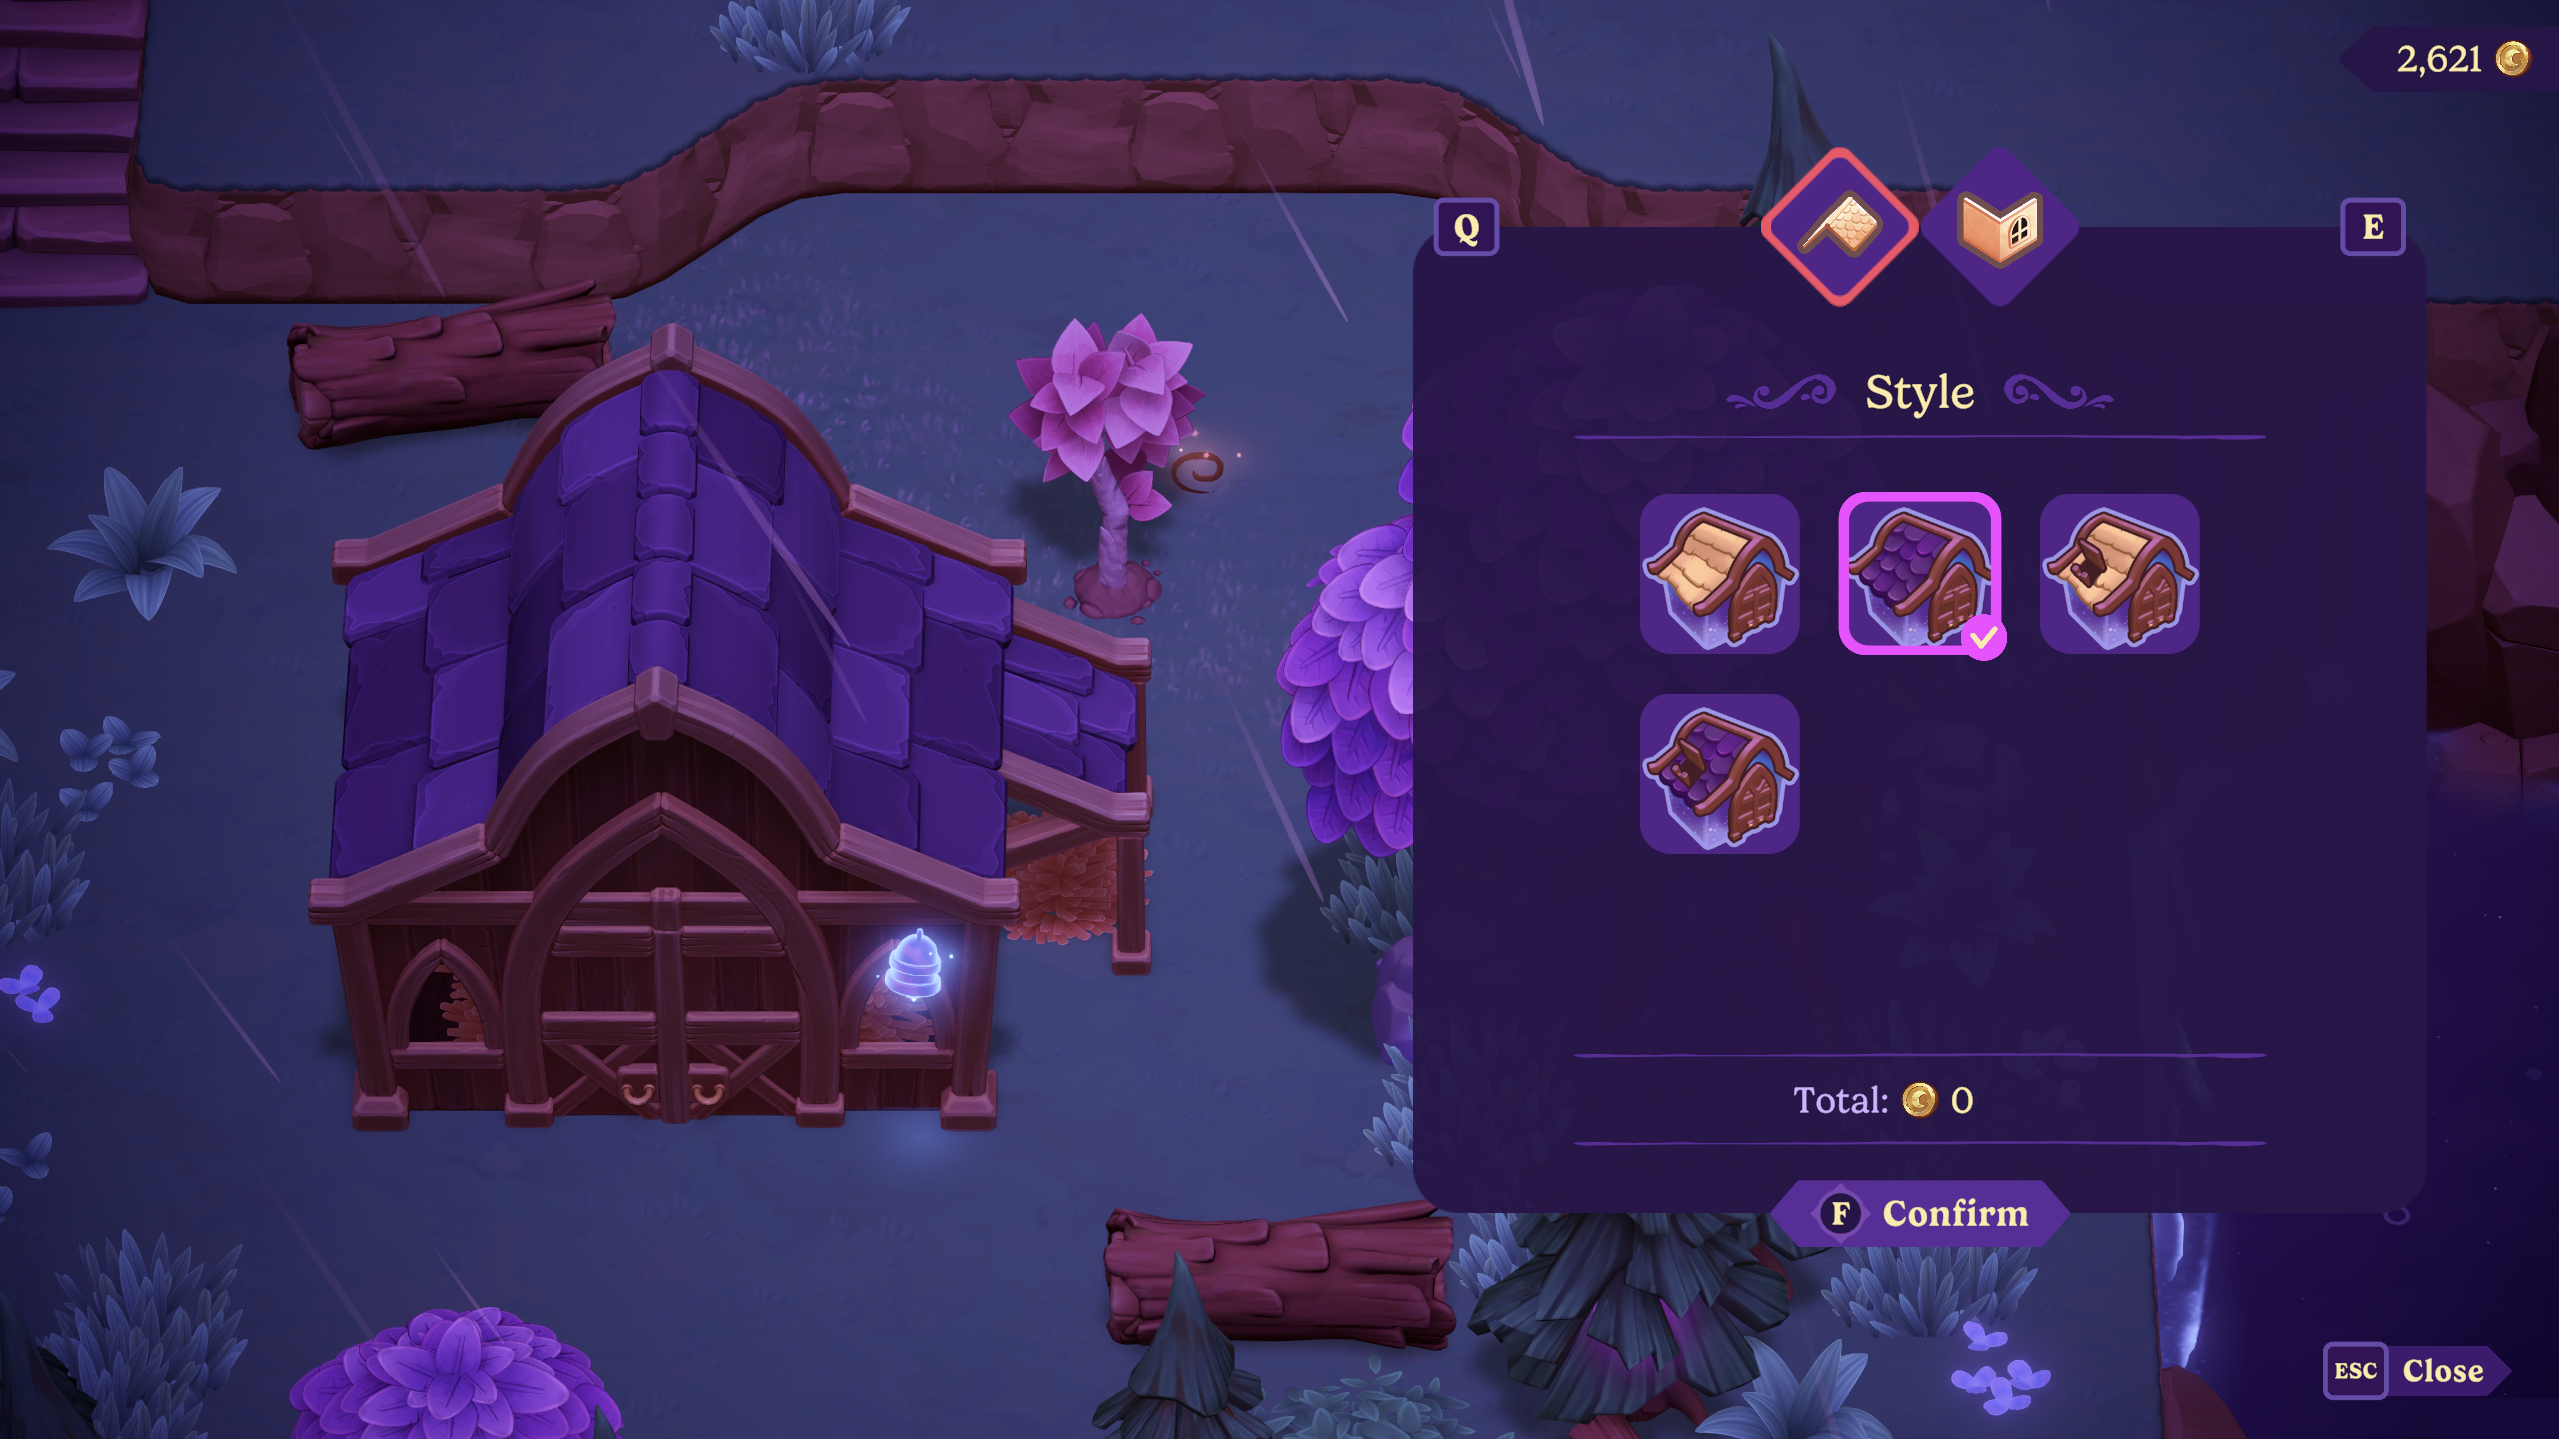
A detail many people miss: the barn can be customized from its decoration screen — wall color, roof style — and the total cost is shown before you confirm. It's purely cosmetic, but checking it costs nothing.
The seven species, their prices, and their unlock schedule
Four species are available as soon as Luna's quest is complete. The other three arrive by mail, at specific seasons, and one of them hides an extra condition.
| Species | Purchase | Resale | Product | Unlock |
|---|---|---|---|---|
| Cheeken | 1,200 | 900 | Egg, Golden Egg | Farm Animals for Sale quest |
| Piggoat | 3,500 | 2,600 | Piggoat Milk | Farm Animals for Sale quest |
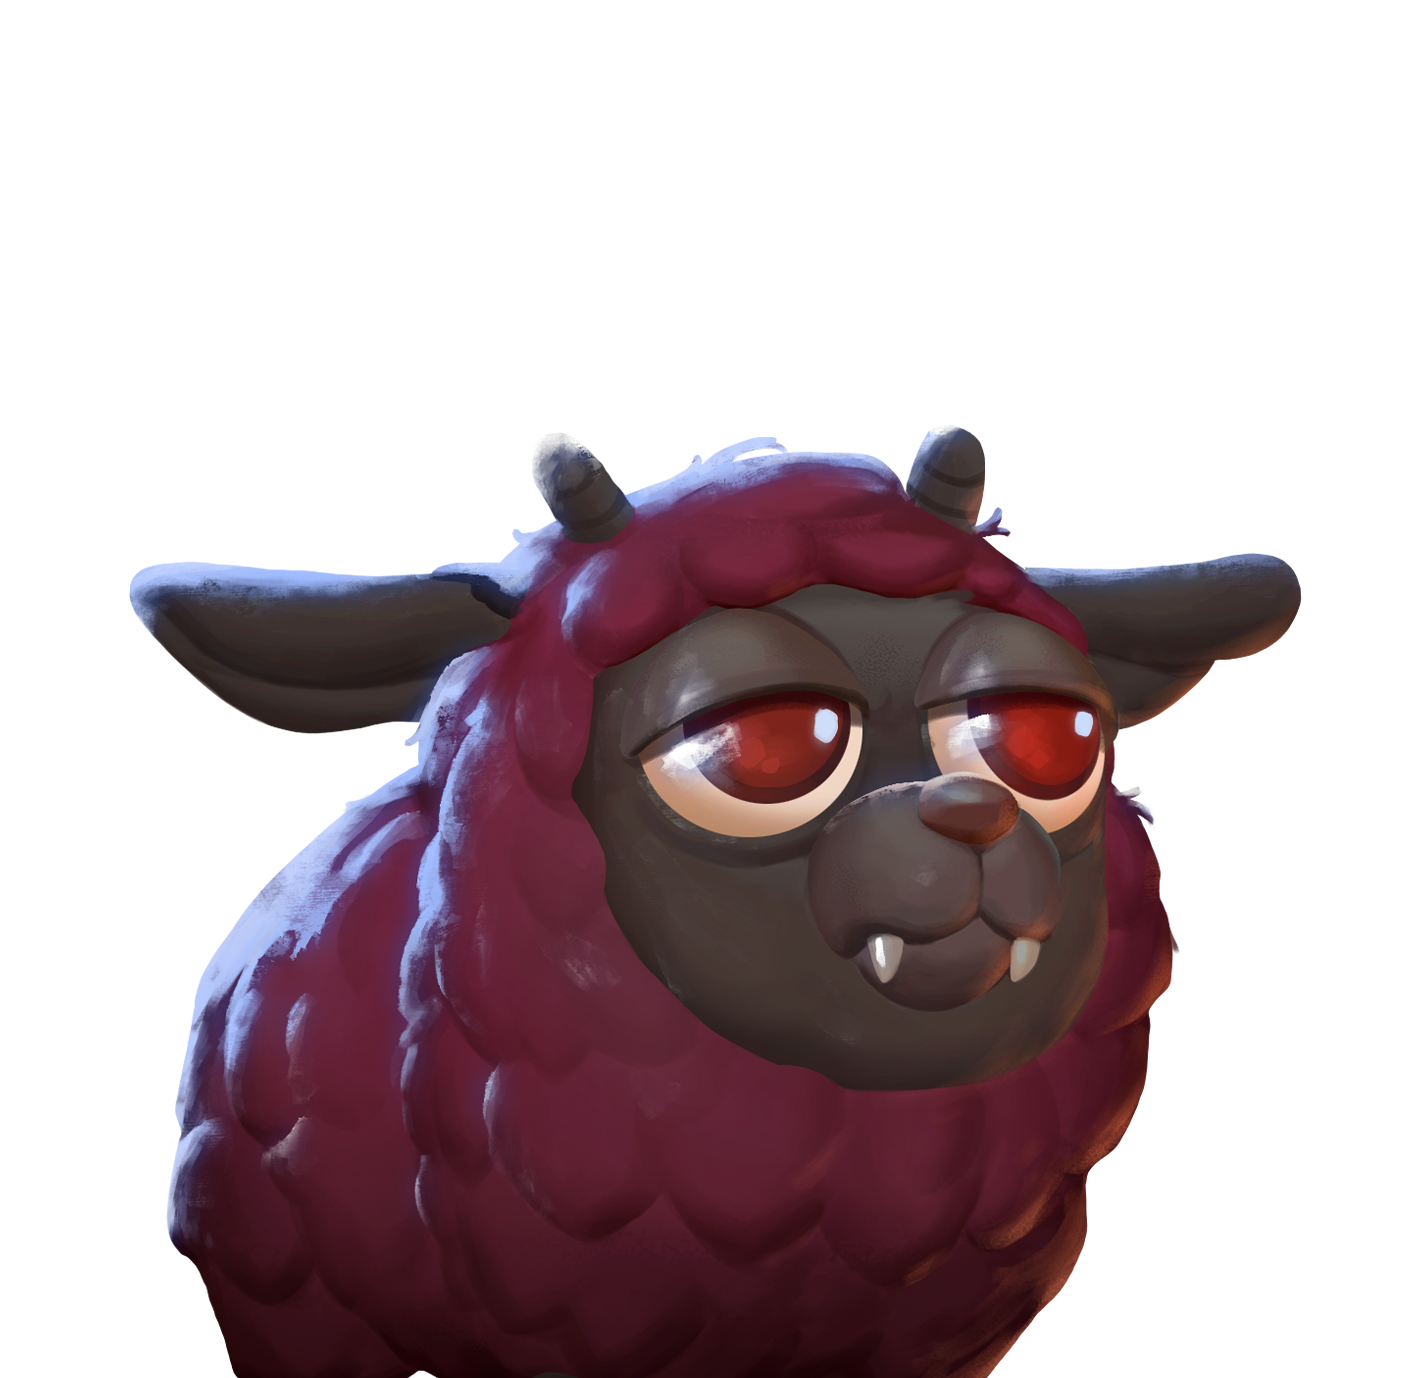
| Draculamb | 4,500 | 3,400 | Draculamb Milk, Wool | Farm Animals for Sale quest |
| Cowcula | 6,000 | 4,500 | Cowcula Milk | Farm Animals for Sale quest |
| Stoney | 9,000 | 6,750 | Heart Stone | Letter from Luna, Year 1 winter |
| Bumpkin | 12,000 | 9,000 | Plops | Letter from Luna, Year 1 autumn |
| Rabbicula | 2,800 | 2,100 | Luck Dust | Letter from Luna, Year 2 spring |
The hidden condition concerns the Bumpkin: Year 1's autumn letter only arrives if you already own one of each of the four starter animals. If you skipped the Piggoat to save money, you unknowingly block the game's most expensive animal, and push its letter back a full year.
Bonus for collectors: the colors on offer at Luna's change from one visit to the next, and the dig spots scattered around the world sometimes spit out tickets for specific color variants. No need to rebuy a creature just to get the coat you want.
The optimal barn layout: who lives with whom
Each species has cohabitation preferences that are never shown in the interface. Two of them — the Cowcula and the Draculamb — only reach five hearts if they have a companion of their own kind with them. The Cowcula, for its part, bothers most of the other species because of its size. Direct consequence: reaching maximum happiness everywhere requires nine animals spread across three barns.
| Barn | Occupants | Reason |
|---|---|---|
| Barn 1 | 1 Cheeken, 1 Piggoat, 1 Stoney, 1 free slot (duplicate of your choice) | The Stoney wants a Cheeken, the Piggoat wants a Stoney |
| Barn 2 | 2 Draculamb, 1 Bumpkin, 1 Rabbicula | Draculamb must be in a pair, the Bumpkin wants a Rabbicula |
| Barn 3 | 2 Cowcula | Four of the other six species don't get along with them; the two that tolerate them, Stoney and Piggoat, need a Cheeken, which in turn fears them |
Two more flexible arrangements also work without any notable loss of happiness: 2 Cheeken with 2 Draculamb in the same barn, or 2 Cowcula alongside a Stoney and a Piggoat. However, two Bumpkin together will always be unhappy: unlike the Cowcula and the Draculamb, they don't get along with each other.
The cost of the full plan, in black and white: 49,500 animal coins and 12,000 barn coins, for a total of 61,500 coins. This is a Year 2 goal, not a first-season one.
Fodder: the Fiber, Fodder, Premium Fodder chain
Only two things raise happiness, up to five hearts: food and daily petting. A neglected animal produces less often, at lower quality, and eventually stops producing altogether.
- Fiber: harvested with a scythe from grass, in pretty much every zone. It's the most basic resource in the game, and the foundation of the whole system.
- Fodder: at the Refiner, 1 Fiber yields 2 Fodder in 7 min 30 sec.
- Premium Fodder: also at the Refiner, 50 Fodder and 1 Mana Essence yield 50 Premium Fodder. It increases the quality of products, not their frequency — an important nuance if you were hoping to double your milk production.
Mana Essence comes from the Mana Extractor, whose blueprint is unlocked by progressing through Sabrina's quest line, and which runs on magical crops. In other words, top-tier fodder assumes a magical garden is already up and running.
Each barn's trough holds 100 Fodder and 100 Premium Fodder, or about twenty-five nights' worth of supply for four animals. Fill it to the brim once a season instead of worrying about it every night.
Two limits to know: there is no auto-petting or automatic collection in the current version, so the barn round is entirely manual. And products aren't all collected the same way: eggs, Plops and Heart Stones are grabbed by walking past them, while milks and wool require an interaction.
A little-documented tip: approach your animals in Cat Form. The character then understands what they're saying, and they regularly drop the missing clue about what's dragging down their mood.
What ranching actually earns you
On paper, the sale figures are modest.
| Product | Source | Base | 1 star | 2 stars |
|---|---|---|---|---|
| Egg | Cheeken | 20 | 25 | 30 |
| Golden Egg | Cheeken | 85 | — | — |
| Cowcula, Draculamb and Piggoat Milk | Cowcula, Draculamb, Piggoat | 45 | 55 | 70 |
| Wool | Draculamb | 30 | — | — |
| Heart Stone | Stoney | 45 | — | — |
| Plops | Bumpkin | 25 | — | — |
A Cowcula bought for 6,000 coins and producing 70 coins' worth of milk per night at two stars takes more than eighty nights to pay for itself. The conclusion is clear: ranching is not a direct source of income. Its real value lies in the processing chains it feeds.
- Stoney: a Heart Stone is only worth 45 coins raw, but once put through the Refiner it yields 20 Stone, enough to produce three Refined Stone (6 Stone each, 25 minutes). It's a stone quarry at home, with no pickaxe or energy required.
- Bumpkin: Plops resell for 25 coins, but combined with Wily Wheat at the Keg they yield Moonshine, which sells for between 640 and 960 coins depending on quality after a night of processing. This is where, and nowhere else, the 12,000-coin investment pays off.
- Draculamb: Wool only appears once happiness is high and feeds the Loom, whose blueprint comes from Aras. One Wool yields two Cloth, the raw material for most of the workshop's furniture.
- Cheeken: the rare Golden Egg sells for 85 coins or restores 10 energy points. At maximum happiness, a Cheeken wanders around followed by seven Cheeklets: purely cosmetic, but it's the best visual sign that your routine is working.
- Rabbicula: Luck Dust isn't harvested directly. The creature leaves a small mound on the farm that must be dug up, and each harvest costs you one of your crops. It's a potion ingredient, including the Love Potion, and a gift appreciated by Noel and Sabrina.
- All species: the barn produces Basic Fertilizer, collectible from your very first animal. It improves crop quality without speeding up growth, resells for 15 coins, and is used to craft Premium Fertilizer at the Refiner with Mana Essence.
There remains an indirect source of income too often overlooked: the Job Board. Alina regularly requests 50 Premium Fodder within seven days in exchange for 5,000 coins — one of the best time-to-money conversions in the game if the Fiber chain is already running. The rest goes to Chester, who sells everything off overnight.
The five traps for ranchers
- The Rabbicula on the loose devours your crops. Fence it in or keep it indoors if you care about your vegetable patch.
- Draculambs float at intervals during the night. If wool or milk can't be collected, come back later: it's not a bug.
- After the March of the Draculambs quest, the creatures return to the barns in order of priority. If you own several and there are free slots elsewhere, make sure they've all come back together, otherwise your affinity plan will break without warning.
- The Piggoat only produces every other day until it reaches five hearts, then switches to daily production: it's the animal where petting effort shows the most.
- Don't approach a Stoney with a pickaxe in hand: it starts sweating with terror.
Where to start, in practical terms
Efficient purchase order for year 1: a Cheeken first, at 1,200 coins, because it produces every night and it sets up the Stoney's comfort later on; then a Piggoat; then a Draculamb, which you'll double up on as soon as the budget allows. Save the Cowcula for last among the starting animals: it's expensive, socially cumbersome, and its milk isn't worth a single coin more than the Piggoat's.
The deadline not to miss is the fall of year 1: without the four starting species in the barn, the Bumpkin's letter won't arrive. Follow up with a second barn in winter to house the Stoney, then a third in year 2 for the Cowcula pair and the Rabbicula's arrival in spring.
And one simple rule to finish with: never buy an animal without first having a comfortable reserve of Fodder in the trough. A creature brought home in the evening and left hungry the next day starts off with low happiness, and will sell you its milk for 45 coins instead of 70 for every night it takes to catch up.
Share this article
Are you going all in on full three-barn breeding or staying minimalist?
Frequently asked questions
Why are my animals producing poorly even though I bought a barn?
They're probably living with roommates they hate. Each species has hidden preferences: the Cowcula upsets almost everyone else, and Draculambs only reach five hearts if they're paired up. Check the optimal barn layout table to get it right.
How many barns do you need to bring all animals to five hearts?
Three barns minimum, for nine animals total. Two Draculambs must stay together, one Cowcula must be isolated with another Cowcula, and the rest balance out in a third barn. It all depends on your priorities, but this is the only arrangement with no compromise on happiness.
Does Premium Fodder really double my production?
No. It increases the quality of products, not their frequency. An animal fed Premium Fodder will produce two- or three-star items instead of one-star, but not more often. This is a crucial distinction if you were hoping to multiply your yields.
Does livestock farming actually earn coins?
Raw, no: a 6,000-coin Cowcula takes more than eighty nights to pay back its price through sold milk. The real profitability comes from processing — Moonshine from the Bumpkin, Cloth from the Draculamb, Stone from the Stoney — which is what truly justifies the investment.
How do you unlock the Bumpkin without starting over?
You need to already own one of each of the four base animals (Cheeken, Piggoat, Draculamb, Cowcula) to receive Luna's letter in Year 1's fall. If you skipped one of them, the letter will be delayed by a full year.
Key takeaways
- Animal affinities are invisible in the interface but decisive: some species require a companion of their own kind or flatly refuse other roommates.
- Reaching five hearts across the board requires nine animals across three barns, or 61,500 coins — a Year 2 goal, not a first-season one.
- Pure livestock farming generates almost nothing in coins; its real value lies in the processing chains it unlocks.
- Fill the trough once per season rather than daily, and approach your animals in Cat Form to understand what's tanking their mood.
- The Bumpkin only arrives if you've already purchased the four starting species; missing even one locks you out for a full year.
Comments
No comments yet. Be the first to react!
Leave a comment
Similar guides
Latest articles




Your opinion counts
Rate Moonlight Peaks
Click a star to rate