



 Fabian Lainé

Full Guide
Escape The Backrooms: The Complete 2026 Guide to Items and Inventory — Almond Water, LiDar Scanner, Face Mask, and Co-op Loadout
In brief
Escape The Backrooms demands strategic inventory management where every item counts: Almond Water saves your skin, the LiDar Scanner becomes essential in Lights Out, and the Face Mask protects you from toxic zones. This guide details the optimal use of each item and how to distribute your loadout across a four-player team to maximize your chances of survival.
In Escape The Backrooms, memorizing the layout of the levels isn't enough: it's your inventory management that decides, most of the time, between reaching the next Level's exit and a brutal trip back to the menu. Too many groups jump into Terror Hotel or Lights Out without knowing what the LiDar Scanner is really for, when to drink the Almond Water, or why the mask should stay on whoever's leading the way. This guide reviews every collectible item in the game, its optimal use, the level where it becomes essential, and then the best way to distribute all of it across a four-player squad. Level and item names are left in English, as in the game.
Understanding the inventory system
Escape The Backrooms isn't a game with an unlimited backpack. Each player carries a limited number of slots, and items are picked up on the floor, in crates, or on shelves scattered throughout the Levels. The consequence is immediate: you can't keep everything, and you constantly have to choose between a light source, a survival resource, and a situational consumable. The golden rule is to plan ahead for the upcoming level rather than filling your inventory at random. An item that's useless in The Hub can become vital two levels later, and vice versa.
Second fundamental principle: in co-op, the inventory is effectively shared. There's no point in all four members carrying a flashlight each if nobody has anything to heal with or to get through a toxic zone. Coordinating your loadout, decided even before starting the match, weighs more heavily on your success rate than individual reflexes when facing entities.

Almond Water: the resource that keeps you alive
The Almond Water is the most iconic item in the entire Backrooms universe, and Fancy Games' game makes it the cornerstone of survival. This almond-flavored bottle of water restores your health and stabilizes your mental state when wandering the yellow hallways starts to wear you down. In practice, as soon as your health bar drops — after a chase, a fall, or contact with an entity — a sip of Almond Water sets you right again.
The classic mistake is to drink it as soon as you pick it up. Instead, you should keep it like a first-aid kit: always hold onto at least one before tackling a notoriously dangerous level like Terror Hotel. Conversely, never head into a long stretch without a reserve, since Almond Water spawn points aren't guaranteed. As a team, designate a "water carrier" who centralizes a few bottles and hands them out to whichever member is in the worst shape.
Light sources: Flashlight, Glowsticks, and batteries
Light is your first line of defense against the darkness and the dread. The Flashlight is the basic tool: a directional beam, it lights up far ahead but drains battery and sometimes draws attention. Learn to switch it off in passages where silence and stealth matter more than visibility, especially when an entity is lurking nearby.
Glowsticks play a supporting role that's often underrated. These light sticks are thrown to the ground and give off a fixed glow. Their optimal use isn't to light your way but to mark territory: flag intersections you've already explored so you don't go in circles in mazes, or signal to your teammates which direction to take without having to speak. A Glowstick thrown down a dark corridor also confirms the presence — or absence — of an obstacle before you commit to it.
Finally, keep an eye on your batteries: they recharge the Flashlight and serve no other purpose, so don't stockpile more than is reasonable. A flashlight dying mid-chase in The Hub is one of the most avoidable deaths in the game.
LiDar Scanner: seeing in the absolute darkness of Lights Out
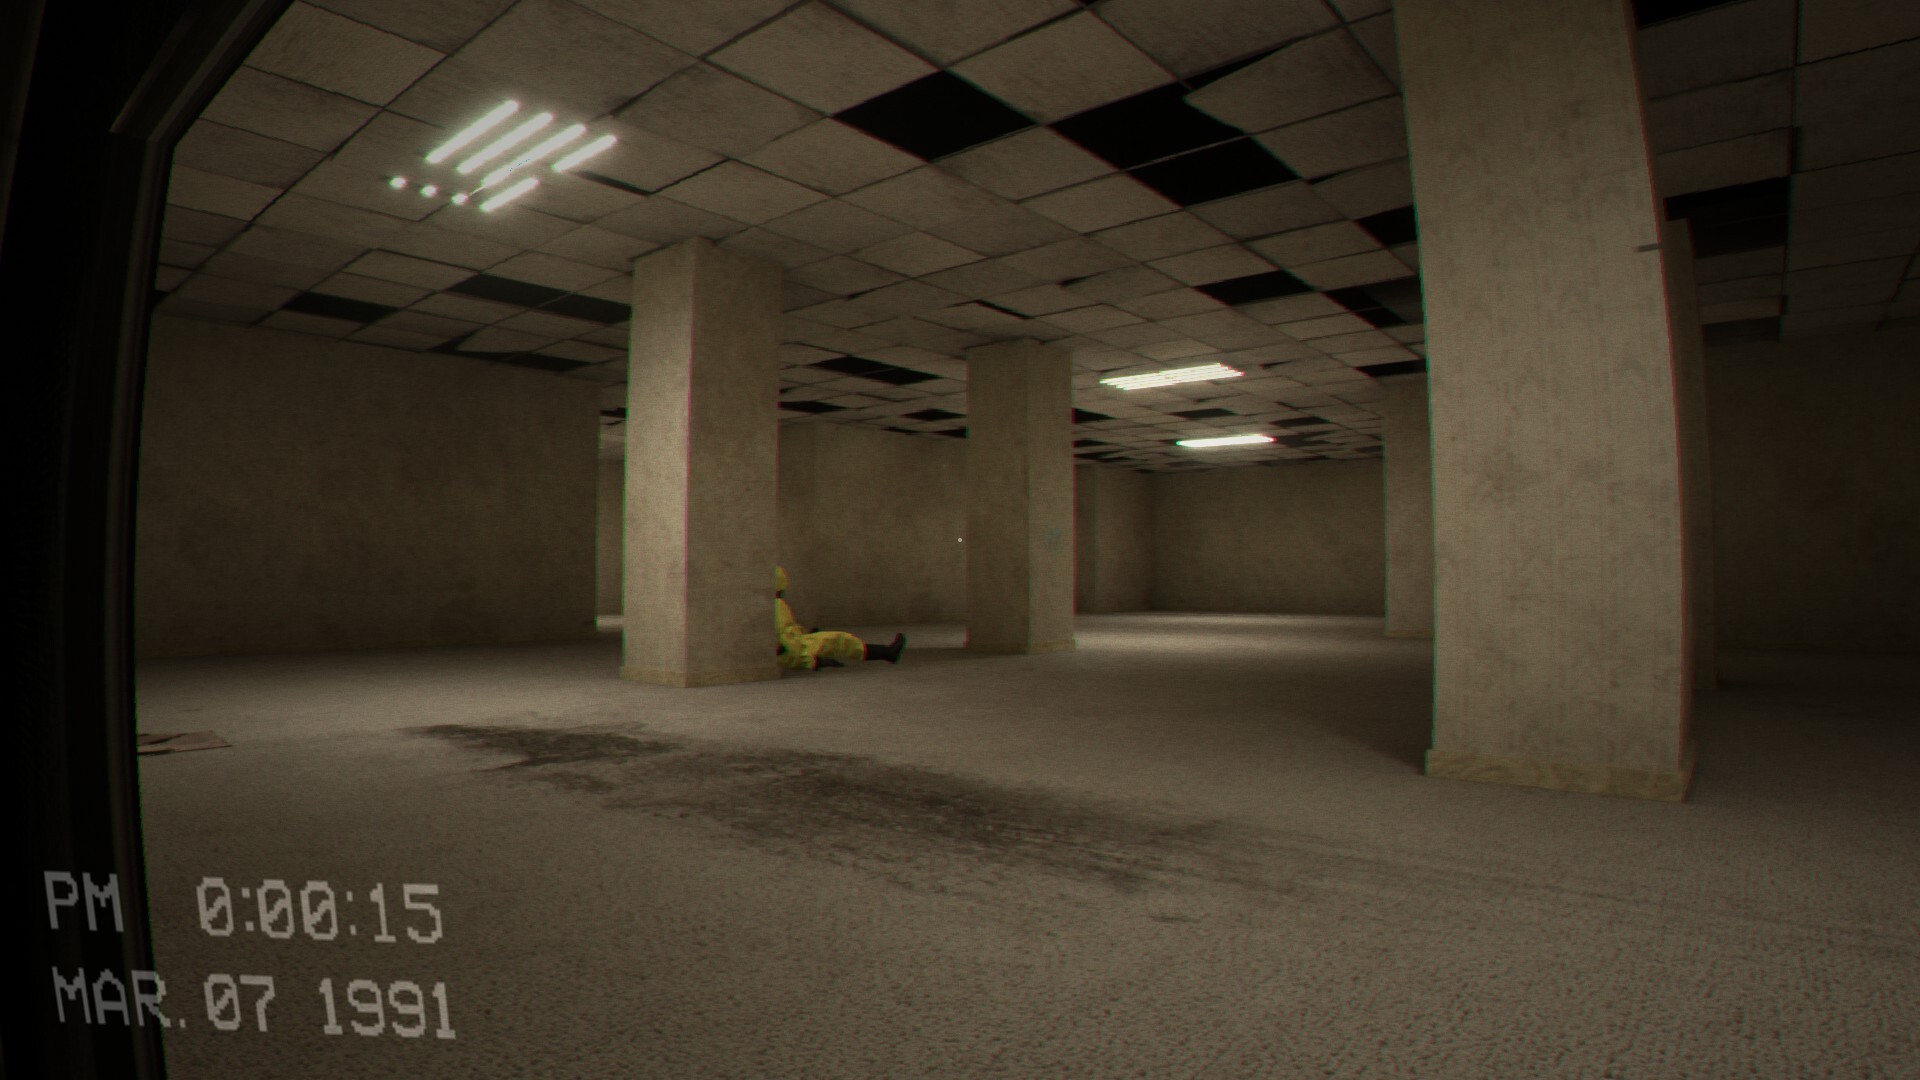
The LiDar Scanner is arguably the most spectacular item in the game, and it truly comes into its own in the Lights Out level, plunged into total darkness where no regular flashlight is allowed. The scanner projects a cloud of light points that temporarily outline the surroundings — walls, doors, staircases, and sometimes hostile silhouettes appear in dotted form before fading away.
The key is rhythm: each scan reveals the room for a brief moment, then darkness returns. You need to memorize the layout between pulses and move forward in small steps, never running blind. Scanning continuously slows you down and makes you predictable; scanning too little makes you crash into obstacles. The right tempo is learned within a few minutes, but it completely changes the experience of Lights Out, turning it from a frustrating nightmare into a manageable exercise in spatial memory. In co-op, a single LiDar handled well by a calm player is enough to guide the whole group.
Face Mask: crossing toxic zones
The Face Mask — the respiratory mask — protects your lungs in segments saturated with gas, spores, or foul air. Without it, these zones chip away at your health second after second and make any prolonged passage impossible. With it, you can cross the toxic cloud without harm as long as you don't linger.
The point to watch out for is anticipation: the mask must be equipped before entering the zone, not halfway through when your health bar is already draining. As a team, the member exploring in the lead is the one who absolutely must wear it, since they're the one discovering the dangers first. If you only have one mask for four people, group up and cross the tainted section together, without splitting up.
Thermometer: reading the atmosphere before it's too late
The Thermometer measures ambient temperature, and this information is more valuable than it seems. A sudden temperature drop generally signals the proximity of a danger or a shift in atmosphere — an entity approaching, a transition into a cold zone, or the threshold of a scripted event. Used as an early warning sensor, it gives you time to react: turn off your flashlight, turn back, or take cover before you even see the threat.
This is typically the item to hand to the most attentive player in the group, the one who keeps an eye on the gauges while the others handle navigation. An ignored thermometer is useless; a constantly monitored thermometer turns an ambush into a mere setback.
Summary table of essential items
Here's a rundown to decide at a glance what to pick up, what to keep, and where each item makes the difference.
| Item | Function | Optimal use | Key levels |
|---|---|---|---|
| Almond Water | Restores health and sanity | Save it as an emergency heal, don't drink it at full health | Terror Hotel, The City |
| Flashlight | Directional lighting | Turn it off when entities are around to stay discreet | The Hub, Boiler Room |
| Glowsticks | Fixed light you can throw | Mark intersections and guide the team | Dark mazes |
| Batteries | Recharges the Flashlight | Keep one or two, no more | All dark levels |
| LiDar Scanner | Reveals the environment in pitch darkness | Scan in pulses and memorize between uses | Lights Out |
| Face Mask | Protects against gas and foul air | Equip before entering the toxic zone | Gas zones |
| Thermometer | Measures ambient temperature | Early warning of an entity or danger | Cold / scripted zones |
Splitting the loadout across a four-player squad
A well-organized co-op run doesn't leave it to chance who carries what. Before launching the run, assign clear roles and a coherent inventory to each player:
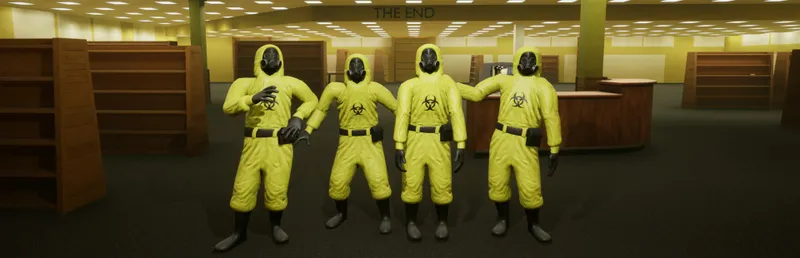
- The scout leads the way. They carry the main Flashlight and the Face Mask, since they encounter dangers first. They're also the one handling the LiDar Scanner in Lights Out.
- The watcher monitors the Thermometer and the gauges. They stay in the middle of the group and warn the others as soon as an anomaly appears. They keep a few Glowsticks for marking the way.
- The healer centralizes the Almond Water reserves and distributes them to the most affected member. They avoid exposing themselves and stay back.
- The rear guard closes the march with a second light source, watches the group's back, and picks up items left on the ground to avoid unnecessary back-and-forth.
This distribution avoids waste — four lit-up flashlights draw attention for nothing — and ensures no vital function is missing at the worst possible moment. If a member goes down, their items shouldn't disappear with them: always retrieve the inventory of a downed teammate.
Adapting your inventory level by level
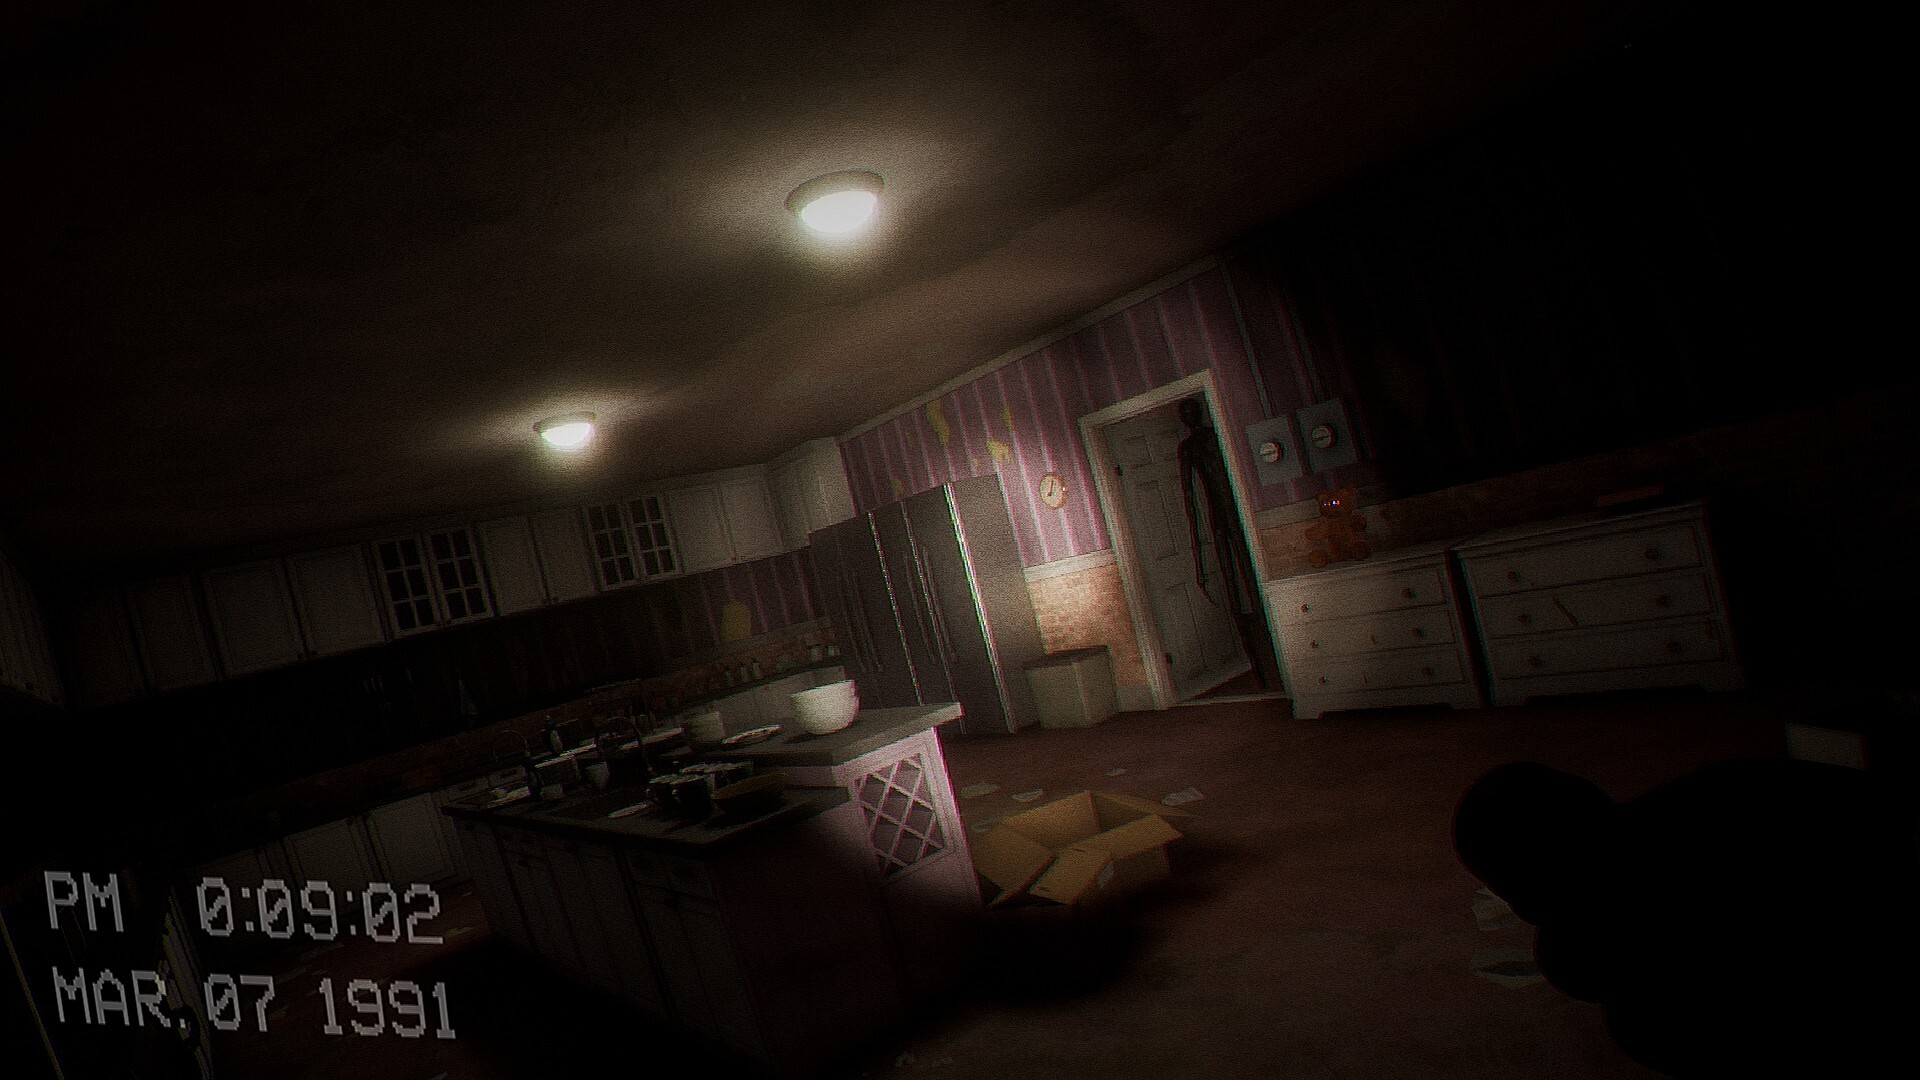
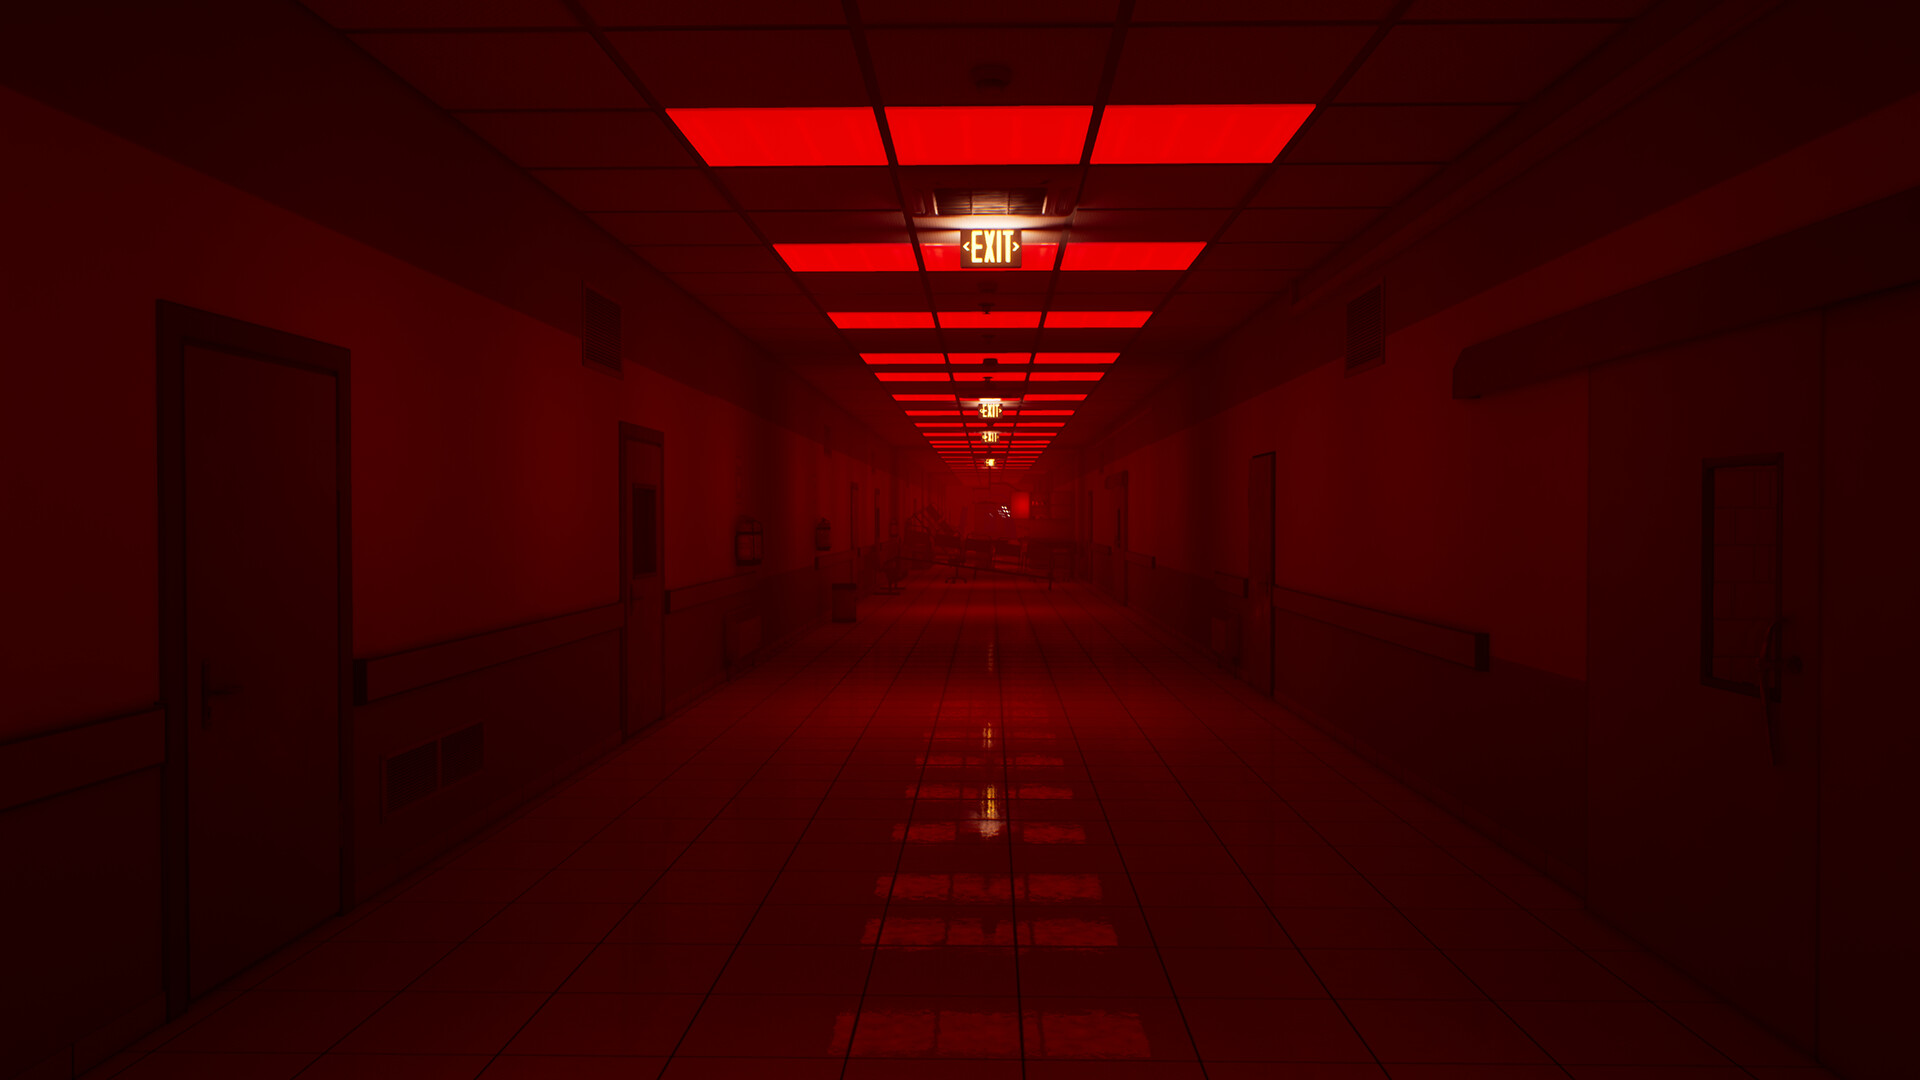
No loadout is universal: the ideal bag is prepared according to the level you're about to go through. From The Hub onward, the game's nerve center, prioritize a reliable flashlight and a stockpile of batteries, as this is where the most mobile entities cross paths. As you approach Terror Hotel, stock up on Almond Water above all, since the tense sequences there chip away at health and sanity. For Lights Out, the LiDar Scanner is non-negotiable: going in without it is like walking blindfolded through a hostile maze.
Aquatic and wet segments reward caution rather than firepower: keep something to heal with and progress slowly, as disorientation is your worst enemy there. Finally, as you draw closer to The End, lighten your bag of anything superfluous and keep only the essentials — healing, light, and the situational item required by the final segment. A streamlined inventory is faster to handle under pressure, and every second saved in the interface is a second less exposed to danger.
Inventory management mistakes to avoid
A handful of flawed habits show up in most failures, and all of them can be fixed:
- Drinking Almond Water at full health. That's a wasted heal. Wait until you're actually injured.
- Leaving the Flashlight on permanently. You drain the battery and give away your position to entities. Turn it off as soon as stealth matters.
- Equipping the Face Mask too late. The first seconds in the gas already deal damage. Plan ahead.
- Neglecting the Thermometer. An ignored sensor is as good as not having one. Assign it to someone who actually watches it.
- Stacking redundant items. Three flashlights and zero heals is the best way to die with a full bag. Diversify.
- Splitting up to loot. Searching separately in a level with an entity just hands over isolated targets. Stay grouped.
Conclusion: prepare your bag, not just your map
The real progression curve in Escape The Backrooms isn't geographical but logistical: the players who clear level after level are the ones who know exactly which item to pull out, when, and for whom. Before your next run, take mental stock — a supply of Almond Water, an efficiently used flashlight, Glowsticks to mark the way, the LiDar ready for Lights Out, the mask on the scout, and the Thermometer in attentive hands. Split the roles among the four of you, waste nothing, and wandering through the yellow hallways will become a controlled expedition rather than a headlong flight. The rest is just a matter of keeping a cool head.
Share this article
In a co-op run, which item would you find hardest to leave behind despite limited space?
Frequently asked questions
Should you really keep Almond Water in reserve, or is it better to drink it as you find it?
Keep it in reserve. The classic mistake is drinking it as you go, leaving you without healing when things get critical. Treat it like an emergency first aid kit, especially before Terror Hotel or The City where damage piles up fast.
Is the LiDar Scanner mandatory to get through Lights Out?
Technically no, but without it you'll be navigating blind in pitch darkness, which makes the level frustrating. With the scanner and the right pulse rhythm, Lights Out goes from a nightmare to a spatial memory exercise that's actually manageable.
Why not give a mask to every member of the group?
Masks are limited in inventory. It's better to give one to the scout who discovers toxic zones first, or have the group cross the contaminated area together as a block rather than tying up four inventory slots.
Are Glowsticks actually useful, or just a fun gimmick?
Many underestimate Glowsticks, but they're essential for marking intersections in mazes, avoiding going in circles, and guiding the team without a glaring flashlight. Throw one to check for obstacles before heading into the dark.
Who should carry the Thermometer in a team?
Give it to the most attentive player, the one who keeps an eye on gauges and atmosphere. A sudden drop in temperature warns of a nearby entity or imminent danger, which only helps if someone is actually watching the instrument.
Key takeaways
- Almond Water should be saved like an emergency first aid kit, never drunk at the first opportunity
- The LiDar Scanner reveals the environment through short pulses in Lights Out: the rhythm of the scan matters more than constant coverage
- The Flashlight should be turned off when entities are present to avoid drawing attention, rather than shining endlessly
- A single Face Mask equipped before entering a toxic zone is enough if the group moves through together as a block without splitting up
- The Thermometer works as an early warning detector: a drop in temperature signals imminent danger
Comments
No comments yet. Be the first to react!
Leave a comment
Similar guides




Latest articles








Your opinion counts
Rate Escape The Backrooms
Click a star to rate