



 Alexandre Jollier

Full Guide
Beast of Reincarnation: how to get more healing flasks
In brief
In Beast of Reincarnation, Emma starts with three Stimpacks and can accumulate up to eight by finding the Dragon Shrines scattered across the map. The first activation grants a free bonus, then each additional tier is earned through repetition: 10, 20, 30, and 40 cumulative activations of the same shrine.
Three Stimpacks to start, that runs out fast in a soulslike. In Beast of Reincarnation, Emma's healing flask limit can go up to eight, but it all goes through the dragon shrines scattered across the map. No shop, no crafting: just exploration, and also repetition.
Find the first shrine in the Ancient Civilization area
The first shrine is located in the second area you explore in the game. By interacting with it for the first time, you unlock the tutorial on shrines and immediately get the Dragon's Favor, which raises your capacity from three to four flasks. This is the only free step in the system: from there, everything will be paid for through activations.
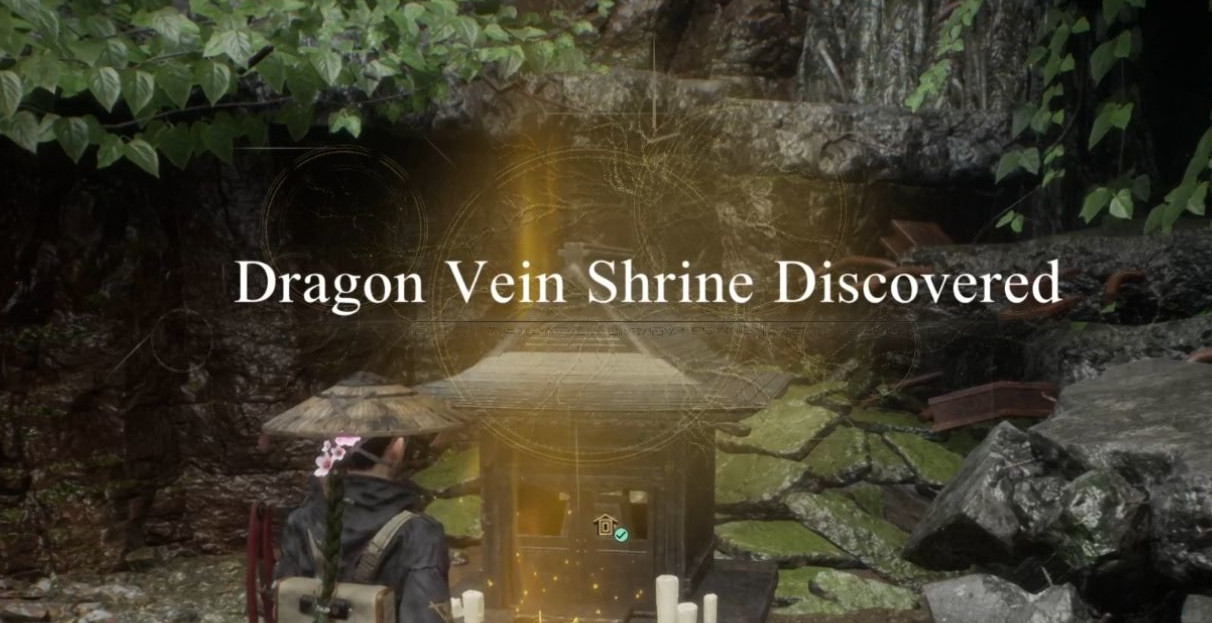
Activate the shrine again and again to unlock the next tiers
Once you have the Dragon's Favor in hand, each additional Stimpack is obtained by activating the same shrine a certain cumulative number of times. The tiers are as follows:
- 10 activations: +1 Stimpack
- 20 activations: +1 Stimpack
- 30 activations: +1 Stimpack
- 40 activations: +1 Stimpack
With the initial Dragon's Favor plus these four tiers, you accumulate five additional Stimpacks in total. Enough to turn a tense run into a noticeably more comfortable stroll, especially if the game punishes you hard on the early bosses.
How to spot shrines on the map
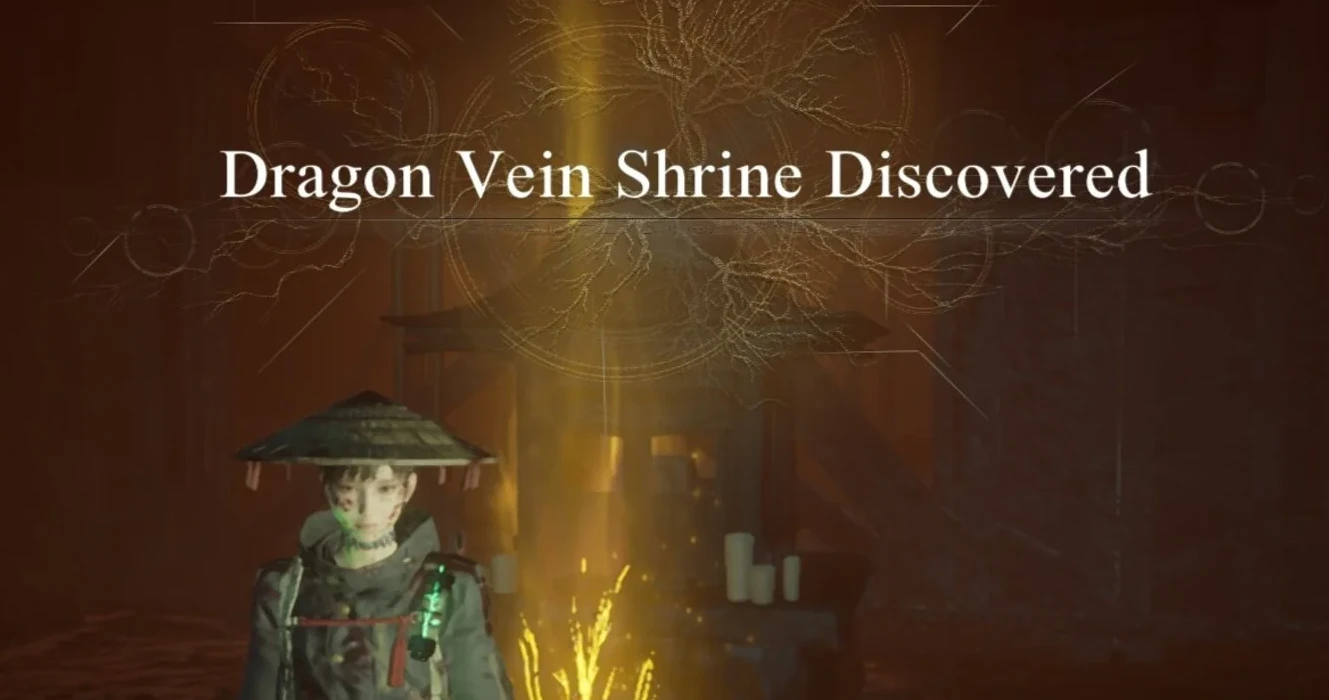
Dragon Shrines aren't the only structures to track down while exploring Beast of Reincarnation - you'll also come across campfires and Guardian Golems. But specifically regarding shrines, as soon as Emma gets close to one, her companion Koo spots it and automatically pins it on the world map. If you're wandering around without knowing where to go, a glance at the map is usually enough to spot the icon of the nearest shrine.
The reflex to adopt: as soon as a marker appears, make the detour. Every activation counts toward progress on the 10, 20, 30, and 40 tiers, so you might as well never miss one along your path.
A bonus for completionists
Locating all the shrines in the game also unlocks a trophy/achievement. If you're aiming for 100%, that adds to an already quite dense list of collection objectives - lore paintings, blades, seeds, ammo manuals, or the 30 conversations with the Guardian Golems. Farming shrines is therefore never wasted time: it serves both your immediate survival and your achievement list.
Share this article
Would you rather farm the shrines as you go or knock them all out at once for 100%?
Frequently asked questions
How many Stimpacks can you have at most in Beast of Reincarnation?
Eight total. Emma starts with three, then gains one for free via the Dragon's Favor, plus four more by hitting the shrine's 10, 20, 30, and 40 activation tiers.
Where is the first shrine in the game?
In the Ancient Civilization area, which is the second zone you explore. Interacting with it for the first time unlocks the tutorial and immediately grants you the Dragon's Favor.
Do you really need to activate the same shrine 40 times to get all the Stimpacks?
Yes, but it's cumulative on the same shrine. Every activation counts, so if you visit it regularly while exploring, you'll gradually unlock the tiers without having to intentionally spam it.
How do I spot shrines on the map?
As soon as Emma gets near a shrine, Koo automatically detects it and pins it on your world map. Just check the mini-map if you're lost.
Is there a reward for finding all the shrines?
Yes, locating all the shrines unlocks the Soul Returned trophy/achievement, which is required for 100% completion.
Key takeaways
- The Dragon Shrines are essential to go from three to eight Stimpacks total.
- The first activation of a shrine unlocks the Dragon's Favor for free and immediately increases your flask count by one.
- From there, you need to activate the same shrine 10, 20, 30, and 40 times to unlock the four following tiers.
- Koo automatically detects shrines when Emma gets close and pins them on the map.
- Locating all the shrines unlocks a trophy and counts toward 100% completion.
Comments
No comments yet. Be the first to react!
Leave a comment
Similar guides

Latest articles








Your opinion counts
Rate Beast of Reincarnation
Click a star to rate