



 Fabian Lainé
Full Guide
Battlefield 6: the Season 4 naval combat guide — RCB-90, NSW semi-rigid boat, and dynamic waves
In brief
Season 4 redefines naval combat on Tsuru Reef with two radically different vessels — the armored RCB-90 and the ultra-fast NSW rigid-hull boat — a wave system that genuinely affects gameplay and tactics, and a completely reworked swimming mechanic where revives and underwater ballistics change the rules. Mastering these three elements turns the ocean from an obstacle into a battleground for domination.
Since July 21 and update 1.4.1.0, the Pacific Front phase of Season 4 has brought naval combat back to Battlefield 6. Two brand-new boats — the RCB-90 patrol boat and the NSW 25-foot RHIB —, a dynamic wave system and a fully reworked swimming mechanic transform Tsuru Reef, the game's largest map, into an amphibious theater where mastery of the water makes the difference between a squad that suffers and a squad that dictates the pace.
Three weeks after the phase's launch, the finding is clear: most players still treat boats as mere taxis and the ocean as an obstacle between two beaches. That's a mistake. Used well, the RCB-90 can lock down a coastal sector on its own, the RHIB can secure captures before the enemy even deploys, and the swell itself serves as mobile cover.
This guide details the exact role of each boat, how to read the waves, the new aquatic mechanics (reviving in the water, underwater ballistics), counters from the shore, and practical application on Tsuru Reef. One last piece of context: the August 4 update 1.4.1.5 made transitions between water and land, as well as vehicle behavior, more reliable — so the mechanics described here match the state of the game as of August 7, 2026.
RCB-90: the armored patrol boat that wins duels
The RCB-90 is described by EA as a two-seat armored patrol boat, and each seat has a distinct job. The pilot has a 30 mm automatic cannon and missiles: they're the one who wins direct engagements against other boats and pierces light vehicles disembarked on the beaches. The gunner controls a 120 mm mortar whose shells come in several damage profiles: explosive to pound a beachhead, smoke to blind a coastline before a landing, and illumination to reveal — or pierce through — an enemy smoke screen.
Two details take the RCB-90 from gunboat status to strategic tool. First, its smoke countermeasures, which break the locks of coastal launchers if you trigger them at the right moment. Second, its front ramp: positioned near a shore, the boat serves as a forward spawn point for your teammates, who disembark directly as infantry. An RCB-90 smartly anchored off a contested objective is worth an armored spawn beacon with several thousand hit points.
Its limitation is just as clear: it's slow, and it doesn't capture anything on its own. The RCB-90 wins fights between objectives — naval duels, beach support, shore suppression — but it's the infantry it drops off that converts that dominance into points. A crew farming kills offshore while their team loses the flags is playing the wrong game.
NSW 25-foot RHIB: speed or death
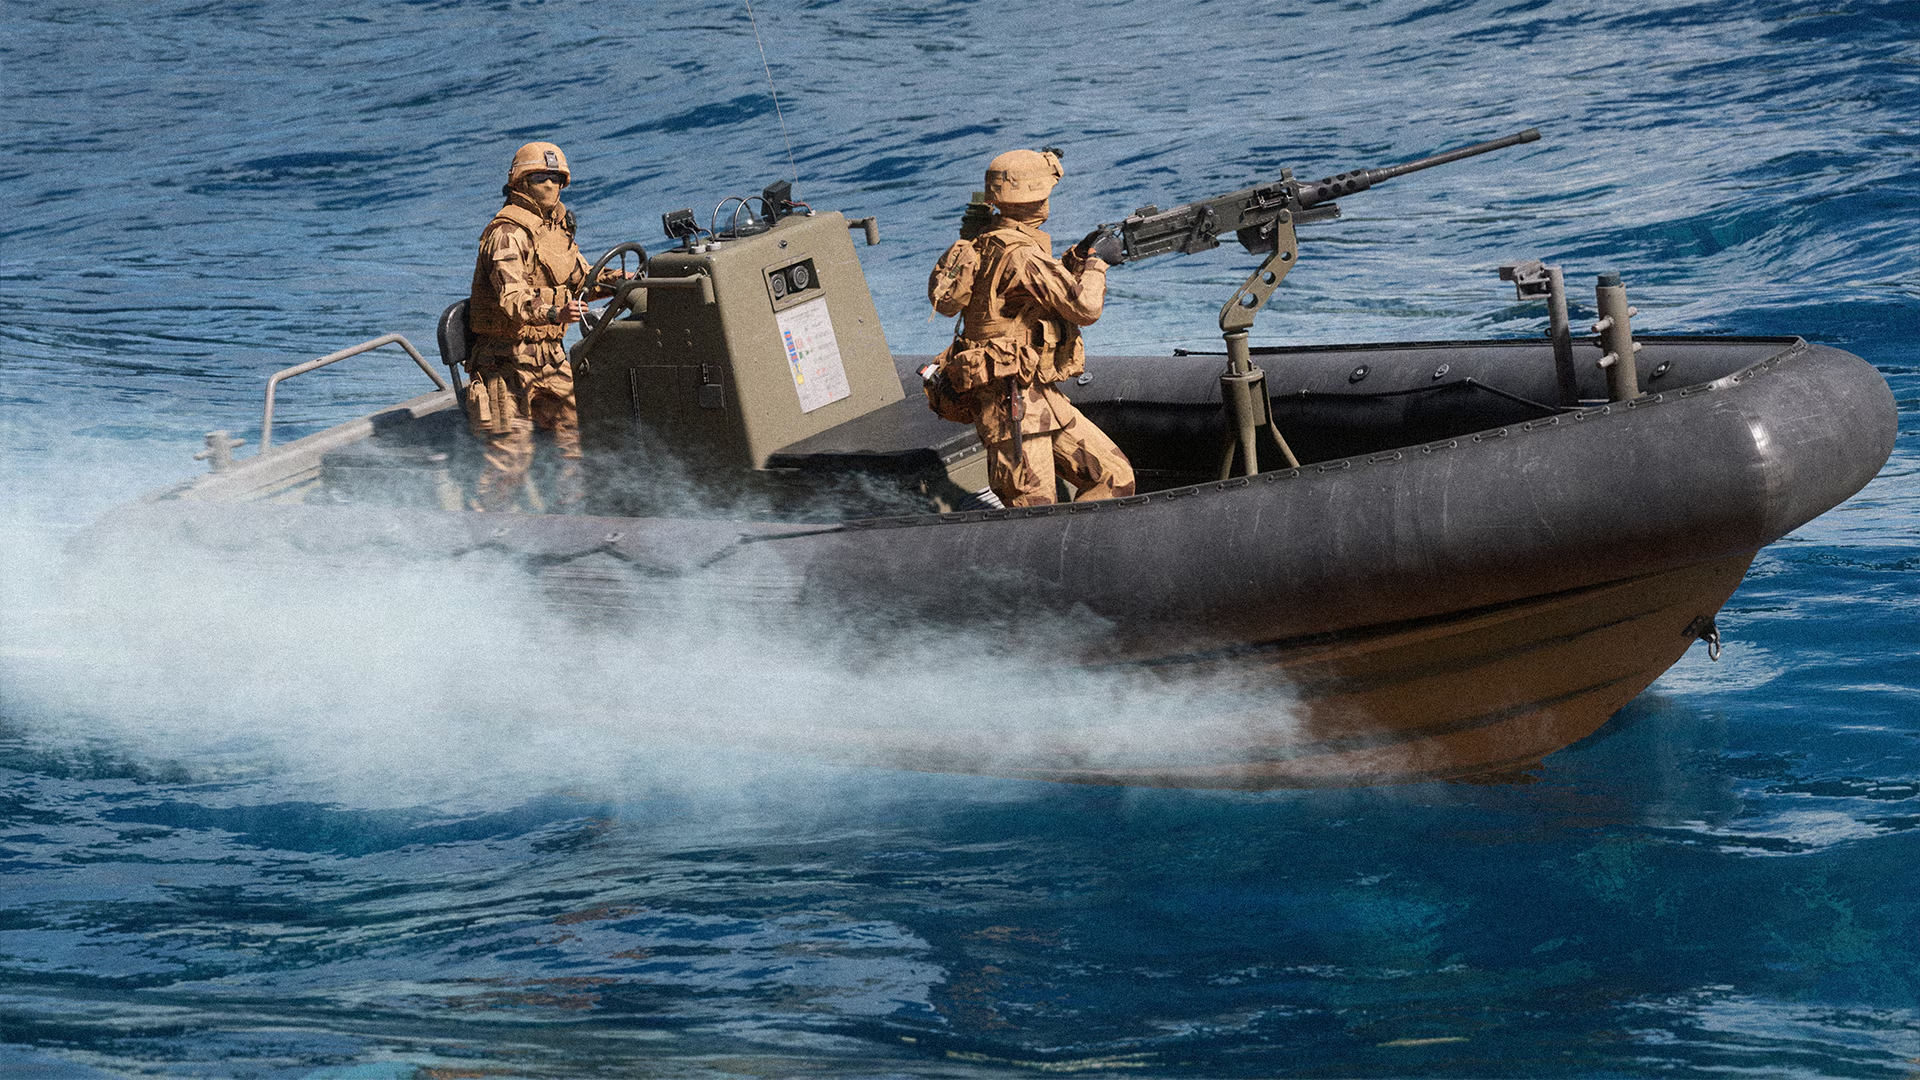
At the opposite end of the spectrum, the NSW 25-foot RHIB is a light four-seat transport boat armed with a single mounted machine gun. Its hull forgives nothing: a few rockets or a burst of 30 mm fire are enough to send it to the bottom. Its survival relies on a single principle — never slow down within range of coastal infantry. A RHIB moving at full speed is hard to lock onto; a RHIB lingering in front of a held beach is a training target.
Its real potential is offensive, but not frontal: passengers in the rear seats keep the use of their personal equipment. An Engineer can return fire at the launcher from the moving boat, an Assault can prep their explosives for the landing. Use it for what it is: the fastest rotation tool on the map, capable of dropping a full squad on a rear objective while the bulk of the forces fight in the center. Drop off, head back, do it again — the empty boat waiting at anchor serves no one.
| Craft | Seats | Armament | Role |
|---|---|---|---|
| RCB-90 patrol boat | 2 | 30 mm autocannon and missiles (pilot), 120 mm mortar (gunner), smoke countermeasures | Naval dueling, beach support, forward spawn point |
| NSW 7.7 m RHIB | 4 | Mounted machine gun, passengers' personal equipment | Fast rotation, insertion, capturing rear objectives |
Reading the dynamic wave system
The big technical addition of Season 4 is a wave system that isn't purely cosmetic: the swell genuinely affects navigation, aiming, and lines of sight. Out on the open sea, the waves are strong — your boat pitches, aiming as the gunner becomes demanding, but every trough hides your silhouette from coastal observers. In lagoons and inland channels, the water is calm: navigation and shooting are comfortable there, but you're permanently exposed to launchers, mines, and anything holding the shore.
Good crews exploit this liquid terrain the way infantry exploits hills. Three reflexes to lock in:
- Fire from the crest: at the top of a wave, your line of sight is clear; in the trough, you're firing into a wall of water. Sync your mortar salvos with the rhythm of the swell.
- Dive into the trough to survive: a coastal missile lock can be broken by letting a wave get in the way. Combined with the RCB-90's smoke, it's the best life insurance out at sea.
- Choose your sea according to your boat: the RHIB prefers calm waters where its speed can shine; the RCB-90 can take enough of a beating to work in the swell and turn it into a defensive advantage.
Water is no longer just scenery: swimming, revives, and ballistics
Update 1.4.1.0 overhauled swimming in depth, and the tactical consequences are real. You can now drag and revive squad members in the water: a failed landing no longer automatically means a trip back to the deploy screen, provided a teammate — ideally a Support — takes on the role of lifeguard.
Ballistics follow the same simulation logic: bullets lose damage as they travel through water, and that loss depends on the weapon's caliber. In practical terms, a swimmer who stays below the surface is remarkably hard to finish off from the shore, and diving becomes a genuine fallback option after a boat is destroyed. Add in gadget buoyancy and underwater explosions, and water stops being a dead zone: it's a full-fledged play space with its own rules. Just remember that a submerged player is no longer flagged by markers — which applies to you just as much as to an enemy swimming toward your objective.
Countering boats from the shore
Against a well-played RCB-90, an individual response isn't enough. The fundamentals: the Engineer and their launchers remain the main counter, but a lone shooter will get blinded by smoke grenades or punished by mortar fire before their second shot. Work at crossed angles — two Engineers at two separate positions force the pilot to choose their countermeasure, and the second rocket fires while the smoke settles. Illumination shells answer smoke screens both ways: if your beach is blinded, a landing is probably incoming.
The best indicator remains the boat's own behavior. A competent crew never stops moving; a boat sitting still offshore is either a respawn point that must be destroyed as a priority, or a distracted crew offering a free target. Either way, it's the first target to deal with, even before infantry already ashore: sinking the RCB-90 cuts off the flow of reinforcements.
Dominating Tsuru Reef by sea
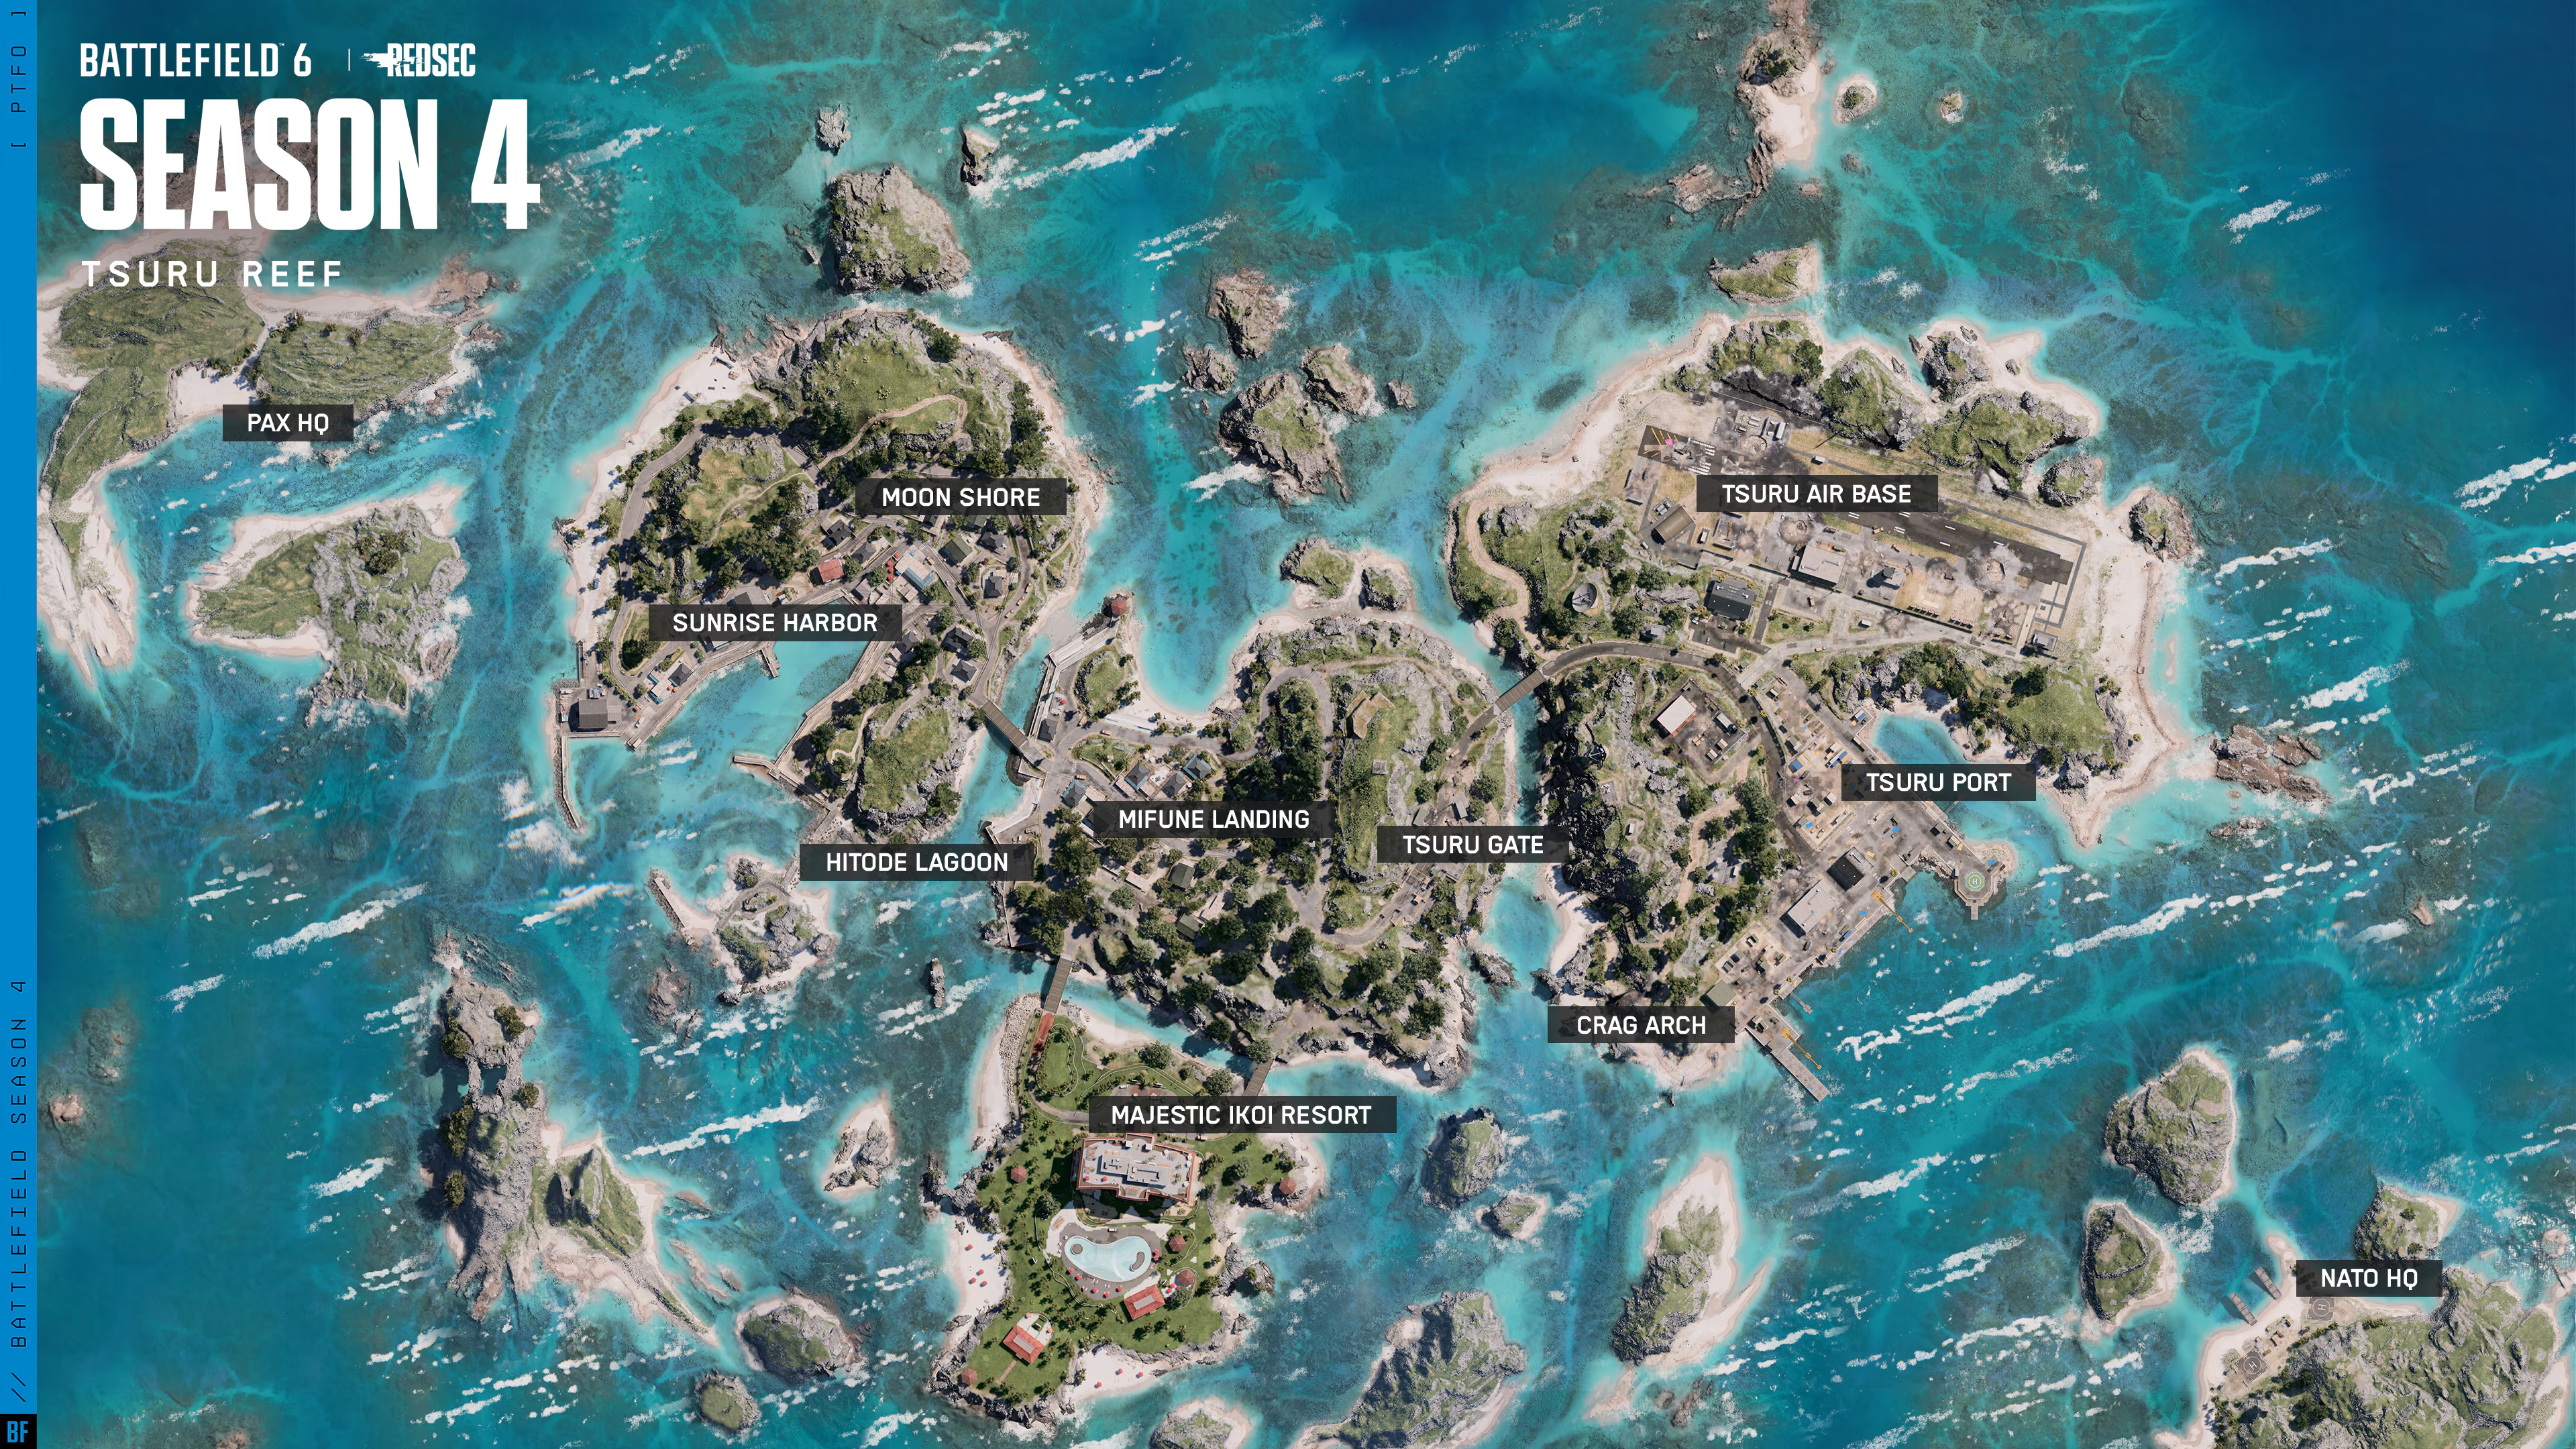
Everything above comes into its own on Tsuru Reef, the largest multiplayer environment ever produced for Battlefield 6: a Pacific archipelago structured around four main islands and two headquarters islands, connected by wide stretches of open water, with a luxury resort complex and a dormant volcano as backdrop. Notably, the map drops the traditional lettered flags in favor of named points of interest, and it's playable in both All-Out Warfare and tactical modes.
The geography imposes a simple conclusion: rotations go through the sea. The team that insists on transiting via the obvious land routes exposes itself to long sightlines and vehicles; the one that keeps a RHIB constantly cycling between islands picks up abandoned objectives and forces the opponent to defend everywhere. The center of the archipelago is won through patience and control, the edges through boldness — and the RCB-90 anchored in the right spot bridges the two by feeding constant reinforcement pressure.
One last word on destruction: fighting reshapes cover and opens up new sightlines as the match progresses. A safe beach at the start of the match isn't safe twenty minutes later; reassess your landing routes with every push rather than repeating the route that worked once.
Where to start tonight
If you're discovering the naval front, learn in this order: first the individual water mechanics — swimming, diving, reviving in water — which cost nothing and save lives in every match. Then the NSW RHIB, whose handling forgives little but is quickly learned and benefits the whole squad. Finally the RCB-90 as an established duo, with a pilot and a gunner who communicate: that's where true sector domination is decided.
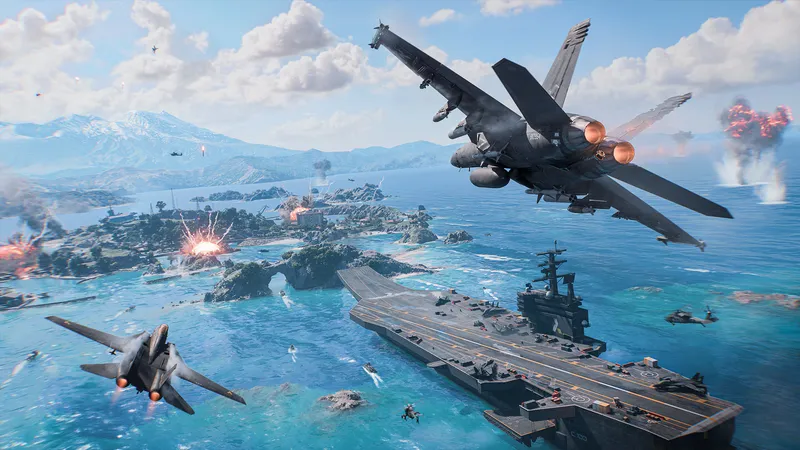
And keep an eye on the calendar: on August 18, the Top Gun phase will add Wake Island, two-seater fighters, and the Carrier Assault mode — an aerial chapter that will build directly on the naval reflexes you're developing now. We've dedicated a guide to it; until then, every match on Tsuru Reef is training that counts.
Share this article
Would you rather play as the RCB-90 pilot (raw naval combat) or master of the NSW rigid-hull boat (speed and insertion)?
Frequently asked questions
What's the RCB-90's real role in a match?
Winning naval duels, covering infantry landings with its mortar and smoke, and serving as an advanced spawn point from its ramp. But a crew farming kills offshore while their team loses the flags loses the match — it's the disembarked infantry that has to convert naval dominance into victory.
How do you survive with the NSW rigid-hull boat?
Never slow down within range of coastal infantry. A boat at full speed is hard to lock onto; a boat that lingers is target practice. Use it for quick rotations, drop your squad on a rear objective, then immediately move on.
What are dynamic waves actually for?
They change navigation, aiming, and lines of sight. Fire from the crest of a wave for a clear line of sight, dive into the troughs to hide from coastal observers and break missile locks. Choose your zones based on your boat — the rigid-hull boat prefers calm water, while the RCB-90 can work in swells.
Can a swimmer be revived in the water?
Yes, and it's a crucial mechanic. A Support teammate can drag and revive squad members in the water, turning a failed landing into a regrouping opportunity rather than a trip back to the deploy screen.
What's the best counter to a well-piloted RCB-90?
Not a solo response, but coordinated crossfire — two Engineers in two separate positions force the pilot to choose which smoke countermeasure to use, and the second rocket lands as the smoke clears. The priority remains sinking the boat before dealing with infantry that's already landed.
Key takeaways
- The RCB-90 wins naval duels and locks down the coastline, but it's the infantry it drops off that turns that advantage into captured points.
- The NSW rigid-hull boat only survives through speed; stopping in range of coastal infantry means sinking.
- Dynamic waves aren't just cosmetic — fire from the crest, dive into the trough to dodge missiles, and pick your waters based on your boat.
- A submerged swimmer escapes enemy markers and better resists bullets: the water becomes a tactical space, not a dead zone.
- Sinking the RCB-90 first cuts off the flow of reinforcements; two Engineers at crossed angles break the advantage of its mortar and smoke.
Comments
No comments yet. Be the first to react!
Leave a comment
Similar guides
Latest articles





Your opinion counts
Rate Battlefield 6
Click a star to rate