



 Alexandre Jollier
Walkthrough
Bombanana!: the level 2 and 3 walkthrough
In brief
Levels 2 and 3 of Bombanana! increase the difficulty by introducing color sliders, then requiring you to solve two puzzles simultaneously. Communicating effectively between your three monkeys becomes crucial to avoid making mistakes and stay on time.
After the wire module in level 1, Bombanana! ramps up the cooperation needed between your three monkeys. Levels 2 and 3 introduce a new puzzle, then ask you to combine everything. Here's how to proceed.
Level 2: the color sliders
The second puzzle revolves around a set of four color sliders. To solve it, you need to move all the sliders correctly, and above all in a single sequence: the slightest mistake along the way resets your progress.
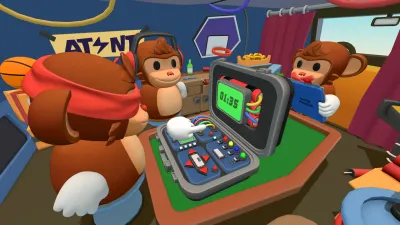
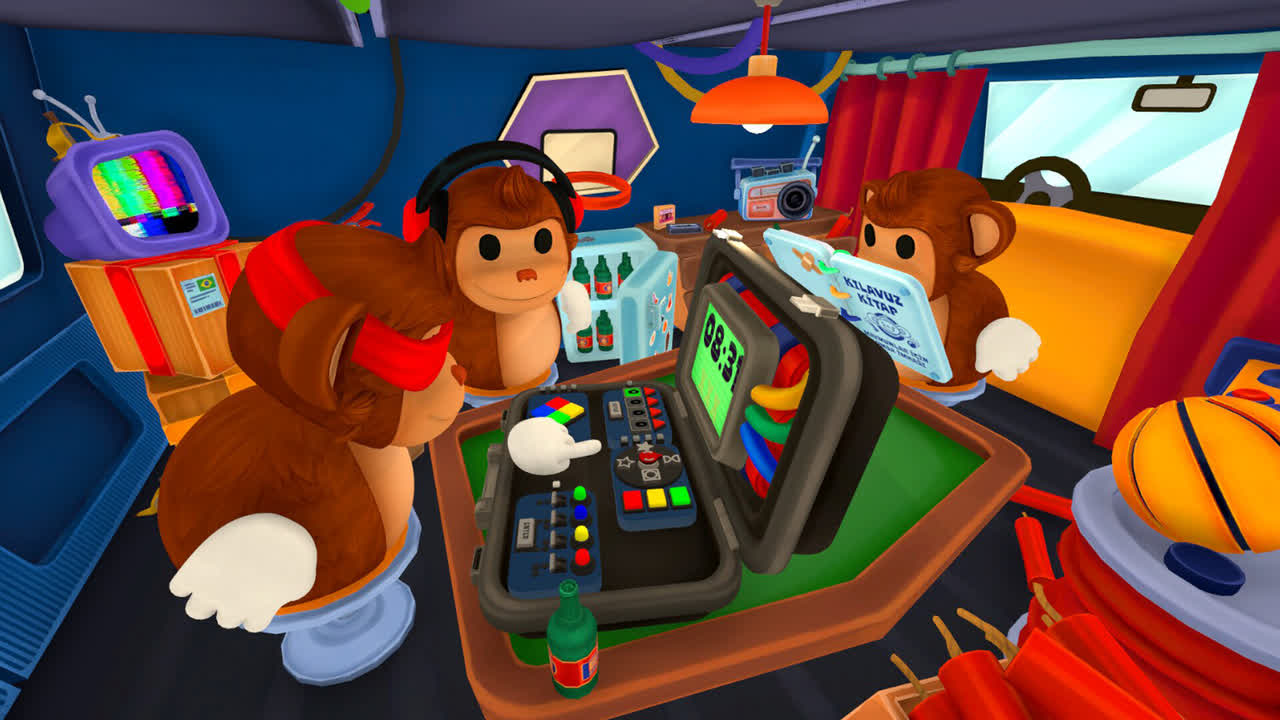
The mute monkey has an open module in front of them, showing four colors paired with arrow indicators pointing up or down.
As soon as the deaf monkey calls out a color, the mute monkey checks their module to find the correct direction. The fastest method is through emojis:
- If the color called out requires a downward indicator, the mute monkey uses the negative emoji (thumbs down).
- If it requires an upward indicator, they use the thumbs up emoji.
This is the simplest way to determine which direction to move each slider. The deaf monkey then applies the indicated direction, color by color, until all four sliders are correctly positioned.
Level 3: both puzzles at once
The third level doesn't introduce any new mechanic: it simply requires you to combine the first two puzzles and solve them simultaneously. You'll therefore need to handle the wire module (level 1) and the color sliders (level 2) at the same time.
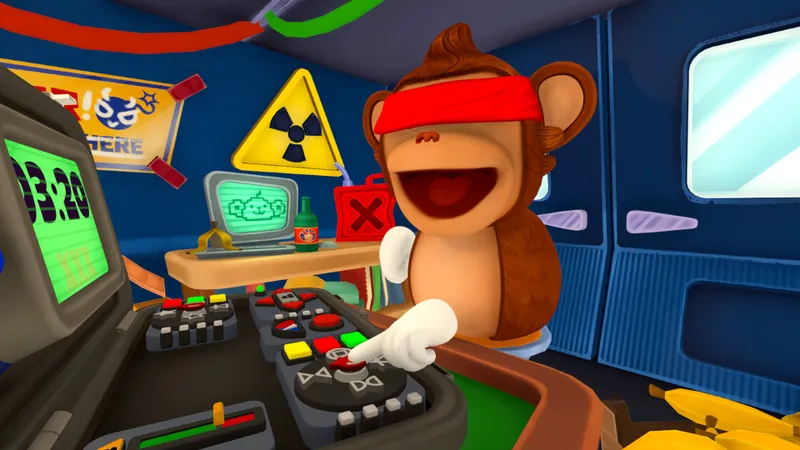
The key remains communication: the deaf monkey calls out the information, the mute monkey confirms the directions and the wires to cut using emojis and head nods, and the blind monkey carries out the action. Split the tasks well and keep an eye on the timer, since running both puzzles in parallel leaves little room for hesitation.
Share this article
Did you find level 3 harder because of multitasking or because communication becomes strained?
Frequently asked questions
Why does my slider reset on level 2?
Because you made an error while moving one of the four sliders. The puzzle requires a perfect sequence without mistakes: any wrong move resets everything. Check that the deaf monkey is properly announcing the colors and the mute monkey is correctly consulting his module before each action.
How do I quickly communicate the direction of a slider?
The mute monkey uses emojis: thumbs down to indicate a downward direction, thumbs up for an upward direction. It's faster than explaining verbally and leaves less room for confusion.
Does level 3 introduce a completely new mechanic?
No, level 3 presents no new mechanics. It simply asks you to combine and solve the two previous puzzles (cables and sliders) at the same time, which increases the mental load but not the theoretical complexity.
Who should execute the actions on level 3?
The blind monkey remains the executor. The deaf monkey states the information, the mute monkey validates with emojis and nods, and the blind monkey acts. Task distribution must be crystal clear to avoid wasting time.
Key takeaways
- On level 2, all color sliders must be positioned correctly in a single sequence without error.
- Use the thumbs up and thumbs down emojis to quickly communicate directions between the deaf and mute monkey.
- Level 3 forces you to manage the cable module and sliders in parallel, which requires very strict task distribution.
- Even the slightest hesitation can be costly: keep a constant eye on the timer and stay synchronized.
Comments
No comments yet. Be the first to react!
Leave a comment
Similar guides

Latest articles







Your opinion counts
Rate Bombanana!
Click a star to rate