



 Fabian Lainé
Full Guide
Expedition 33: Attributes, Elemental Weaknesses & Damage Guide
In brief
Clair Obscur: Expedition 33 hides three multiplier systems that truly decide your damage output: attributes paired with weapon scaling, elemental affinities that can swing damage from −50% to +50%, and certain status effects. Understanding these mechanics instantly transforms your combat effectiveness, far more than simply leveling up.
A Clair Obscur: Expedition 33 player capping out at a few hundred damage per hit at level 40 almost never has a level problem. They have a multiplier problem. Three distinct systems decide the number that shows up on screen, and two of them aren't explained anywhere in the game.
The first is attributes, coupled with the scaling rank of the equipped weapon: it's this, not your intuition, that decides whether your points should go into Power or Defense. The second is elemental affinities, which make a single skill's damage vary from −50% to +50% — and which, in some cases, heal the enemy instead of hurting it. The third is status effects, only one of which truly deserves the title of damage multiplier.
Nothing has changed on the balancing side since patch 1.5.6 on June 30, 2026, which added Arabic as the twentieth language. Everything that follows therefore applies as-is to a save started today, on PC as well as on console.
The five attributes, and what they actually do
Every level up grants 3 Attribute points and 1 skill point. Points can only be distributed from an Expedition Flag, via the "Upgrade Attributes" option. The five attributes aren't siloed: three of them have a secondary effect that goes completely unnoticed if you only go by the tooltips.
| Attribute | Main effect | Secondary effect |
|---|---|---|
| Vitality | Increases health points | — |
| Power | Increases attack power, regardless of hit type (melee, ranged, spell) | — |
| Agility | Increases action speed, and therefore how often the character acts | Small Defense bonus |
| Defense | Reduces all damage taken | Slight bonus to critical hit rate |
| Luck | Increases critical hit rate (a critical hit deals roughly 50% extra damage) | Slight speed bonus |
The practical consequence is counterintuitive: Agility is often a better offensive investment than Power. A character who acts twice before the opponent gets to retaliate doubles their damage output for the turn, whereas a few points in Power only add a marginal percentage. Early in the game, Vitality and Defense still take priority, though: they give you time to learn enemy patterns without restarting from the last flag every five minutes.
Luck, meanwhile, follows a threshold logic: it's excellent as long as the critical rate is low, since many skills trigger bonus effects on a critical hit, but it becomes worthless once that rate is close to 100%.
Scaling rank: the multiplier everyone ignores
This is the most important point in this guide. Every weapon has scaling ranks, graded from D to S, tied to one or two attributes. The higher the rank, the more the associated attribute boosts that specific weapon's damage. In other words: it's not the character who decides where to put points, it's the weapon they're holding.
This produces situations that seem absurd until you've opened the weapon's stat sheet. A few concrete examples, verifiable in the inventory:
- Bruleurum (Maelle, Fire element) scales primarily with Agility and secondarily with Luck: not a single point of Power is needed to make it worthwhile. You get it between the Flowering Valleys and the Sunken Ocean.
- Déminerim (Lune) scales primarily with Luck, secondarily with Agility: a crit-build weapon, not a classic mage weapon. It's obtained by helping the White Minesweeper find an intact mine, in the Sunken Ocean.
- Troubadim (Lune, Physical element) scales primarily with Defense and secondarily with Vitality. A spread you'd think was purely defensive becomes your damage stat here. It drops from the Chromatic Troubadour, in the hidden area of the Sunken Ocean, and already arrives at level 4 — making it one of the strongest weapons of the game's first third.
The method is therefore always the same, and it takes ten seconds: open the weapon's info sheet, spot the two displayed attributes, and only invest in those. If you got it wrong, a Renewal item resets a character's attributes to zero with no hidden cost; always keep one or two in reserve, if only to test a weapon found at the end of an act.
Last stage of the rocket: the weapon's level. Weapons go up to level 33 — a nod to the title — with the Curator, the NPC who joins your camp once you've crossed the Sunken Ocean, in exchange for Chroma Catalysts. The two levers multiply each other: a weapon with the right scaling left at level 5 will still fall behind a less well-oriented weapon that's properly leveled up.
The seven elements: from −50% to +50%, and sometimes worse
The game features seven elements: Physical, Fire, Ice, Lightning, Earth, Light, and Dark. Each Nevron reacts to each of them according to four possible regimes.
| Affinity | Effect |
|---|---|
| Weakness | The enemy takes +50% damage with this element |
| Resistance | The enemy takes −50% damage with this element |
| Nullification | The enemy takes no damage from this element |
| Absorption | The enemy is healed instead of being hurt |
The gap between a weakness and a resistance therefore represents a factor of three on the same ability. And absorption turns your best spell into a potion for the boss — the game's most costly mistake, because it's silent: you think you're simply not doing enough damage, when in fact you're refilling the enemy's health bar.
Here are the cases you need to keep in mind before the most frequent encounters, including ones you may have already come across in the optional areas.
| Enemy | Weakness | Resistance | Absorption |
|---|---|---|---|
| Gargant | Fire | — | Ice |
| Glaise | Fire, Ice | Lightning | Earth |
| Gault | Fire | Ice, Lightning | Earth |
| Braseleur | Ice | — | Fire |
| Danseuse | Ice | — | Fire |
| Stalact | Ice | — | Fire |
| Sirène | Ice, Dark | Earth, Light | — |
| Serpenphare | Lightning | Fire, Ice | — |
| Goblu | Lightning | Ice | — |
| Sakapatate | Fire | Lightning | — |
| Lancelier | Ice | — | — |
| Mitrien | Ice | Physical | — |
| Lampmaster | none | Light | — |
Three lessons follow from this. First, the fire-based enemy family — Braseleur, Danseuse, Stalact — absorbs Fire, which is precisely the element half of players throw at them by reflex. Second, the Mitrien resists Physical, which punishes a team built entirely around physical weapons. Finally, some opponents have no weakness at all: the Lampmaster is the textbook example, and it even resists Light. Against them, look for gains elsewhere, in scaling, crits, and status effects.
Conversely, chromatic versions sometimes open right up: the Chromatic Brûleur is weak to every element and resists nothing. It's the target on which to unload the most expensive skill in your rotation, not a basic attack.
The status effects that actually matter
The game lists fourteen status effects, but most of them are inflicted on you rather than by you. On the offensive side, only three change the game.
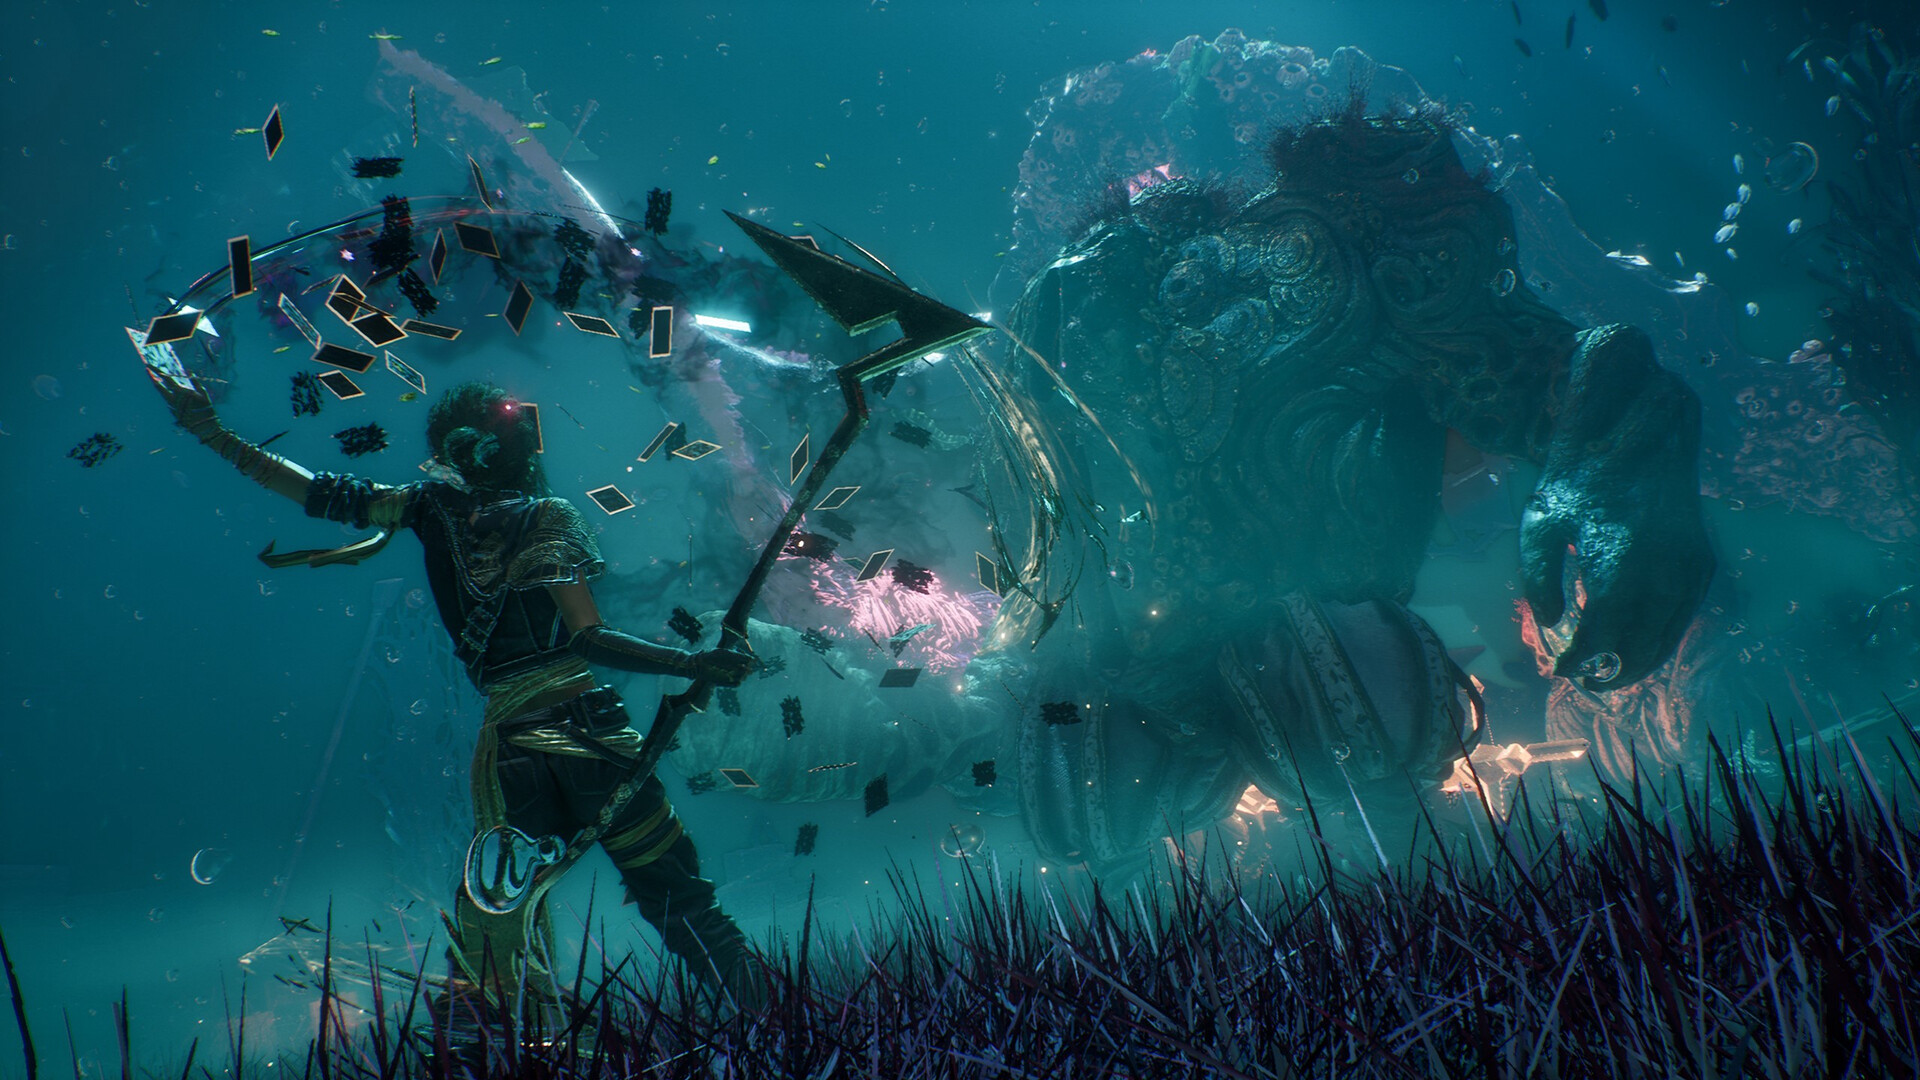
- Marked: +50% damage taken by the target… but on a single instance of damage. This is the subtlety almost everyone misses. A skill that hits six times only gets the bonus on the first impact. Marked should therefore precede a single, heavy hit — a Gradient attack, a finisher — not a multi-hit combo.
- Burn: deals damage at the start of the target's turn and stacks to increase damage taken. It's the only damage source in the game that keeps ticking while you're parrying, which makes it especially profitable against bosses with long offensive phases.
- Wither: removes 10% of the target's maximum HP per stack, and stacks. On a massive health bar, that's a percentage, meaning a huge absolute value — far more than any direct hit.
Stun, meanwhile, mainly triggers by breaking an enemy: it costs them an entire turn, which is often worth more than 50% extra damage.
On the defensive side, four status effects invalidate part of your game plan: Hobbled removes Dodge and leaves only Parry, Exhaustion blocks Action Point gain, Reversal turns your heals into damage, Curse kills the character when its countdown expires. Add to that Berserker: +5% damage per stack up to twelve stacks, that's +60%, excellent on you and catastrophic on a boss.
The 9,999 cap, and how to break it
Until you pass a specific point in the story, none of your attacks can exceed 9,999 damage points. Optimizing a build beyond that threshold is therefore pointless.
The key is the Overpainted Power Pictos, automatically awarded after defeating the Paintress inside the Monolith, at the end of Act II. It cannot be missed. Equip it immediately on an active character, complete four battles with it, and the corresponding Lumina unlocks: from then on, activate it on every party member. Without this Lumina applied across the board, all endgame content becomes an attrition chore against oversized health bars.
The checklist before your next big fight
Go through these five points in order, they multiply with each other:
- Open the sheet for each equipped weapon and note its two scaling attributes. If your points are elsewhere, spend a Reset: it's the fastest and cheapest damage gain in the game.
- Visit the Curator before each new area: a weapon left ten levels behind cancels out all the benefit of good scaling.
- Before a boss, check its affinity. A poorly chosen element doesn't cost you 10% damage, it costs 50%, or it even heals the boss.
- Apply Mark right before your heaviest hit, never before a multi-hit skill. Save Burn and Blight for long fights.
- If your crit rate is close to 100%, stop investing in Luck and switch back to Agility: an extra turn is worth more than one more crit.
The true power threshold, in Clair Obscur: Expedition 33, is never the character's level: it's the moment when all three systems pull in the same direction — the right attributes for the equipped weapon, the right element for the target, the right status effect at the right time. Once that alignment is achieved, the rare fights that still resist come down to parry timing, not the stat sheet.
Share this article
Which aspect of the damage system surprised you the most when discovering this guide?
Frequently asked questions
Why is my damage still weak even at a high level 40?
Your problem is almost never your level, but the multipliers: check your weapon's scaling, invest in the right attributes, and match your element to the enemy's weaknesses. Poor scaling or elemental resistance can cut your damage by a third.
Where can I find the best weapons in the first act?
The Suspended Ocean holds several of the best-scaling weapons. The Troubadim, obtained from the Chromatic Troubadour in a hidden area, already comes at level 4 and ranks among the strongest weapons of the game's first third.
Is it a big deal if I distribute my attributes poorly?
No: a Renewal item resets all of a character's attributes to zero at no hidden cost. Always keep one or two in reserve to test a newly found weapon or fix a build mistake.
How do I know if a skill heals or hurts the boss?
Every enemy has an affinity for each element: weakness (+50%), resistance (−50%), nullification (0 damage), or absorption (healing). If your best spell deals no visible damage, it's probably a silent absorption: check the weakness charts before the fight.
Is Mark worth using on multi-hit skills?
No, that's the classic mistake. Mark only boosts the first hit: apply it right before a single heavy hit, like a Gradient attack or a finisher, never before a combo.
Key takeaways
- Weapon scaling dictates where to invest your attributes, not your intuition: open the weapon's stat sheet and check the two displayed attributes before distributing your points.
- Agility is often a better offensive investment than Might, since doubling your action frequency doubles your total damage over a turn.
- Each element creates a threefold gap between a weakness and a resistance: the same skill can deal +50% or −50% depending on the enemy.
- Mark only boosts damage on a single instance, never on multi-hit skills: save it for big single hits.
- Some enemies, like the Braseleurs, absorb the element you think you're throwing at them: memorizing affinities before a fight keeps you from healing the boss.
Comments
No comments yet. Be the first to react!
Leave a comment
Similar guides

Latest articles




Your opinion counts
Rate Clair Obscur: Expedition 33
Click a star to rate